Robin Michals | COMD 1340 Photography 1

Category: Course Activities (Page 5 of 8)

Week 7 – Midterm – Critique Guidelines

Critique Etiquette

  1. Respect the presenter. Give them your full attention.
  2. Ask questions about your colleague’s photography. This is not the time to ask questions about your personal concerns.
  3. Start with the positive when you comment on your colleague’s works. Use the terms below that we have learned this semester.
  4. Be generous. Offer your thoughts. Your opinion and judgements are important. Do not leave the work of giving feedback to the others in the class.
  5. Conversely, please do not speak over your classmates.

Vocabulary

Framing: How the frame brings together the elements inside the rectangle juxtaposing them, creating relationships between them

Types of shots: how much information is in the frame

  • a long shot
  • a medium shot
  • a close up
  • an extreme close up.

Frame within a frame – use elements in the frame to enclose the main subject and draw attention to it. A frame within a frame can be a window or door or it can be items in the foreground such as branches.

Angle of View:  describes the camera position in relationship to the subject. The angle of view may be: 

  • a worm’s-eye view
  • a low-angle
  • eye-level
  • a high-angle
  • a bird’s-eye or aerial or overhead view
  • an oblique angle.

Rule of Thirds – Instead of placing the main subject in the center of the frame, divide the frame into thirds horizontally and vertically and place the main subject at one of these intersections.

Symmetry-fold the image in half and the two sides are equivalent

Fill the Frame –  (get closer) – do not leave empty areas that do not add to the composition and plan to crop in later.

Diagonals – Sloping lines

Leading Lines – lines in the photograph that lead the eye to the main subject

Perspective-the creation of the feeling of a 3D space on a 2D surface usually with converging lines or diminishing scale

Patterns – repeated elements. Break the pattern for visual interest

Figure to Ground -the relationship between the subject and the background sometimes described as negative and positive space.

Diffused light – light that comes from many directions and creates soft shadows

Direct light– light that come from one direction and creates hard shadows

Contrast: The measure of difference between bright areas (highlights) and dark areas (shadows) in a photo

High contrast : Large difference between highlights and shadows. Mostly lights and darks without many mid tones        

Low contrast :  Little difference between lights and darks. Mostly mid tones.

High Key– most tones are light

Low Key – most tones are dark

Frozen Motion-Motion is stopped and captured in the frame with a fast shutter speed.

Blurred motion-moving elements blur with a longer shutter speed.

The Decisive Moment: A term coined by Cartier Bresson- “the simultaneous recognition, in a fraction of a second, of the significance of an event as well as the precise organization of forms which gives that event its proper expression.”
Homework

HW 5: Reflections

HW 5: Reflections

Due Oct 24, 12 pm. 4 pts. 30 photos of reflections.

Reflection – 1. the throwing back by a body or surface of light, heat, or sound without absorbing it.

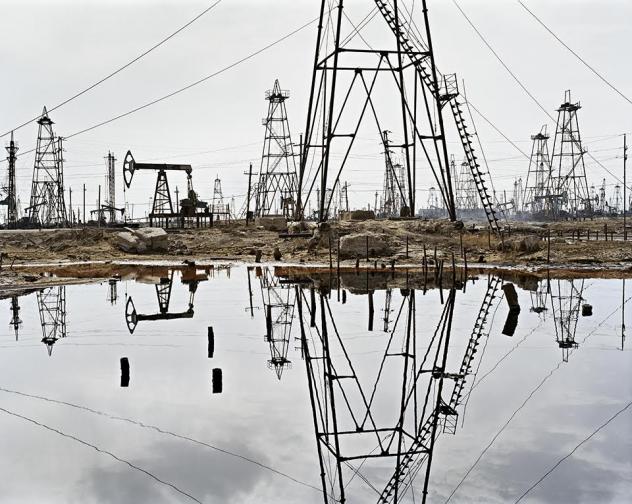
Working outside during the day, photograph reflections to create strong compositions that include a combination of elements that are seen directly and by reflection. Reflections can be found in water, windows, and cars among other surfaces. Do not confuse reflections with shadows. Working outside during the day, take enough photographs to end up with 30 interesting photographs with reflections. No credit will be given for improperly exposed photographs or out of focus photographs. No credit will be given for photos taken inside without sufficient light.  Upload to an album on Flickr. Send your best two to the class group.

Reflections example by Edward Burtynsky:

Lab: Week 6 – Global Corrections

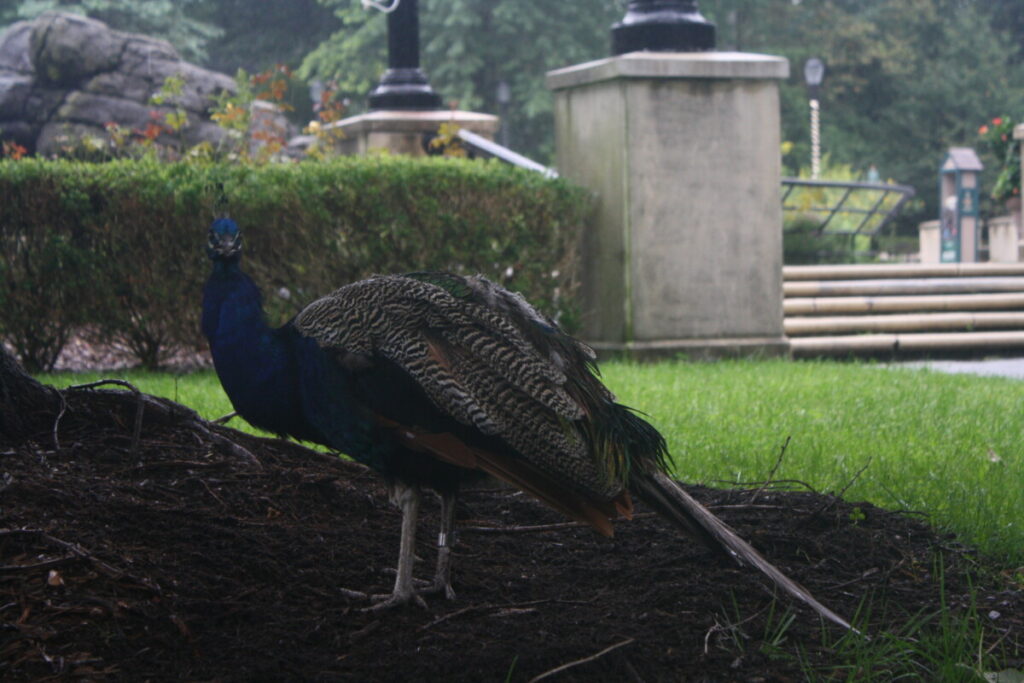
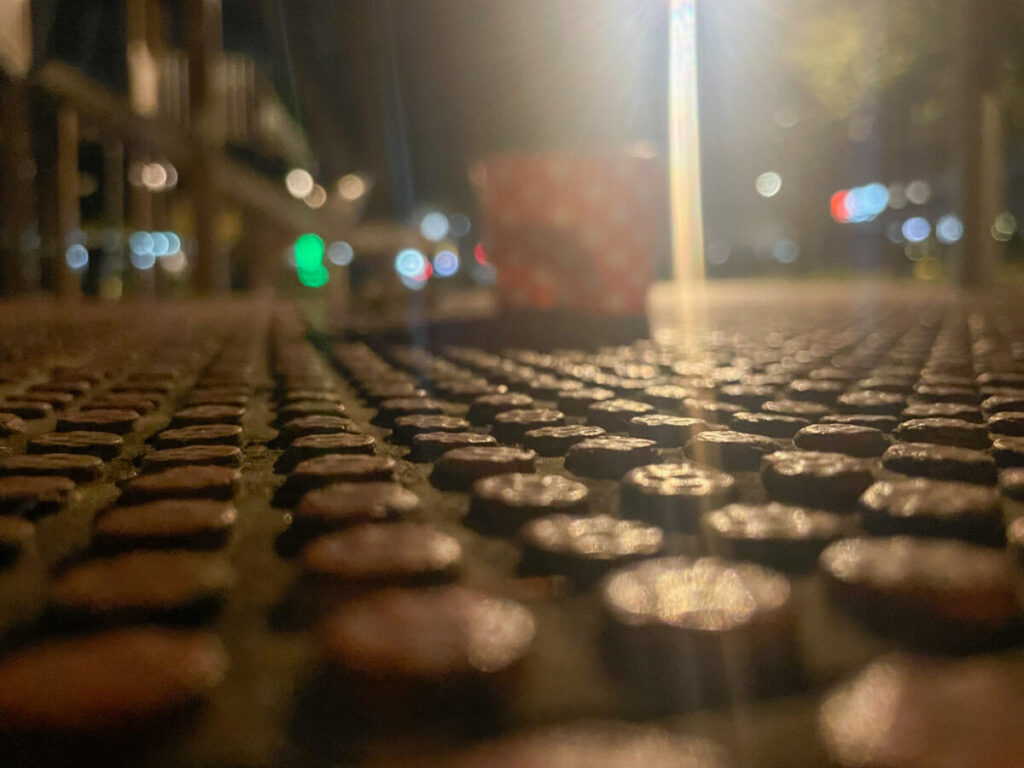
Make global adjustments on each example:

Photographers, from left to right: Aljieryon Hill, Aljieryon Hill, Ifetayo Forrest, Andy Vasquez

Post your corrected versions of all four to Flickr.

Select your favorite of your partner’s photos that could look better with some adjustment. Tone it in Lightroom. Your partner will also adjust the same photo. Compare your results. Post both versions titled with each of your names to openlab using a gallery so we can see them side by side.

Now, reverse it. Your partner picks their favorite of your photos. And you both adjust it. Post the results.

Week 6 – Digital Darkroom – Global Corrections

Terms

Aspect Ratio-the proportion of the width of the image to the height of a 2D image

Clipping-the intensity of the light falls outside of what can be recorded by the camera and there is a loss of detail.

Color Profile-the data for a digital device, such as a printer or monitor, which describes its gamut, or range of colors. Used to match the gamut from one device to another.

Exif Data-information stored by the camera in the file.

Gamut-range of colors

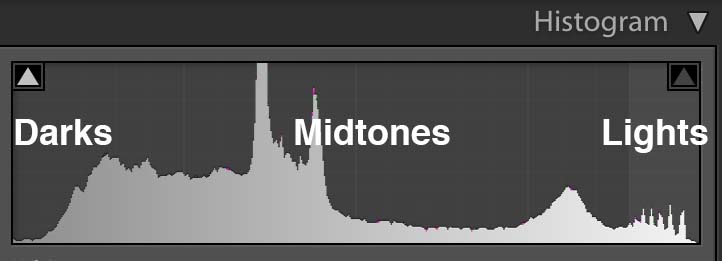
Histogram- a graphic representation of the tones in an image. A spike of data on the left side indicates underexposure, on the right overexposure.

Neutral Value-RGB values are equal or gray

Non-destructive Editing-adjust the image without overwriting the original image data. Instructions are written to a sidecar file that tells the software how to interpret the image.

White Balance-the setting that adjusts for the color temperature of the light and that will make a white object appear white or a gray object a neutral value

Global Corrections

Global corrections adjust the entire file. In the Lightroom CC, it includes the controls under Light, Color and Effects. In Lightroom classic, this includes everything in the basic panel: White balance, Tone and Presence.

Using the Histogram

The histogram is a graphic representation of the tones in the photograph. It is a guide to exposure decisions. Most images look best when there is a full range of tones from black to white in the image. But there are no iron clad rules.

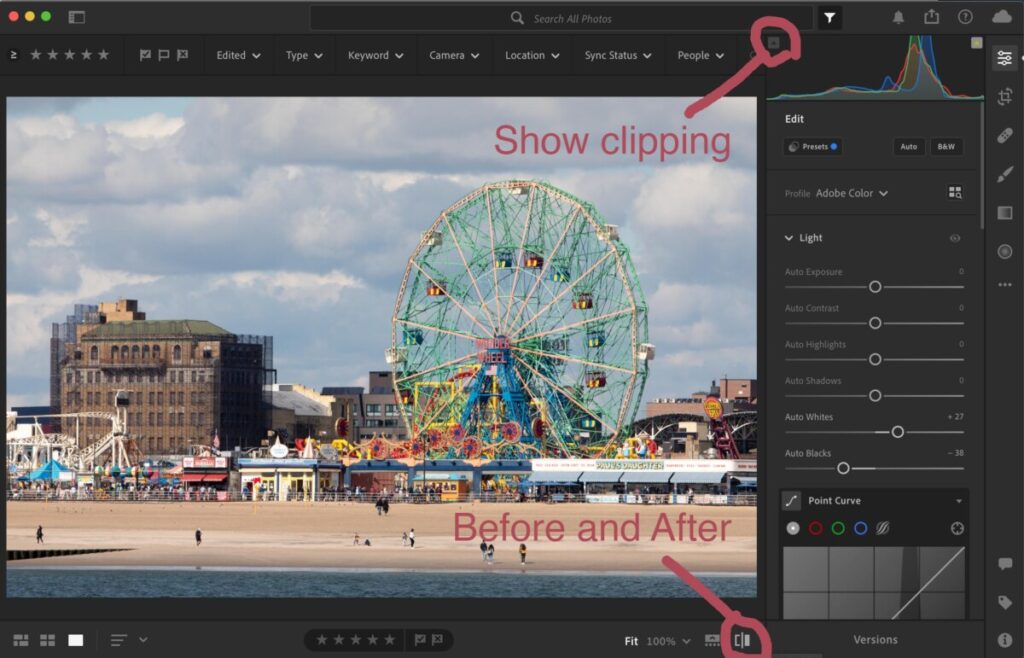
To access the histogram in Lightroom, from the keyboard select: Command 0

Or get it from the three dots on the right menu bar.

From the top of the histogram, there is a triangular button. Toggle it to turn on/off show clipping.

To maximize the the tonal range, adjust a photo to have some tones that are totally black and totally white but only a few so that you don’t lose detail in either the shadows or the highlights.

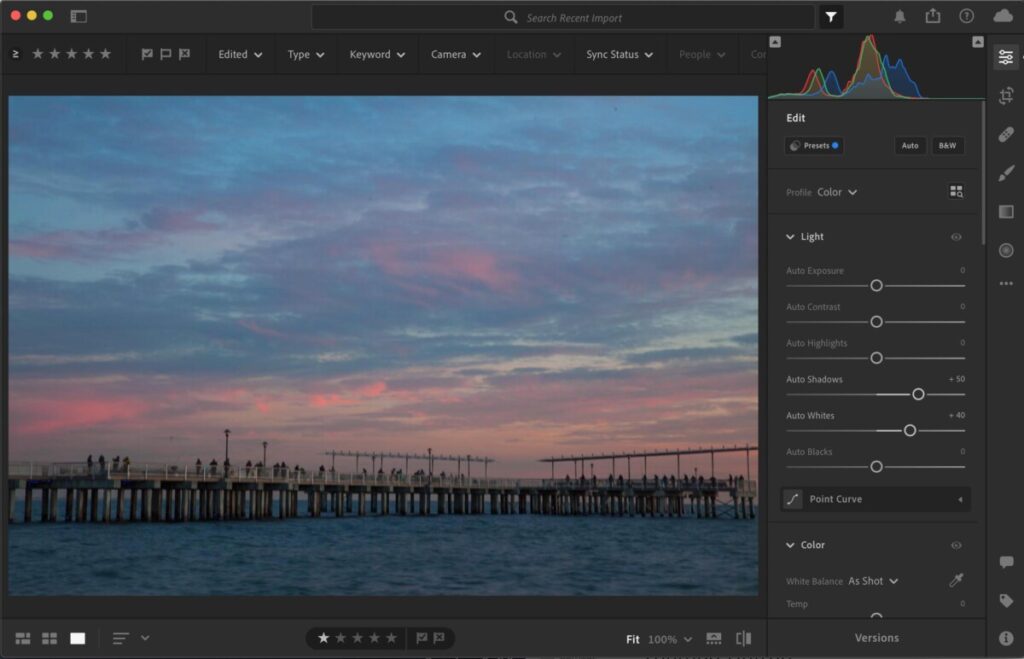
Looking at the histogram, we can see that there is not a true black or white. To raise the contrast of the image and use the full tonal range, use the following adjustments:

  • Select show clipping on the top left of the histogram. Adjust the blacks slider to the left until you see bright blue flecks on your image.
  • Select show clipping on the top right of the histogram. Adjust the whites slider to the right until you see bright red flecks on your image.

Most images improve with:

  • shadows slider to +50 add detail to the dark areas
  • the highlights slider brought to the left to bring detail into the highlights.

In this photo of the pier in Coney Island, the histogram shows that is underexposed. But we also know that it is an evening scene and that there is nothing in the photo that should be bright white.

Lightroom Workflow:

  1. Optics: enable lens correction. If there is architecture or a strong horizon line, geometry>upright>auto
  2. Crop.
  3. Color. Adjust the white balance if necessary.
  4. Light
    a. Exposure slider-use to adjust the overall tonality
    b. Set black point using show clipping
    c. Set white point using show clipping
    d. Use shadows slider to brighten mid tones.
  5. Effects – Adjust clarity (mid tone contrast)
  6. App: color – Adjust vibrance and or saturation
  7. Detail panel – Sharpen-amount at least 50

Lightroom CC Resource

Lightroom Classic Resource

A few tips for Lightroom Mobile:

  1. To access the histogram, tap on the image with two fingers. If you can’t really see the histogram background, brighten the display.
  2. To see the image before your corrections, press on the image.

Lab Exercises

Global Corrections

Homework

Midterm Project

Midterm Project

Portrait of a place-Select a park or playground near you. You will take photographs in the same location two weeks in a row. Photograph your location at two different times of day or in two types of weather to capture the place and the people who use it in a series of 8 final photos.

Complete project and presentation due October 17th. 10 pts.

  1. 40 photos in an album labeled Shoot 1 on Flickr due Oct 3 at 12 noon.

Portrait of a Place-Your shots should cover a wide range of approaches: long shots to close ups, people including at least one person in motion, animals and plants. Each photo should use light and composition in compelling ways. Show the full range of the techniques that we have tried in class.

2. Second set of 40 Photos in an album labeled Shoot 2 on Flickr due Oct 17th at 12 noon.

3. 8 final photos adjusted in Lightroom in an album labeled Midterm on Flickr due Oct 17th at 12 noon.

4. A brief presentation- 3 to 5 minutes – to the class of your project on Oct 17th.

Examples:

Chris Huang

The Old Fashioned

Jessica Li

IMG_1049

Alex Acero

https://www.flickr.com/photos/195000888@N08/albums/72177720297490315/with/51949342317/

« Older posts Newer posts »