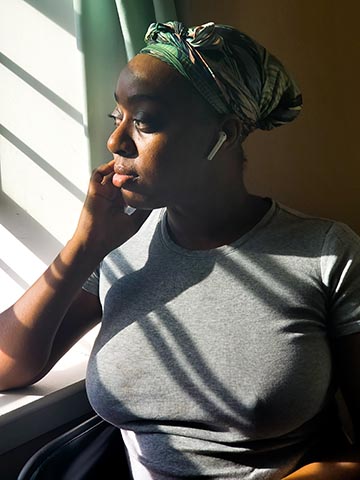
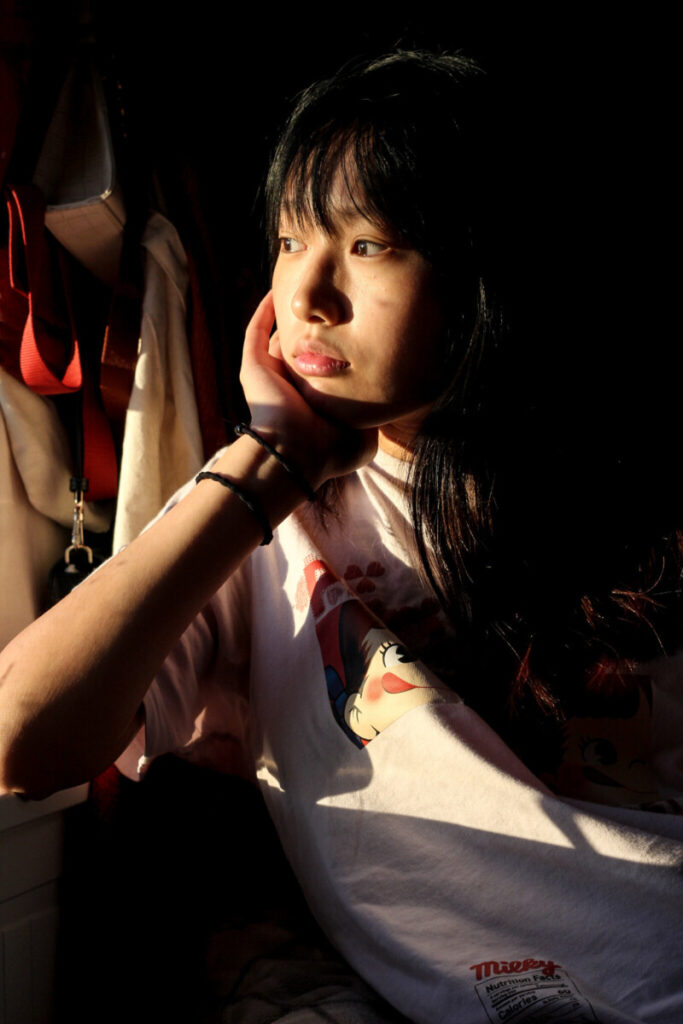
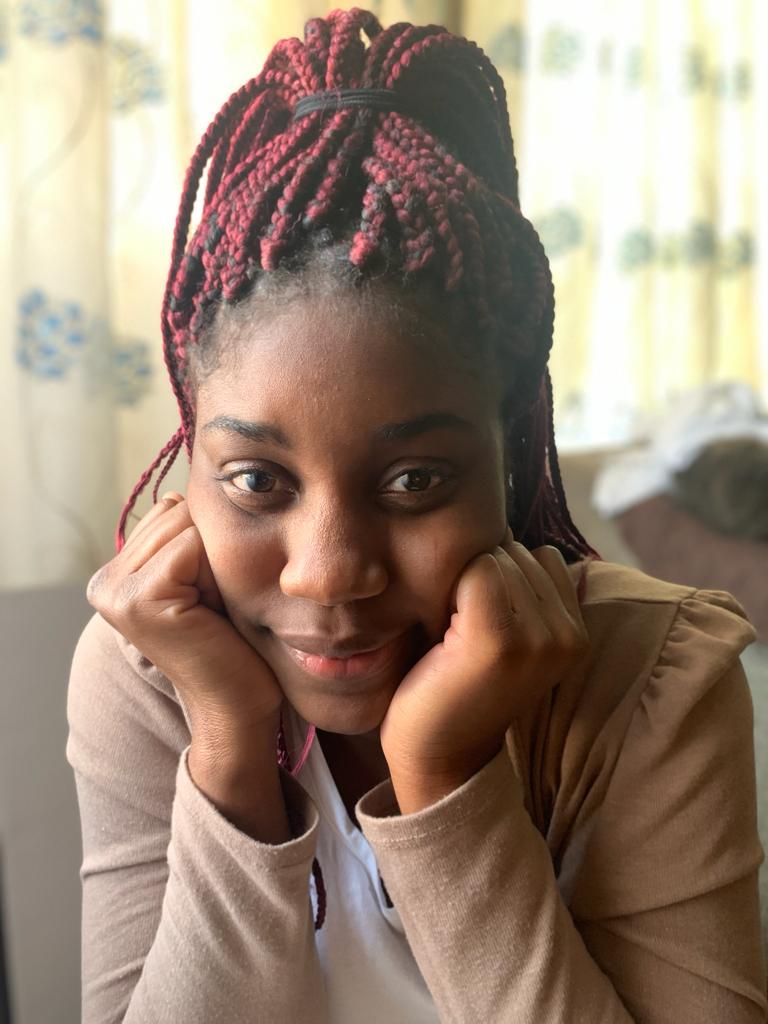
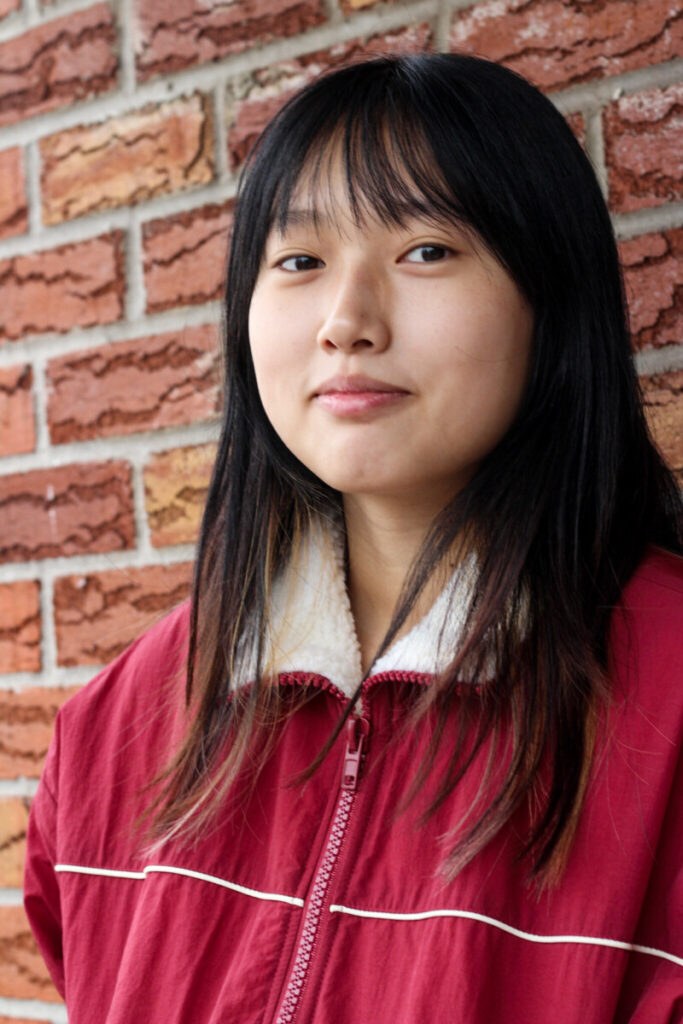
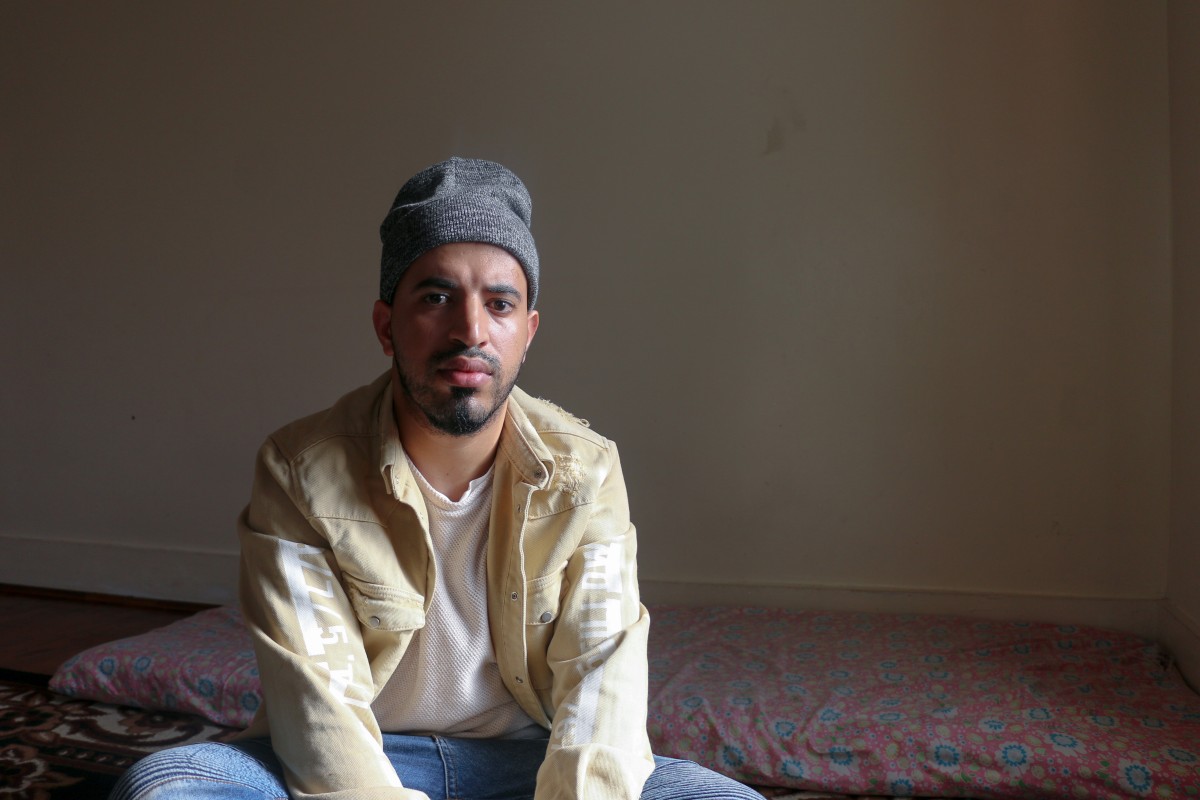
Create a series of 30 portraits of at least 3 different subjects using window light or outdoor diffused light.
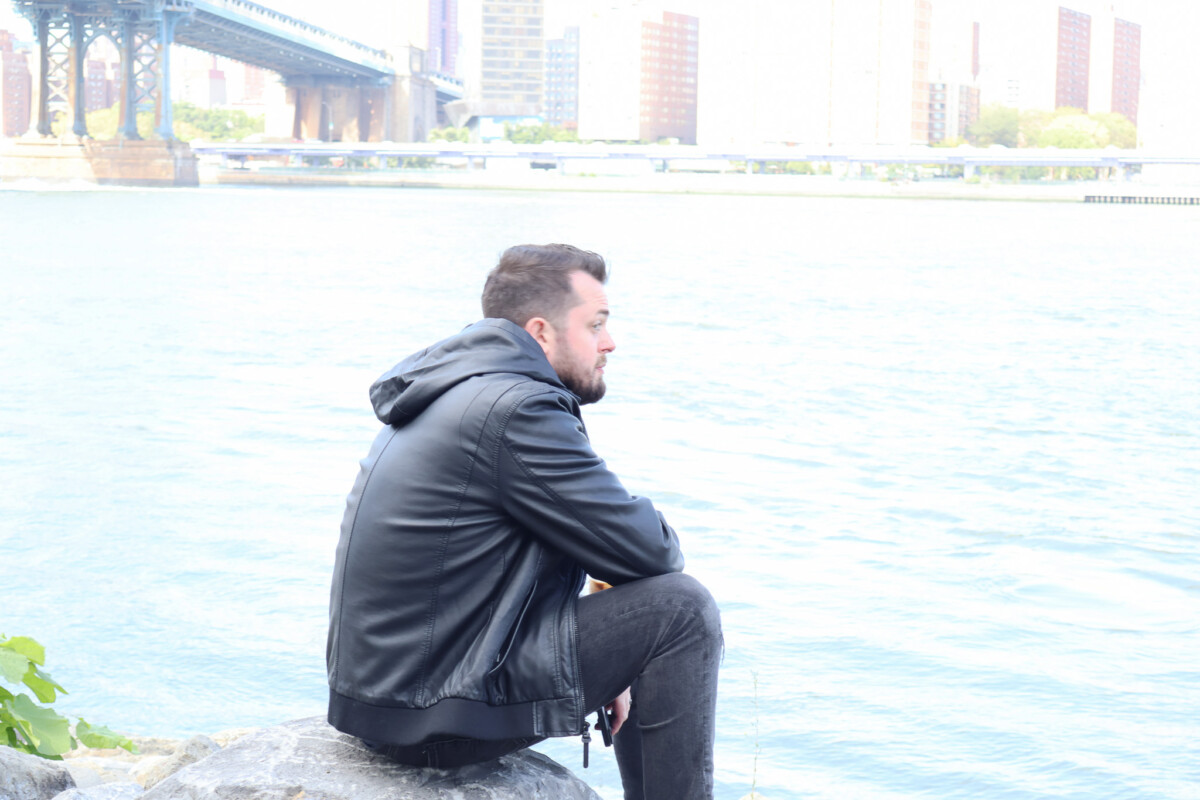
For each subject, shoot some in front view, some in three quarter view and some in profile.
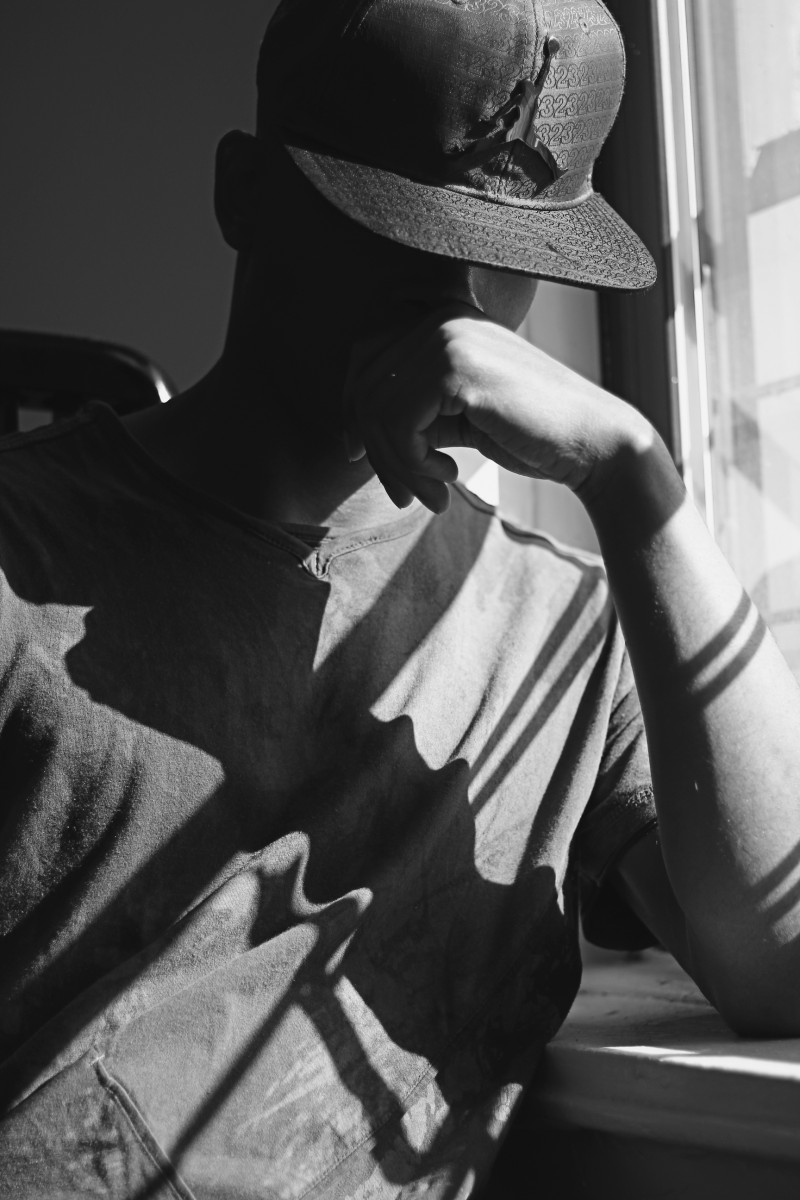
Use the window as front light, side light and back light. When you are working with a window, you can’t move the light source so you and the subject must move.
You should be near or next to a window during the day.
The window can be in the photo or you can just use the light from the window.
Pay attention what is in the frame and make sure the background adds to the photo and is not distracting.
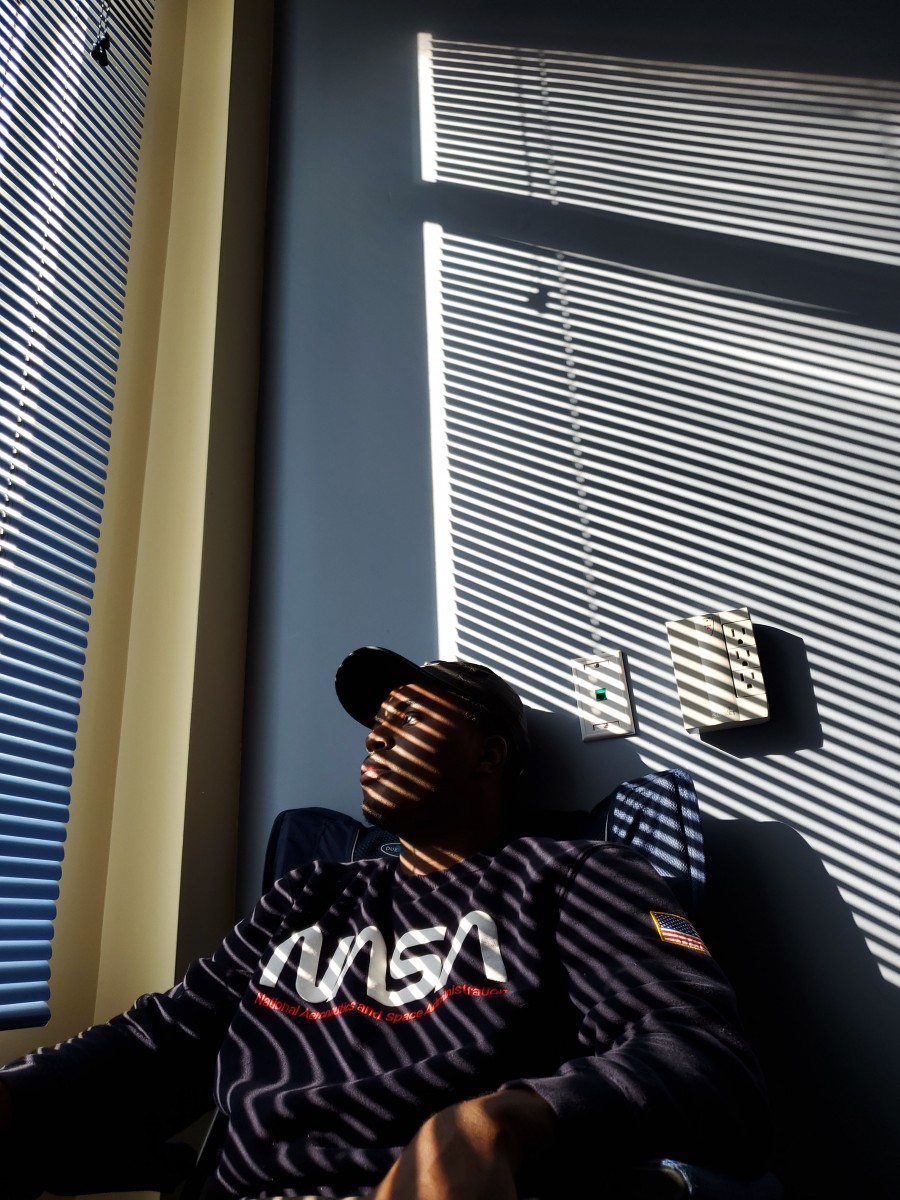
Your photos should use light and expression to be expressive. No props. If you have curtains or venetian blinds, you may use them as elements in the photos.
Experiment with different expressions and gestures and different framing (how much of your subject is in the frame.)
Upload the 30 photos to OpenLab and put them in an album. Send your best 3 – the best of each subject- to the class group.
Working outdoors, the sun is the main light. We will use reflectors and flash to fill the shadows.
Start with a reflector. Have your model stand with the sun to their back. Use the reflector to reflect light back into their face. Hold the reflector higher for a more pleasing result.
Then try fill flash. Use the flash on camera at a relatively low setting such as 1/64. You don’t want to cast any shadows on the face just brighten it.
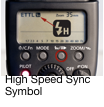
Use your widest aperture. You may need to use a fast shutter speed to compensate. When using flash, make sure to set it to High Speed Sync (HSS) in order to be able to use a shutter speed faster than the sync speed.
Put your 20 best outdoor portraits in an album on Flickr and send the best two to the class group.
Diffused Light: the light hits the subject from many angles and creates soft shadows. The light is diffused on an overcast day or in the shade.
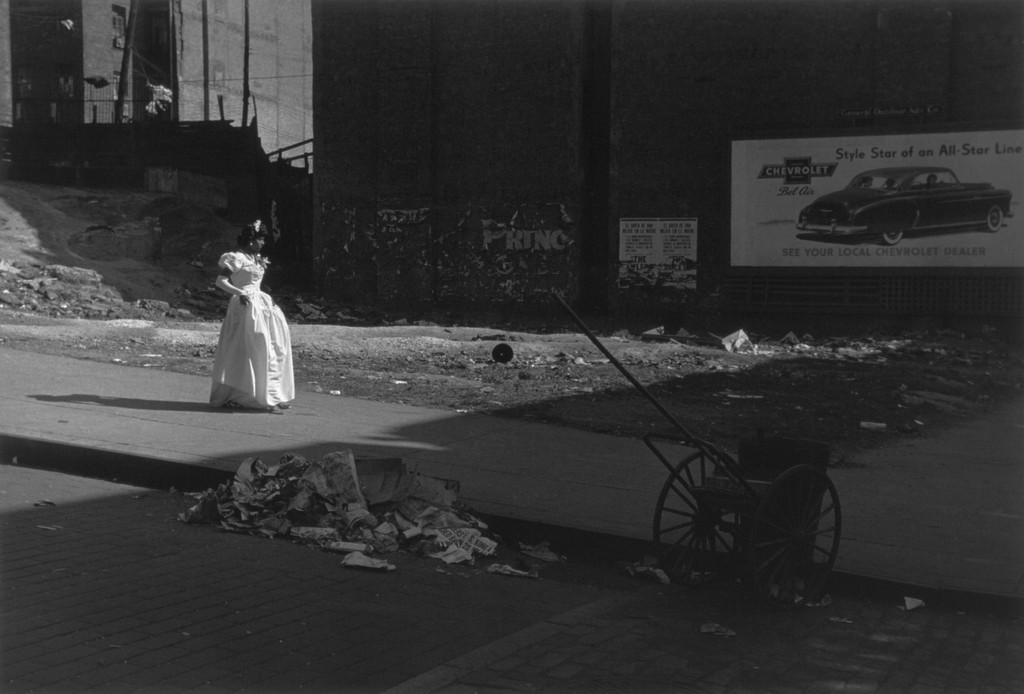
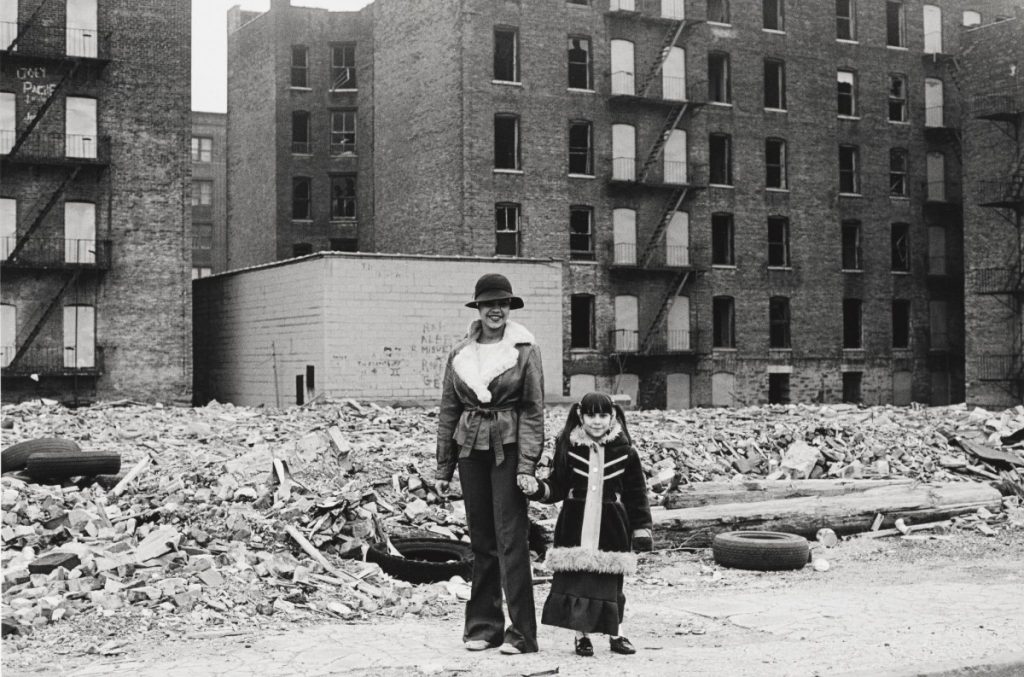
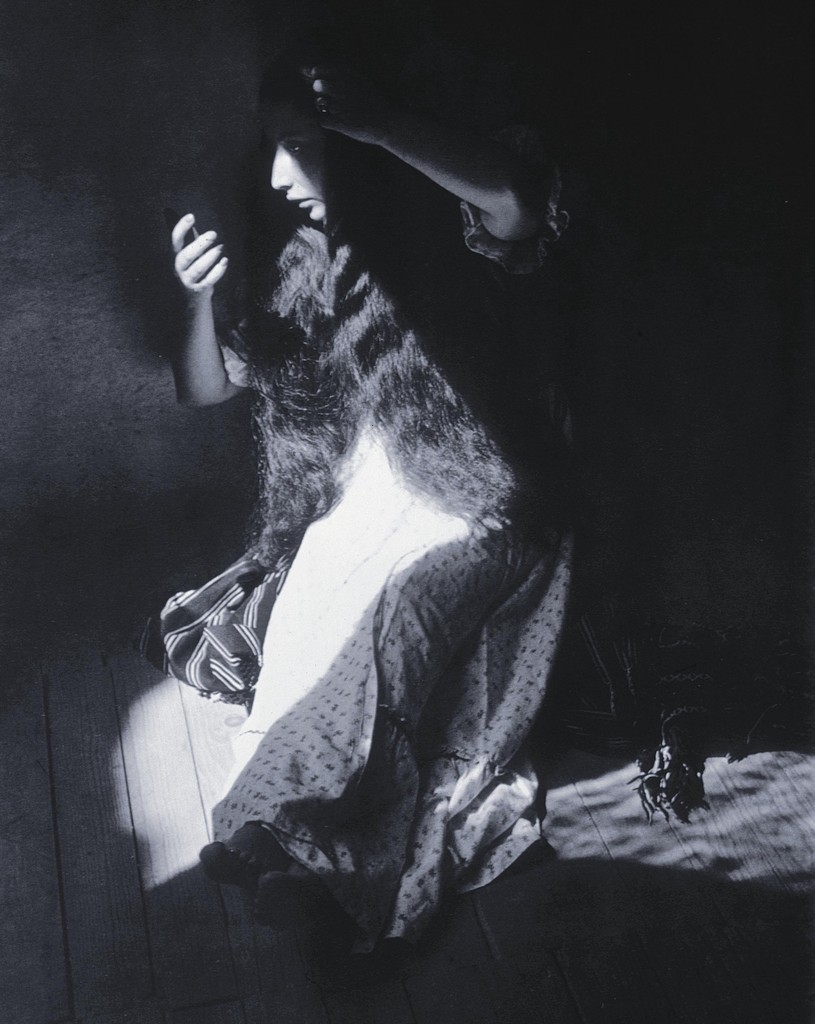
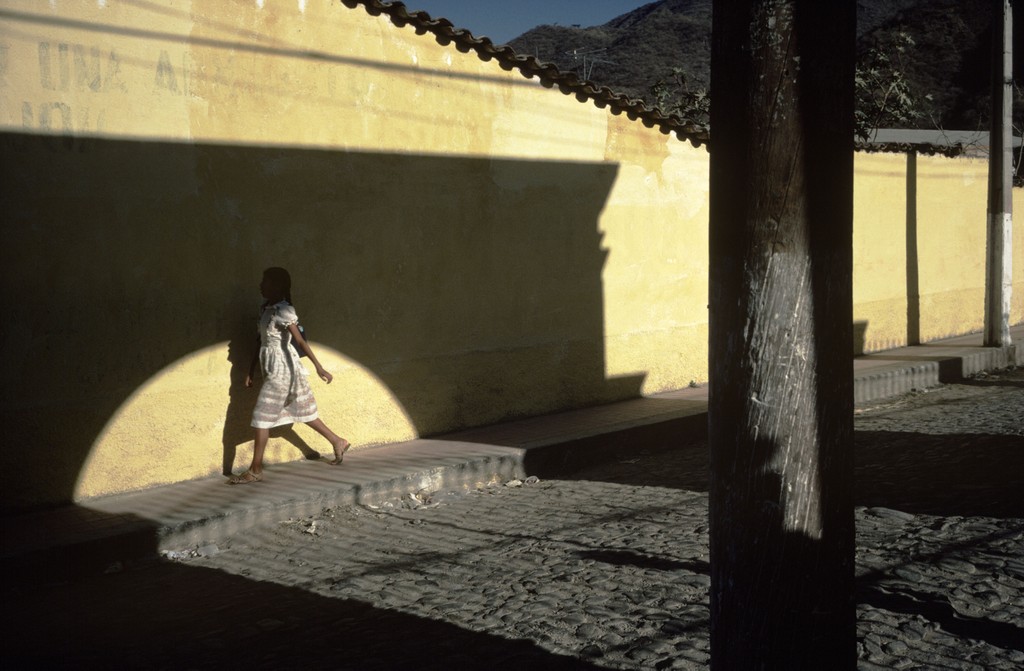
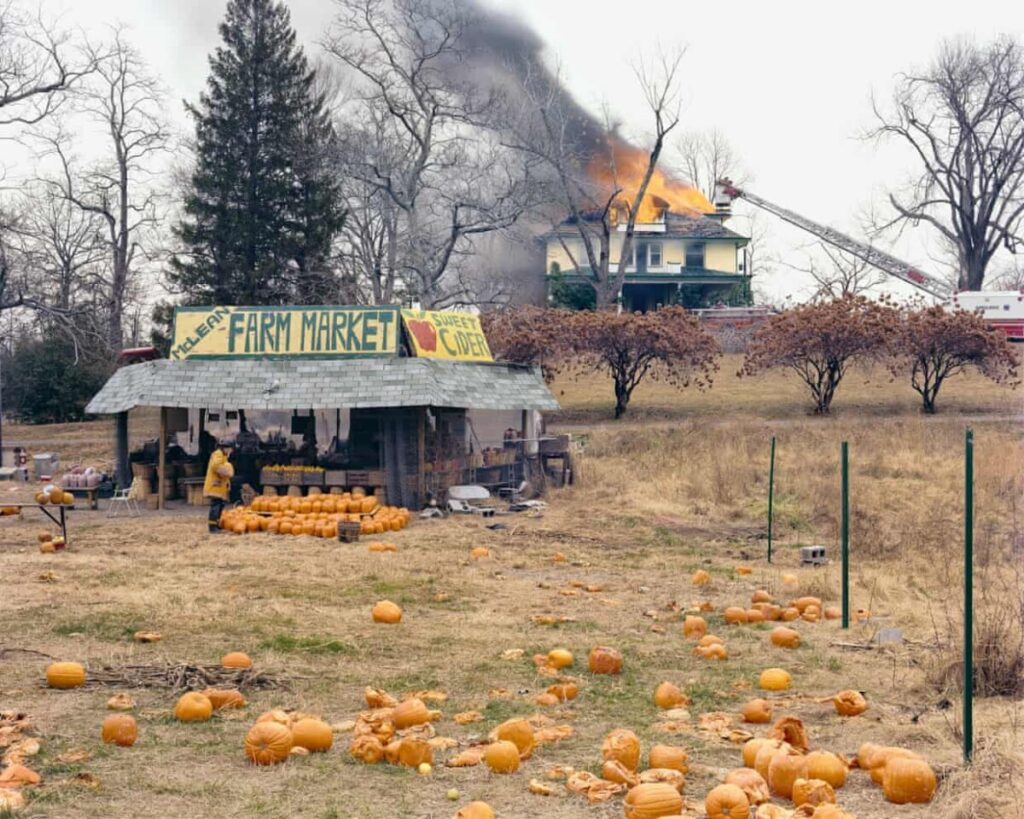
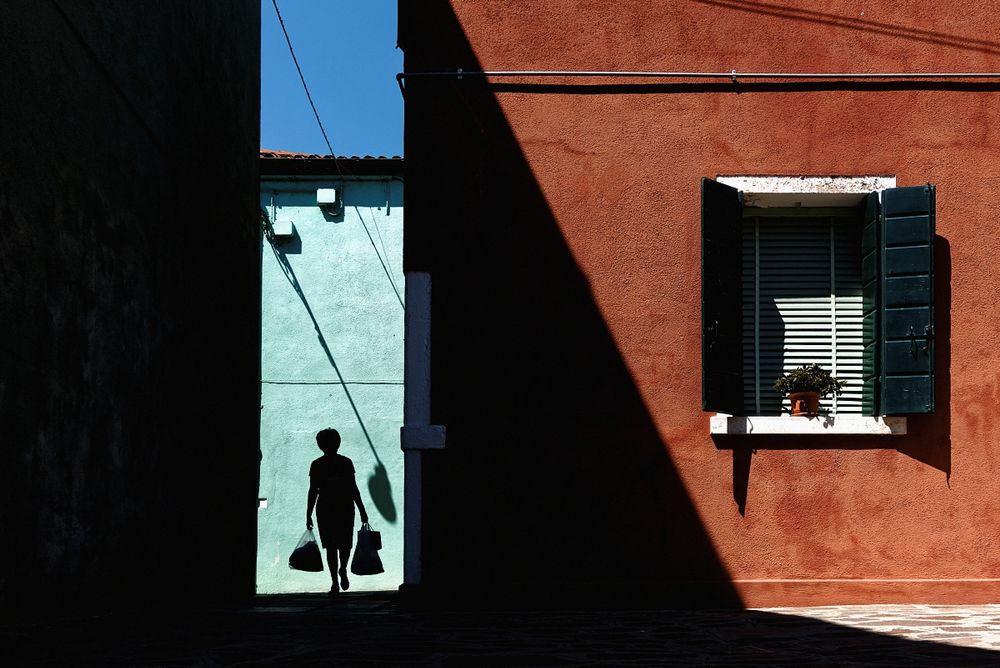
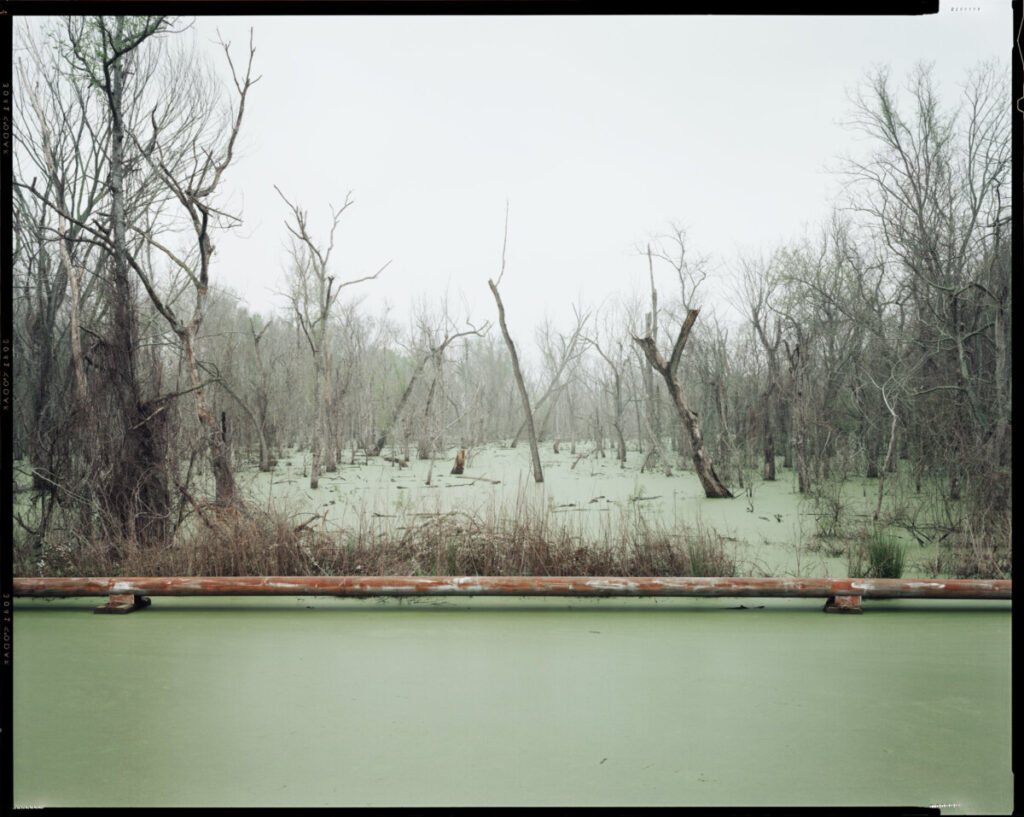
Mother and daughter pausing in the ruins, which was still their home. Claremont Parkway. 1976-82. Photographer: Mel RosenthalPortrait of the Eternal (Retrato de lo Eterno). Manuel Alvarez Bravo, 1932-33.MEXICO. Ajijic. Alex Webb. 1983McLean, Virginia, December 1978 Photographer: Joel Sternfeld, 1978Photographer: Renee DikstraPhotographer: Mark Savianefrom Petrochemical America Photographer: Richard Misrach
Measuring the Light
Exposure is the amount of light that comes into the camera to create the photograph.
Exposure is made up of three components:
ISO-Sensitivity to light.
Shutter Speed-the length of time that the camera’s shutter is open during the exposure.
Aperture-how wide the cameras lens opens to allow the light to come in.
All three are measured in stops. the different between one full stop and the next is it either doubles or reduces by 1/2 the amount of light. This is true of ISO, shutter speed and aperture.
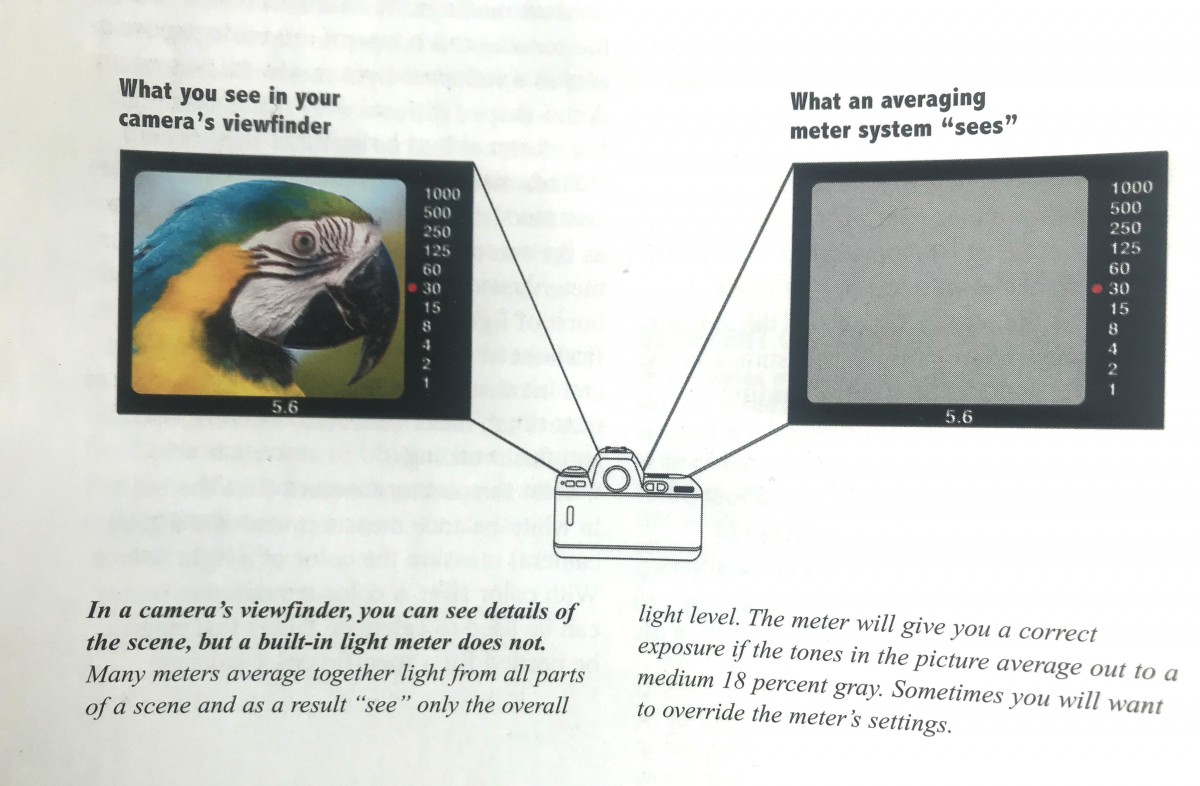
How your Camera Meter Works
Acronym: TTL – Through the Lens
The meter in your camera is a reflected-light meter.
A reflected light meter averages the tones in the scene and selects the aperture and shutter speed values that will make the whole scene medium gray.
Watch from :45 to 1:34 for an explanation of how your camera meter works.
What your camera meter “sees” From Photography, 10th Edition, Stone, London, Upton, P. 70
Challenges
There are certain predictable situations that will fool your meter.
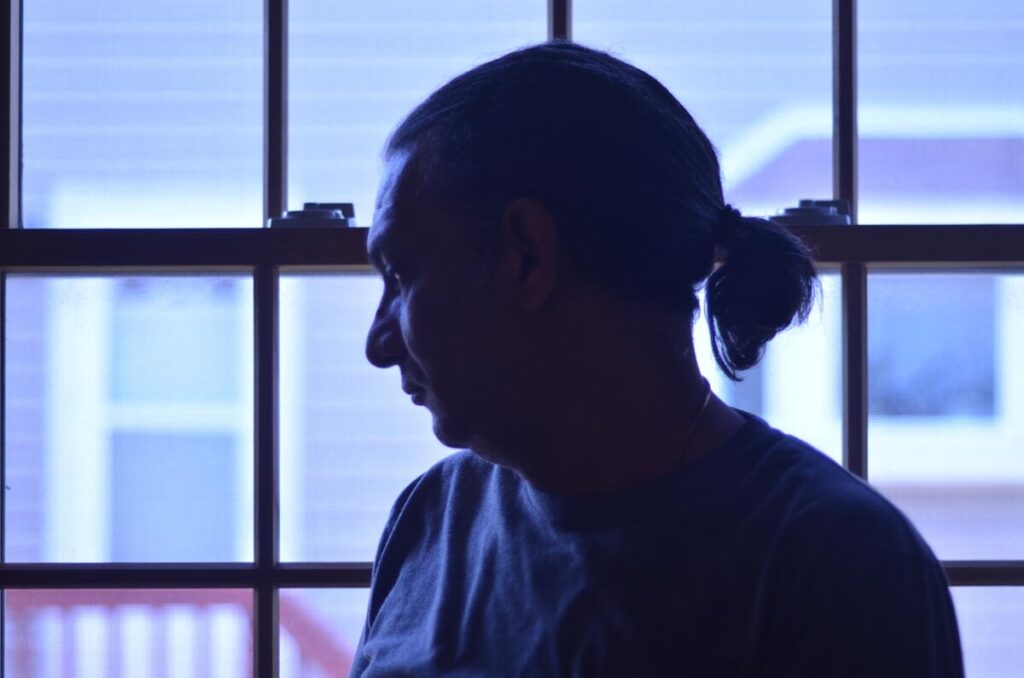
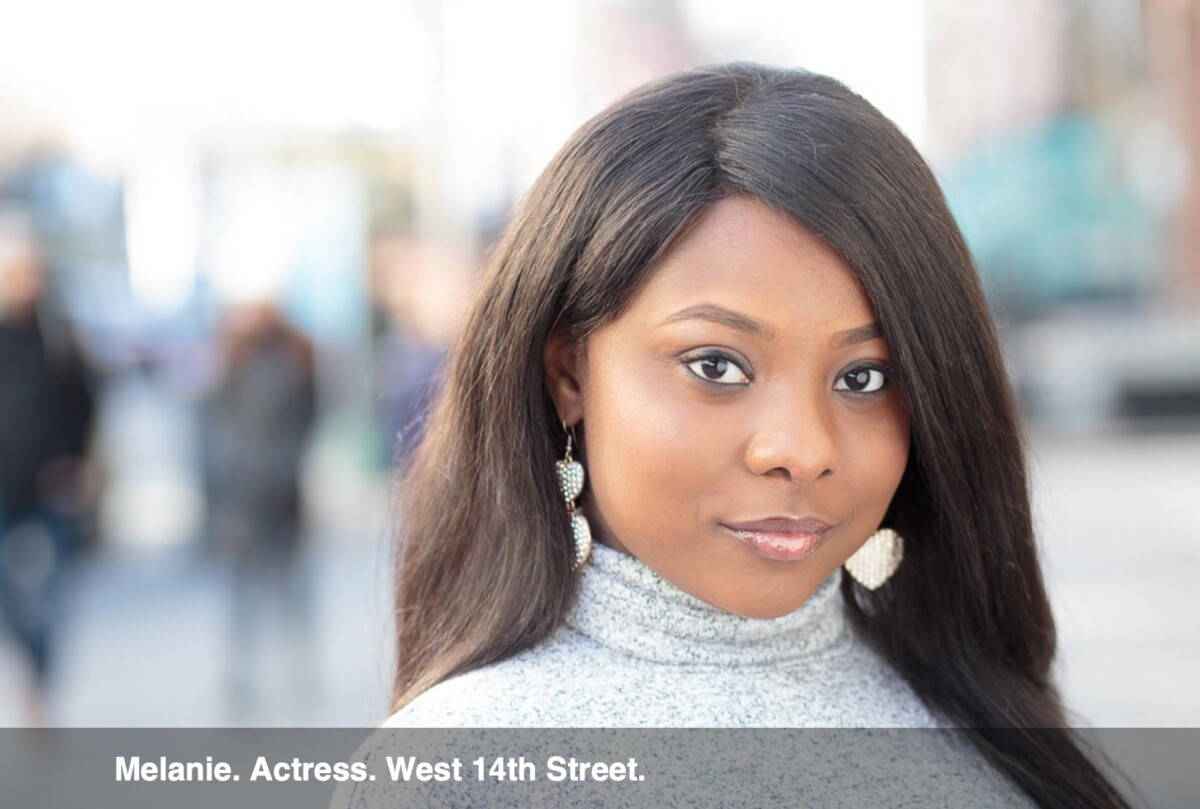
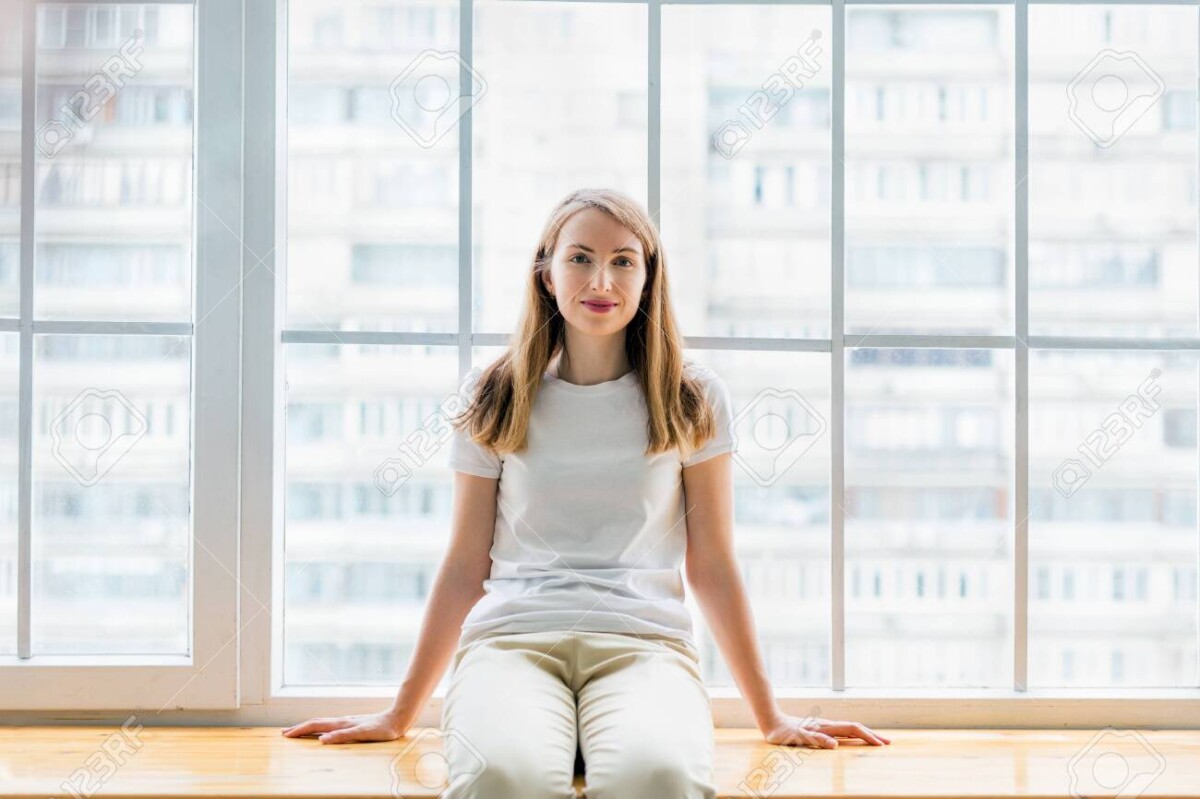
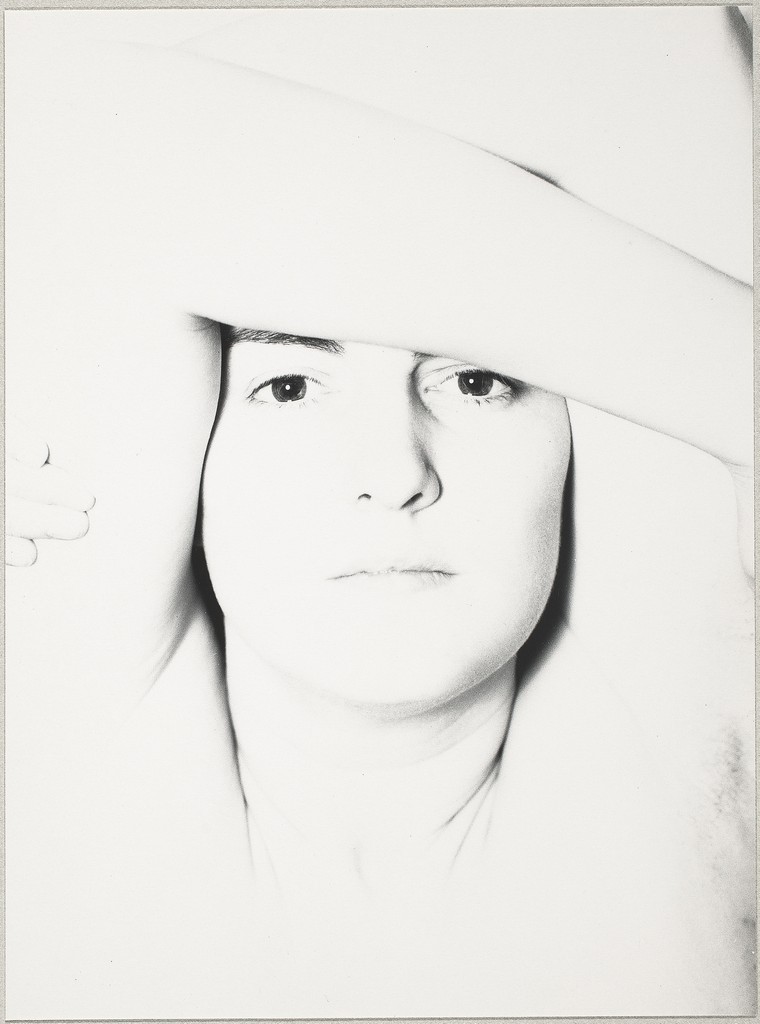
Backlight – a common example is a person against a window or against the sky. Add exposure to get the right exposure for the main subject and allow the background to be overexposed.
Photographer: Charles SchesslerHappy woman sitting in front of window. Portrait of young woman sitting on windowsill
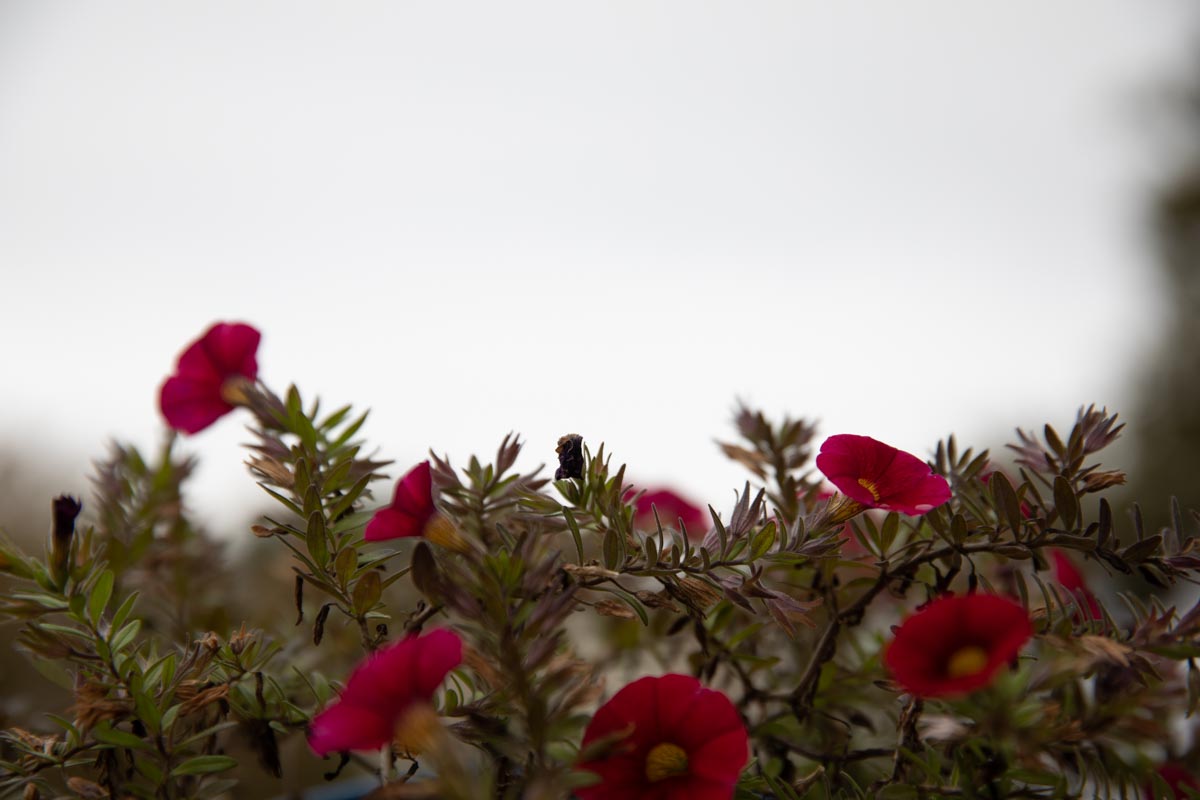
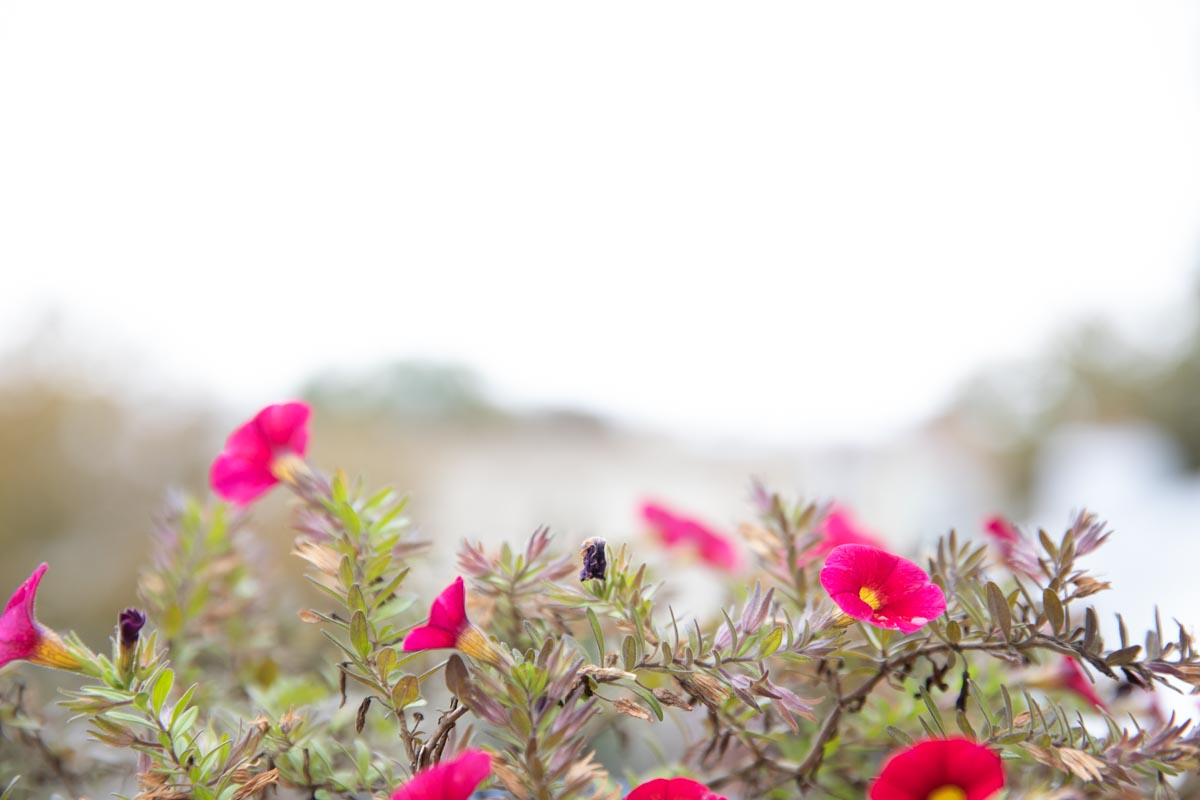
2. Landscapes with sky. The sky is brighter than the ground and to get a good exposure of the land portion of your photo, often you need to over expose the sky.
Tv reading with No adjustment+2EV with expsoure compensation
3. Snow
How to control exposure
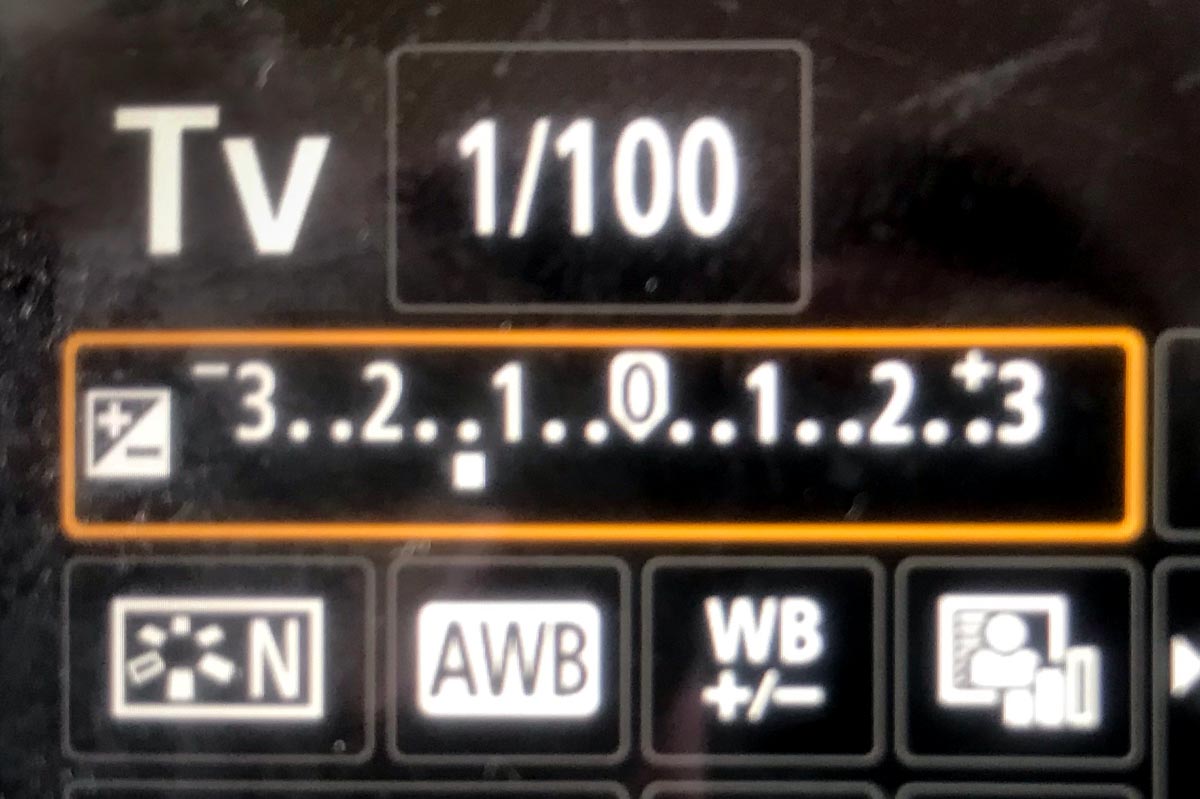
With a camera: Use Exposure Compensation set to plus to increase the light and set to minus to decrease the light.
Exposure compensation scale set here to minus 1.3
Exposure Compensation-a way to force the camera to make an exposure either lighter or darker than the meter reading. Good for backlight or extremes of light and dark.
With a cameraphone: Touch the area where the main subject is and then drag the little sun icon up or down to increase or decrease the overall exposure.
Using Exposure for Creative Effect
Sometimes, you don’t want the tones in your image to average out to a medium gray. You want to tones to be low key-mostly dark or high key-mostly light.
4 pts. Due Oct 31, 12 pm. Identify exposure challenges and photograph in those situations with 2 different exposures to get results that create different moods.
Shoot 15 pairs of images, one darker and the other lighter.
Look for backlight. Typically this is inside shooting towards a window or outside shooting towards the sky in the day.
Also, look for deep shade with a little bit of sunlight or conversely a very sunny area with a little bit of shade.
Anywhere the light changes abruptly – under a bridge, coming out from a store into the bright light of the street – will create exposure challenges.
If you are working with a camera phone, tap the screen and drag the sun icon up and down to change the exposure. If working with a camera, use exposure compensation.
This is much easier on a sunny day. Check the weather and plan ahead.
Post your final 30 photos an album in Flickr. Send your best pair to the group.
Goal: Identify lighting situations that pose challenges for the camera’s meter and learn how to get the exposure you want in those situations.
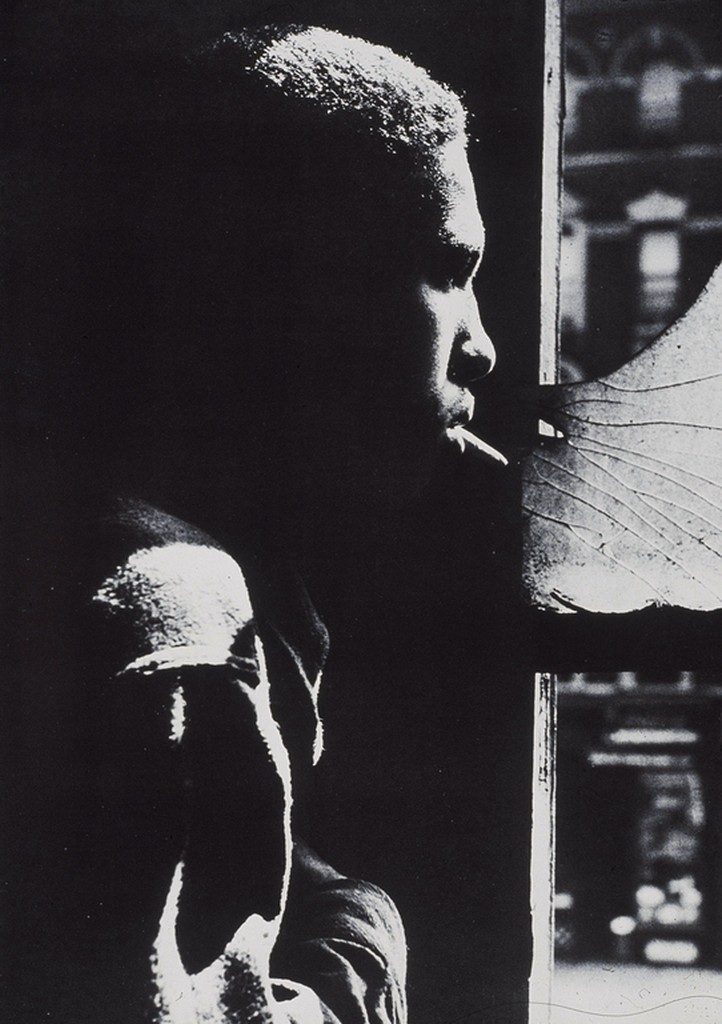
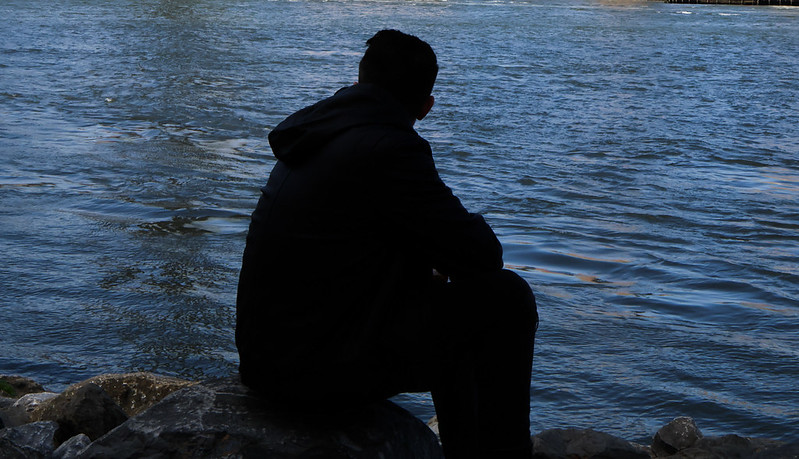
Backlight
Backlight is one of the most common challenges for the camera meter.
Take at least 10 photographs of your classmates or other subjects against the sky.
This includes landscape photos where buildings or trees are in a composition with a good amount of sky behind them. The sky is much brighter than the ground. It is basically a very big light.
• Use negative exposure compensation to darken the subject to a silhouette.
• Use positive exposure compensation to brighten the subject and over expose the background.
Photos by Simridha Lamichhane
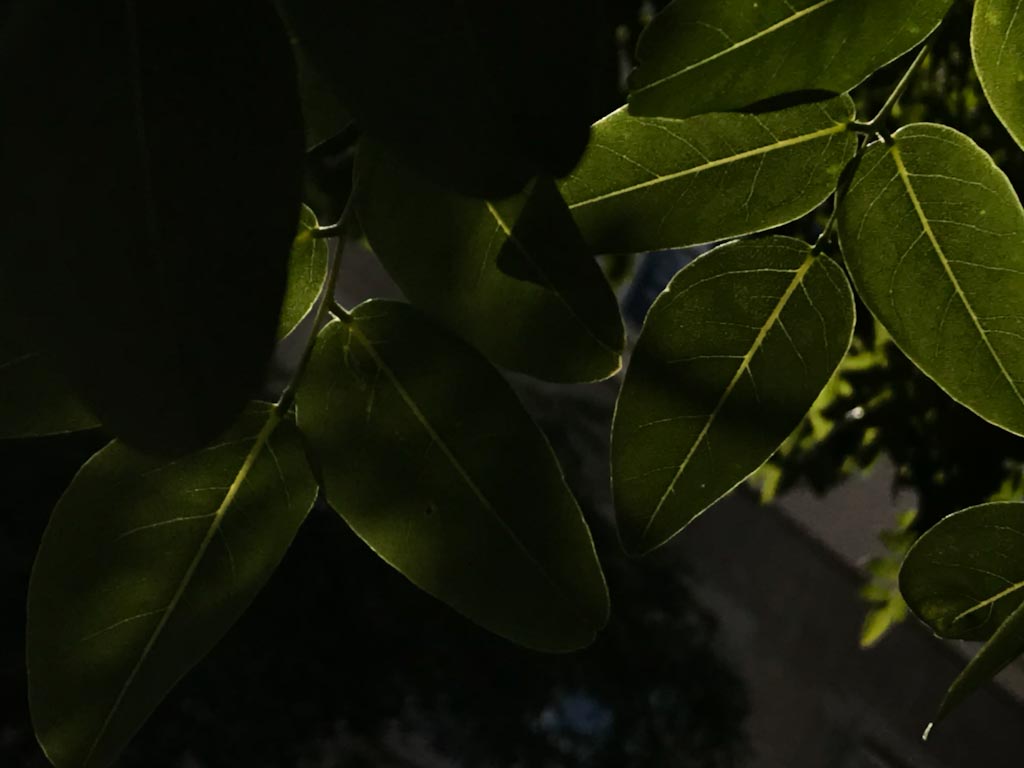
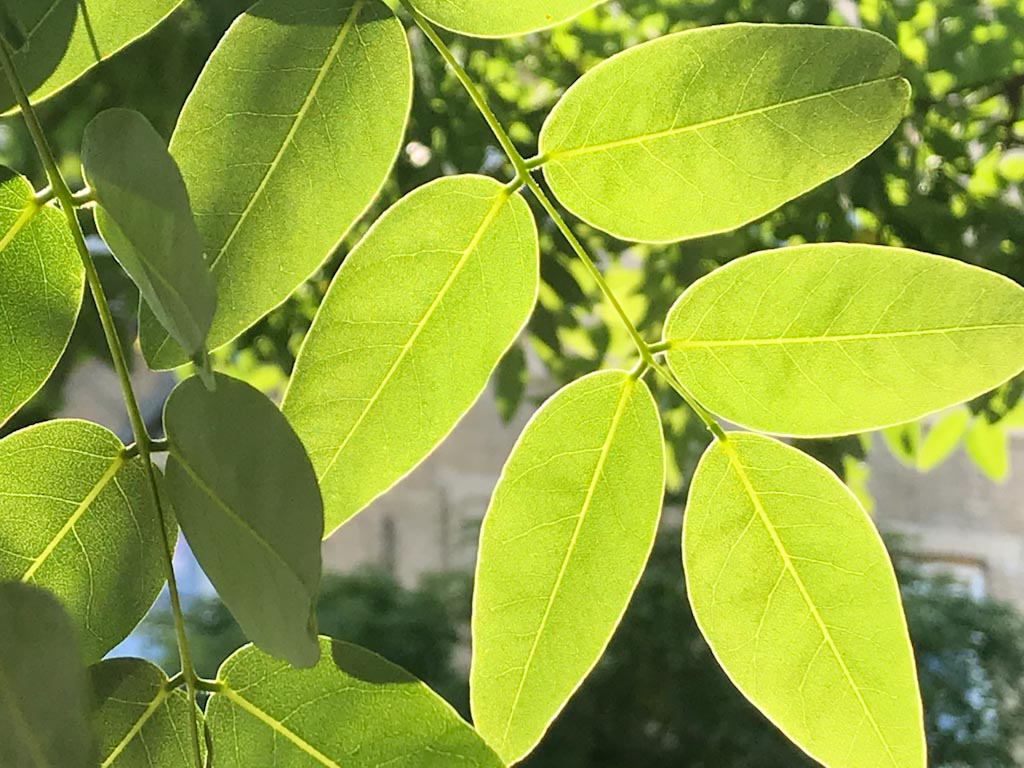
Mostly dark or mostly light images
Look for and photograph in places that are either darker or lighter than the midtone and use exposure compensation to get the look you want.
Take at least 10 shots that are lowkey – most of the tones are dark-shoot where there are deep shadows and bits of sunlight
Take at least 10 shots that are highkey – most of the tones are light – shoot where there is a lot of bright sunlight and a little shadow.
Post your best examples of exposure challenges to an album on Flickr. Send your best two photos to the class group.


Recent Comments