Robin Michals | COMD 1340 Photography 1

Category: Class Topics (Page 3 of 3)

Week 4 – Depth of field, Aperture, and Perspective

Depth of Field

Depth of Field-The distance between the nearest and farthest points that appear in acceptably sharp focus in a photograph. Depth of field can be shallow or extensive. While the term includes the word depth, depth of field refers to focus.
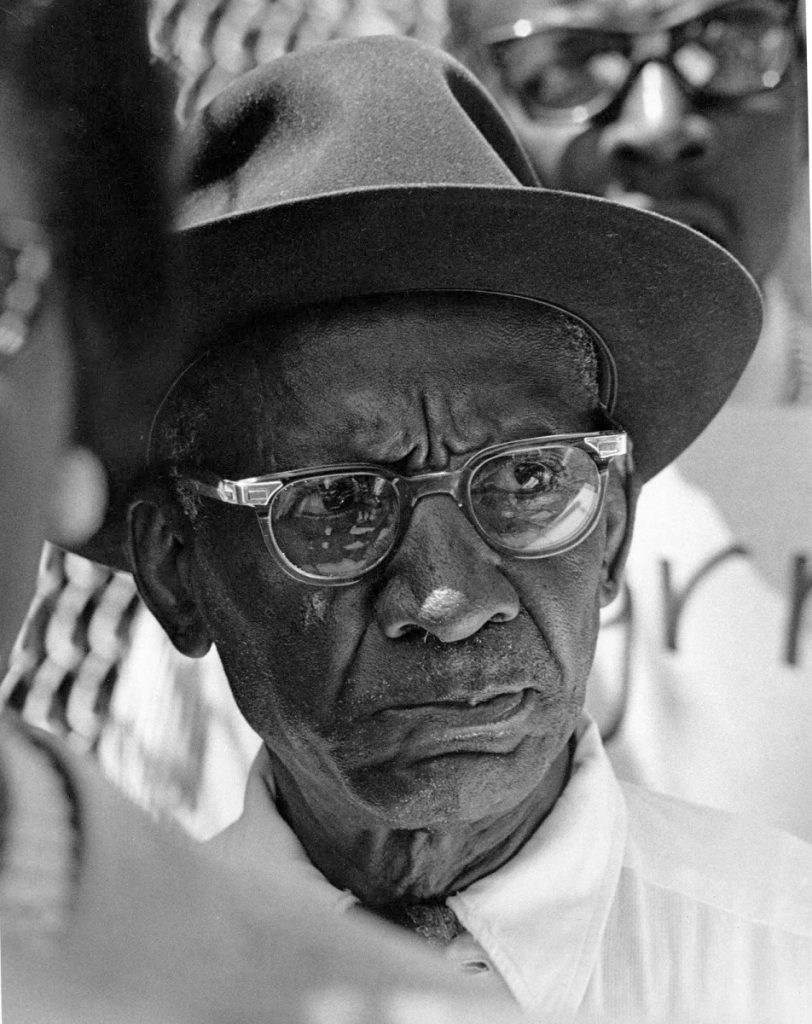
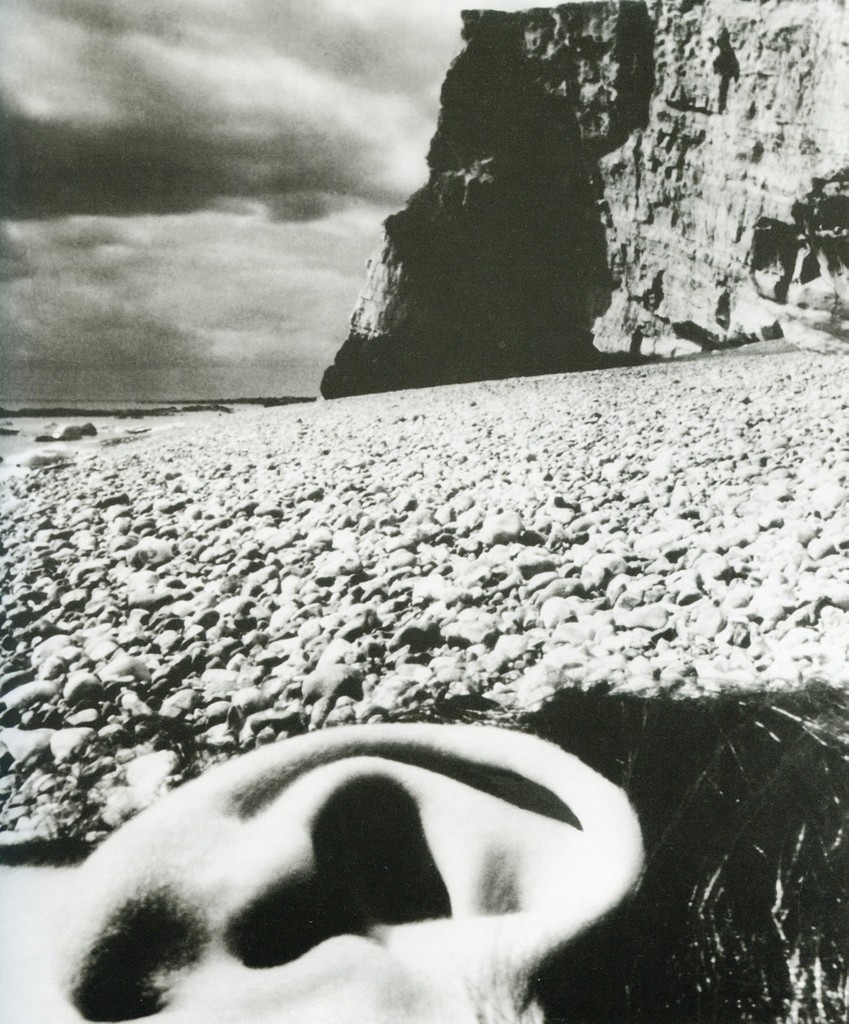
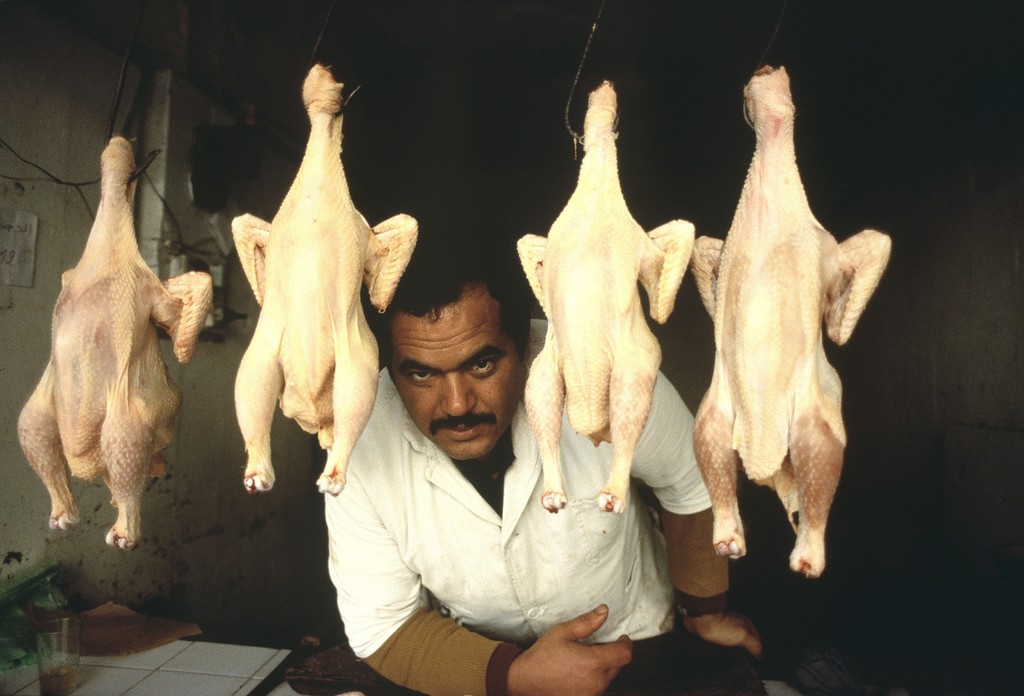
Shallow Depth of Field

Shallow depth of field is commonly used in portrait photography to separate the subject from the background and in food photography.
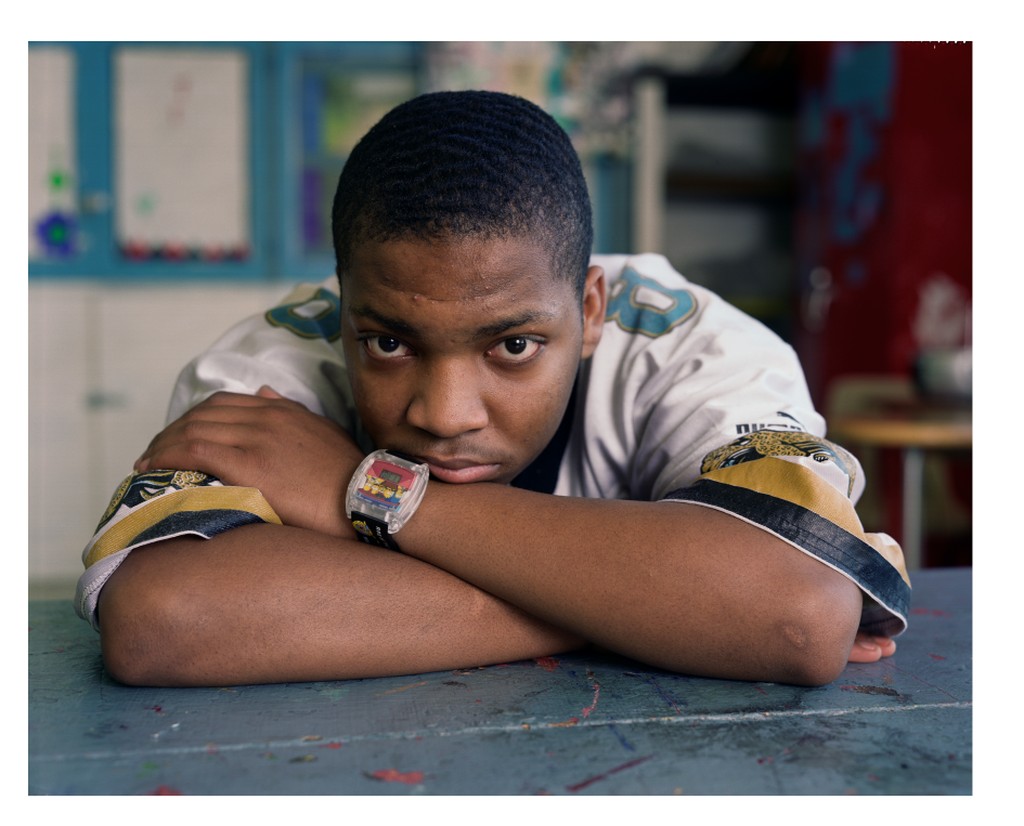
Extensive Depth of Field

Extensive depth of field is often used in landscape photography and photojournalism.
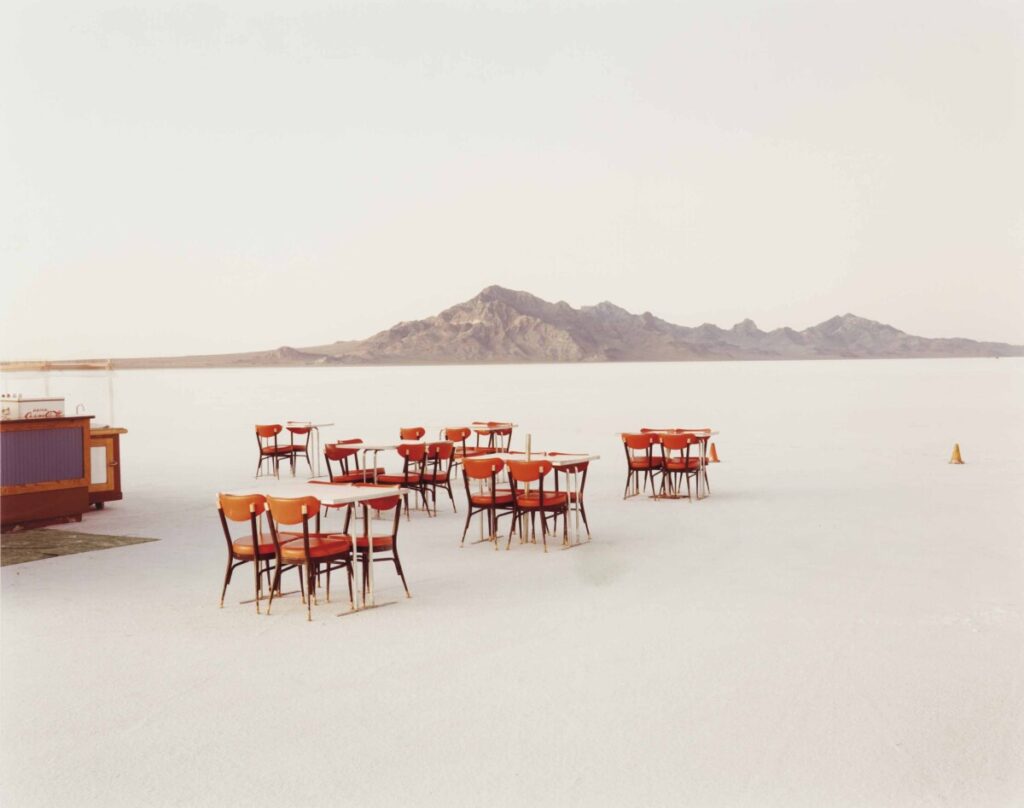
The depiction of space

Perspective-the representation of a 3-dimensional space on a 2-dimensional surface by converging lines, diminishing scale and/or atmospheric perspective.
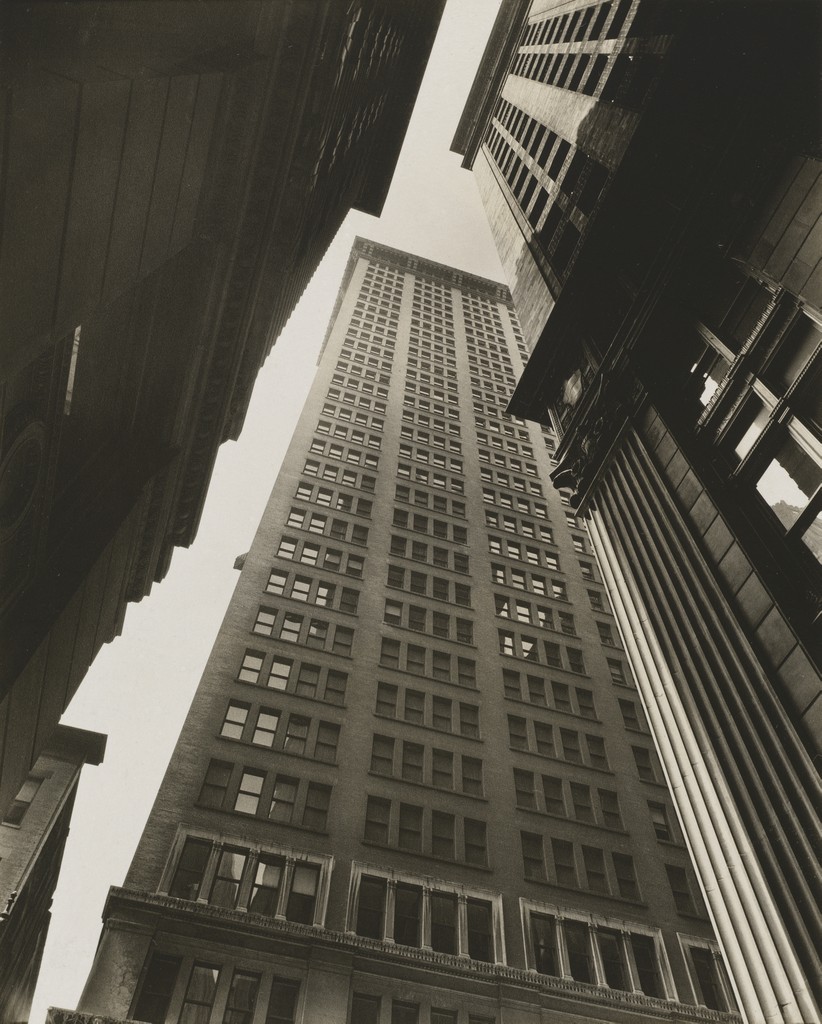
Canyon, Broadway and Exchange Place. 1936.
Photographer: Berenice Abbott

Sometimes photos combine perspective and shallow depth of field.
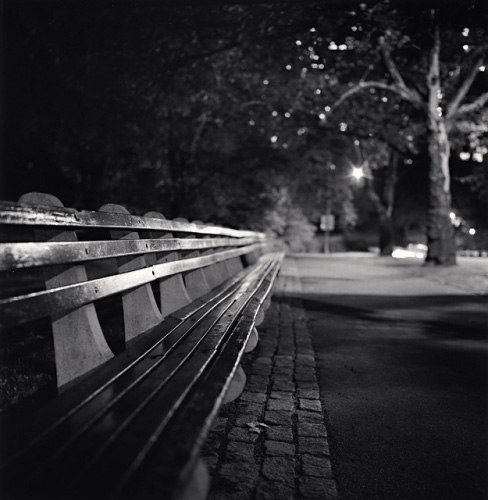
How to control depth of field (with a camera)

These four factors control depth of field:

  • lens aperture 
  • focal length
  • camera-to-subject distance
  • sensor size.

Aperture

Aperture is the size of the opening that allows light to hit the camera’s sensor when the photograph is taken. 

  1. Aperture values are expressed in numbers called f-stops. A smaller f-stop number means more light is coming into the camera and will create shallow depth of field. A larger f-stop number will let less light into the camera and create extensive depth of field.
  2. The full stops for aperture are: F2, f28, f4, f5.6, f8, f11, f16, f22, f3

Focal Length  is the distance from where the light converges in the lens to the sensor. If it is a short distance then the lens is a wide angle lens and shows a lot of the scene. If it is a long distance, the lens is a telephoto lens and it magnifies the scene. Wide angle lenses create extensive depth of field while telephoto lenses create shallow depth of field.

Camera-to-subject distance is how far the subject is from the camera. If everything is far from the camera, it is easier to achieve extensive depth of field. If the main subject is very close to the camera and the background elements are far from the camera, it is easier to achieve shallow depth of field.

It is the small size of the sensor that makes cameraphones so good at achieving extensive depth of field. It is also the main reason it is so hard to get your cameraphone to achieve shallow depth of field.Sensor size-the smaller the sensor the easier it is to achieve extensive depth of field. Bigger sensors allow for shallow depth of field.

 Bokeh-Bokeh comes from the Japanese word boke (ボケ), which means “blur” or “haze”, or boke-aji, the “blur quality.” Bokeh is pronounced BOH-Kə or BOH-kay. 

 — From http://www.nikonusa.com/en/learn-and-explore/article/h0ndz86v/bokeh-for-beginners.html

Lab Exercises

Lab 4: Brooklyn Botanic Garden

Homework

HW 4: Near and Far

Week 3 – Shutter Speed: Freezing and Blurring Motion

Review

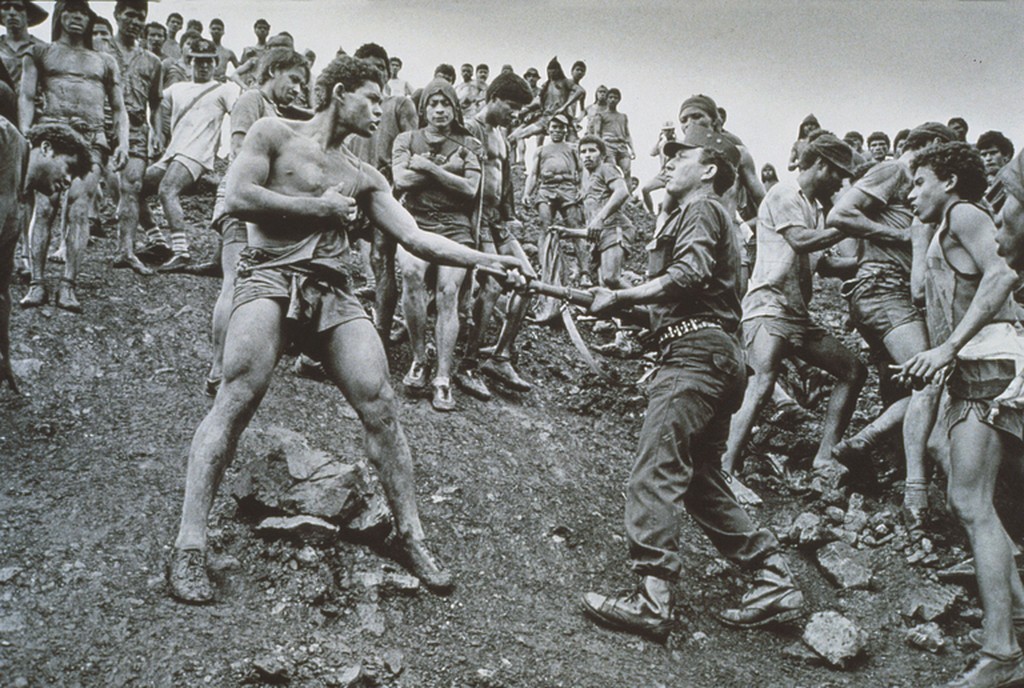
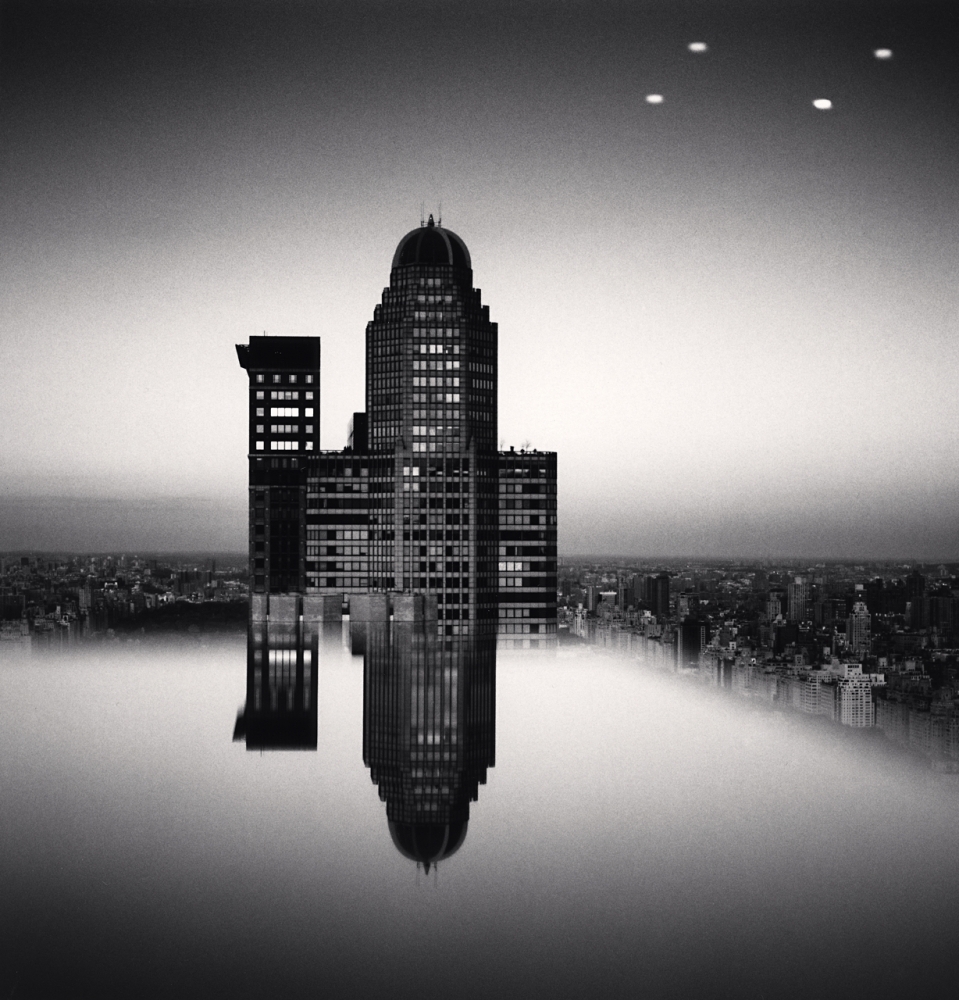
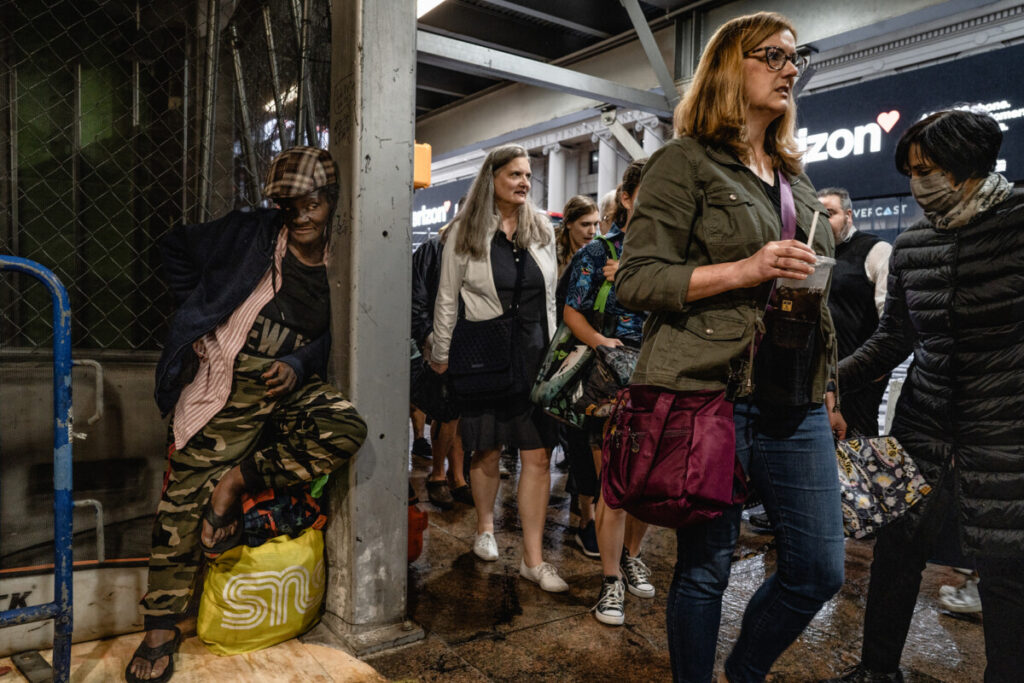
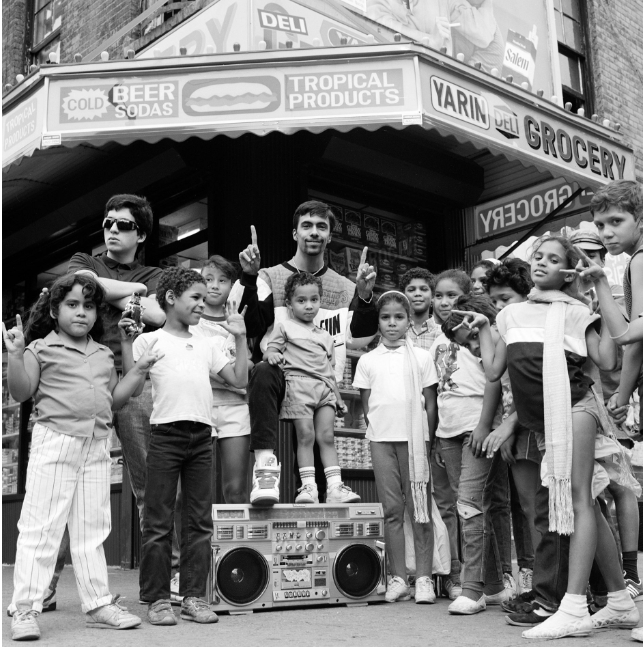
Top row: Thomas Holton, Michael Kenna, Jill Stein, Bottom: Janette Beckman

Shutter Speed

Shutter Speed is the length of time that the sensor is exposed to light to create the photograph. It is measured in seconds or fractions of a second.

The full stops for shutter speed are: 30”, 15”, 8”, 4”, 2”, 1”, . sec, ., 1/8, 1/15, 1/30, 1/60, 1/125, 1/250, 1/500, 1/1000, 1/2000, 1/4000, 1/8000

Doubling the time, doubles the amount of light that reaches the sensor.

When shooting with a cameraphone and the Lightroom Photoshop app, you can set the shutter speed of your cameraphone between 1/10,000 and 1/4 sec.

A good rule of thumb when shooting with a camera is: Any shutter speeds slower then 1/60 require the use of a tripod. When shooting with a cameraphone, you will need a tripod to shoot at 1/15 or slower.

Resource

Capturing Motion

Your choice of shutter speed will change the way motion is captured in the photograph.

Frozen Motion-Motion is stopped and captured in the frame with a fast shutter speed.

Inspiration:

World Sports Photography Awards Aquatic winners

World Sports Photography Awards Basketball

Maria Baranova: Performance

How to freeze motion:

  • Use a shutter speed of 1/ 500, 1/1000 or faster.
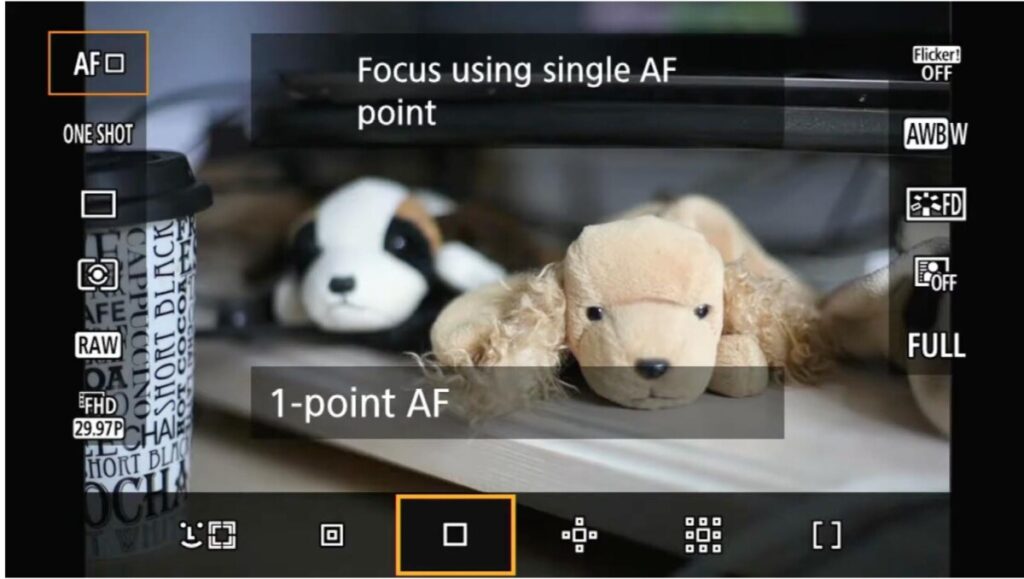
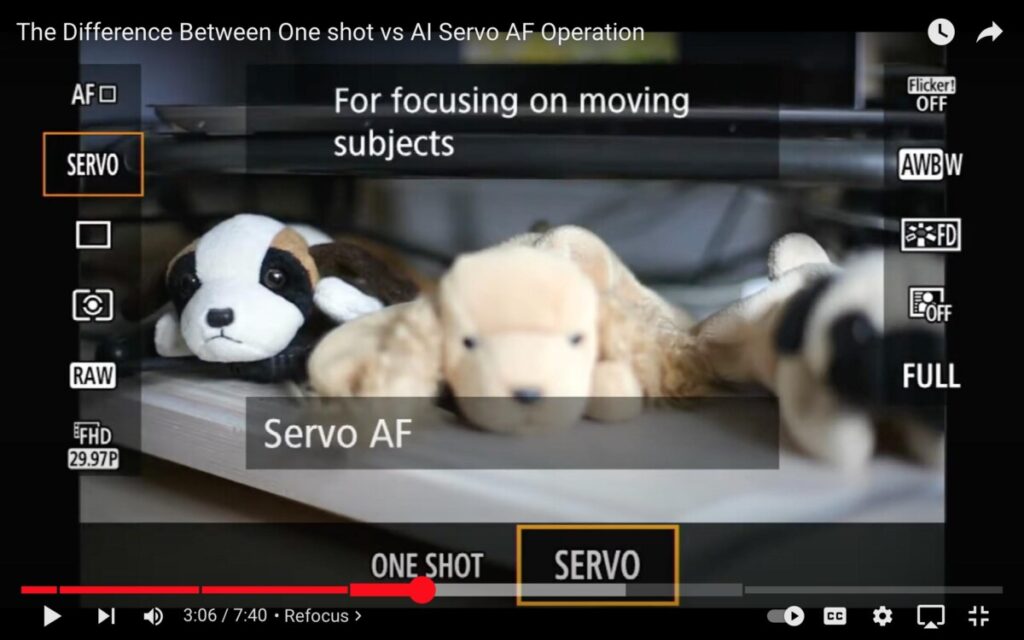
  • Use the AF mode – AI Servo.

Auto Focus

AF Area Selection Mode: facial recognition, single point Spot AF, Single Point AF, AF Point Expansion, Zone AF, Large Zone AF.

One Shot is for still subjects. AI Servo is for moving subjects.

Blurred motion-moving elements blur with a longer shutter speed.

Inspiration:

Lee-Ann Olwage, The Big Forget

Matthew Pillsbury, Sanctuary

How to blur motion:

  • Use a slower shutter speed – 1/4 sec to 30″ or even longer
  • Direction-if the subject moves parallel to the picture plane there is more visible movement than if the subject moves toward or away from the camera.
  • Focal length-a subject will appear blurrier when photographed with a telephoto lens than when photographed with a wide-angle lens.

Timing

The exact moment that you take the picture is as important as how long the shutter speed is. This is often called:

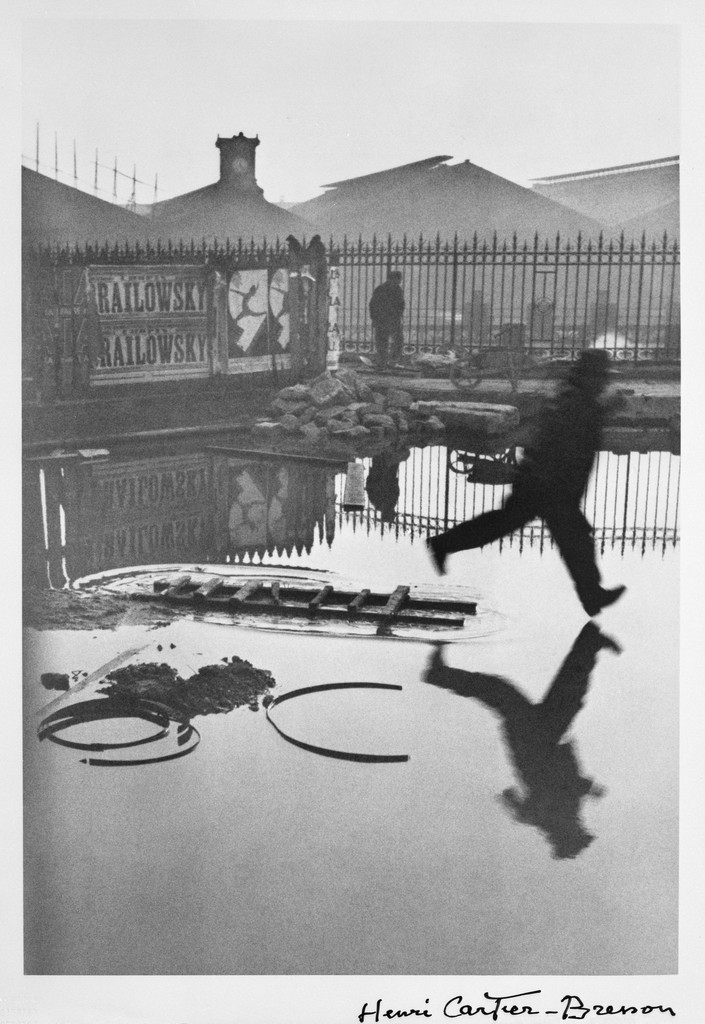
The Decisive Moment: A term coined by Cartier Bresson- “the simultaneous recognition, in a fraction of a second, of the significance of an event as well as the precise organization of forms which gives that event its proper expression.”

Behind the Gare Saint-Lazare, Paris. 1932
Photographer: Henri Cartier-Bresson

Lab Exercise

Freezing and blurring motion

Homework Assignment

Freezing Motion

Week 2 – Composition: The Frame

Photo by Mel D. Cole

The Frame

Cropping: how much information is in the frame

  • a long shot
  • a medium shot
  • a close up
  • an extreme close up.

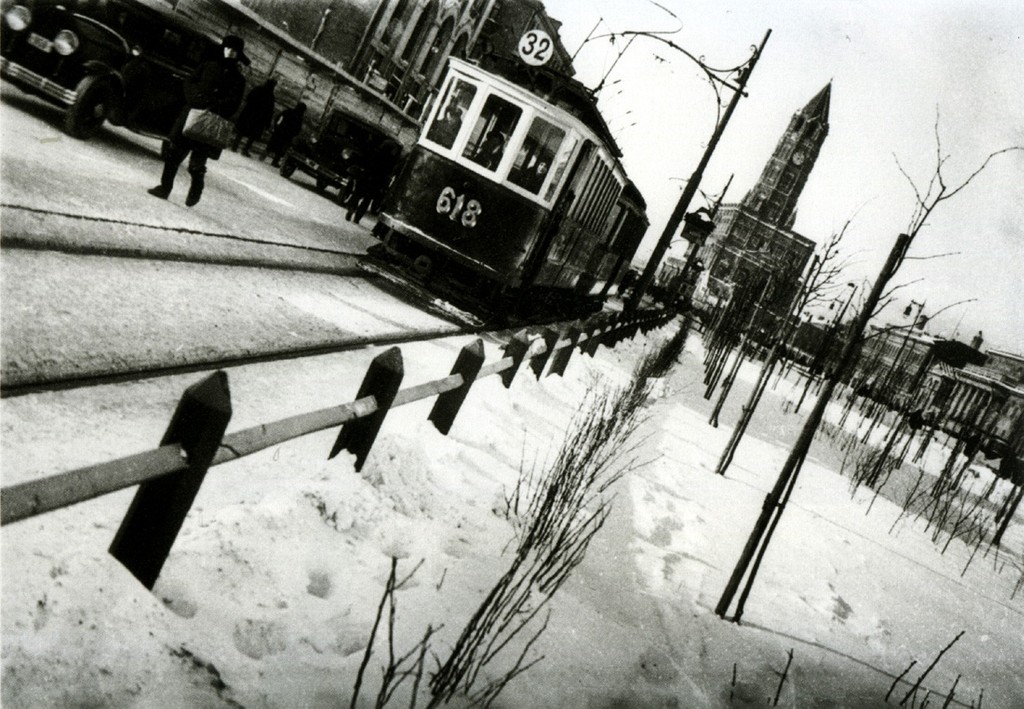
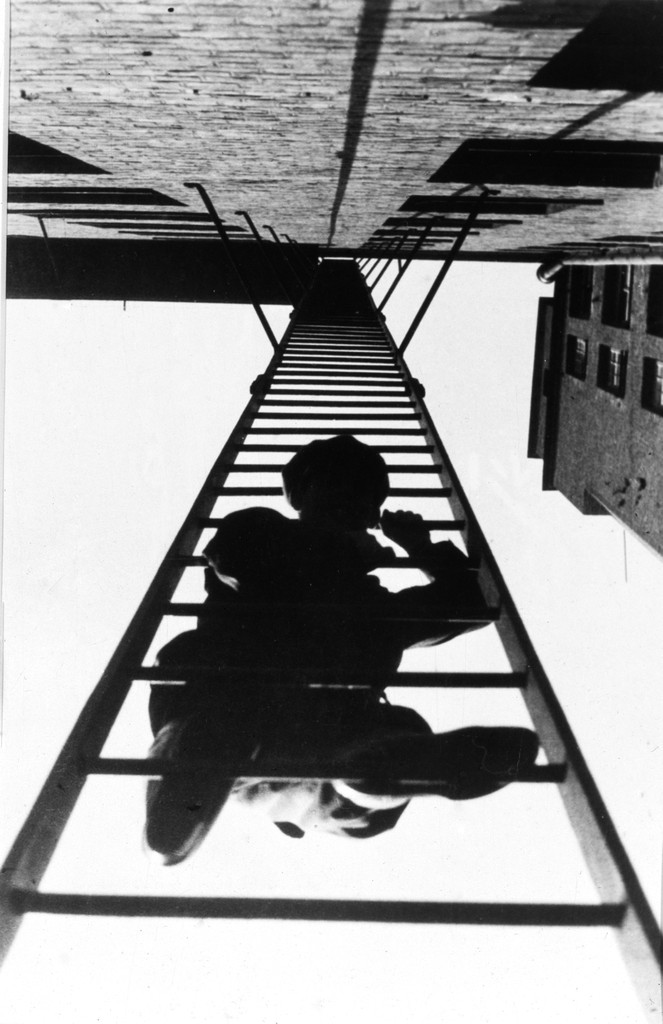
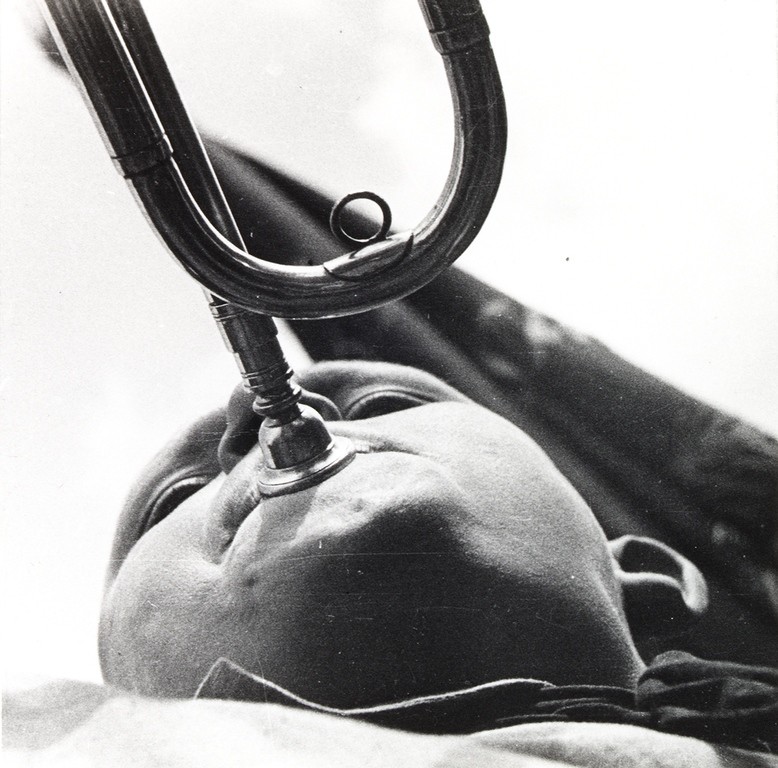
Angle of View:  describes the camera position in relationship to the subject. The angle of view may be:

  • a worm’s-eye view
  • a low-angle
  • eye-level
  • a high-angle
  • a bird’s-eye or aerial or overhead view
  • oblique angle
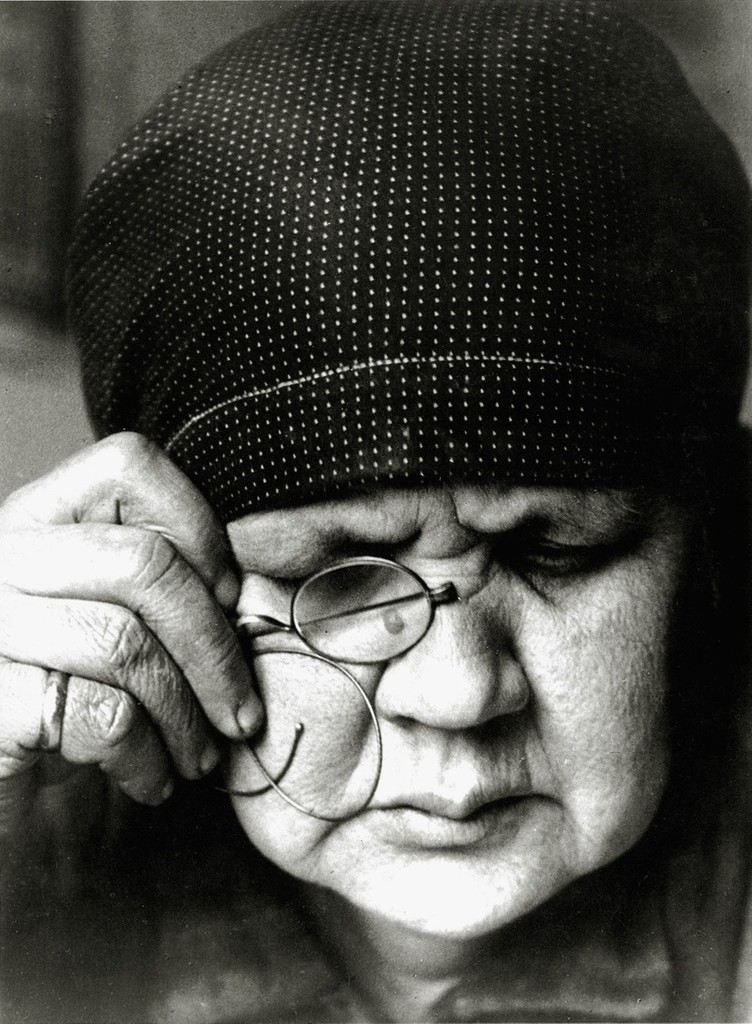
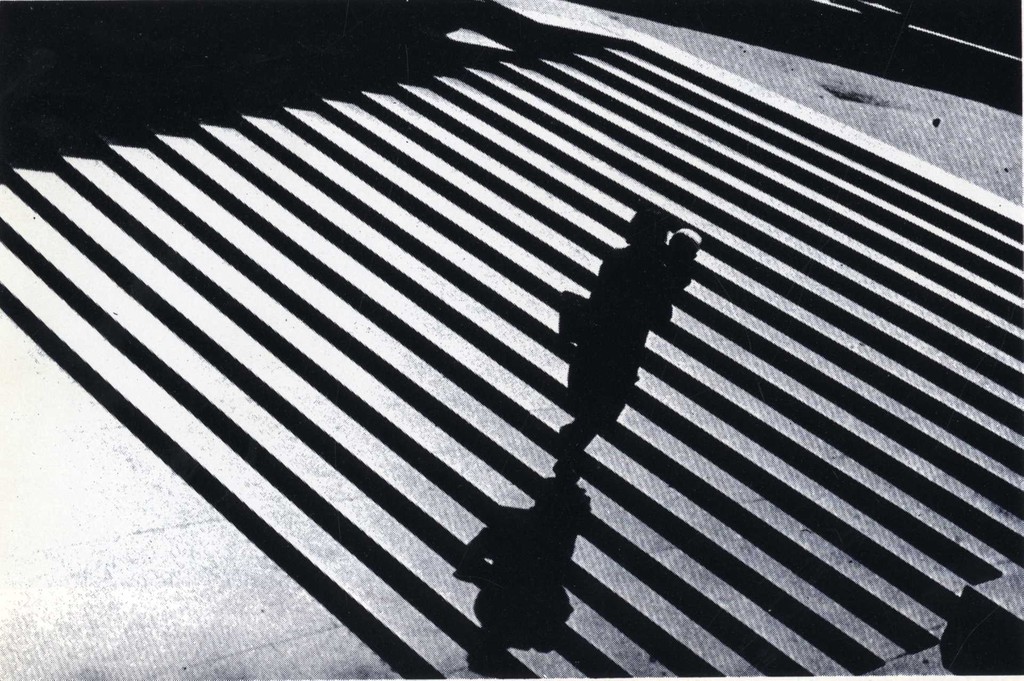
Tram on Sukharevsky Boulevard, 1928. Alexander Rodchenko.

Angle of View Examples By Alexander Rodchenko

Lab: Week 2 – Composition

HW 2: Hula Hoops

Week 1 – Photographic Composition

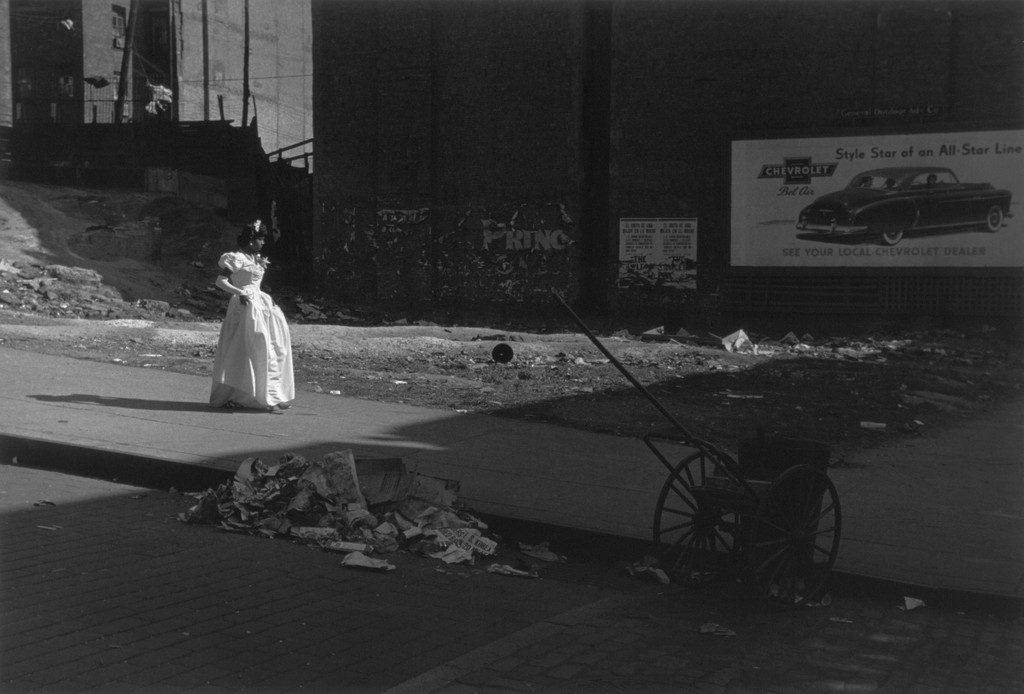
  1. Rule of Thirds – Instead of placing the main subject in the center of the frame, divide the frame into thirds horizontally and vertically and place the main subject at one of these intersections.

Photographer: Roy De Carava

2. Leading Lines – lines in the photograph that lead the eye to the main subject

3. Diagonals – Sloping lines


4. Frame within a frame


5. Figure to Ground – Figure to Ground -the relationship between the subject and the background sometimes described as negative and positive space.


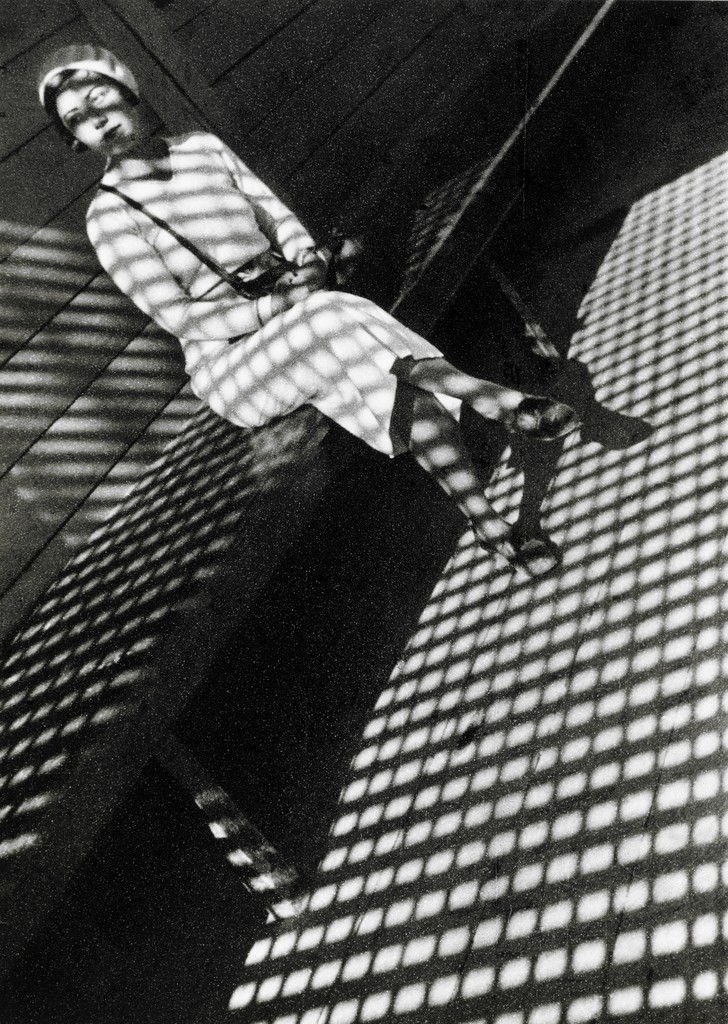
6. Fill the Frame – get closer. Never plan to crop later.

Photographer: Alexander Rodchenko

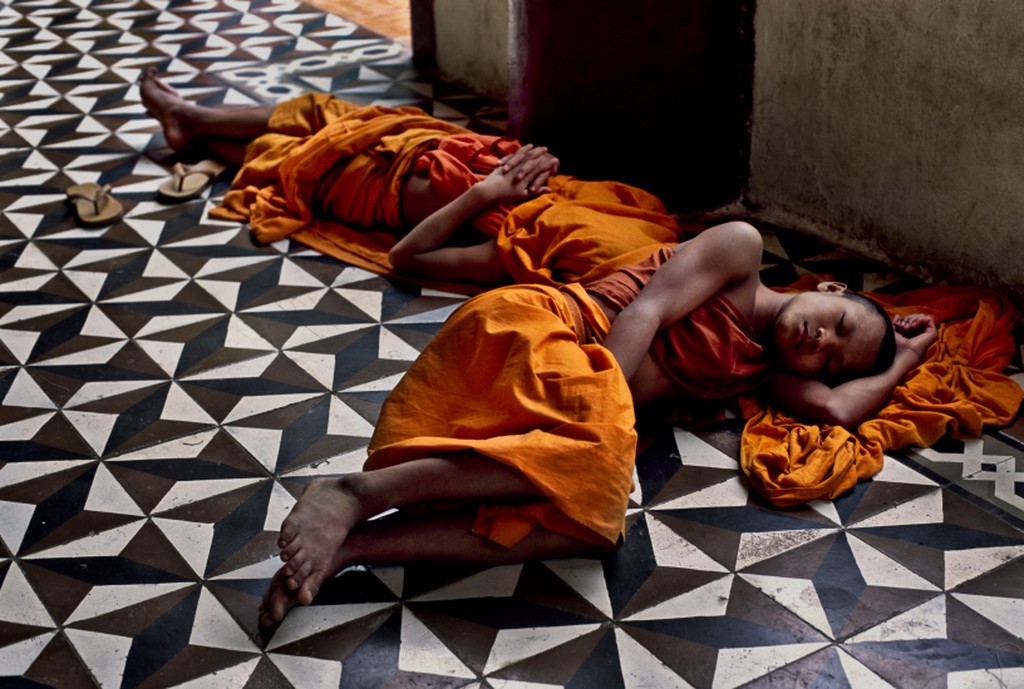
7. Patterns – repeated elements. Break the pattern for visual interest

8. Symmetry – If you fold the image in half the two haves are very similar and have equal visual weight. Or make it asymmetrical to add tension to the composition.

Resource

In-class lab Exercise

Composition

Homework

HW1 – Composition

Newer posts »