Robin Michals | COMD 1340 Photography 1

Category: Lab Exercises (Page 2 of 3)

Lab: Week 8 – Exposure Challenges

Goal: Identify lighting situations that pose challenges for the camera’s meter and learn how to get the exposure you want in those situations.
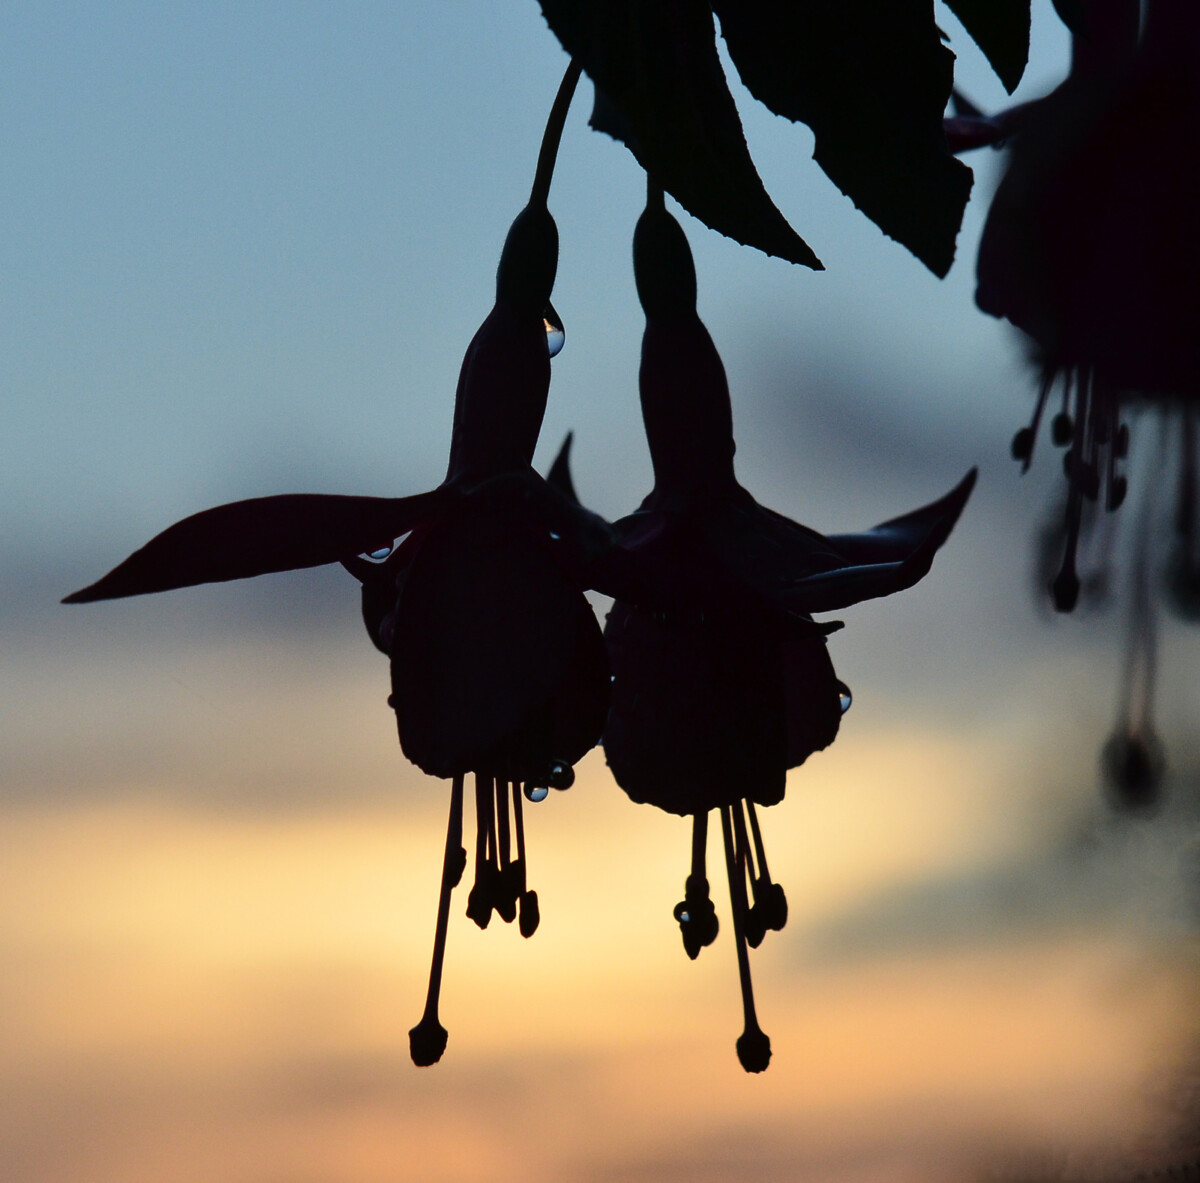
Backlight

Backlight is one of the most common challenges for the camera meter.

Take at least 10 photographs of your classmates or other subjects against the sky.

This includes landscape photos where buildings or trees are in a composition with a good amount of sky behind them. The sky is much brighter than the ground. It is basically a very big light.

• Use negative exposure compensation to darken the subject to a silhouette.

• Use positive exposure compensation to brighten the subject and over expose the background.

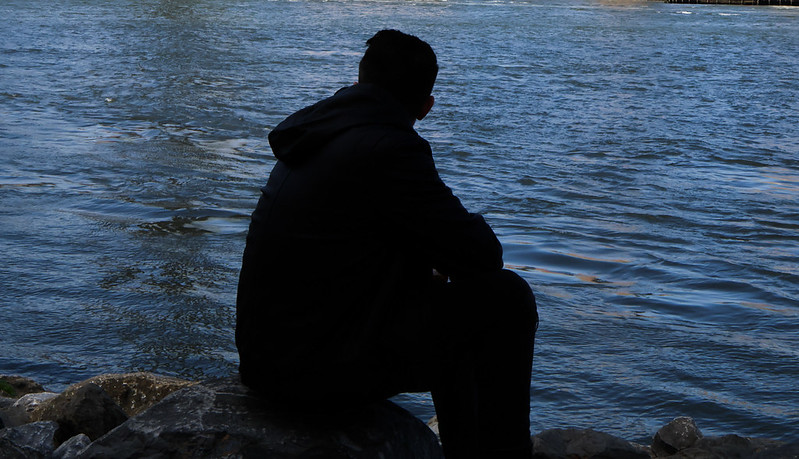
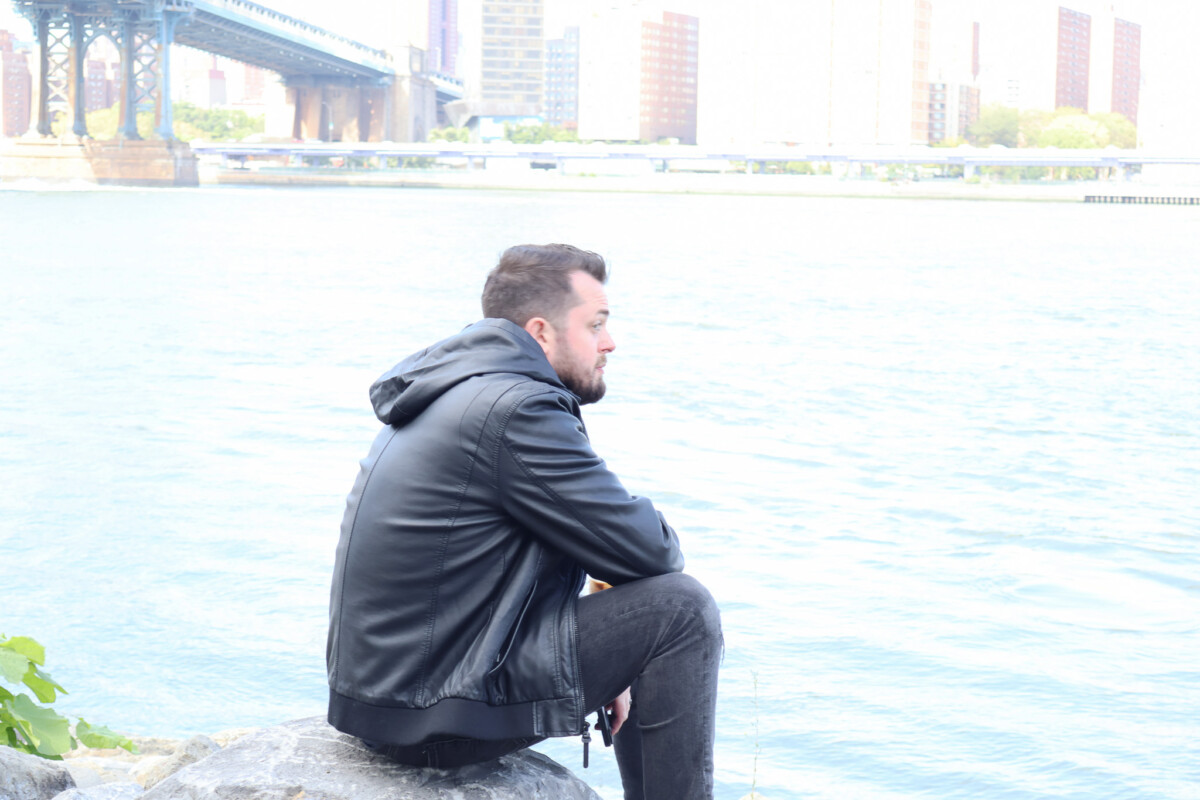
Photos by Simridha Lamichhane

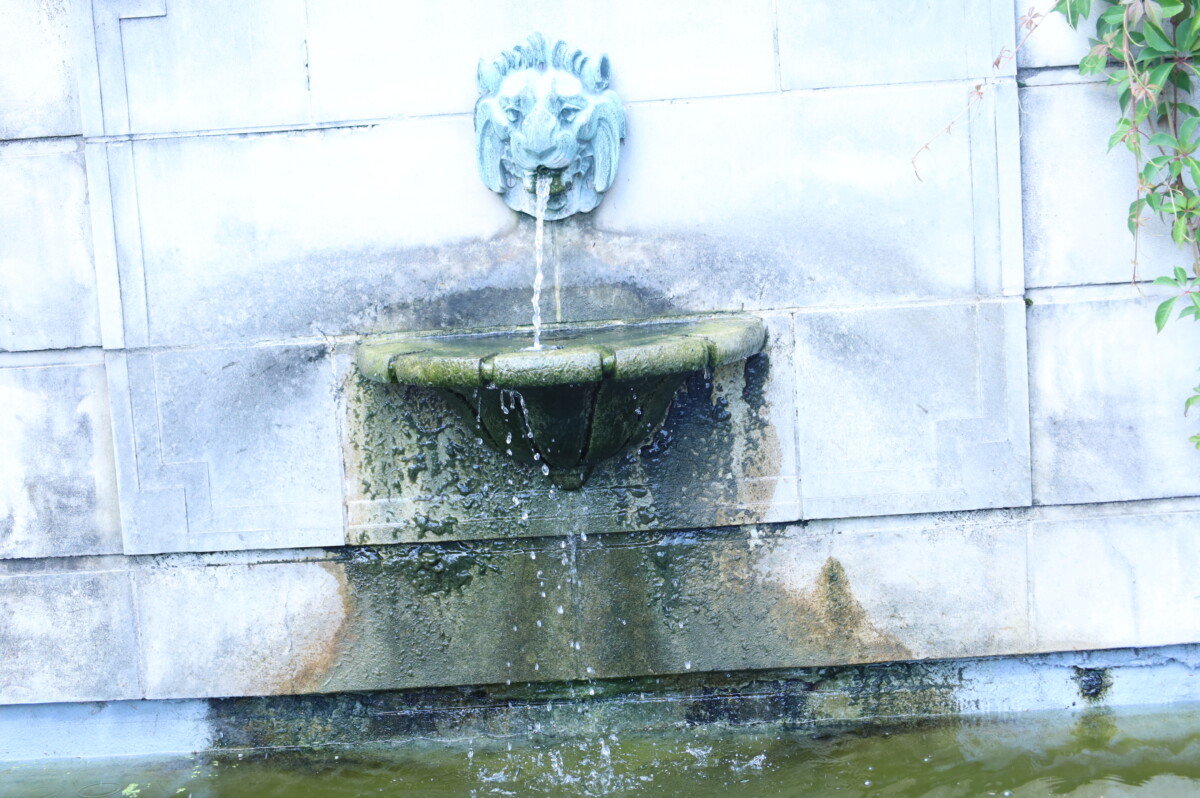
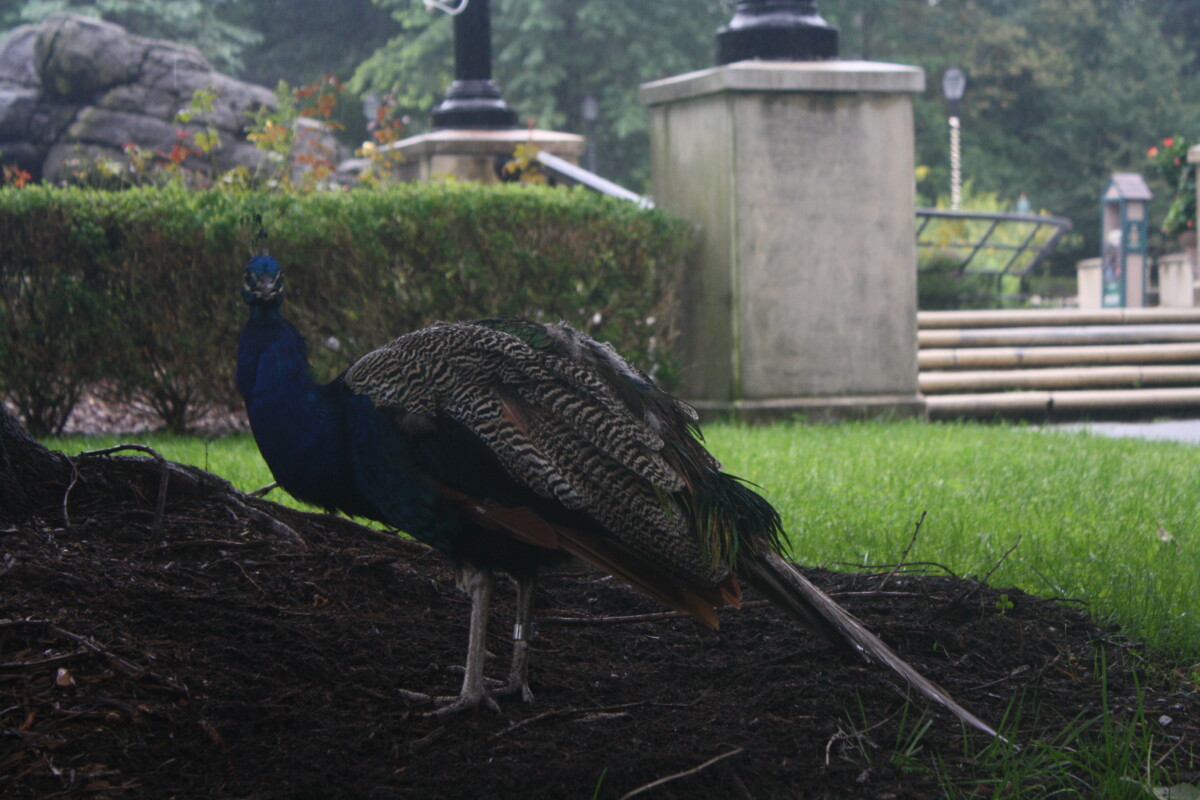
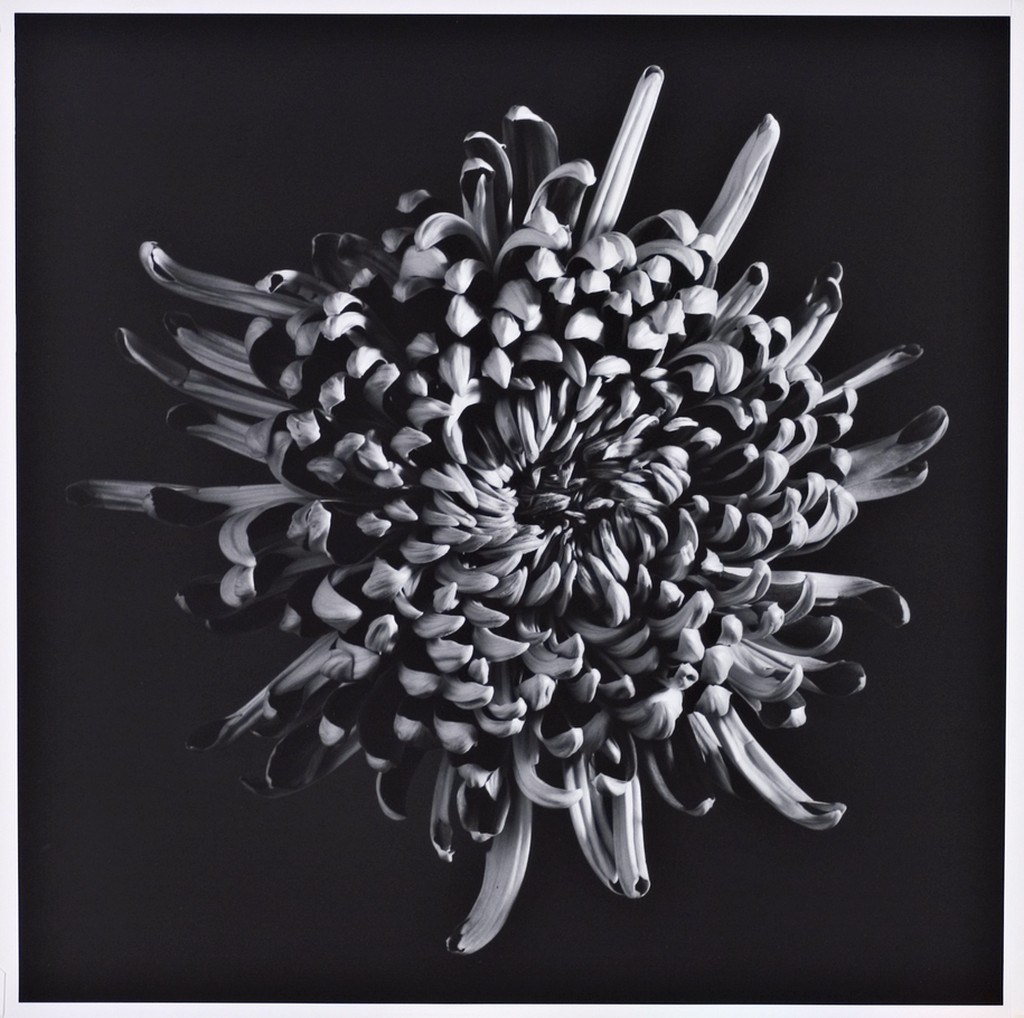
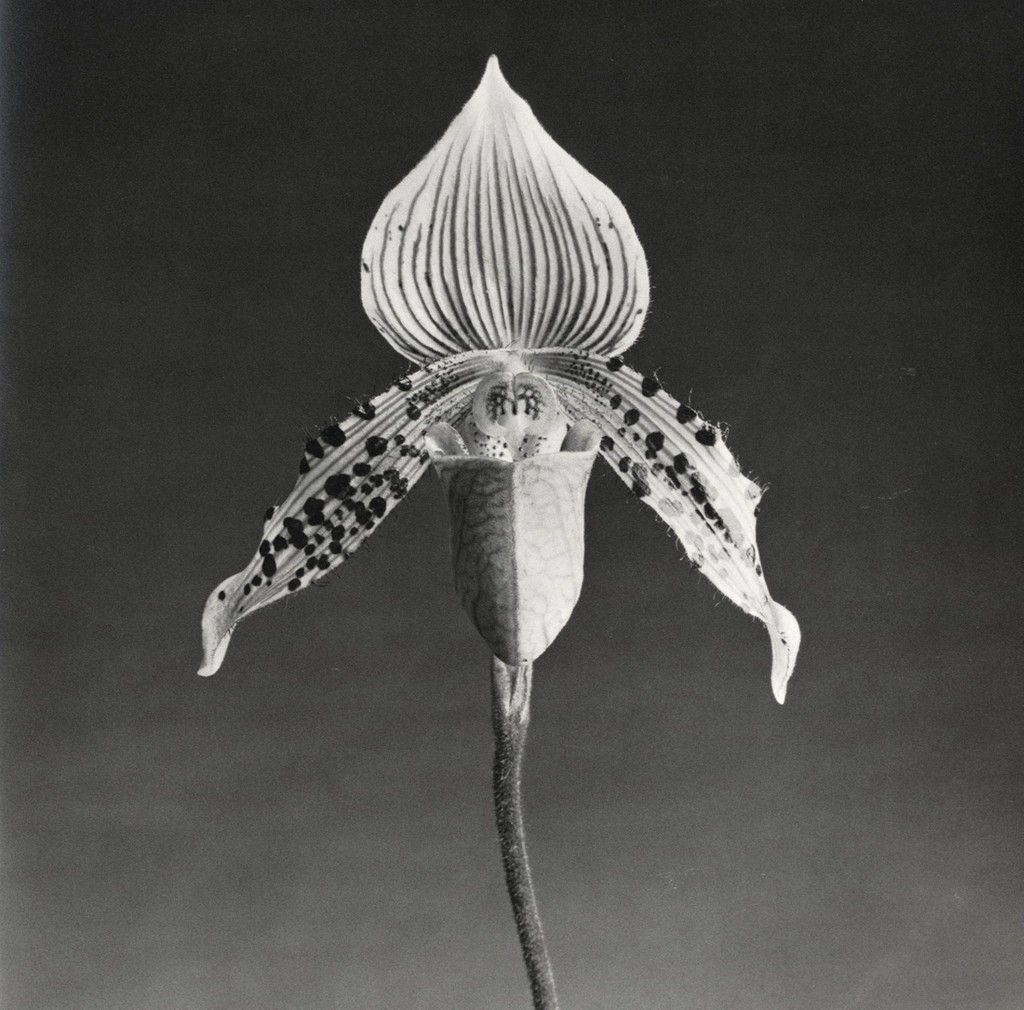
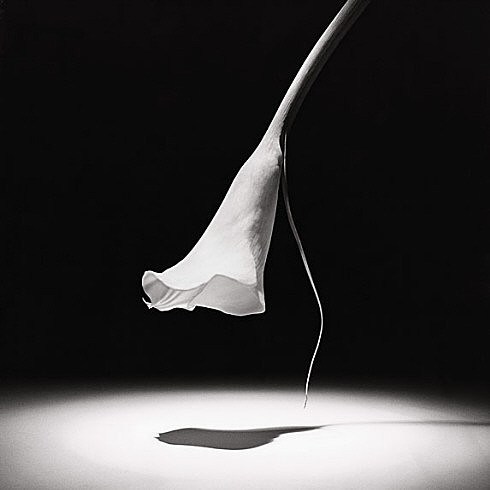
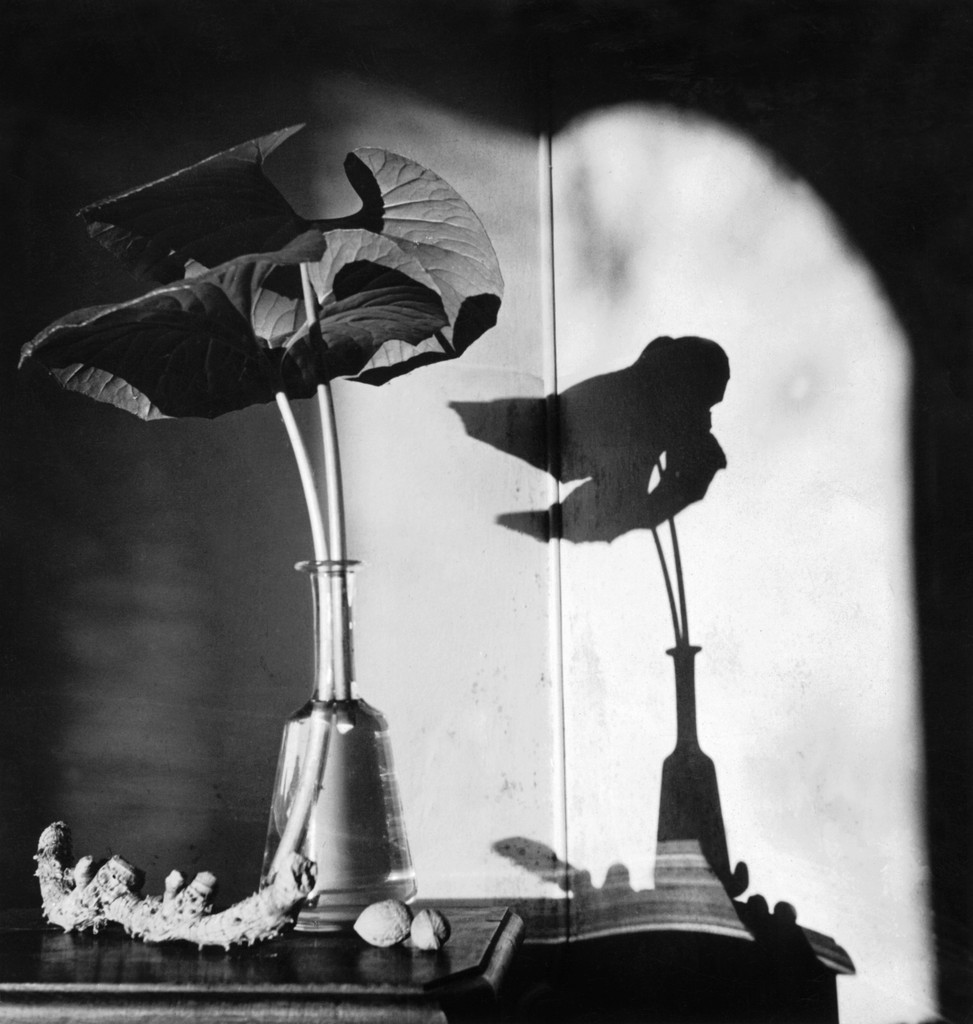
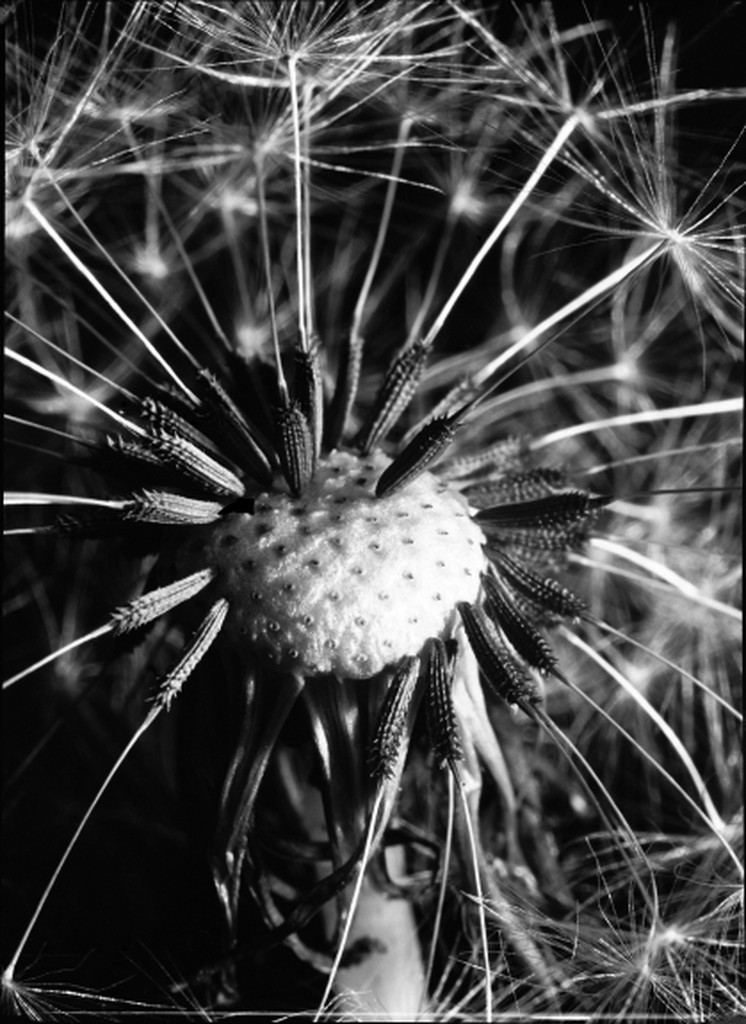
Mostly dark or mostly light images

Look for and photograph in places that are either darker or lighter than the midtone and use exposure compensation to get the look you want.

  • Take at least 10 shots that are lowkey – most of the tones are dark-shoot where there are deep shadows and bits of sunlight
  • Take at least 10 shots that are highkey – most of the tones are light – shoot where there is a lot of bright sunlight and a little shadow.

Post your best examples of exposure challenges to an album on Flickr. Send your best two photos to the class group.

Lab: Week 6 – Global Corrections

Make global adjustments on each example:

Photographers, from left to right: Aljieryon Hill, Aljieryon Hill, Ifetayo Forrest, Andy Vasquez

Post your corrected versions of all four to Flickr.

Select your favorite of your partner’s photos that could look better with some adjustment. Tone it in Lightroom. Your partner will also adjust the same photo. Compare your results. Post both versions titled with each of your names to openlab using a gallery so we can see them side by side.

Now, reverse it. Your partner picks their favorite of your photos. And you both adjust it. Post the results.

Lab: Week 5 – Lighting Quality and Direction

Photograph flowers with continuous lights.

Floodlight– light is diffused and wraps around the subject hitting it from many angles. shadows are soft.

Spotlight – light is direct and hits the subject from one angle. Shadows are hard.

In-class Flower Shoot Camera Settings:

  • Resolution=RAW
  • ISO=400
  • WB=Auto
  • Shooting Mode=Tv
  • Shutter speed = 1/125
  • The camera sets the aperture

Every shot has a flower in it as the main subject. The ugly vase should not be seen in any photos. Fill the frame with the flower.

  1. Flood Light

A. Front light: reduces detail, low contrast

B. Side Light floodlight with diffusion: brings out texture.

C. Back Light: shoot the subject against the light-shooting towards the lights.

2. Spot Light

A. Front light: reduces detail, low contrast

B. Side Light spotlight: brings out texture, high contrast

C. Back Light – Point the light at the background only to create a silhouette of the flower.

Either Light

D. Extreme close-up for texture-use extension tube

Put your best 20 in an album on Flickr. Include at least one for spotlight: front, side, back and one for flood light: front, side, back. Please label your images accordingly so know what you intended. Send your best two to the class group.

Lab 4: Aperture, Depth of field and Perspective

On our field trip:

Take at least 10 different long shots that use perspective to depict deep space. Look up at a tree or along a path. Use either converging lines or diminishing scale or both. These photos should use extensive depth of field meaning everything from near to far should be sharp.
Using the shooting mode Av, set the aperture to f11. Use auto ISO.

Take at least 20 close up photos of individual plants that use shallow depth of field. There should be something in the foreground and something in the background. Don’t shoot from an aerial or bird’s-eye view for these photos. Sometimes the foreground should be in focus, sometimes the mid distance and sometimes the things in the far distance. Use the shooting mode Av, set the f-stop to f/4 with auto ISO. Make sure that your shutter speed is faster than 1/60 th of a second and that the blur in the photo is shallow depth of field and not motion blur.

Put your 30 photos in an album on Flickr. Send your best example of perspective and of shallow depth of field to the class group.

Lab: Week 3 – Freezing and Blurring Motion

Freezing Motion:

Using the shooting mode Tv, set the shutter speed to 1/500 or higher. Capture a range of subjects in motion creating a minimum of 15 photos that freeze the motion.

Blurring motion: use a tripod. Start with a shutter speed of 1 “. If your photos are too bright look for a darker place to shoot. Combine something moving and something that is still and sharp in every frame. Create a minimum of 10 photos that contrast blurred motion with a sharp environment.

Put the final 25 photos in an album on Flickr. Send your single best blurred motion and your single best frozen motion to the class group.

« Older posts Newer posts »