Light Quality
Light is either direct or diffused.
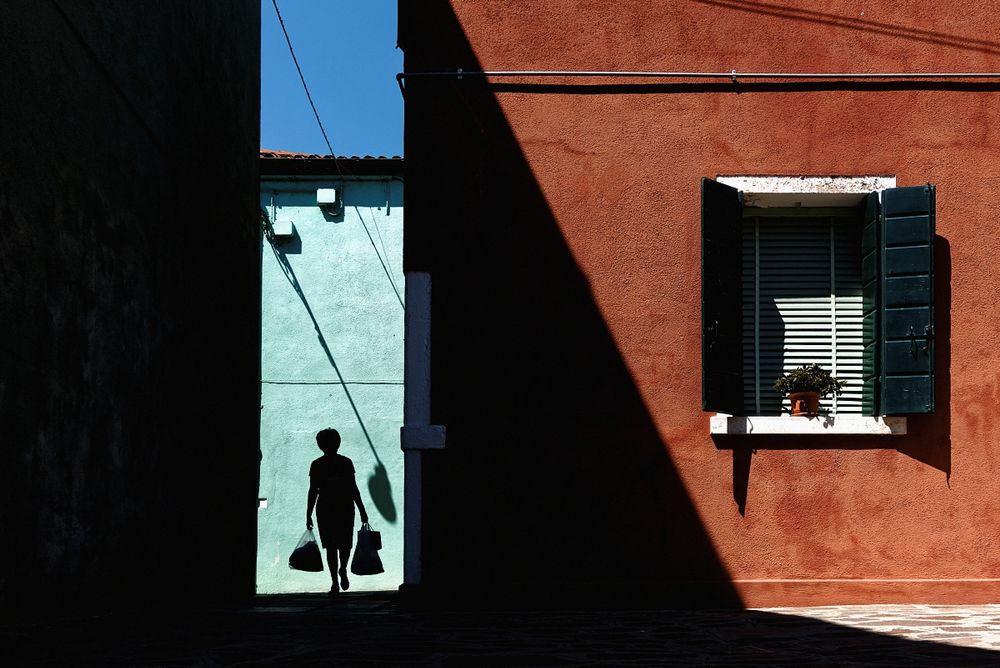
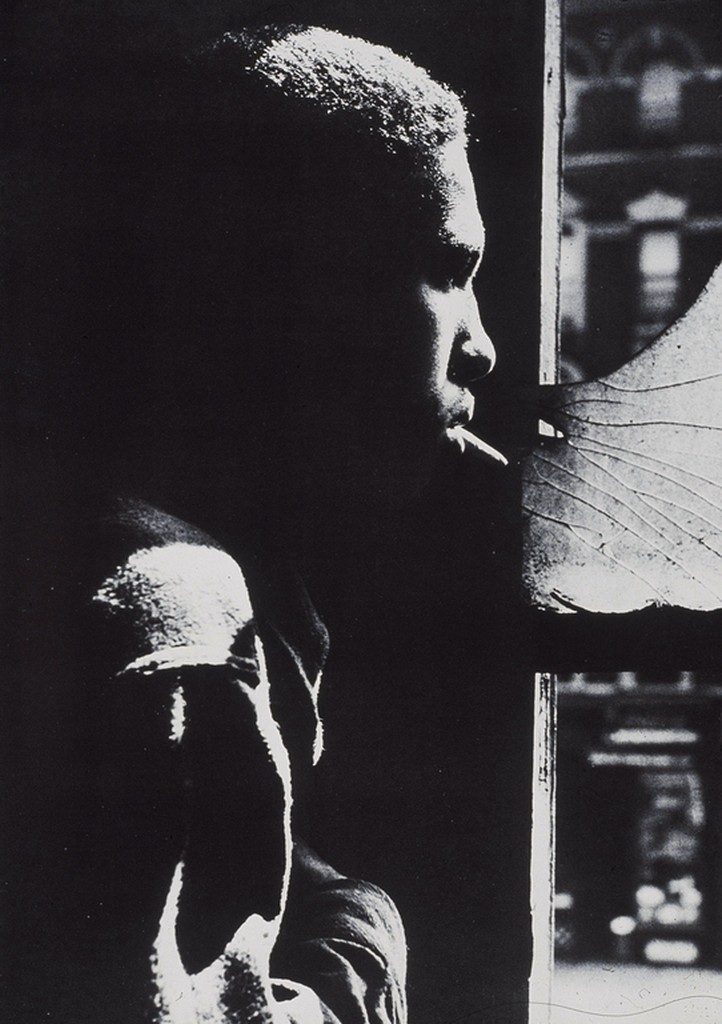
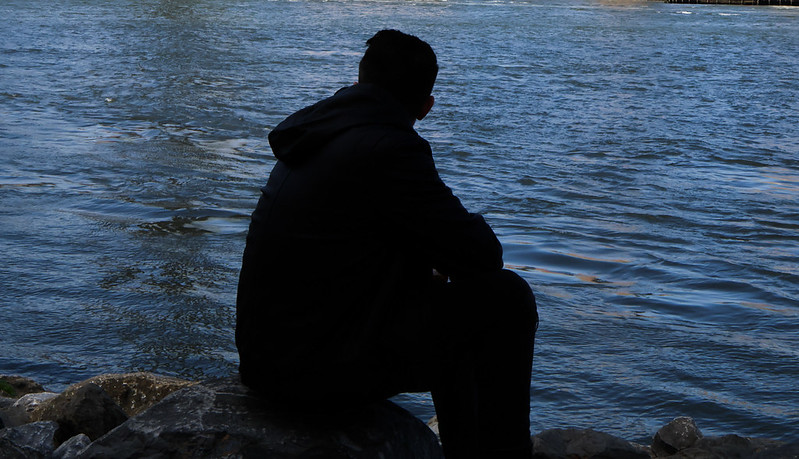
Direct light: the light strikes the subject from one angle and creates sharp shadows. Sunlight is an example of direct light.
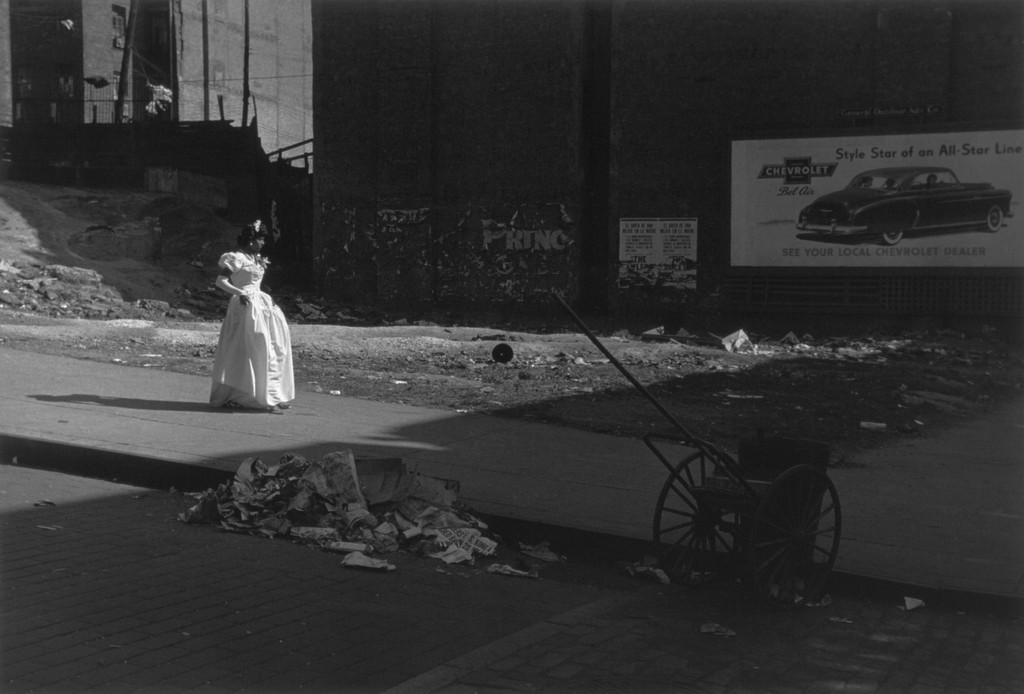
Photographer: Roy DeCarava
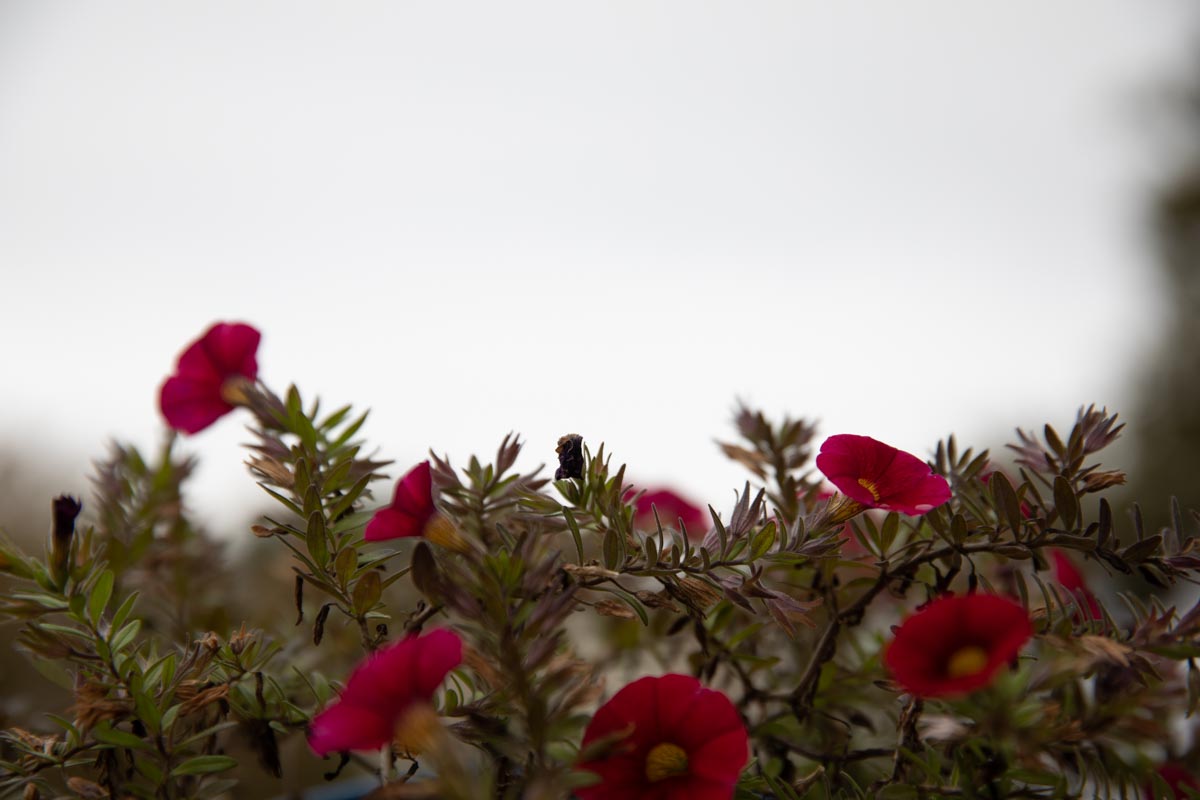
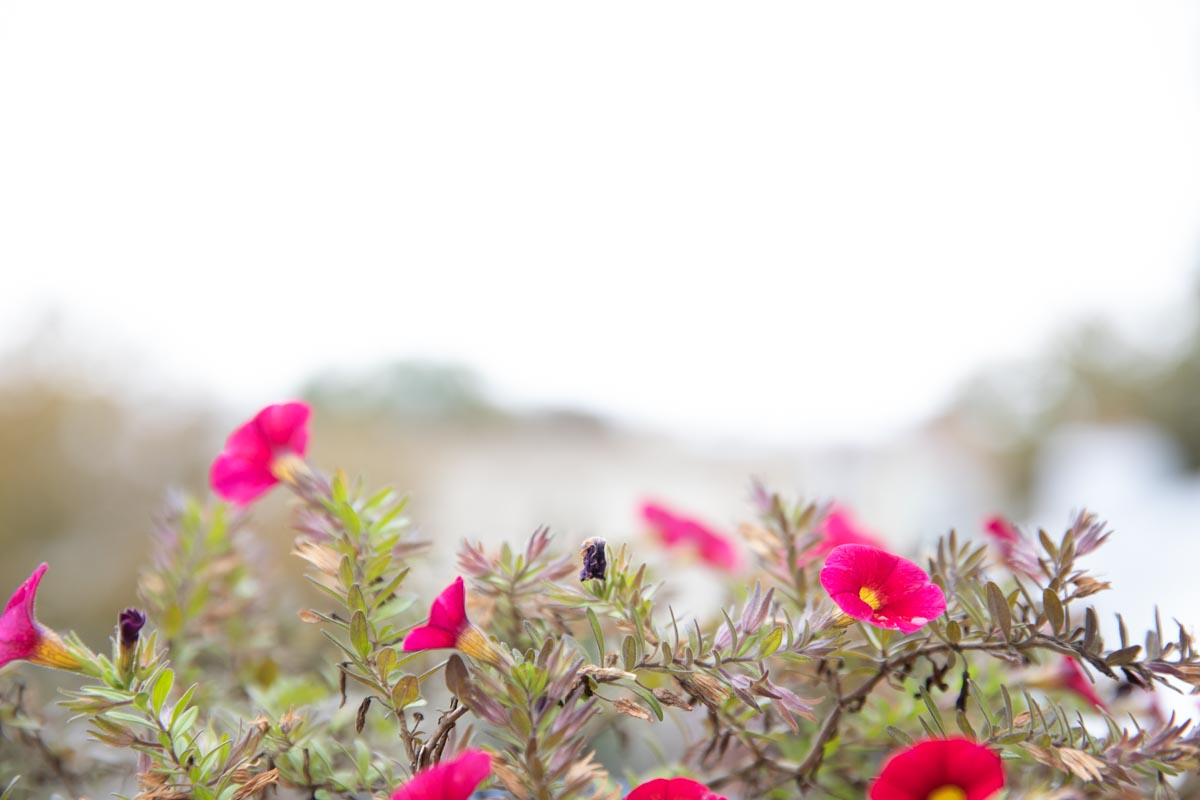
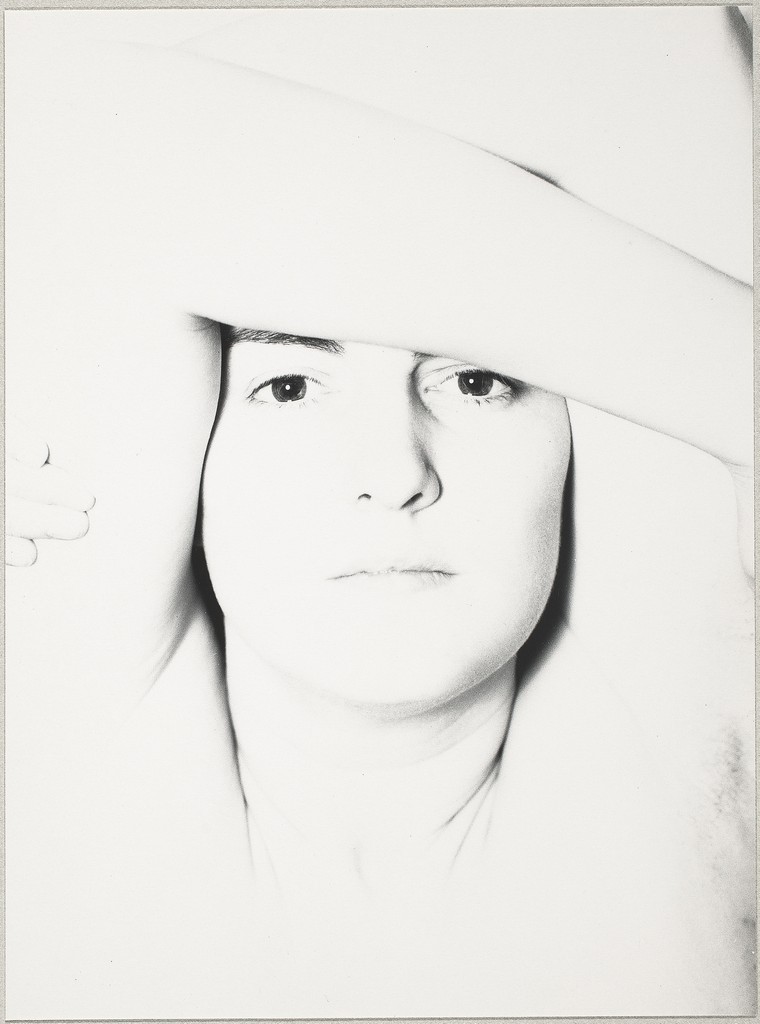
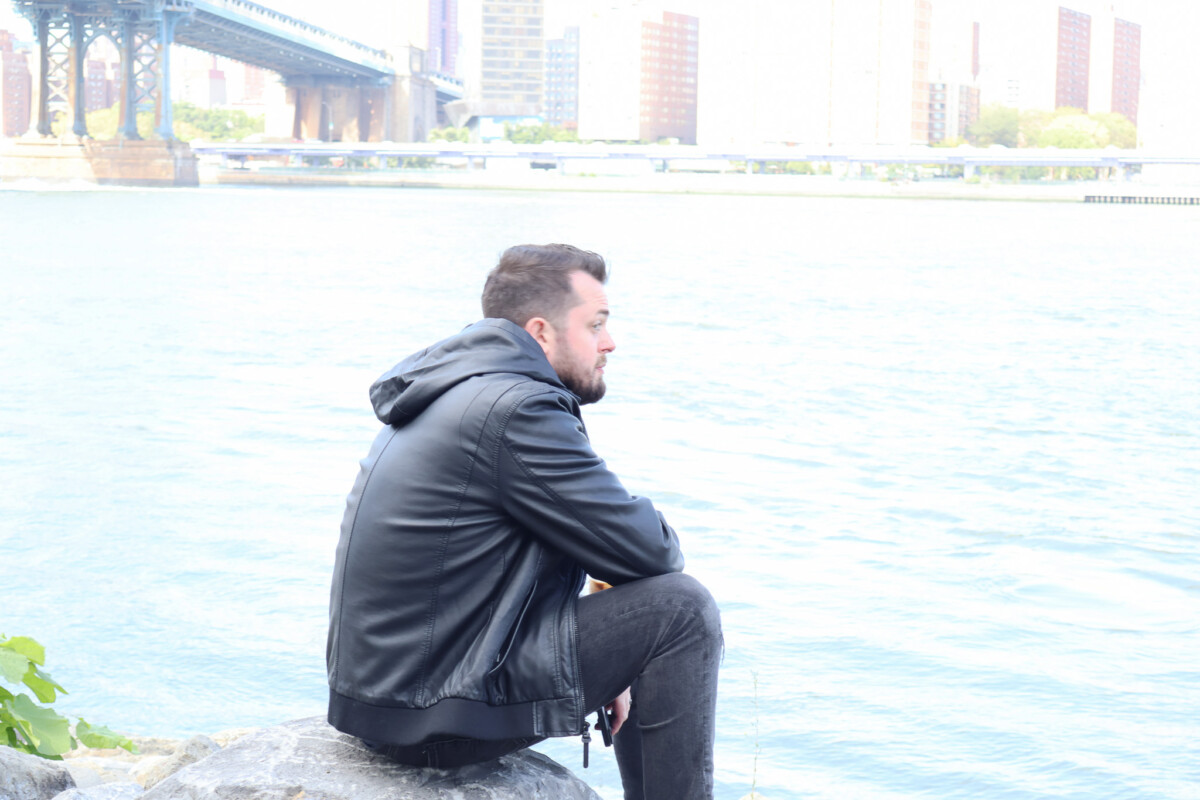
Diffused Light: the light hits the subject from many angles and creates soft shadows. The light is diffused on an overcast day or in the shade.
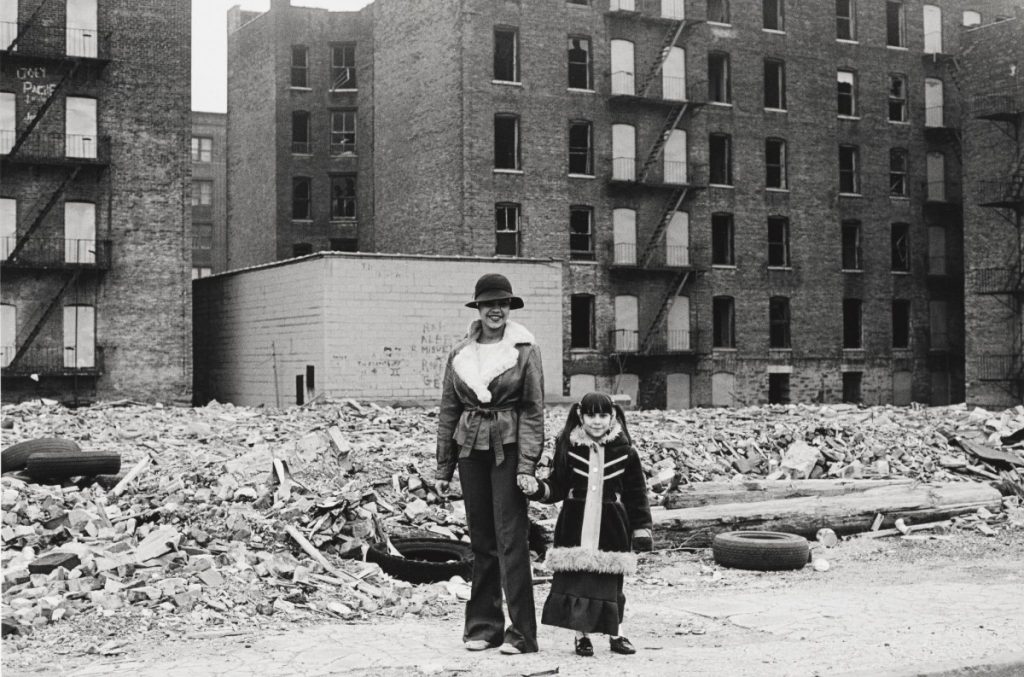
Photographer: Mel Rosenthal
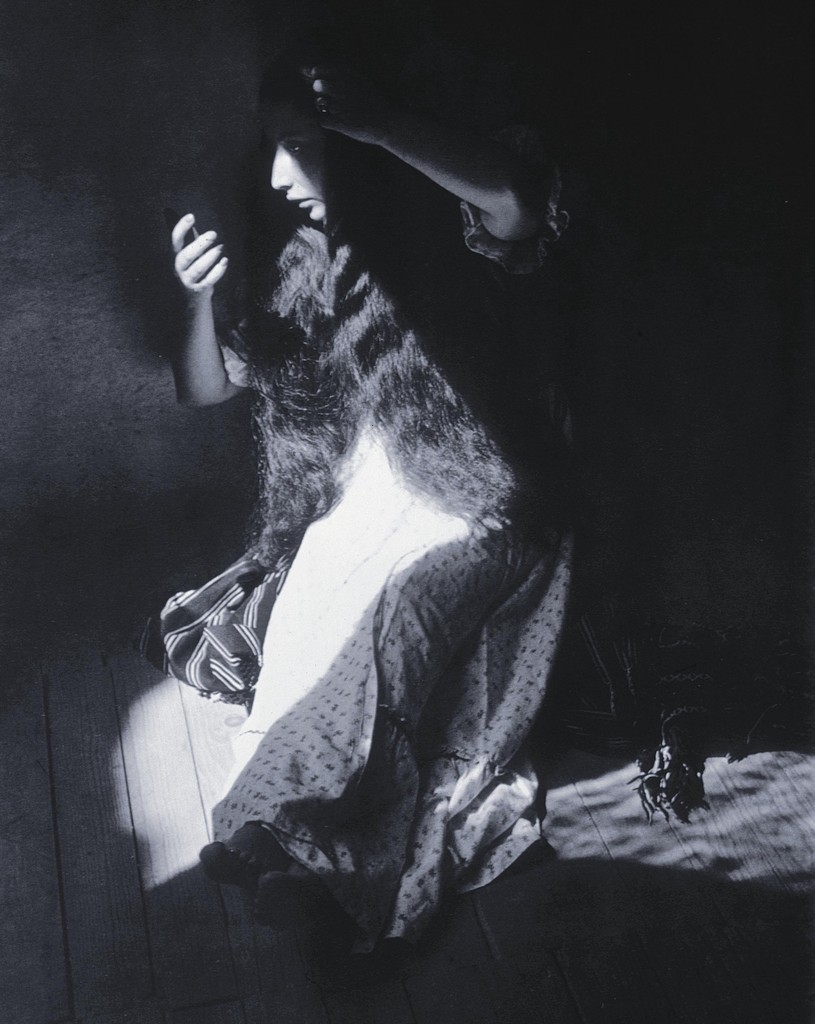

Photographer: Joel Sternfeld, 1978
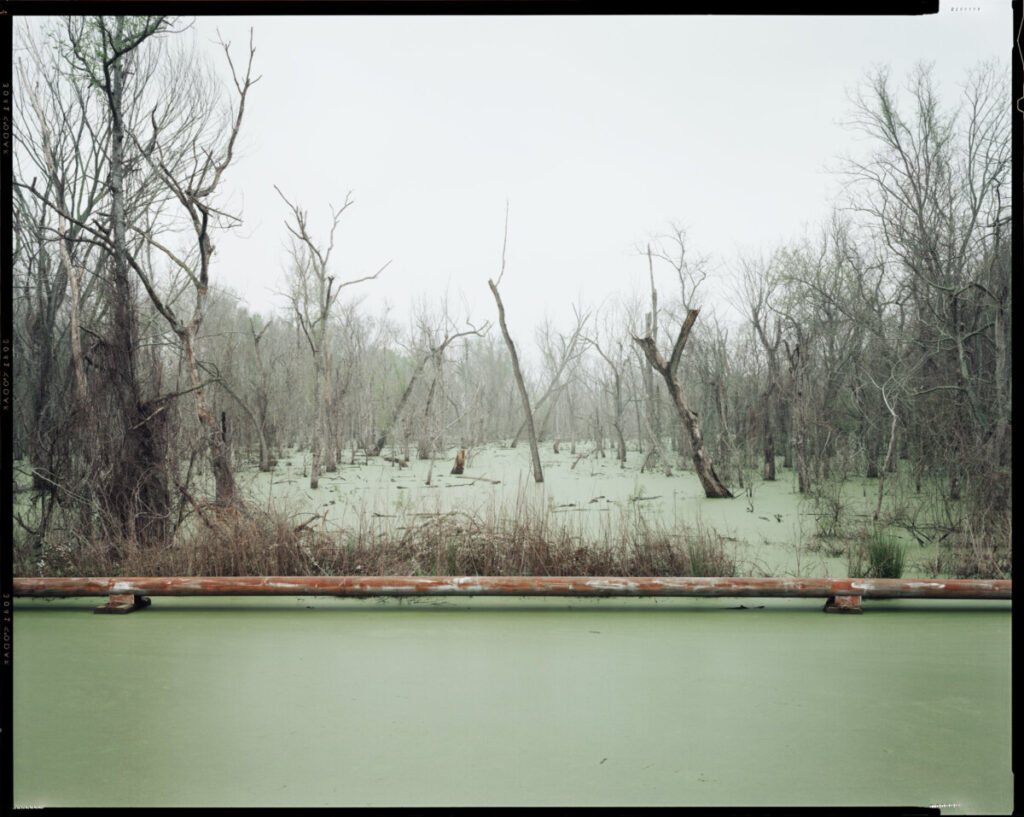
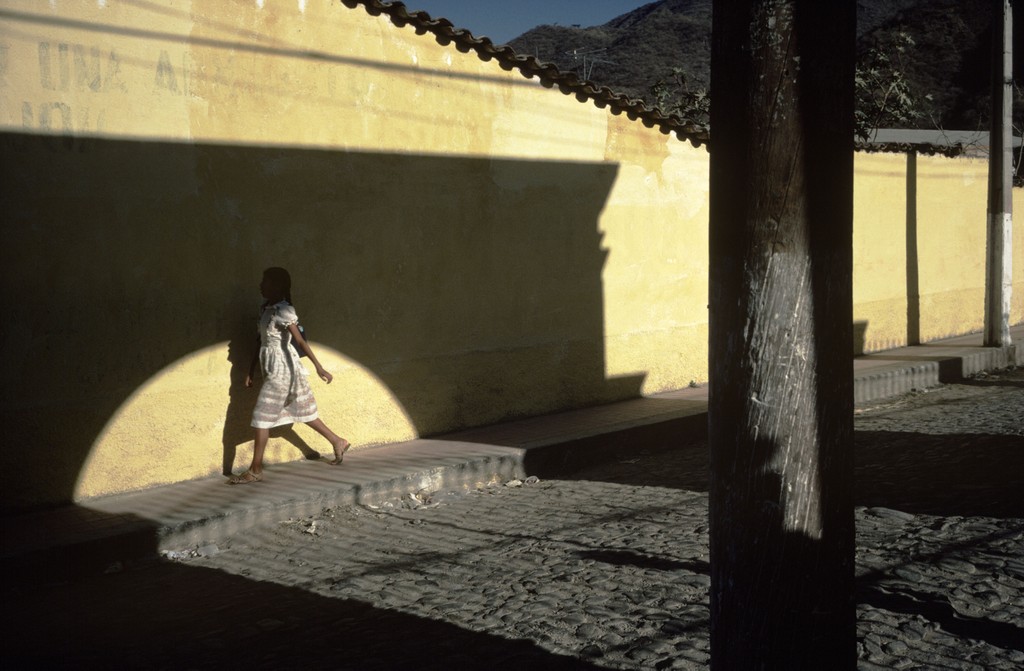
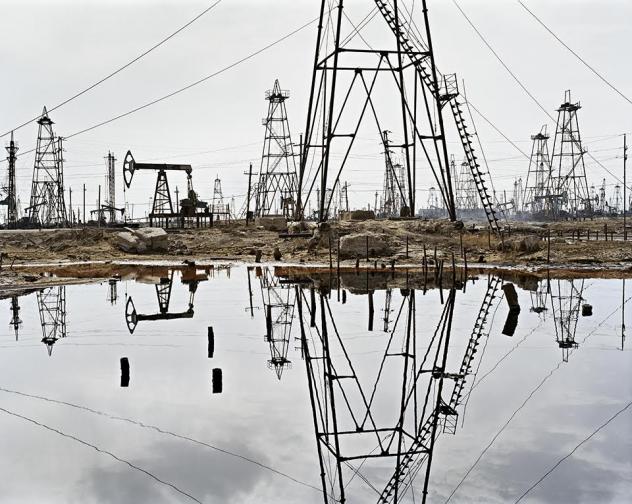
Photographer: Richard Misrach
Measuring the Light
Exposure is the amount of light that comes into the camera to create the photograph.
Exposure is made up of three components:
- ISO-Sensitivity to light.
- Shutter Speed-the length of time that the camera’s shutter is open during the exposure.
- Aperture-how wide the cameras lens opens to allow the light to come in.
All three are measured in stops. the different between one full stop and the next is it either doubles or reduces by 1/2 the amount of light. This is true of ISO, shutter speed and aperture.
How your Camera Meter Works
Acronym: TTL – Through the Lens
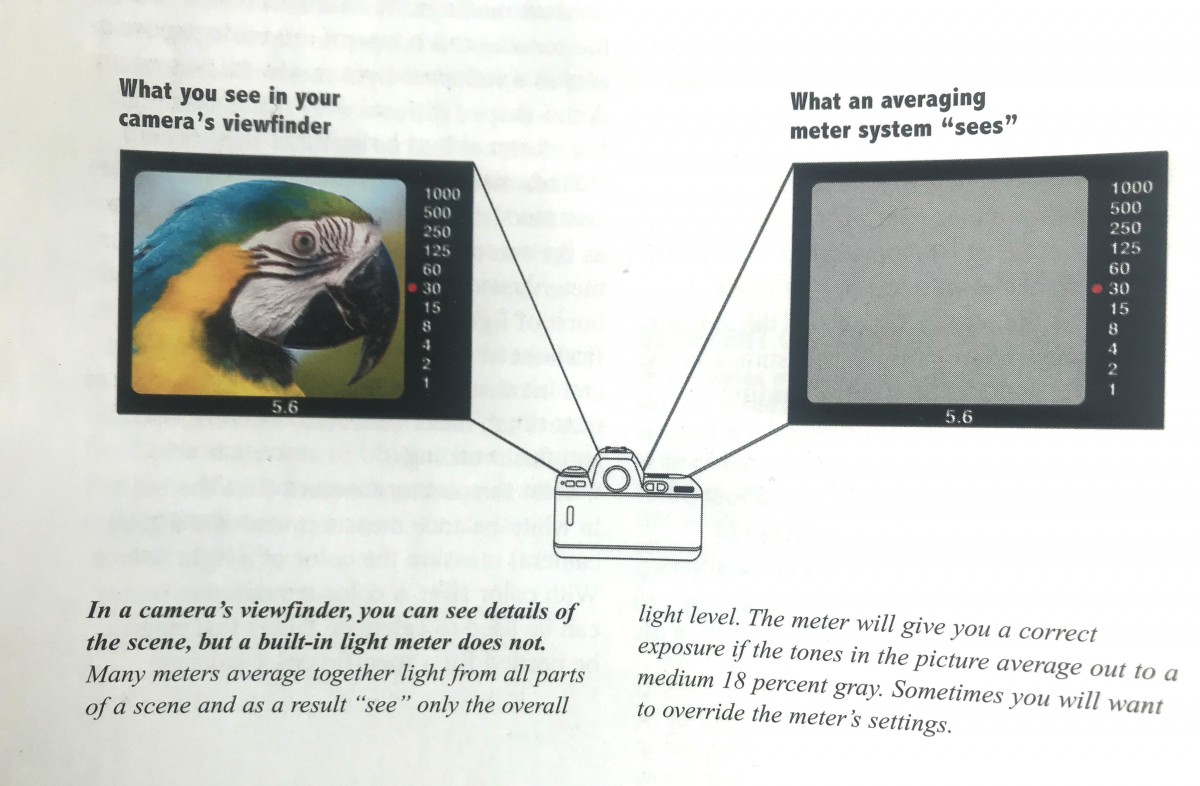
The meter in your camera is a reflected-light meter.
A reflected light meter averages the tones in the scene and selects the aperture and shutter speed values that will make the whole scene medium gray.
Watch from :45 to 1:34 for an explanation of how your camera meter works.
Challenges
There are certain predictable situations that will fool your meter.
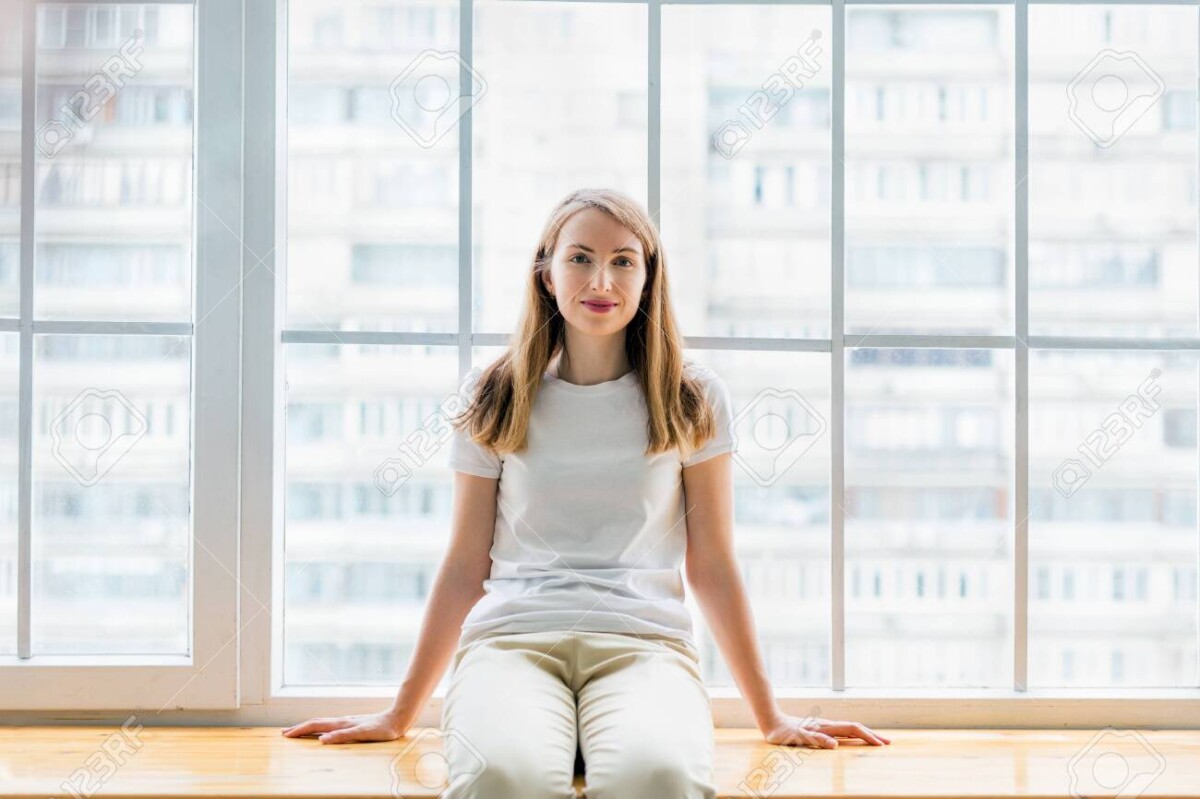
- Backlight – a common example is a person against a window or against the sky. Add exposure to get the right exposure for the main subject and allow the background to be overexposed.
2. Landscapes with sky. The sky is brighter than the ground and to get a good exposure of the land portion of your photo, often you need to over expose the sky.
3. Snow
How to control exposure
With a camera: Use Exposure Compensation set to plus to increase the light and set to minus to decrease the light.
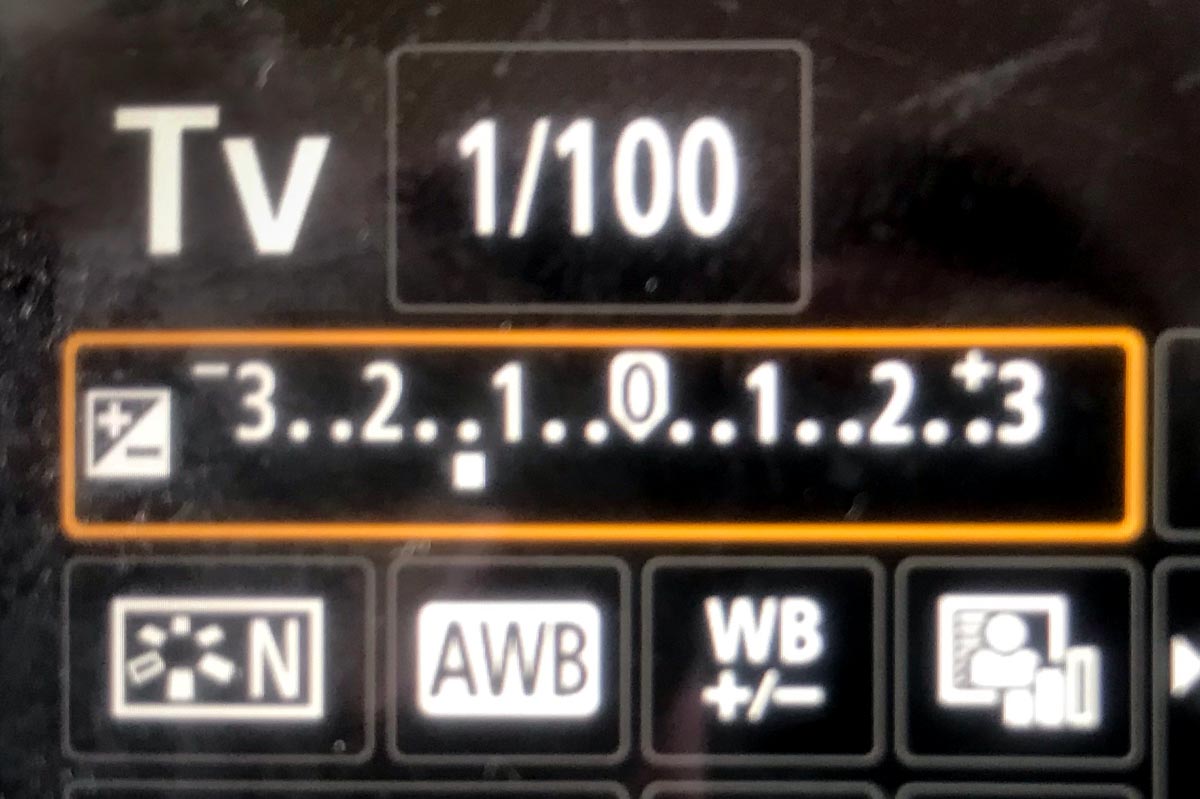
Exposure Compensation-a way to force the camera to make an exposure either lighter or darker than the meter reading. Good for backlight or extremes of light and dark.
With a cameraphone: Touch the area where the main subject is and then drag the little sun icon up or down to increase or decrease the overall exposure.
Using Exposure for Creative Effect
Sometimes, you don’t want the tones in your image to average out to a medium gray. You want to tones to be low key-mostly dark or high key-mostly light.
Photographer: Gordon Parks
Photographer: Harry Callahan
Lab Exercises
Lab: Week 8-Exposure Challenges
Homework Due Next Class
Upcoming Schedule
October 31 – Outdoor Portraits
Nov 7- Studio Basics: Bring in a stuffed animal 6 to 12″
Nov 14 – Studio Portraits


Recent Comments