BRIEF
Use photomontage to design an album cover for a fictional band with a randomly generated and assigned name. Since the bands doesn’t actually exist, you decide the details – genre of music, number of members, performance style, etc. Your composition will be collaged from found images (photos/graphics taken from books, magazines, etc. – materials will be provided in class) as well as graphics and visual elements you design yourself, moving from a physical draft to a digital final made in Photoshop. Your final product will be an album cover exported as a high-quality PNG for Apple Music (4000 x 4000px), and printed/mounted at 10″ x 10″ (standard LPs are usually 12″ x 12″, but that size is more expensive to print).
BACKGROUND
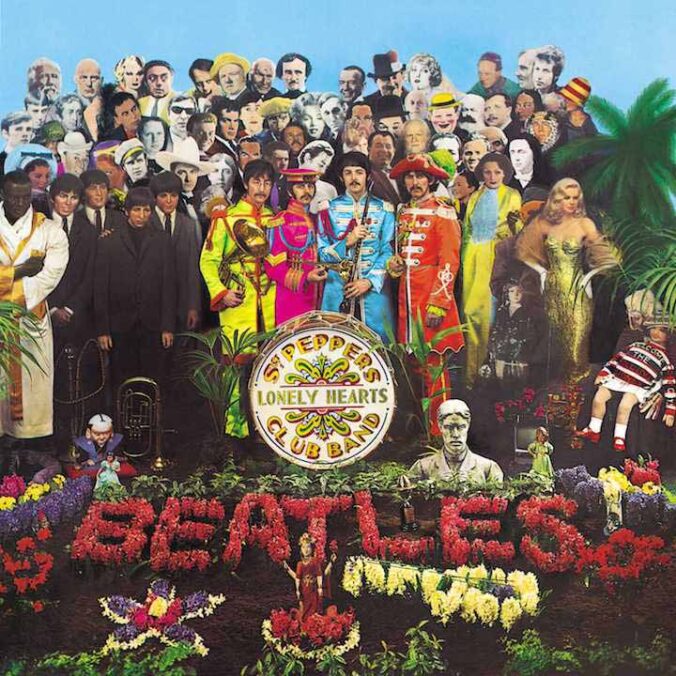
A photomontage is a collage work that uses cut (or torn) photographic images as graphic elements, often with simple solid-color background or geometric shapes. The style originated with Dada artists in 1910s – 20s Germany, was adopted by Constructivist designers in the early USSR, and then mainstreamed by the Bauhaus school before becoming ubiquitous in Pop Art and commercial graphic design like advertising and packaging.
PROCESS
STEP 1: IDENTITY
- Draw a random band name from the bag in class – I will assign a name at random if you’re absent.
- Invent your band’s identity (in class). This starts with basic biographical details (age, music style) and extends to how they present themselves and are perceived. What do they wear onstage? What is their connection with their fans? Where do they usually perform, and what are the performances like? Are they famous for anything besides music, and did those other things come first? If its a band and not a solo act, how do they know each other?
This is not a literal list of questions to answer – just examples of the kinds of questions to ask. - Begin collecting images that relate to your band’s identity from the collage materials provided. This is about style and vibes – the look and feel of the image are more important than the literal content. and you don’t necessarily have to use any of these images for your final version.
- Discuss your brand’s identity in small groups, sharing and explaining relevant imagery.
STEP 2: CUTTING, ASSEMBLING, AND SCANNING
- Cut and lay out images – browse the materials provided, cut out relevant images and start building a rough composition. You may also use images from your own NON-DIGITAL sources (magazines, books, etc.) and any photographs you take yourself.
- Scan materials for digital composite – once you have a rough design laid out, scan all the cutouts you plan to use (you can do multiples at once). Make sure the
STEP 3: DRAFTS AND REFINEMENT
- Make draft comp in Photoshop (4000 x 4000px) – use Photoshop to recreate your rough layout. You can resize and repeat the cutout images, as well as adding solid colors and geometry. If your album cover includes a band name and/or album title, include it in the composition.
- Refine and clean up – apply color correction and fix cutouts/selections where needed.
STEP 4: FINAL VERSION
- Create a polished, final version of your album art based on feedback from the previous steps.
- Export your finished project and upload to OpenLab – PNG format (File -> Export -> Save for Web (Legacy)), saved using the PNG-24 preset at 1200 x 1200 pixels
STEP 5: PRINT AND MOUNT
- Create an Adobe Illustrator document at 10″ x 10″ with a 1/8″ bleed.
- Place your album cover in the document, scaling to fill the entire space (including bleed area).
- Export as a PDF using the “High Quality Print” preset. Make sure “all printers’ marks” is checked in the dialog box.
- Print on tabloid (11″ x 17″) stock, at least 90lbs in weight.
- Mount to a piece of black presentation board or foamcore cut to 15″ x 15″ (2.5″ margin on all sides).
SCHEDULE & DUE DATES
3/19 (Tuesday) – band names assigned
11/14 (Tuesday) – present Step 1: Identity in small groups, begin cutting/scanning elements
3/26 (Tuesday) – develop “identity” in class, using collage materials to assemble a mood board/folio of images and graphics that relate to their style and presentation.
4/9 – final studio and print preparation day before project is due.
4/12 – PROJECT DUE, bring printed and mounted version to class for critique.
EXAMPLES OF STUDENT WORK

Darcy Castro

Yamil Gil

Vivian Li