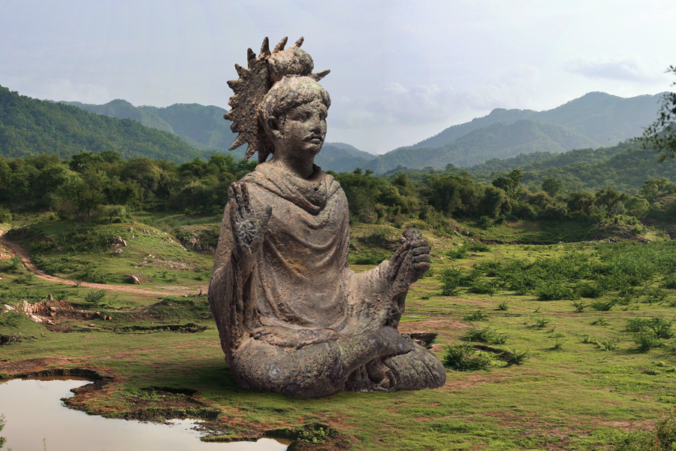
BRIEF
Create a realistic photo illustration depicting a small artifact from the Metropolitan Museum’s collection as a massive, dominant element in a landscape.
This is an in-class, skill-building exercise; I am not collecting this for grading.
BACKGROUND
Photo illustration combines multiple photographs to create a new, visually unified image – in other words, making everything look like it’s part of the same picture. Basic design attributes like balance, proportion, and color need to be carefully refined to present a believable illusion of reality. Attention to detail is very important.
PROCESS
- Browse the Metropolitan Museum’s online collection and find an artifact/object. Guidelines:
- high-resolution color photo (naturally)
- subject should be small enough to fit in a backpack
- avoid highly reflective materials – polished metal or stone, glass, large gems etc.
- avoid objects with long, straight edges, especially boxes and furniture – visually unifying images taken in different perspectives is really hard
- Choose a suitable landscape image from this collection (large file warning). Check that the length, intensity, and direction of shadows and highlights in both images is similar.
- Use Photoshop to isolate the artifact from its background, then save the file as a .PSD. Make sure there are no visible background pixels around the edges of your subject.
- Create a new Photoshop document at 3000 x 2250 pixels (horizontal or vertical).
- Place your landscape (File -> Place Embedded) and scale/position as needed. Avoid scaling the image above 100% of its original size to maintain print resolution. (You can usually do 108 – 112% without a visible difference, FWIW.)
- Place your artifact (File -> Place Embedded) and scale/position as needed.
- Use a layer mask to hide the parts of your object blocked by the landscape. Look at the apparent shape and contours of the object, and compare to the shape and contour of the background. Custom brushes and brush settings can help get realistic edges with detailed organic objects like leaves.
- Apply adjustment layers to the subject, matching its colors with the background. Make SURE the adjustment layers are only applying to the subject, NOT the landscape (alt + click between the layers to make a clipping mask).
- Draw shadows on a layer/layers between the subject and background. Use the eyedropper tool on a neutral-colored object to get an appropriate shadow color. Judge where the shadow would fall based on the light direction and existing shadows on the object. Set the opacity of your brush low (8 – 15%) and draw the shadow in through multiple passes, concentrating your strokes on areas adjacent to the object. You may need to add shading or reflections on the surface of your subject as well.
- Apply adjustment layers for final color correction. Now you can finally fix the colors, brightness, etc. of the landscape background. When building a photo illustration, don’t make any changes that affect the entire composition until you’ve actually built the entire composition.