Faculty: This example post demonstrates how you can provide instructions for each assignment. It uses the category “Assignment Instructions” and can be found under Activities > Assignments in the site menu. Use the suggested outline below to structure your assignment posts.
Overview
Lost-and-Found Contour/Edges Versus Outlines
Working with lost-and-found contour is an effective way to show how light and shadow can define a human form. Using the lift-off technique demonstrated in today’s class, create 2 dramatic drawings with strong light and shadow without the use of visible outline. Watch the form emerge from the picture plane as you intensify lights by lifting them off the dark charcoal ground. Remember that lights tend to come forward, and darks recede. Base your first drawing on a high-contrast photograph of a nude. Base your second drawing on your full-frontal photo study guide with bottom light. Let the drawing experience bring home the important difference between edges and outlines. Your drawings will have no outlines, but they will have edges. Lost-and-found contour is not the same as contour drawing, which depends primarily on line. Whether you are an experienced artist or a raw beginner, you will love this project.
Learning Outcomes
- To see how light and shadow define a form
- To create a drawing without the use of outline, only gradations in value
- To understand the difference between edges and outlines
- To be able to represent accurate proportions in a drawing without line
- To discover the power of lost-and-found contour shading
- To use strong light and shadow to project powerful emotions and mood
Instructions
What you will need
- White vertical paper with 5-6 sheets of padding underneath
- Soft charcoal, not Conté, rubbed over paper, then blended with your hands into a solid black. Leave around 1″ of white around edges. Margin does not have to be straight-edged or taped.
- Optional: stick of black pastel
- Chamois for initial erasing in lighter areas, then move to white plastic and stick erasers
- Drop cloths or newsprint
How:
- Use chamois to lift off charcoal from only the lightest areas your see in your images.
- Erase hard to break through the charcoal surface to create strong white areas.
- Do not outline first with an eraser. Do not outline at all.
- Use measuring stick and tic marks with pencil or eraser to mark the measurements found in your diagrams.
- If you need to correct a mistake, add a little extra charcoal, rub, and erase again.
- Use black pastel here and there for darkest darks (lip line, etc.), then blend lightly.
- Use fixative only after photographing and making all corrections. A fixed drawing will not erase.
- To protect your fragile work, fold a sheet of glassine in half to make a folder.
- Place your drawings back to back inside. Do not roll. Handle with care.
Submission
Create a new post with an image gallery containing the drawings you created for this assignment.
- To create your Assignment 9 post, visit OpenLab Help> Writing a Post
- Title your post with “Screen name” + “Assignment 9”. Example: “Miguel – Assignment 9”
- IMPORTANT: Be sure to check the category “Assignment Posts” when creating your post. Visit: OpenLab Help > Adding Categories and Tags.
- IMPORTANT: Be sure to use the tag “Assignment 9” when creating your post. Visit: OpenLab Help > Adding Categories and Tags.
- To add an image gallery, visit OpenLab Help > Adding an image gallery
- Add well-lighted, thoughtfully composed images of your drawings to an image gallery.
- Add a written reflection.
- Document your thoughts about this project. Think about what you learned, what you could have done better, and how you will apply what you learned to your next drawing.
Due Date(s)
- 4 pm the day before next class
Resources
Student Examples
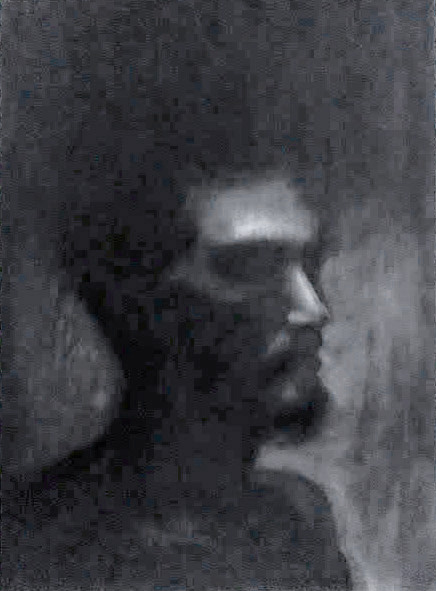
Student Drawing 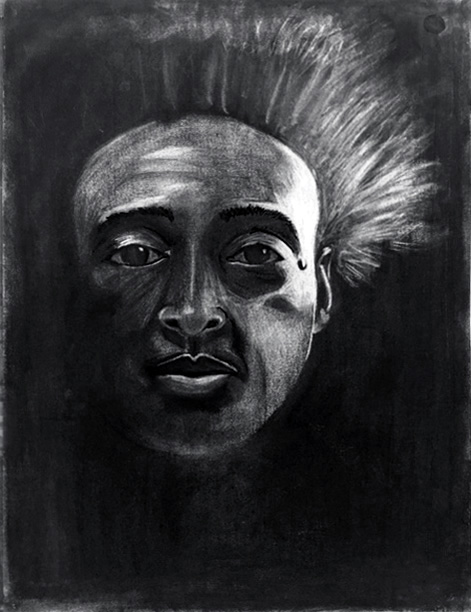
Student Drawing 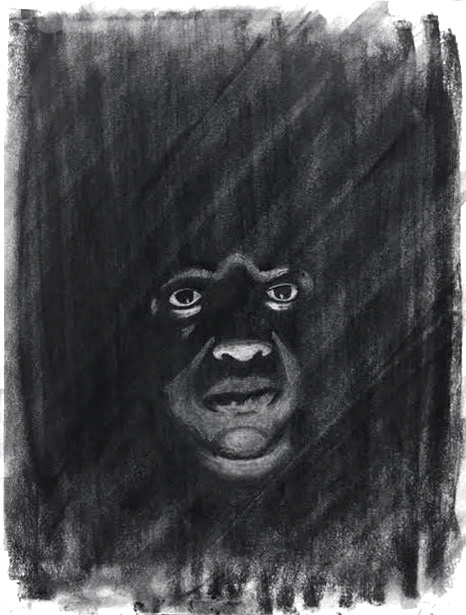
Student Drawing 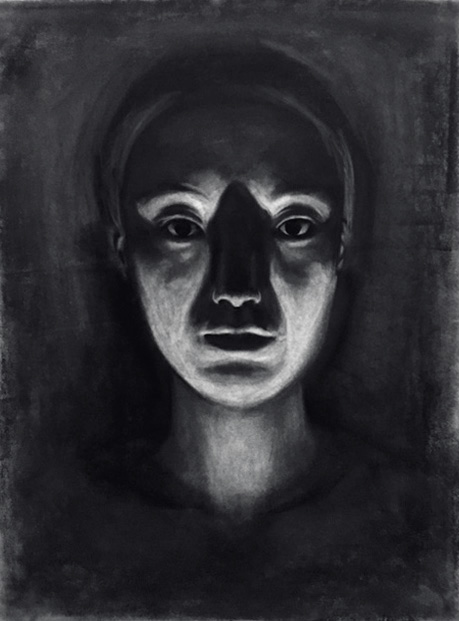
Student Drawing 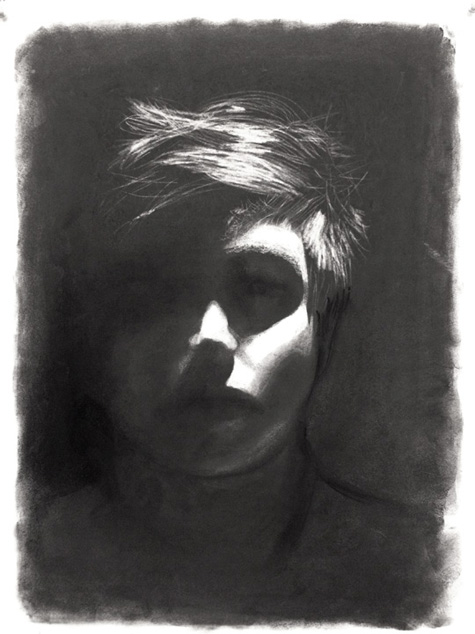
Student Drawing 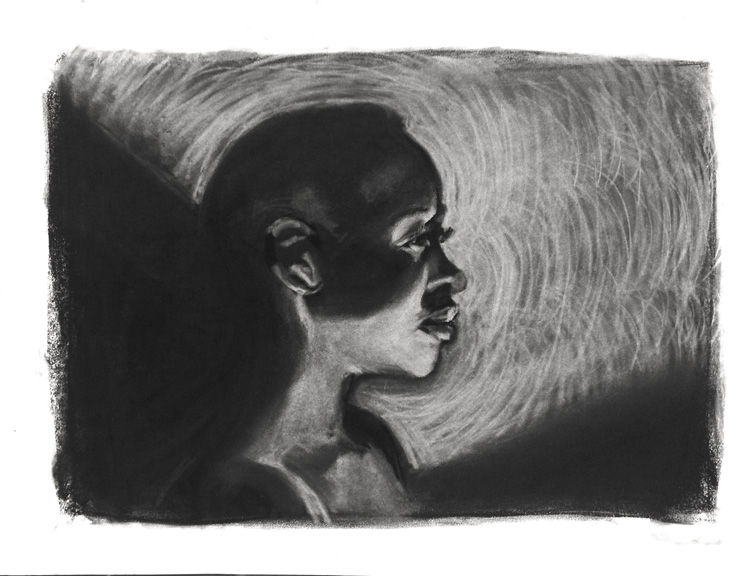
Student Drawing


Recent Comments