Faculty: This example post demonstrates how you can provide instructions for each assignment. It uses the category “Assignment Instructions” and can be found under Activities > Assignments in the site menu. Use the suggested outline below to structure your assignment posts.
Overview
The Mannequin: Your New Proportion Coach
Your 12″ wooden mannequin is proportional to the human body, so it serves as a useful practice model for drawing the figure from life at home. With its flexible joints, the mannequin may be bent and shaped into countless poses. Picking up on last week’s assignment, create 2 crosshatched drawings in black and white Conté on gray toned paper. In your first drawing, create a simple composition using your mannequin, an apple, and a mug or teapot in high sidelight on a tabletop with a horizontal back edge. In your second drawing, place your figure into a more complex environment with additional objects in perspective. Try suggesting a visual narrative. Is there a story behind the scene? What happens at night when the lights go out?
Learning Outcomes
- To devise a simple narrative between inanimate objects
- To position your figure in a believable environment in perspective
- To create depth with overlapping objects, varying baselines, and perspective
- To learn how the value and edges of figural cast shadows vary with distance
- To commit figure measurements to memory.
Instructions
What you will need:
- Body diagram for reference
- Drawing clipboard
- 2 sheets gray paper
- Protective padding (4 sheets of white or six sheets of newsprint) Sanguine, black and white Conté crayons and pencils
- All erasers
- Ruler for margins Protective glassine folder
How:
- Before beginning, measure carefully and lightly rule margins with H or 2H pencil:
- Top: 3″
- Sides: 2.5″
- Bottom: 3.25″
- Keep margin lines parallel to edge of paper.
- Place objects on a table the height of a dinner table, not a low coffee table.
- Cover the table with a light sheet, tablecloth, or paper for better shadows.
- Create interesting compositions with varying baselines.
- Use strong, high side light, preferably from a bright lamp.
- Leave gray paper as your low lights, so don’t cover it all up.
- Use measuring stick to add tic marks for accurate measurements.
- Position the mugs and/or teapot in profile to show handles in side view.
- Sketch a light pencil layout, then erase most of the graphite since it rejects Conté
- Delicately hatch shadows to refine your crosshatching technique.
- Avoid white on top of black (turns muddy and bluish gray).
- Remember to use a piece of scrap glassine under your hand.
- Transition background smoothly with gradated crosshatching to margin
- Look for reflected lights inside shadows.
- Finish with a horizontal table edge behind the objects.
- Protect fragile homework with glassine. Treat your work well.
Submission
Create a new post with an image gallery containing the drawings you created for this assignment.
- To create your post, visit OpenLab Help> Writing a Post
- Title your post with “Screen name” + “Assignment 7”. Example: “Miguel – Assignment 7”
- IMPORTANT: Be sure to check the category “Assignment Posts” when creating your post. Visit: OpenLab Help > Adding Categories and Tags.
- IMPORTANT: Be sure to use the tag “Assignment 7” when creating your post. Visit: OpenLab Help > Adding Categories and Tags.
- To add an image gallery, visit OpenLab Help > Adding an image gallery
- Add well-lighted, thoughtfully composed images of your drawings to an image gallery.
- Add a written reflection.
- Document your thoughts about this assignment. Think about what you learned, what you could have done better, and how you will apply what you learned to your next drawing.
Due Date(s)
• 4 pm the day before next class Resources
Resources
• Assignment 7 samples
Student Examples
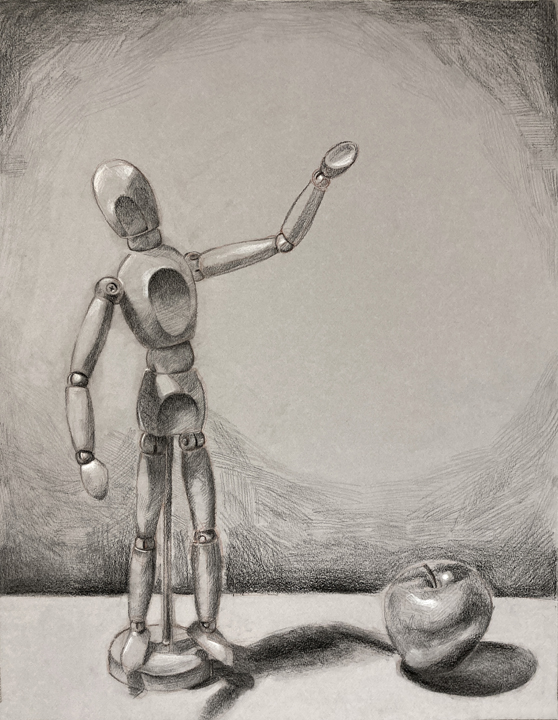
Student Drawing 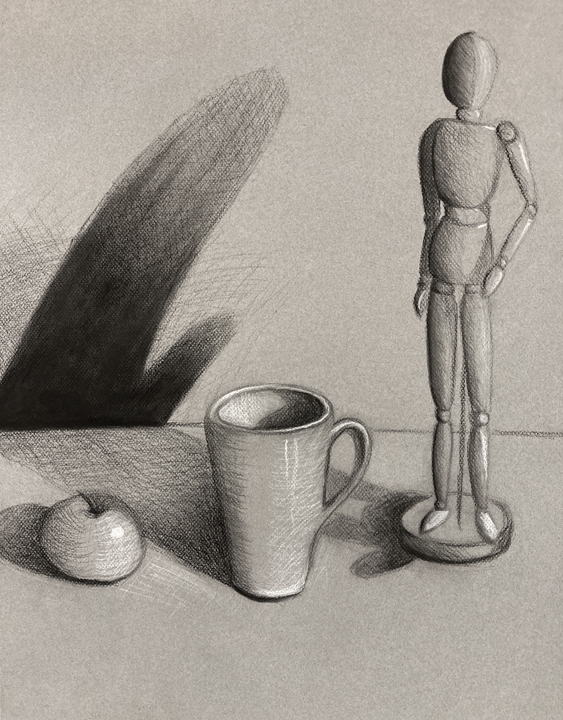
Student Drawing 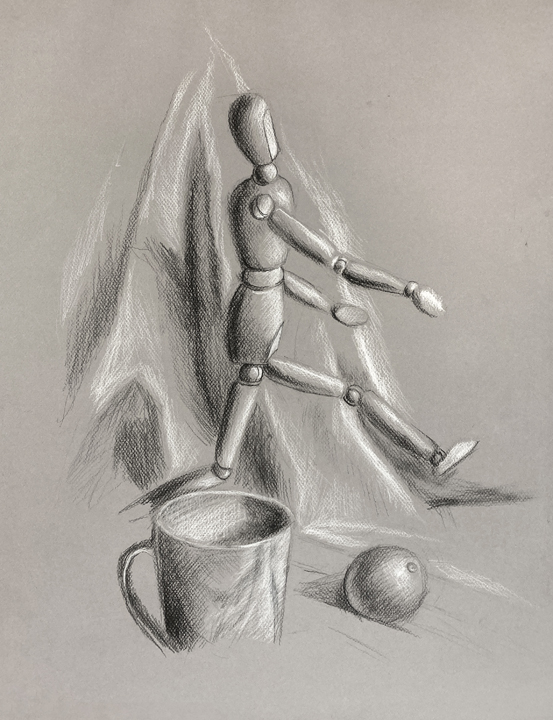
Student Drawing 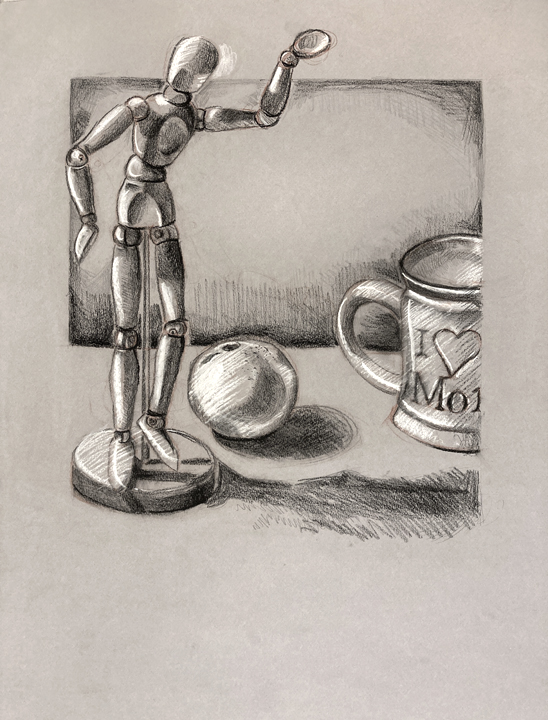
Student Drawing 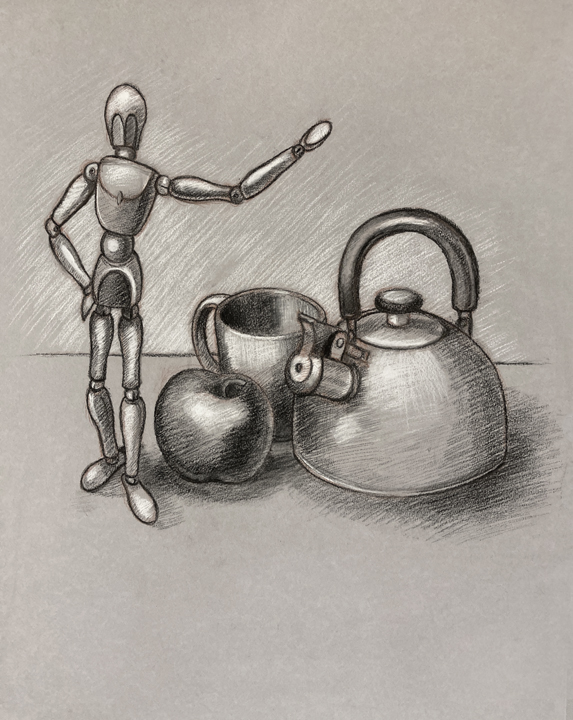
Student Drawing 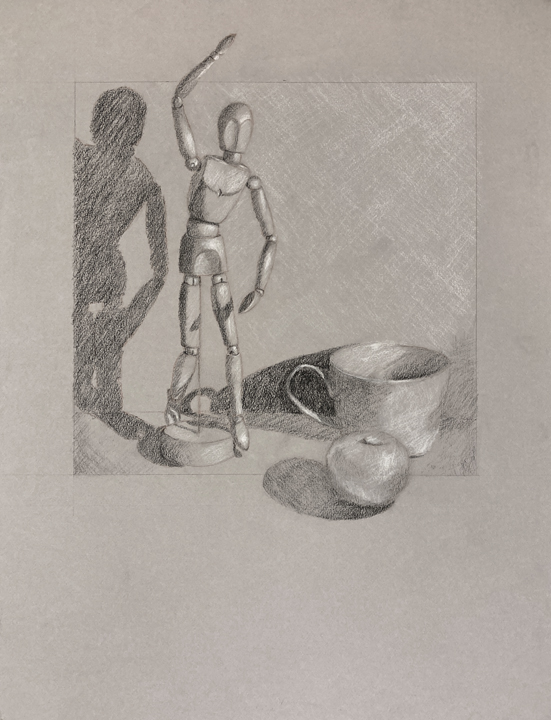
Student Drawing 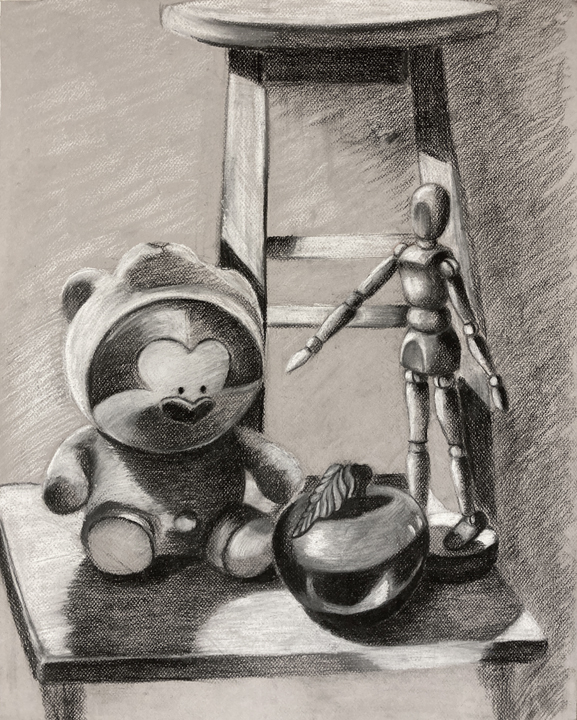
Student Drawing


Recent Comments