Faculty: This example post demonstrates how you can provide instructions for each assignment. It uses the category “Assignment Instructions” and can be found under Activities > Assignments in the site menu. Use the suggested outline below to structure your assignment posts.
Overview
The Double-Sided Portrait Project: Photo-Based Drawing vs. Drawing from Life
Begin this project by comparing our diagram of the human head with your own unique face and features. Reconstruct the full-frontal diagram from today’s live demo over a photo of your face from last week’s assignment. How are they different? How are they similar? Next, create 2 self-portraits in a full range of values in graphite on vertical white paper. Base your drawings on 2 very different approaches: 1) copying a photo of yourself and 2) drawing yourself from life. Use your favorite shading techniques and your choice of strong, directional lighting.
Learning Outcomes
- Add learning outcomes
- To understand the difference between:
- 1) “illusion-to-illusion” drawing, which copies the pattern of 2-dimensional image into another 2-dimensional image (photo to paper)
- 2) “real-to-illusion” drawing, which translates a 3-dimensional form in real space into a 2-dimensional image (real to paper).
- To improve your tacit knowledge of facial proportions, features, and form.
- To learn to build individual features into a lightly sketched universal diagram for increased accuracy.
- To bring the facial-proportion lesson home to you, you will learn
- 1) how the face diagram fits over your photo image
- 2) how your self-portrait fits over the diagram.
Instructions
What you will need
- Full-frontal diagram of head from today’s class demo (see finished whiteboard illustration in Resources)
- Large-screen view of your face in full-frontal view in classical light
- Drawing board or plastic clipboard
- 18″ x 24″ white paper
- Cushioning paper pad
- Graphite pencils
- Erasers
- Sanding block
- Sharpener
- Optional shading stump
- Several scraps of glassine to keep under working hand
How To:
- Use the clipboard to support your paper.
- Pad paper with 5-6 sheets of newsprint.
- For life drawing, sit with mirror in front so you clearly see face, neck, and shoulders in one view.
- Light your face to create strong lights and shadows. For both options, turn off overheads and secondary lights.
- Option 1: Use lamp to light one side of face.
- Option 2: Sit sideways to bright window.
- Begin drawing with light 2H sketch of diagram from class demo.
- Make faces life size, approximately 9″ high.
- Draw all diagram guidelines freehand, not with ruler.
- Check measurements with measuring stick and tic marks before inputting your
- features.
- See how diagram matches the view you see in mirror.
- Apply the same process to photo-based drawing.
- Begin both drawings with light 2H pencil, then transition to HB and darker B pencils.
- Begin light and loose for easy correcting.
- Avoid erasing minor mistakes. After shading, most disappear.
- Leave light guidelines; they only enhance a finished drawing. If Michelangelo did it, so can you.
- Work in all-over method (think “layers”) to avoid overworking one feature before beginning another.
- Add darkest darks at end.
Submission
Create a new post with an image gallery containing the drawings you created for this assignment.
- To create your post, visit OpenLab Help> Writing a Post
- Title your post with “Screen name” + “Assignment 2”. Example: “Miguel – Assignment 2”
- IMPORTANT: Be sure to check the category “Assignment Posts” when creating your post. Visit: OpenLab Help > Adding Categories and Tags.
- IMPORTANT: Be sure to use the tag “Assignment 2” when creating your post. Visit: OpenLab Help > Adding Categories and Tags.
- To add an image gallery, visit OpenLab Help > Adding an image gallery
- Add well-lighted, thoughtfully composed images of your drawings to an image gallery.
- Add a written reflection.
- Document your thoughts about this assignment. Think about what you learned, what you could have done better, and how you will apply what you learned to your next drawing.
Due Date(s)
- 4 pm the day before next classAdd due dates or schedule
Resources
- Assignment 2 samples
- Whiteboard diagram of full-frontal view
- Universal full-frontal diagram overlay on face photo
Student Drawings
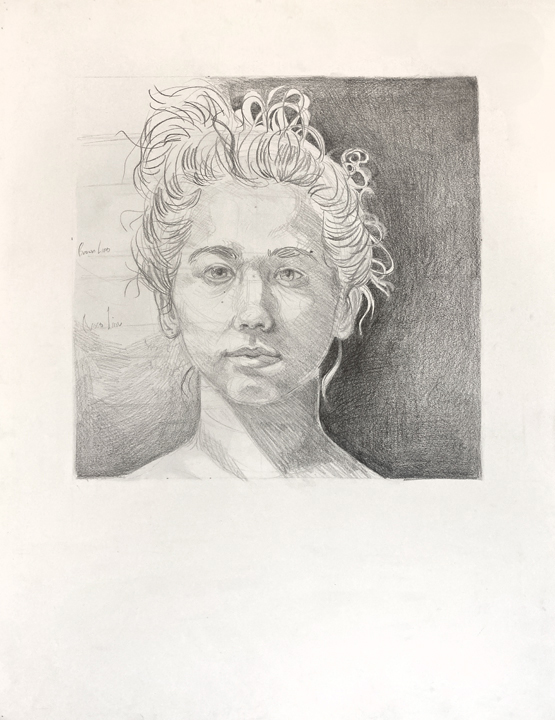
Student Drawings 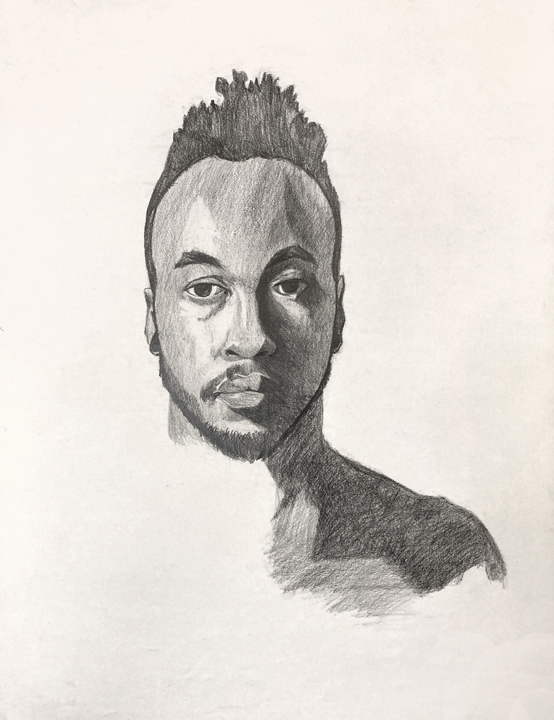
Student Drawings 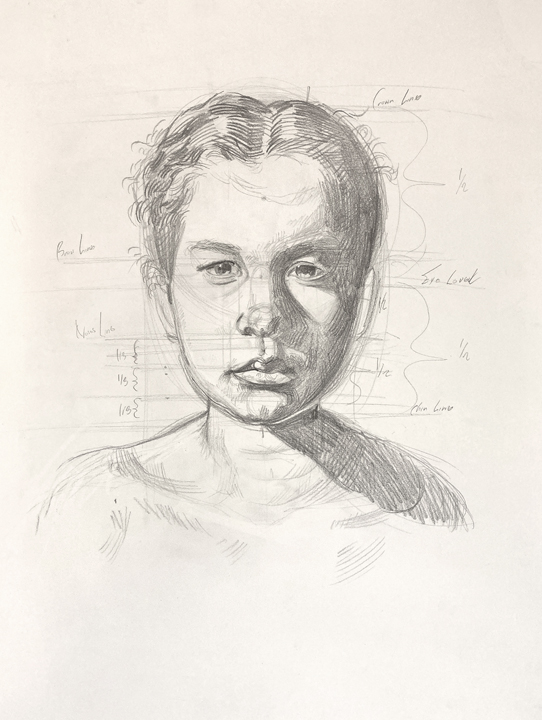
Student Drawings 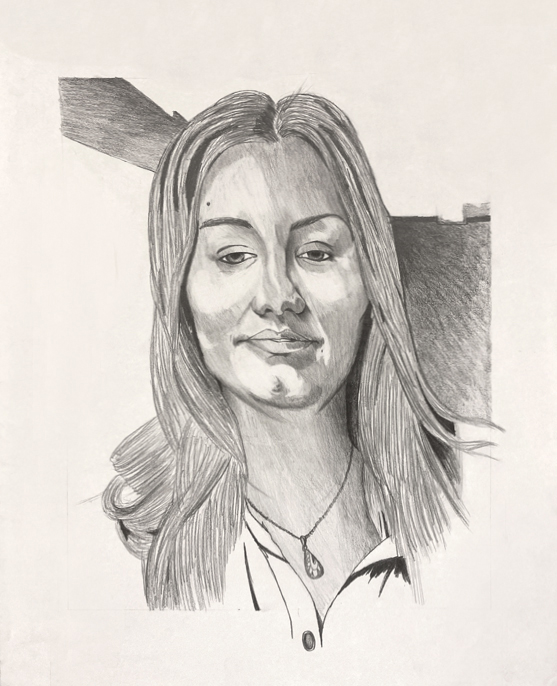
Student Drawings 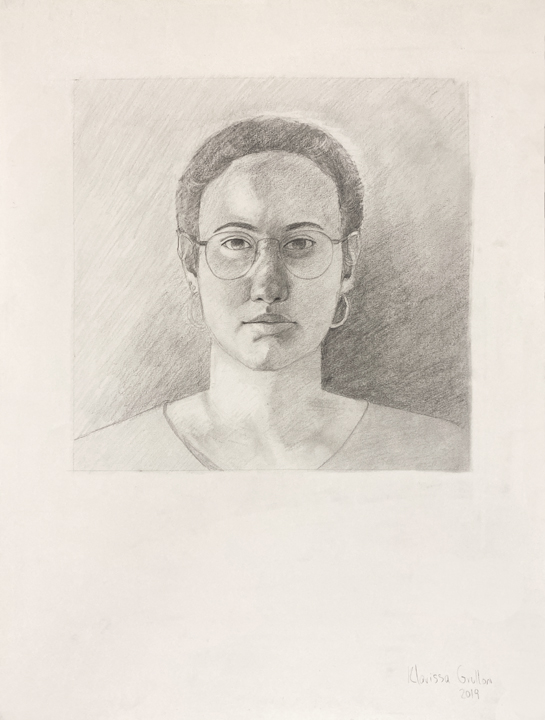
Student Drawings


Recent Comments