Author Archives: Alex Feng

Alex Feng’s Extra Credit


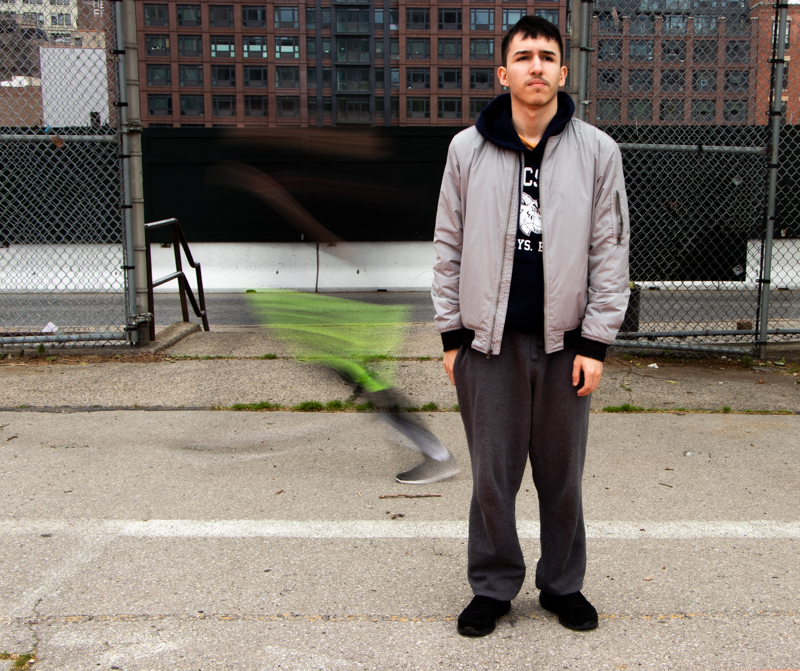
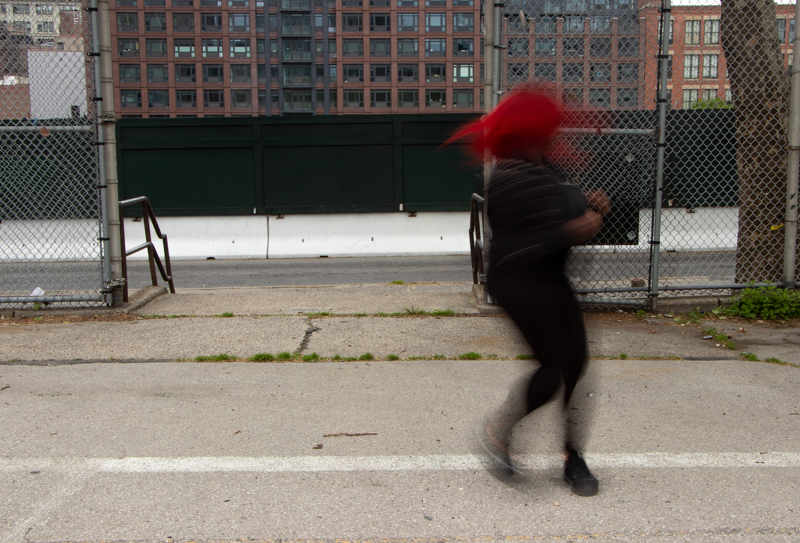
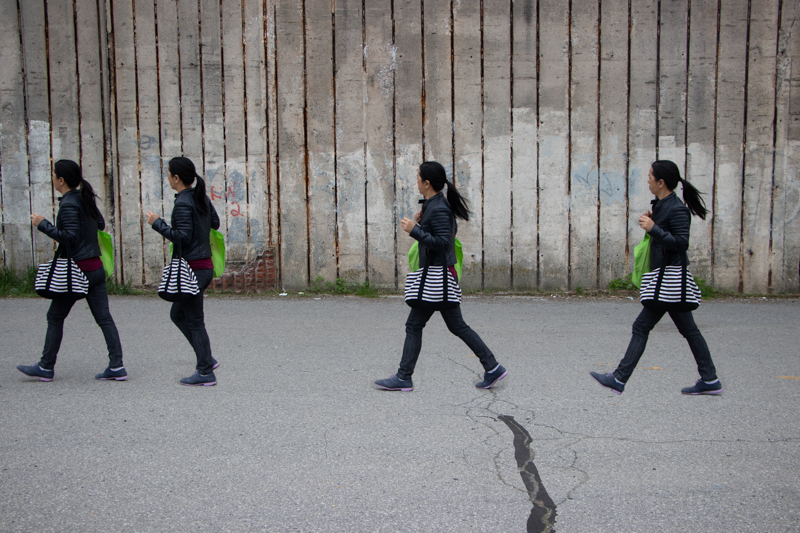
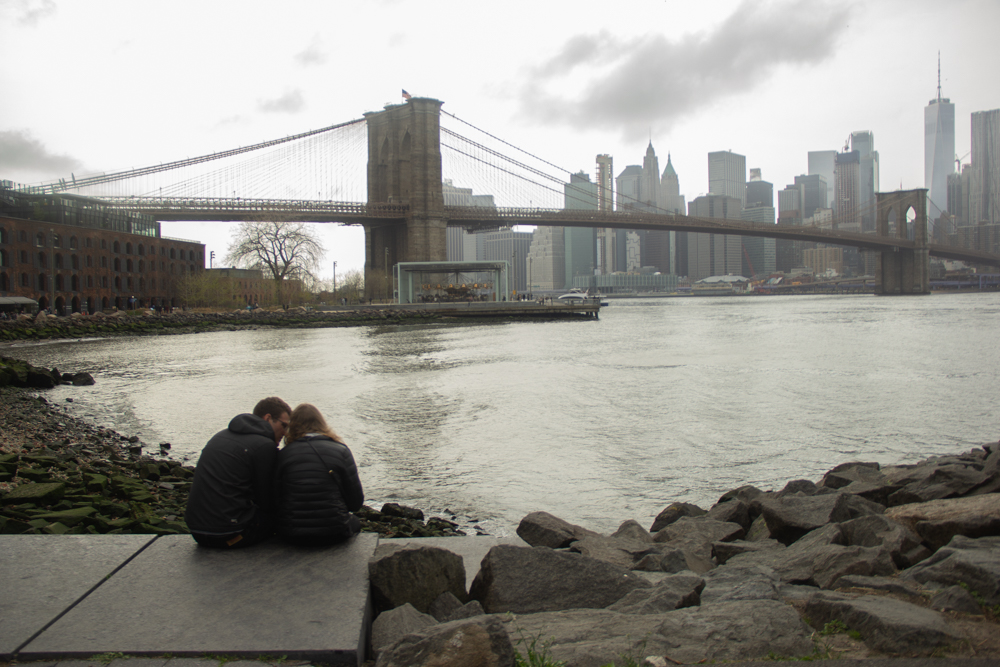
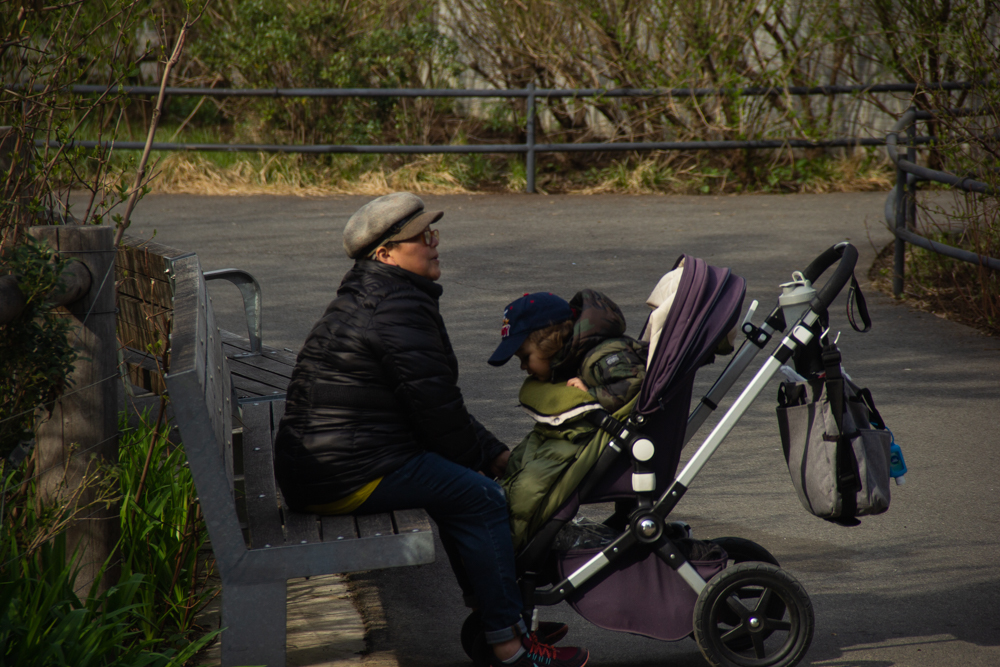
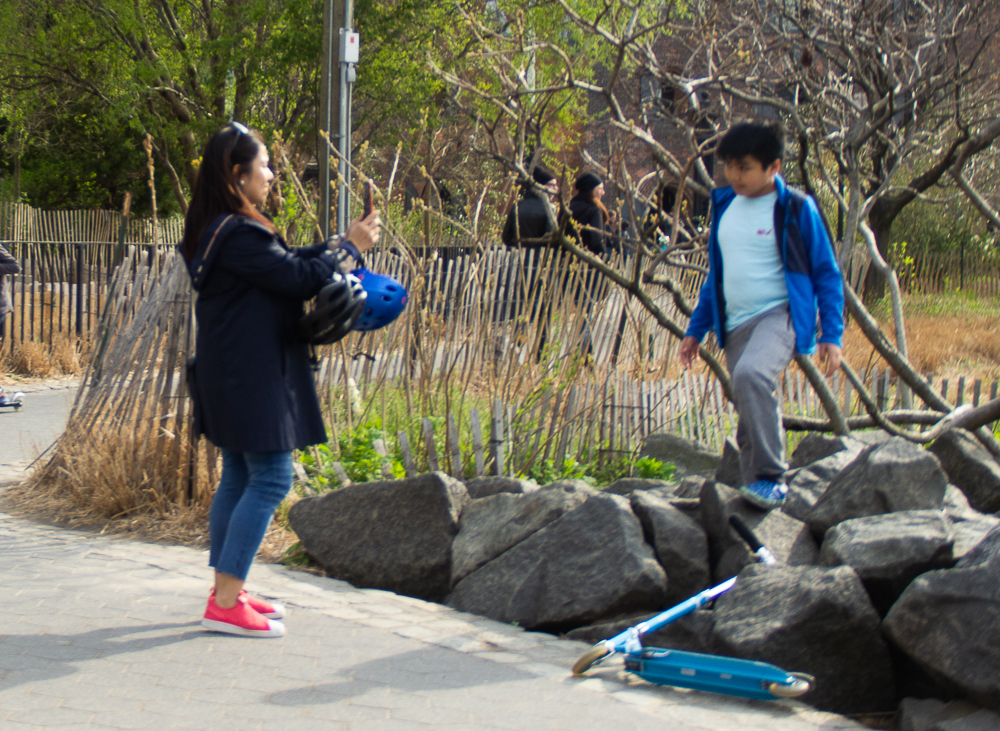
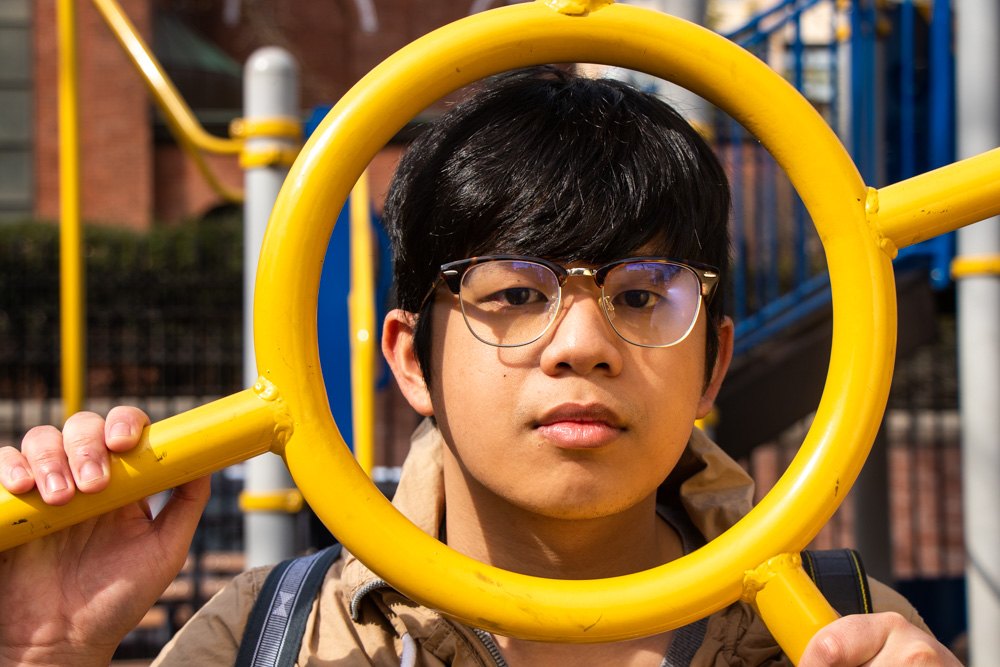
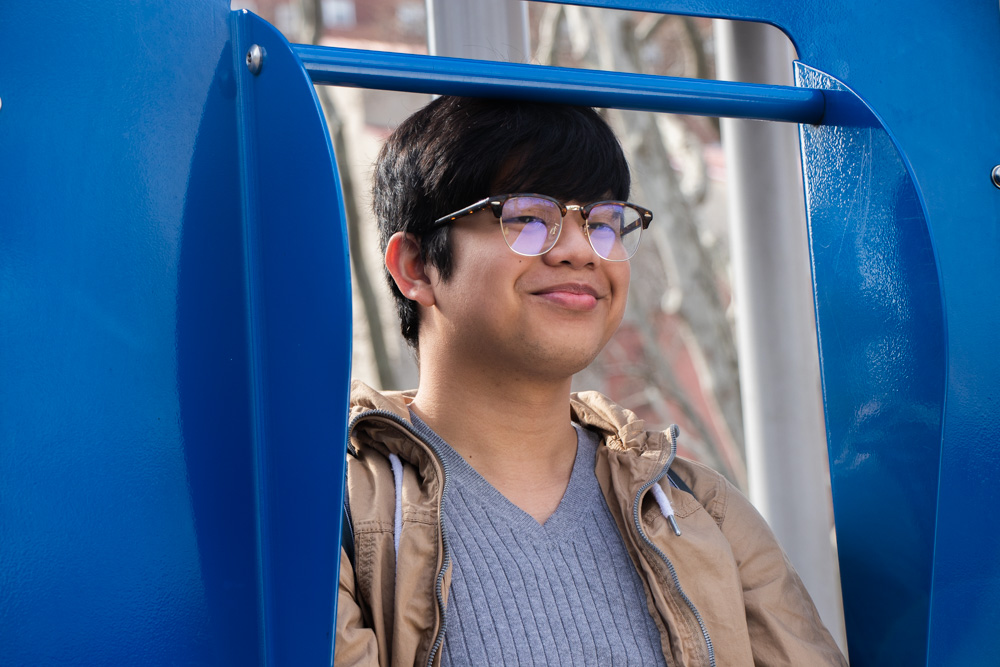
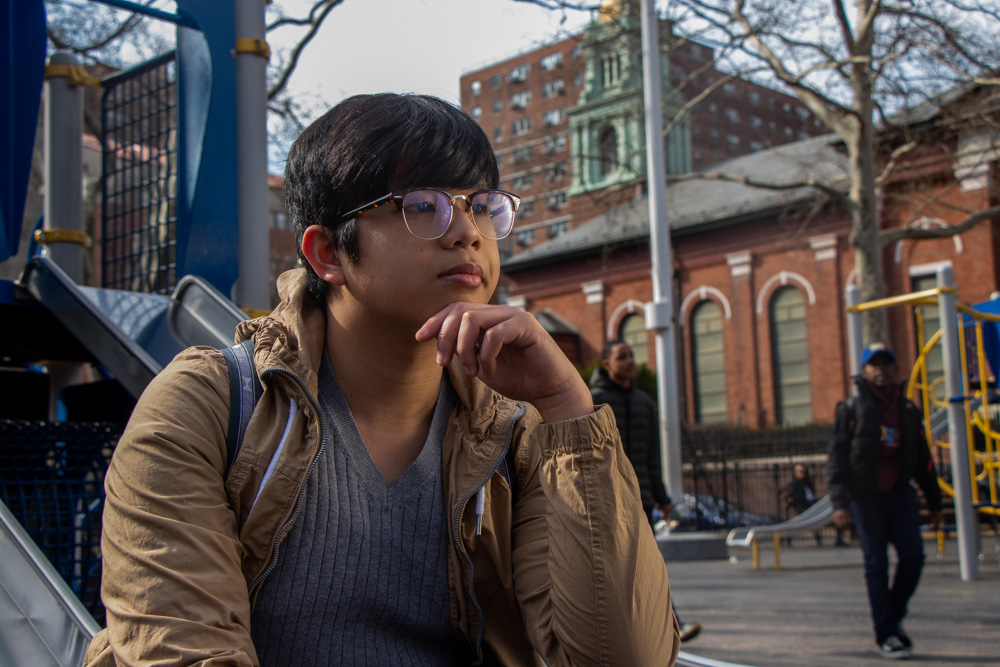
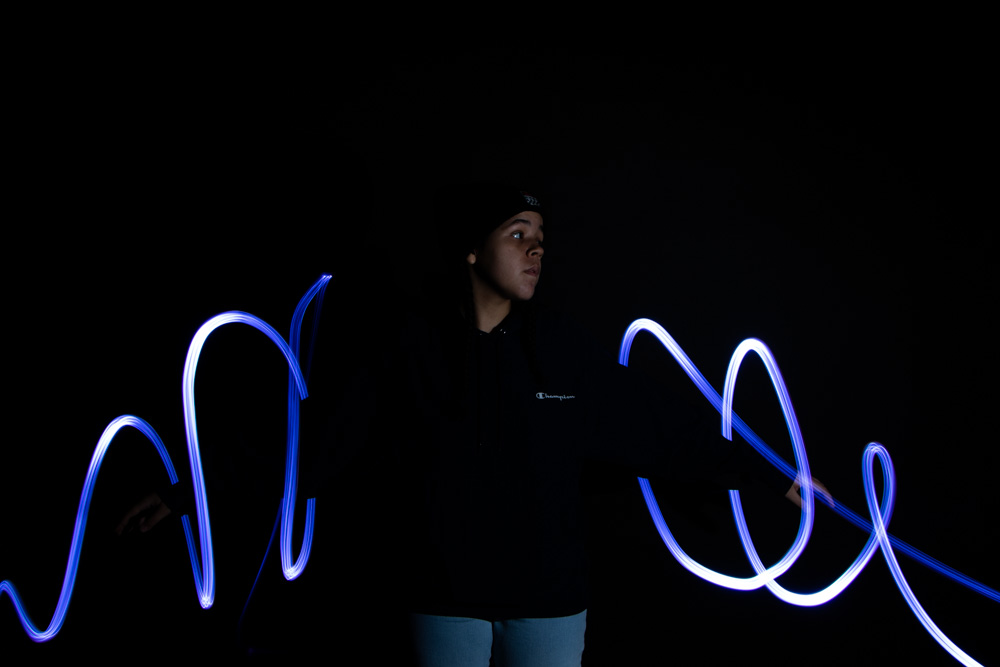
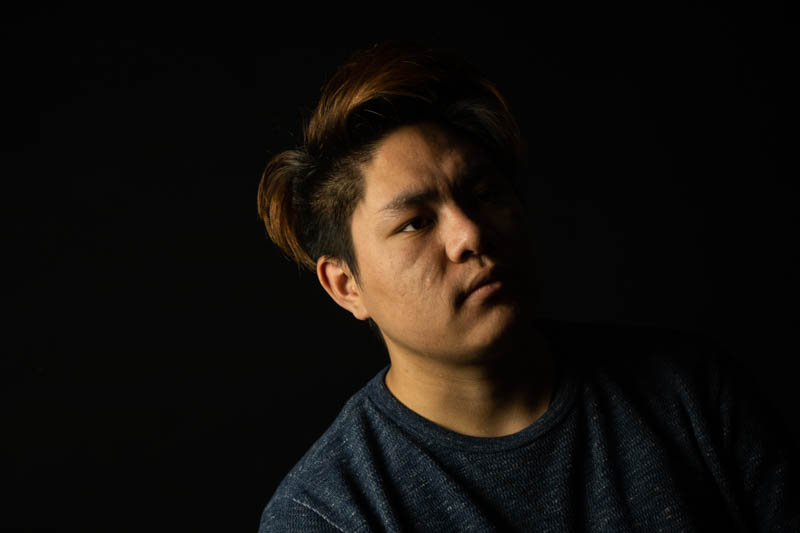
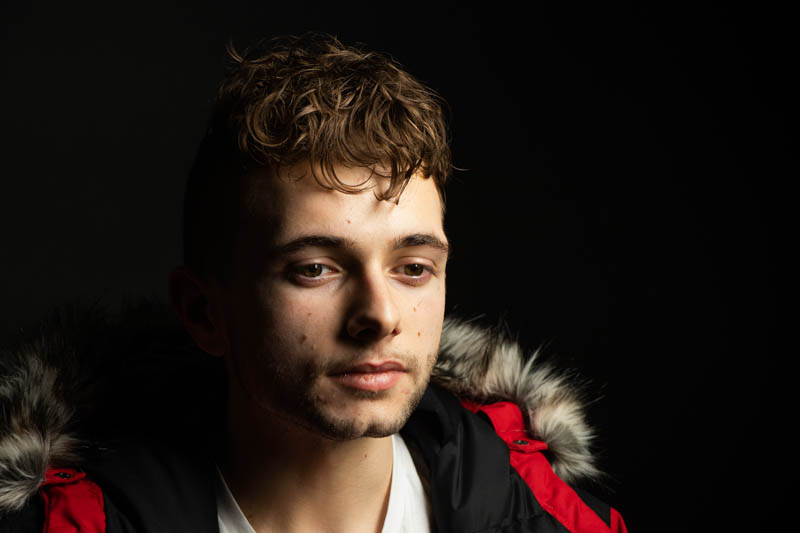
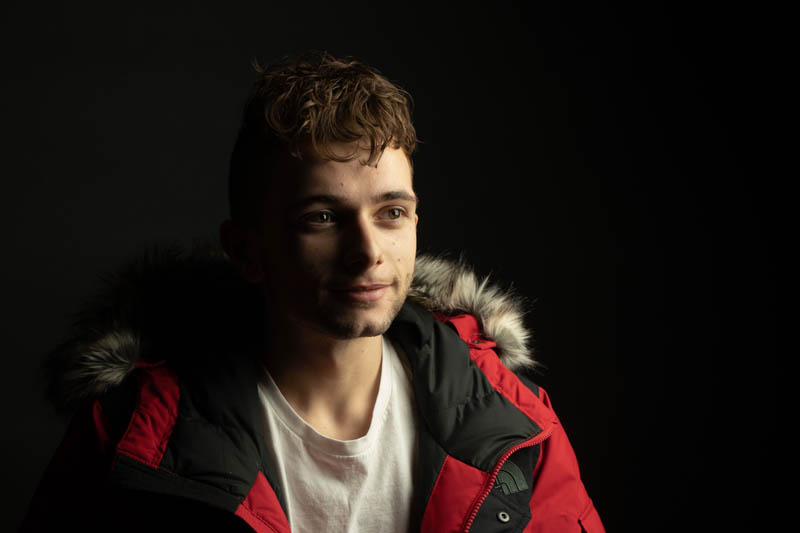
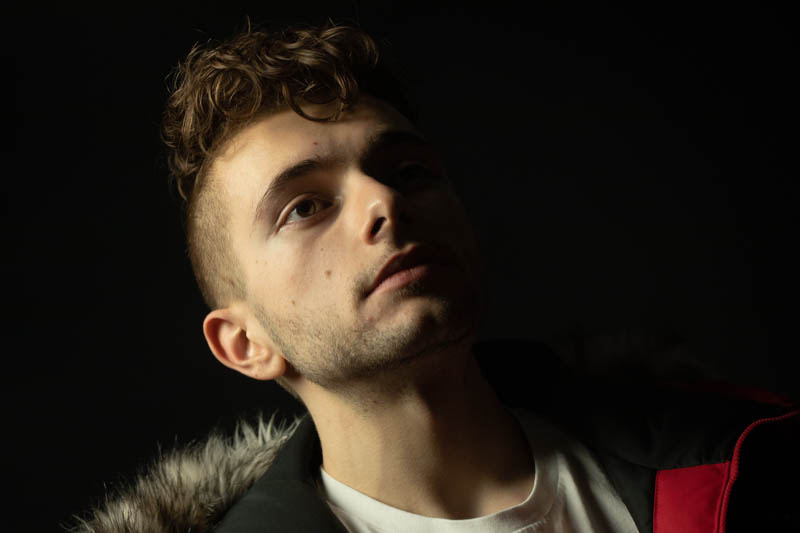
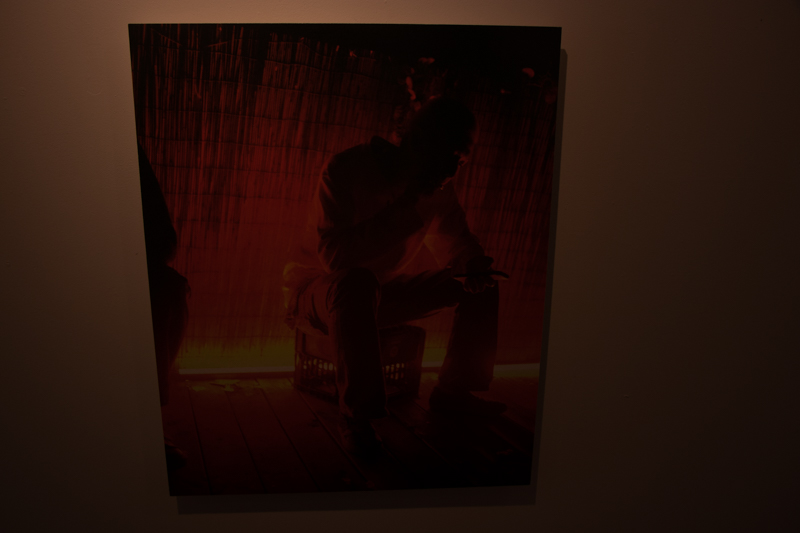
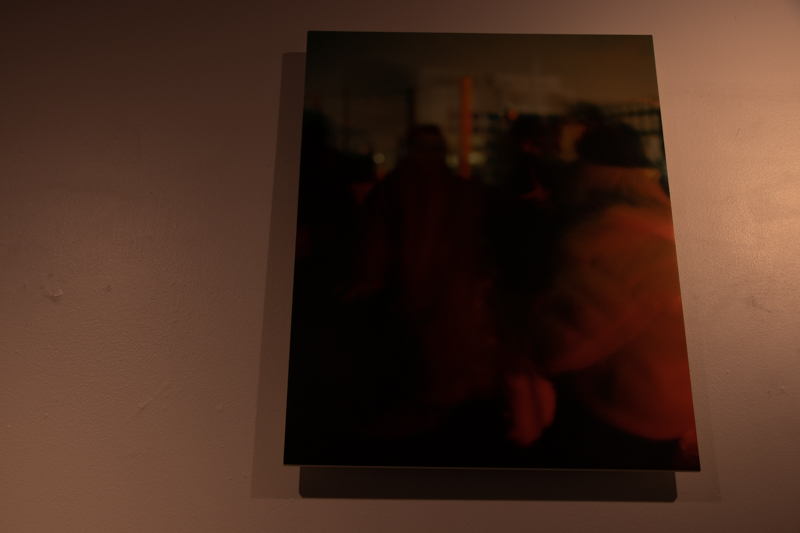
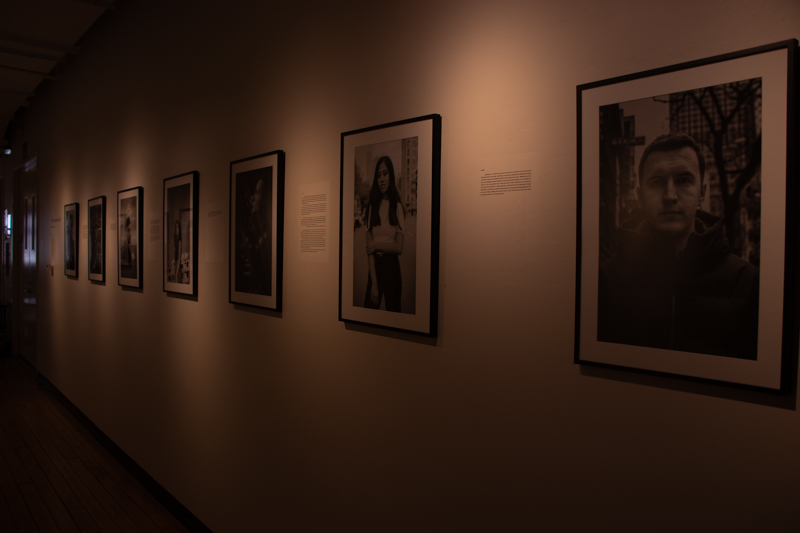
When I first arrived in the exhibit, it was mostly empty and quiet, but maybe it was because I came in around noon on the last day it was supposedly going to be shown. This trip to the exhibit may have been the first where I went to a photo exhibit at least so I didn’t really know what to do, but randomly walked around and came across some interesting photos. However, there were some photos where I may have done something differently. The only great photos I thought that were displayed were the first three and last three that are uploaded supposedly that the pictures will come out in the order I uploaded them in. The first three photos were purposely taken with a blurry look to it as if the subject was moving around. Normally, photographers may try to get their subject or object nice and sharp, but this photographer managed to get a great photograph that uses a blurry concept. As for the last three photographs, it all highlights a certain small part in the photograph while making everything else out of focus which I personally think is a great technique to use to give importance to what message the photographer was trying to tell with their photographs. The rest of the photographs that I have uploaded have some issues that I would fix or maybe it’s just me that is getting weirded out.

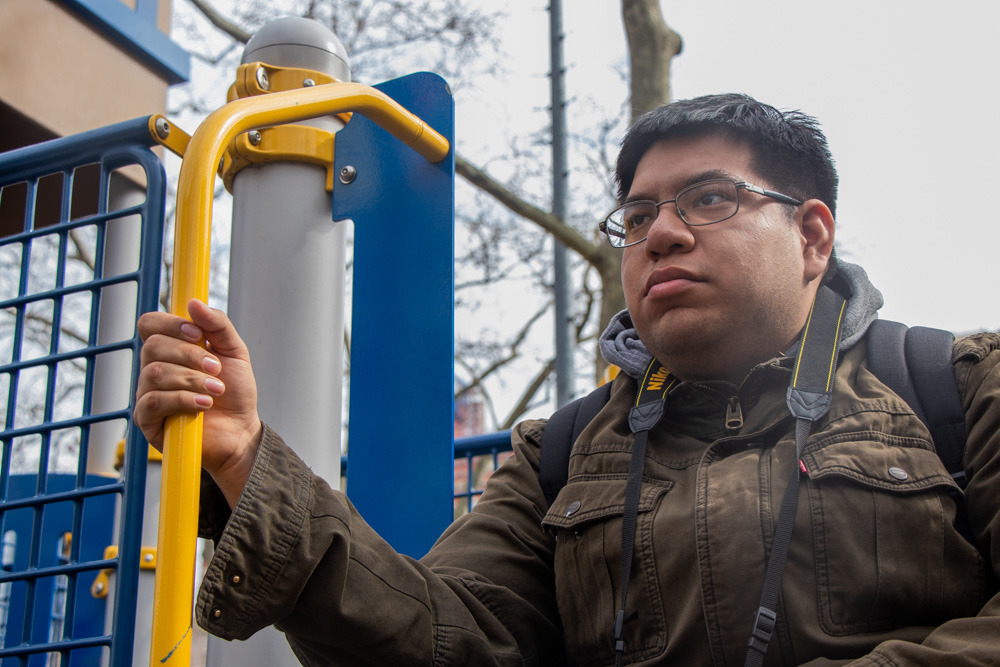
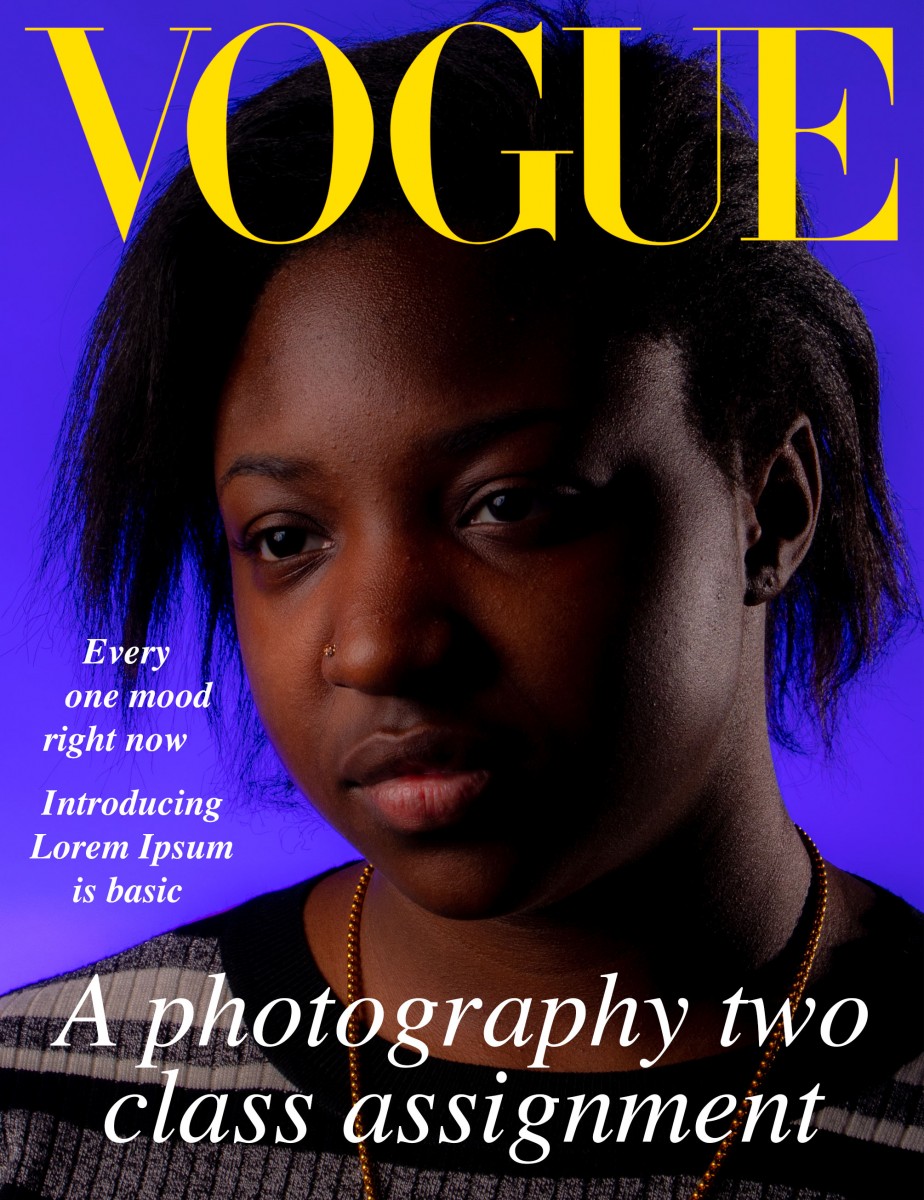
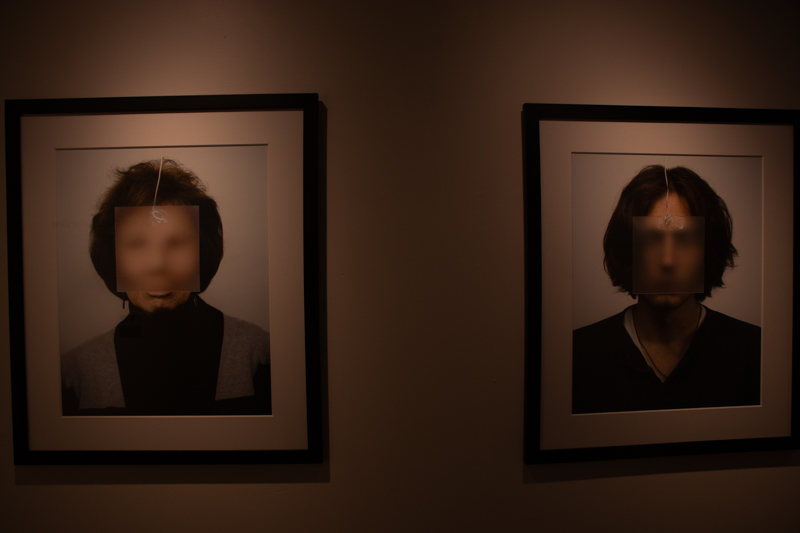
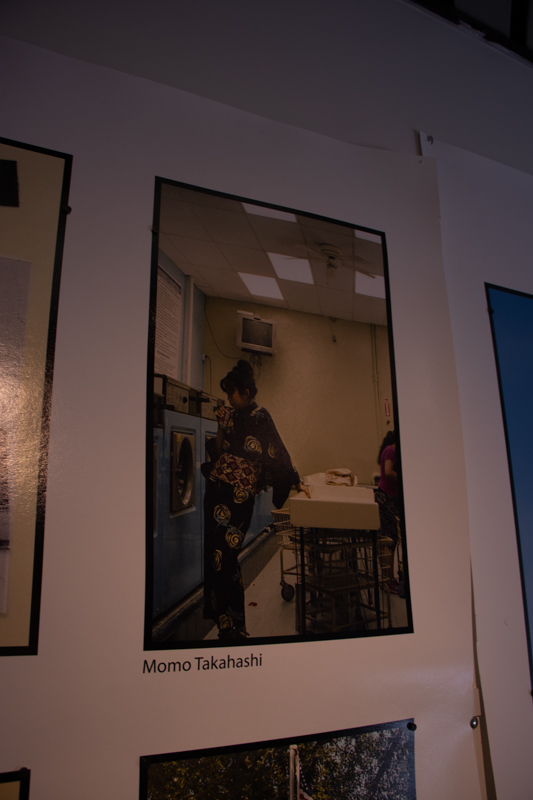
The 4th picture that is taken by this photographer choose a concept to blur out the face and have everything else in sharp with a middle and portrait shot. What is bothering me is that they should have just blurred out the entire head including the hair because the hair could represent some sort of identity whereas their concept was “blank” or no identity so they kind of failed to fully execute it in my eyes. The 5th and 6th picture concept was about religion and the photographs came out really nice. However, it really does not have anything that hints at the religion of the models so I would have tried a different approach or given them a different background to be shot in. The 7th picture is interesting in the point that the model is wearing clothes that belong to their culture and it contrasts with the background which gives off a white American vibe. Perhaps that was the purpose to show this contrast, but I would have liked it to be shot elsewhere to highlight the model even more.

Learning log #12

In order to achieve these shots, I first had to adjust the camera setting such as the shutter speed and aperture to achieve the blurriness that is displayed in three of the photos. However, it took some experimenting because increasing the shutter speed to much resulted in the photograph being to white and bright so there had to be a balance in the shutter speed and aperture. Also, it was crucial to have a tripod otherwise the model or subject would be blurry if the camera was being handheld. Lastly, the models had to be directed to perform actions at a certain speed. If the supporting person in the background or the subject spun around to fast or ran by to fast, then barely anything would be seen. Thankfully, the models had bright colors such as neon green and red to make the photographs more effective.


Learning Log #10


Some issues that I ran into when I was creating these photographs were that on the camera it looked apparently sharp. However, when importing them into Adobe Lightroom, they all of a suddenly became really out of focused. To captured these photographs through, I simply took photographs of people who were unaware that they were being photographed by me. I also had to bring up the shutter speed a lot with a low aperture and ISO 100, too. Lastly, I sometimes just waited at a certain spot for people to pass by to take a photograph of them.

Learning Log #9 Outdoor Portraits

To capture these photographs, I first had to adjust the ISO, shutter speed and aperture to go with the amount of light that was available at the time of shooting. At first, the photos were to dark or to bright so it was crucial that the camera settings had to be adjusted accordingly. That being said, the light source was from the sun in the outdoor on a cloudy day so there was no real way to control it aside from positioning reflectors around the model/subject to get some light back into their face. Lastly, we had to go around the given environment which is the playground to found spots to take these photographs. Then the model had to pose in varies ways and the position of where I was taking the photograph had to be changed, too. For example, I would crouch down or try to get a height advantage to get a photograph from a certain angle.

Alex Feng PSA

When one of my group members decided to use pills or drugs as their PSA concept, I came up with the idea to not show any human figure in the photograph, but just show only the products. I had to use the photograph set where it was rolled out on the floor to accomplish this task. Then I only used one light source instead of two and changed the direction of it so there would be barely any light in the photograph. My intention was to split the finish photograph in two with a diagonal line in the middle so one side would be really dark and one side would be really light. Afterwards, I had to carefully position the drugs and the containers to replicate how it would actually look like in a situation where someone collapsed after overdosing with drugs in their hand so this would look similar to how it would be and not feel to staged. Lastly, I had to adjust the shutter speed, aperture and increase the ISO to get the feeling I wanted and to prevent the photograph from being to dark or to light. However, I just went into Lightroom and adjusted the exposure and contrast to give it this look.

Learning log #8

To create this photo, we first had to make sure the background was not to lit so we had to position the lights in sort of a cross formation or to the sides of the model. Also, we had to move the model farther away from the background, too. Then we turn off the light for one of the sides while we added some color gel to the light providing the light onto the background to make it blue. Lastly, the iso, aperture and shutter speed had to be adjusted to the amount of light that was available. Afterwards, I just asked the model to freestyle without much direction and eventually asked the model to look off the camera to create this photograph. As I put myself some distance away from the model, in post production I was simply able to crop in and adjust the space to put in the logo and arrange the type.

Learning log #6

To achieve these shots, first the camera settings had to be adjusted to ISO 100, the aperture to 8 and the shutter speed to a minimum of 1/200. Then the lights had to be adjusted in the dark background to make it more focus onto the products otherwise the background would have been lit up. Also, the position of the light had to be moved up to the sides of the product, too. Shortly afterwards, the position of the products had to be carefully adjusted so there were less reflections as well. Lastly, for styling the shot, I had to move myself around in front of the products whether it was going to the same level of the product or being at a higher perspective than the product

Learning log #5

To achieve the photographs that were captured, we had to set the ISO to 100 since we were shooting in an extremely dark environment, the aperture to 14, the shutter speed to more than 15 seconds and adjust the focus to make the picture sharp and set it to manual to keep it stuck there. While shooting, at first we were just using shutters speeds of around five to ten seconds, but it was to short. so we had to change it to 15 through 20 seconds. Also, we had to change the position of the person who was holding the flash because sometimes the photographs didn’t show the model’s face or body so we had the person move closer and move the flash higher, too. Lastly, we found out that initially moving the light to fast didn’t produce the best result so we moved the lights slower and got a better photograph.

Learning Log #2

I picked this picture because I staged the dinosaurs to give off somewhat a brutal or chaotic feeling and then taking it in a dutch angle had somewhat of a positive effect of emphasizing what is happening in the center of the picture. Lastly, there is a difference or contrast where on the left side of the picture is the wide defused light while on the right side is a more focused light making the image look better.