Author Archives: Fernanda Cajas

Extra Credit


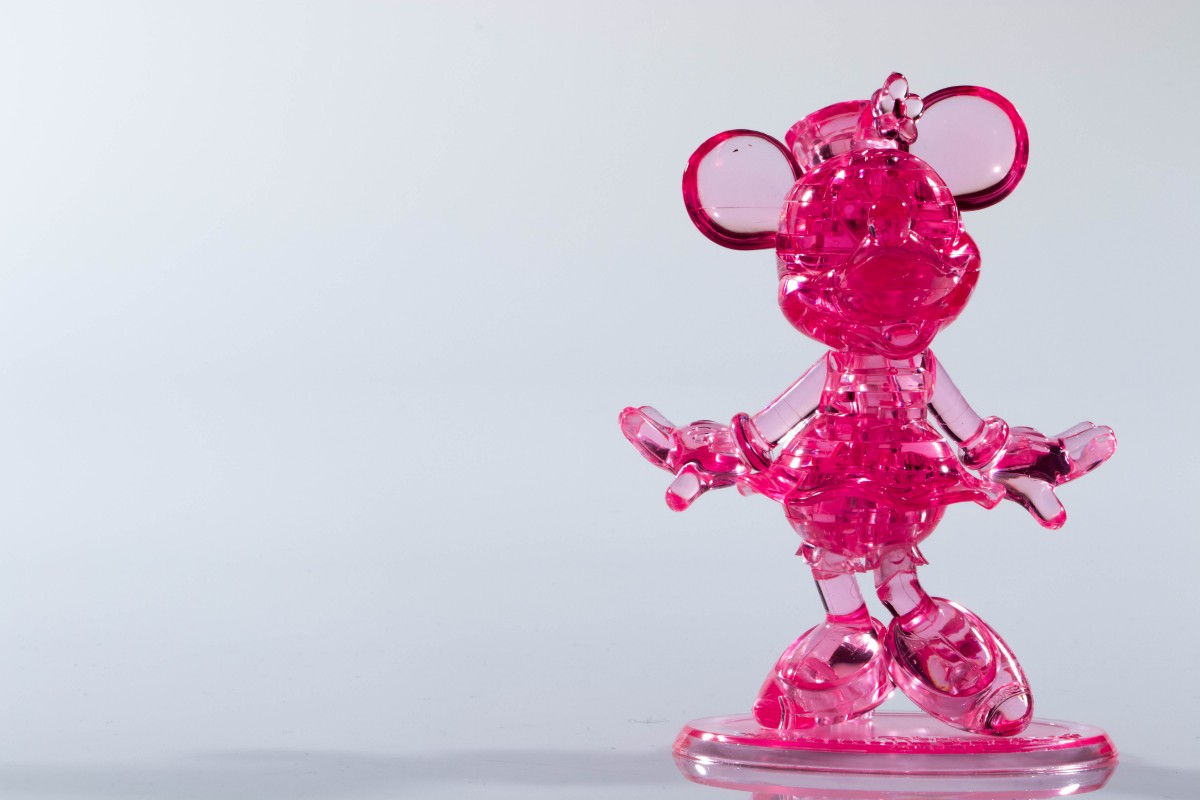
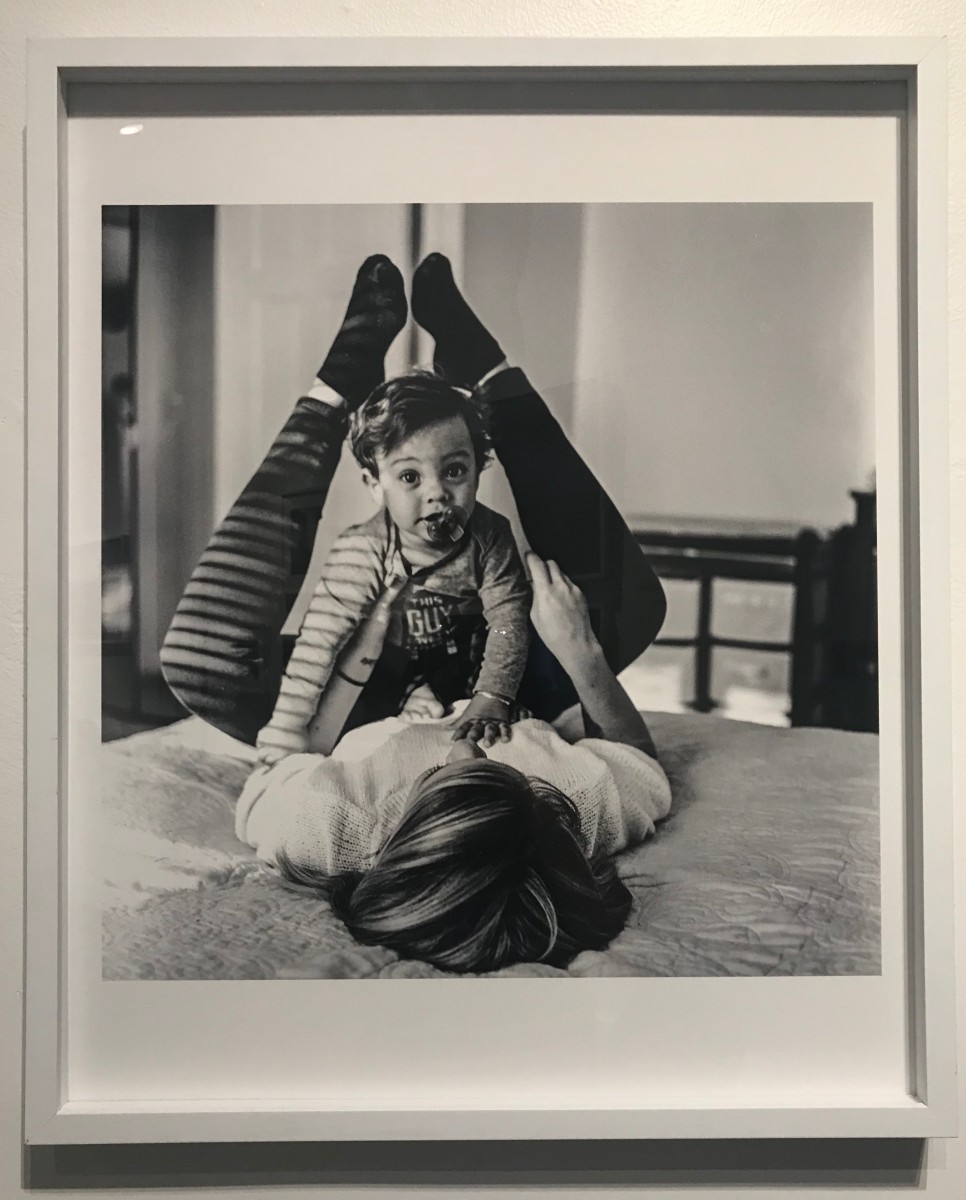
One of the photographs from the gallery that I liked the most was the one in black in white that captured what seems to be a mother and her child. I enjoy how the light comes from the left side, creating shadows that form horizontal patterns on the subjects’ clothing. The photographer did well in capturing the toddler’s facial expression just before his pacifier falls out of his mouth. What I think could’ve been done better is positioning the subject in a better area so that nothing in the background would interfere with the foreground, such as the line running down next to her right foot and the black object that is on the far right of the photograph. In my opinion, this kind of distracts the viewers eyes, from the main subject.

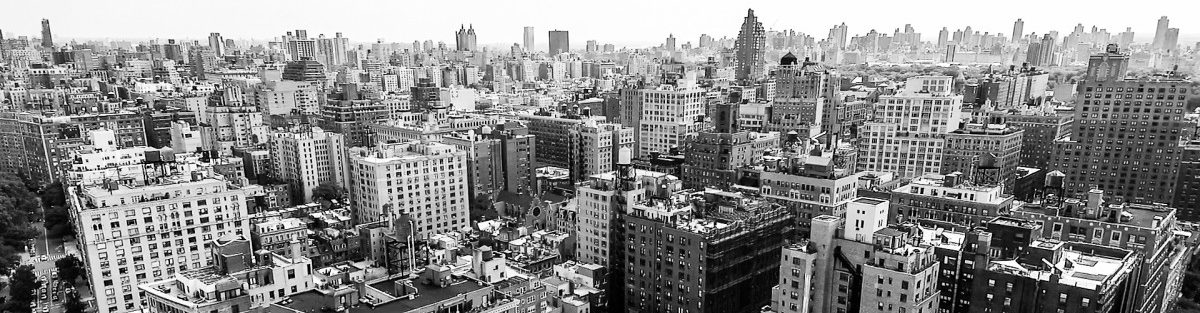
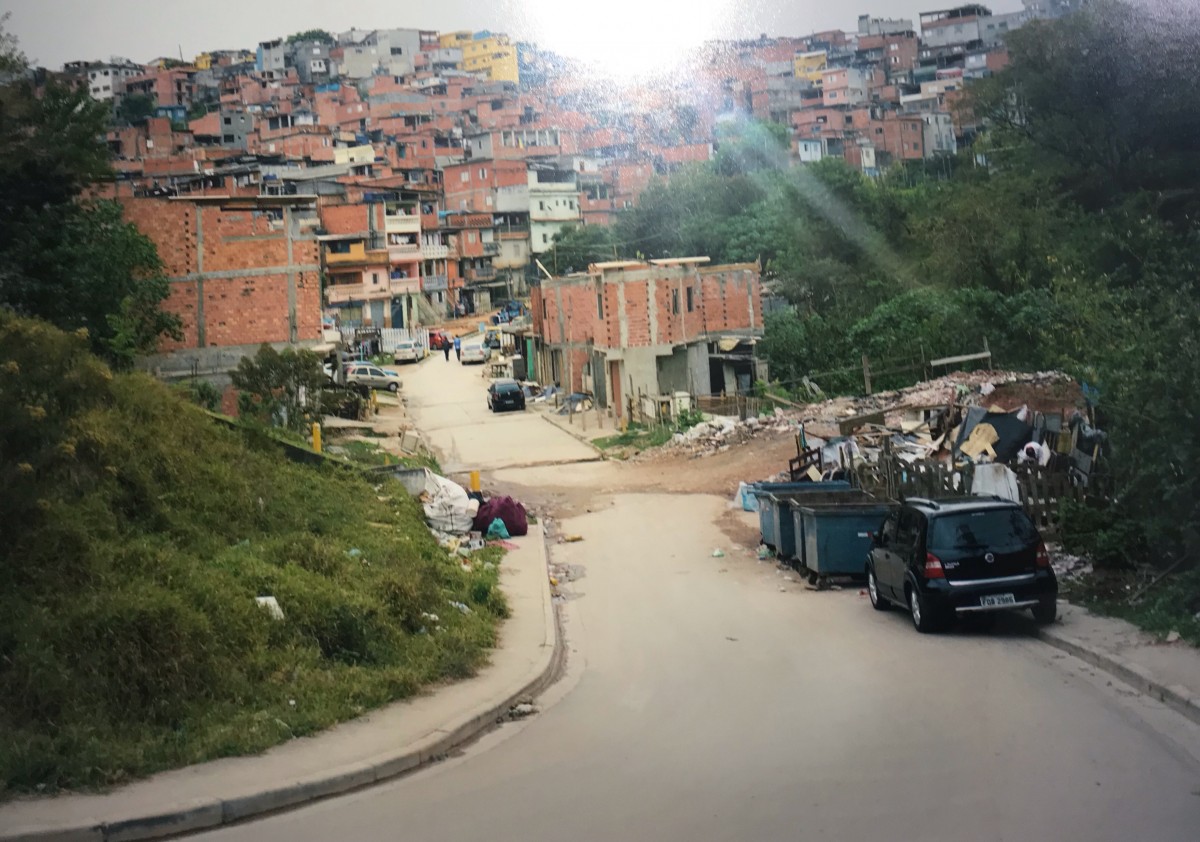
Another set of photographs which I really liked were these. They took me back to the country I was born in, Ecuador. The streets and houses are just like the ones near my grandparents’ house, small, colorful and humble. My favorite one out of the three is the one where you can see the houses from a far and a street leading up to them, which seems purposely photographed that way, in order to show the rule of thirds. The lighting works well even though there does not seem to be much sunlight when the photograph was taken. The only thing distracting, in my opinion is the black car on the right.

Learning Log #12

For this photo shoot, the ISO stayed at 100 most of the time. The setting that changed the most was the shutter speed and aperture. The shutter speed mostly used was 1/30 and 1/250. It was difficult at first trying to capture the right shot due to the movements.   

Learning log #11

     For these shots, a lot was required. First of all, PATIENCE. Second, the right ISO and aperture. The ISO had to keep changing because of the amount of sunlight we kept receiving. It was interesting trying to get the shadows in the right place using flash. What I liked the most was capturing the last image since there is a kind of dramatic effect to it, due to the shadow that was created on the left side.

Learning Log #10

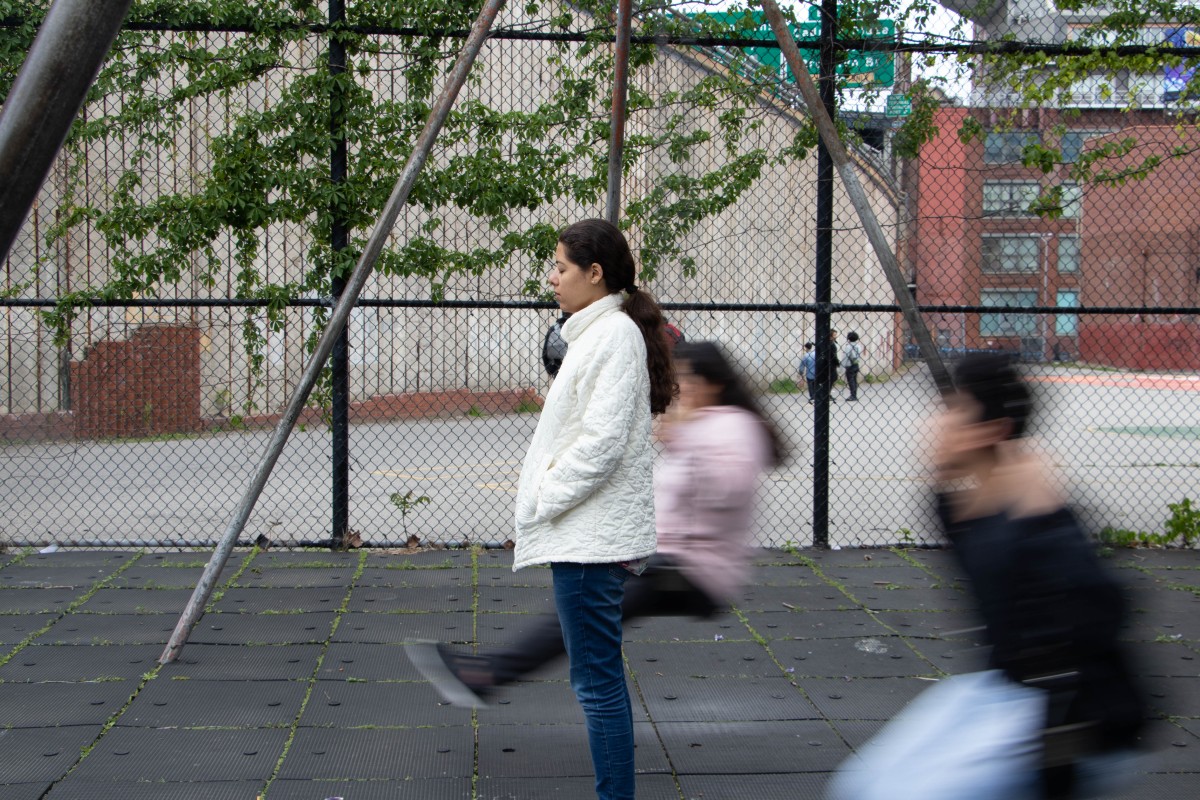
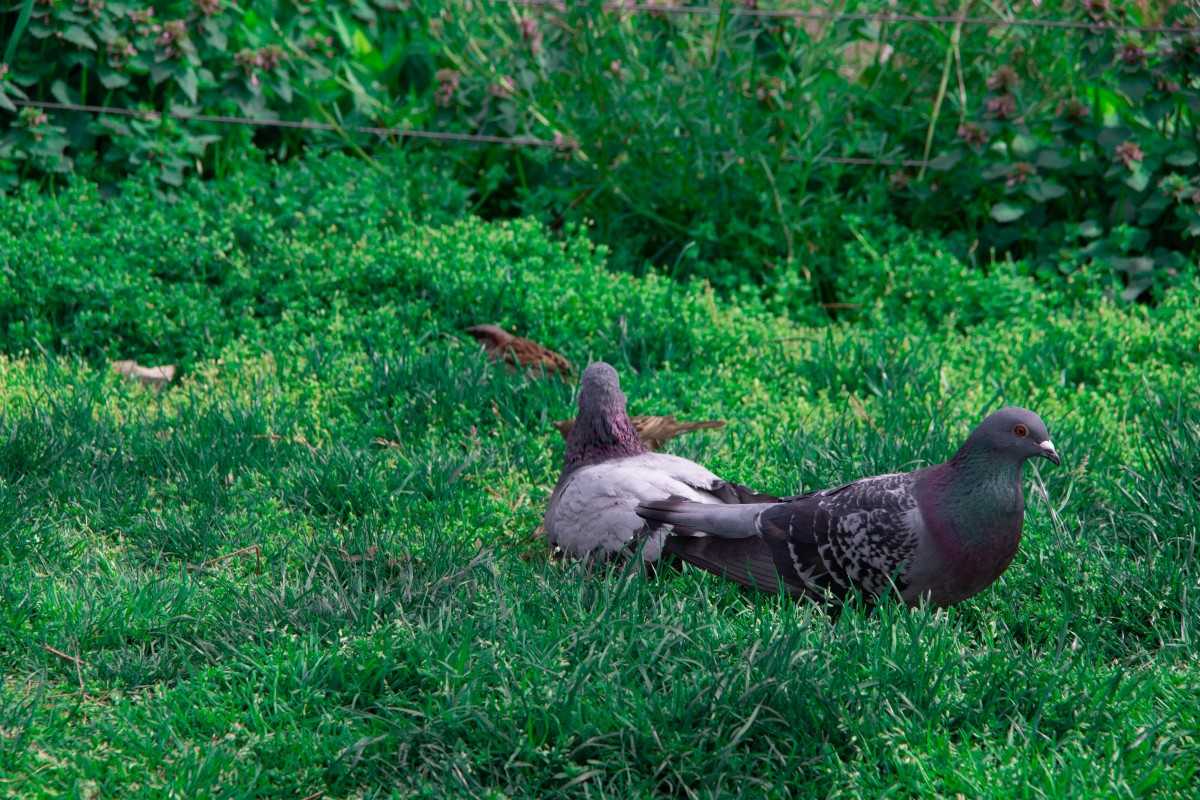
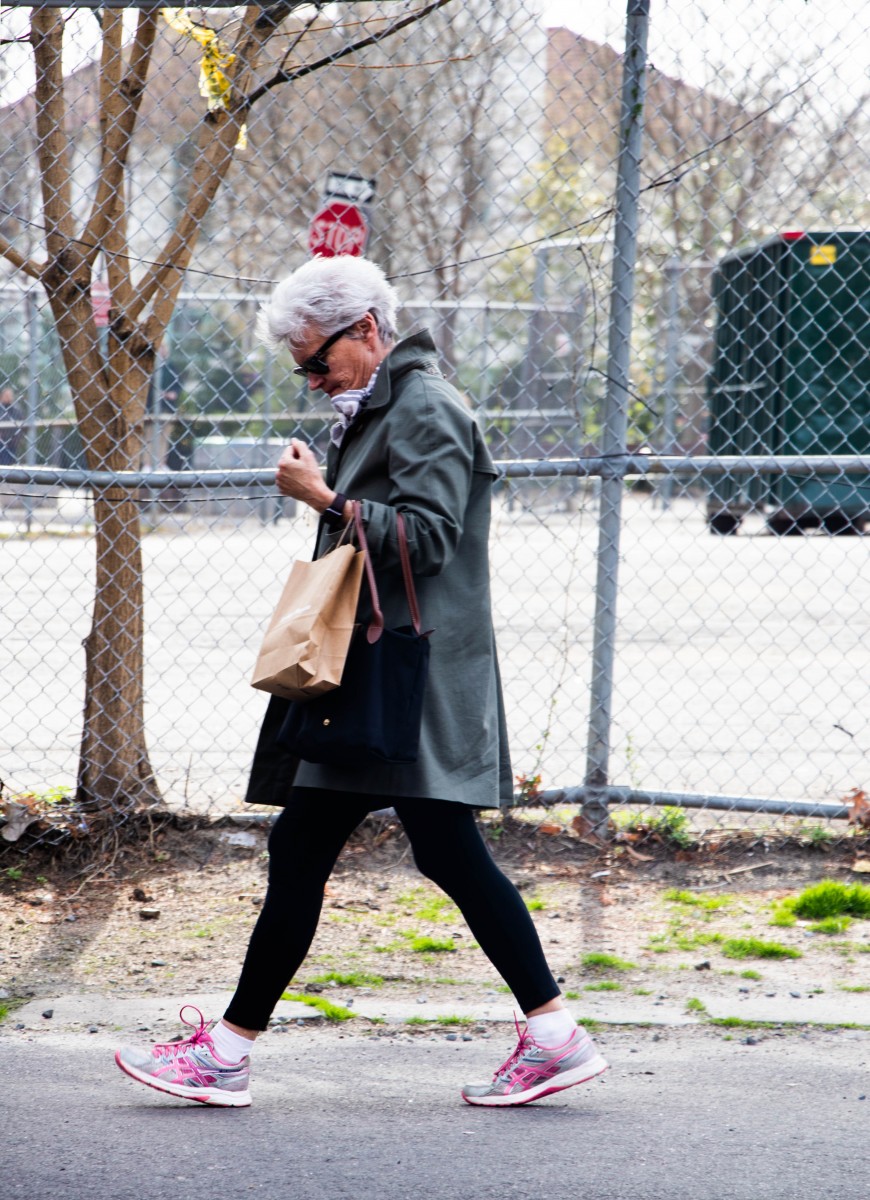
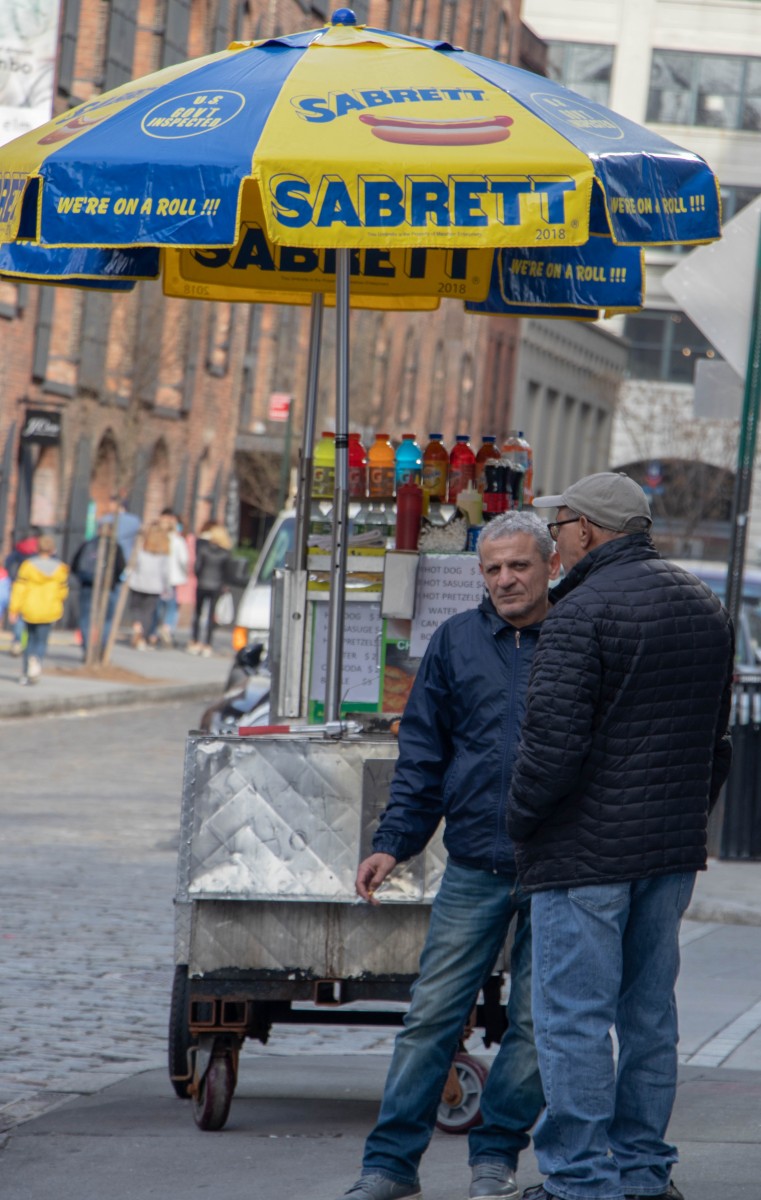
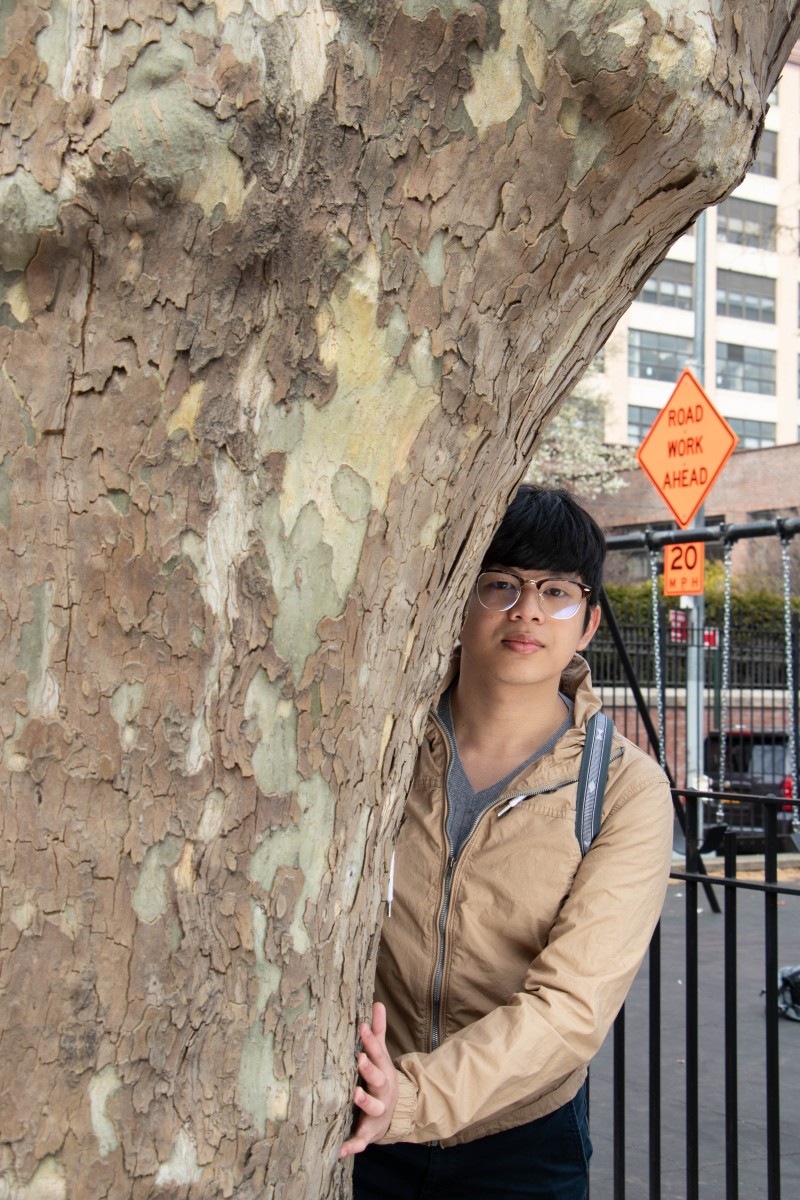
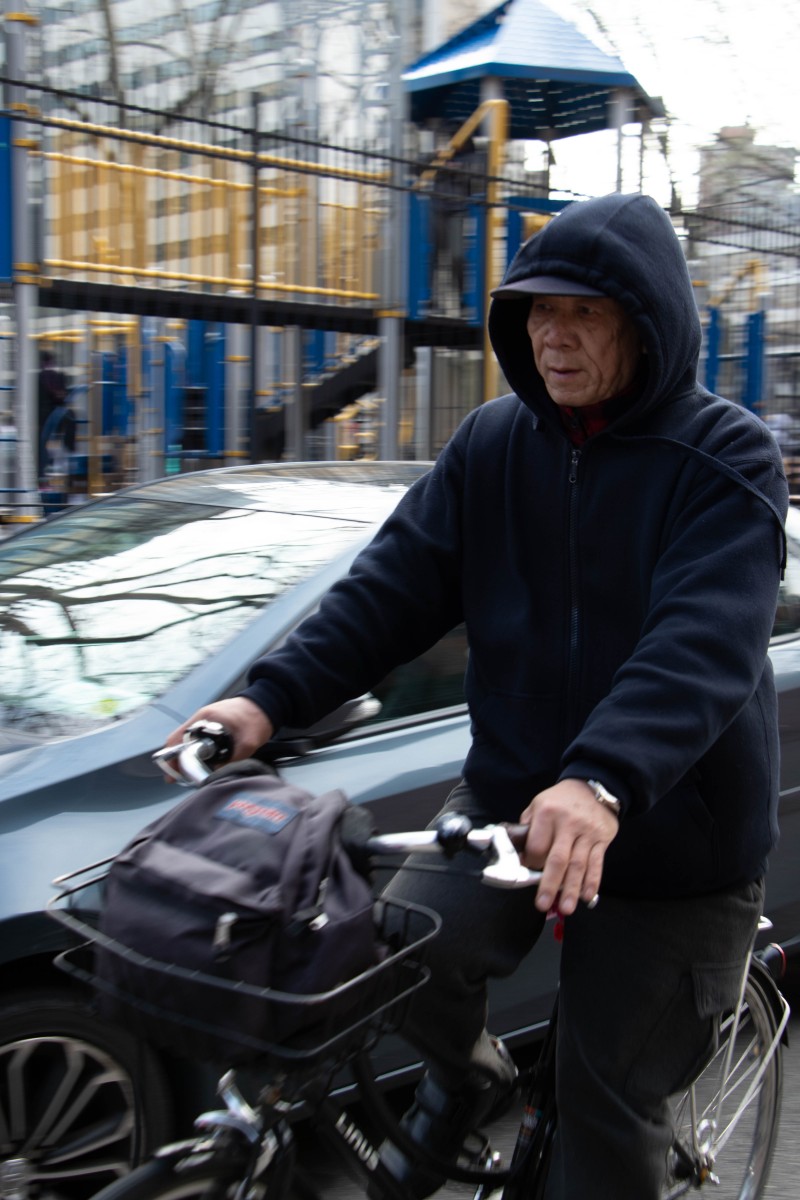
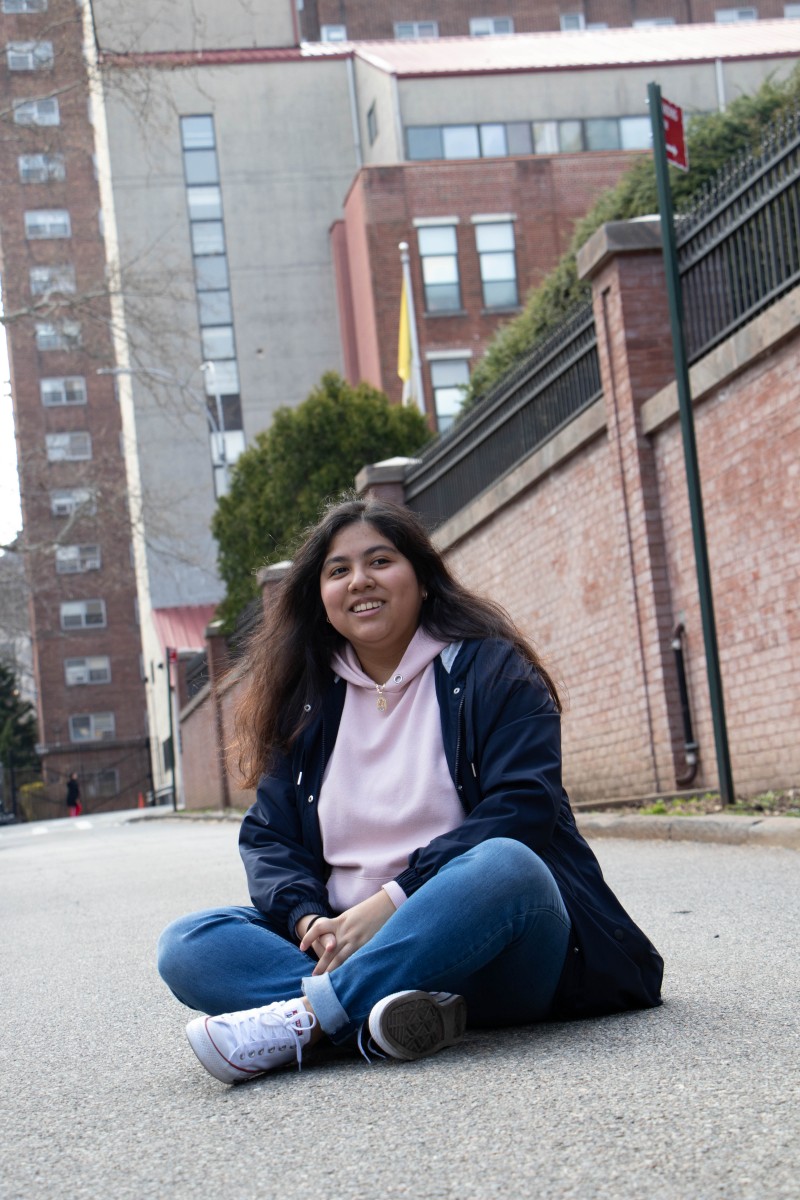
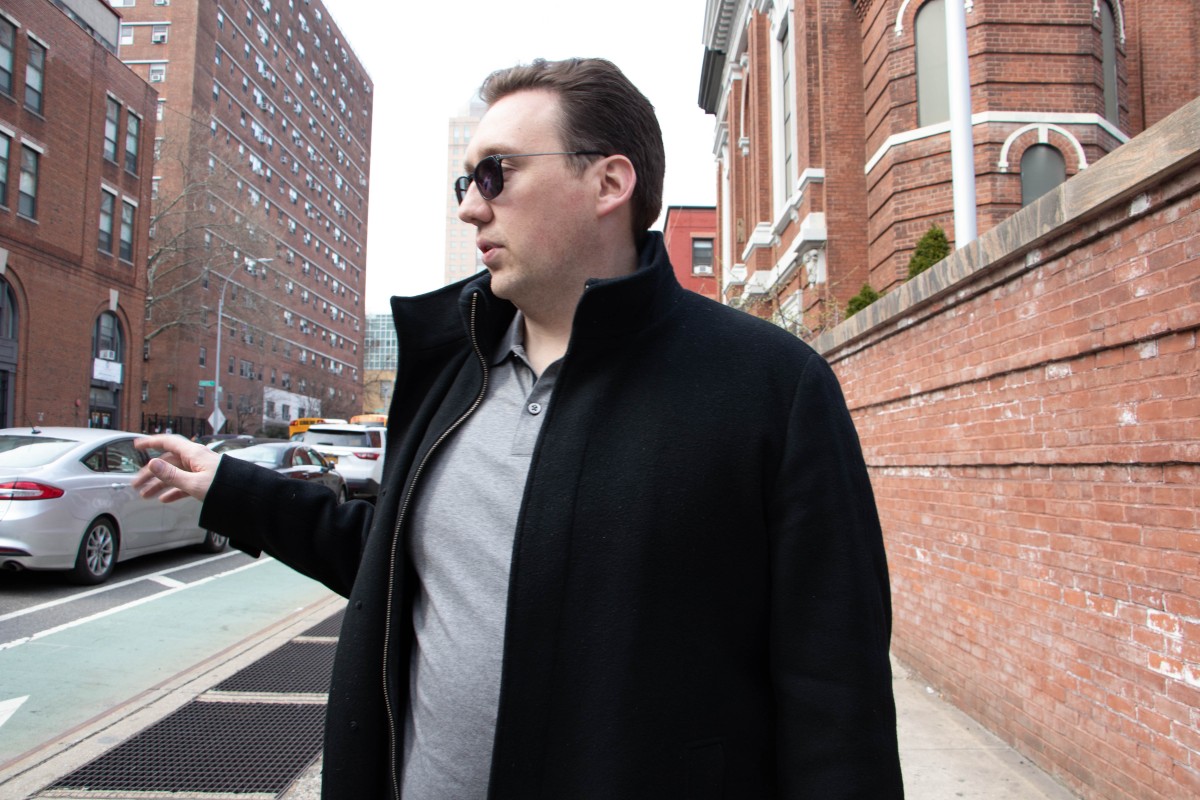
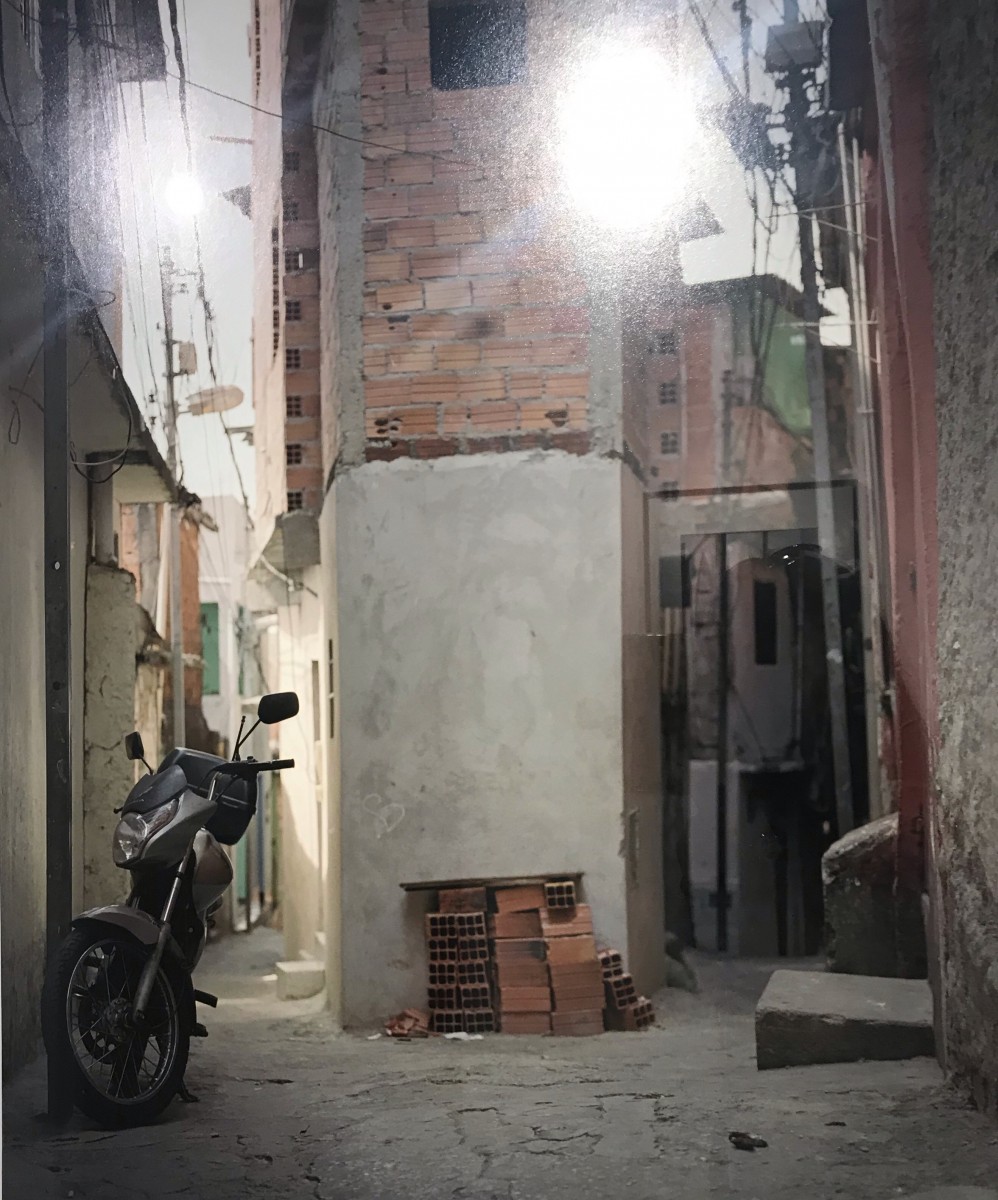
 These images were harder to take considering the fact that we could not modify the light source, as in the intensity or the direction of the sun, which was not present most of the time. The images had to be taken quickly because since these people were not aware I was taking the picture, I couldn’t take long to shoot them. The ISO was kept between 100-160, no higher than that. The aperture was kept at 5.6. 
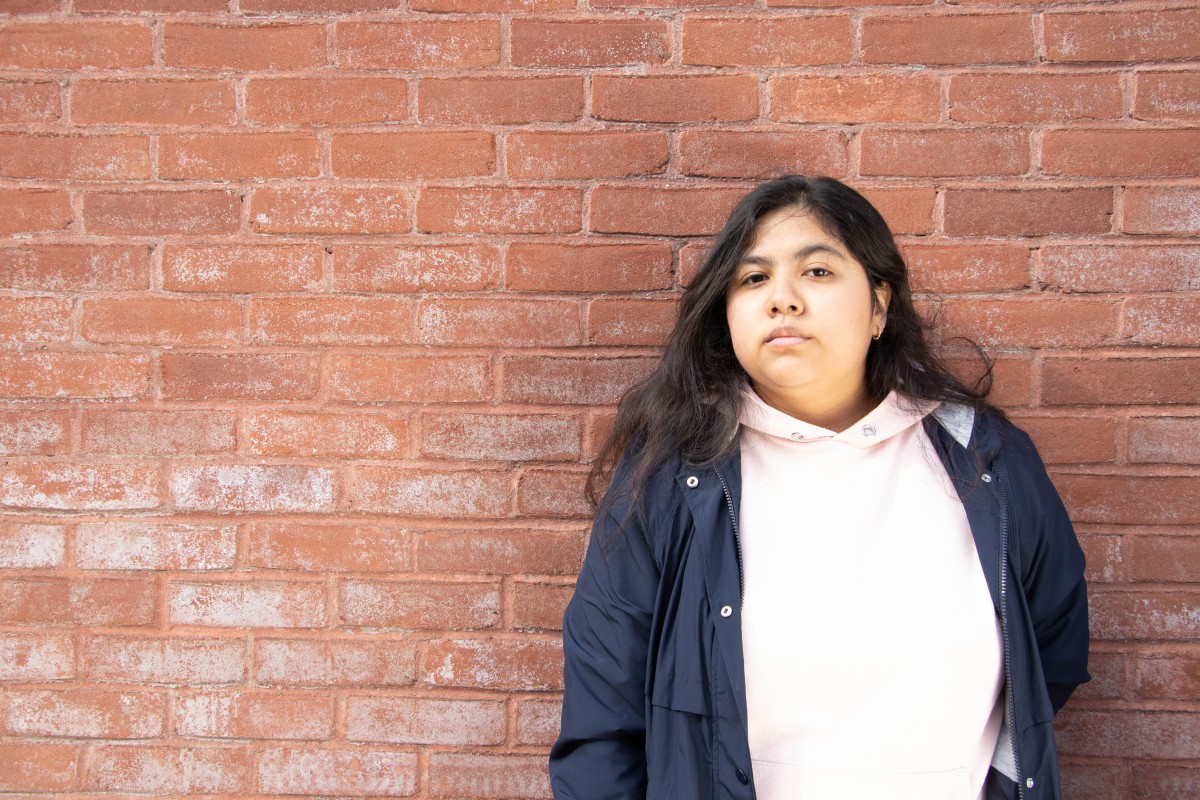
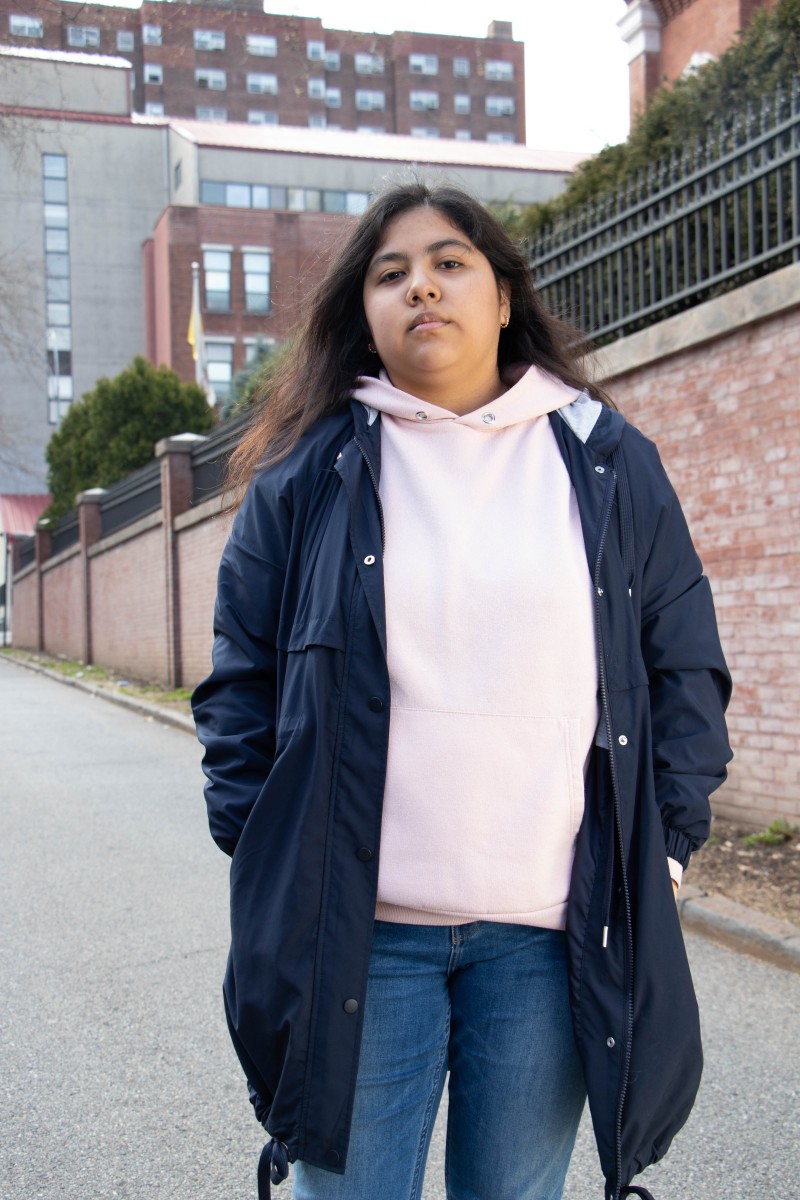
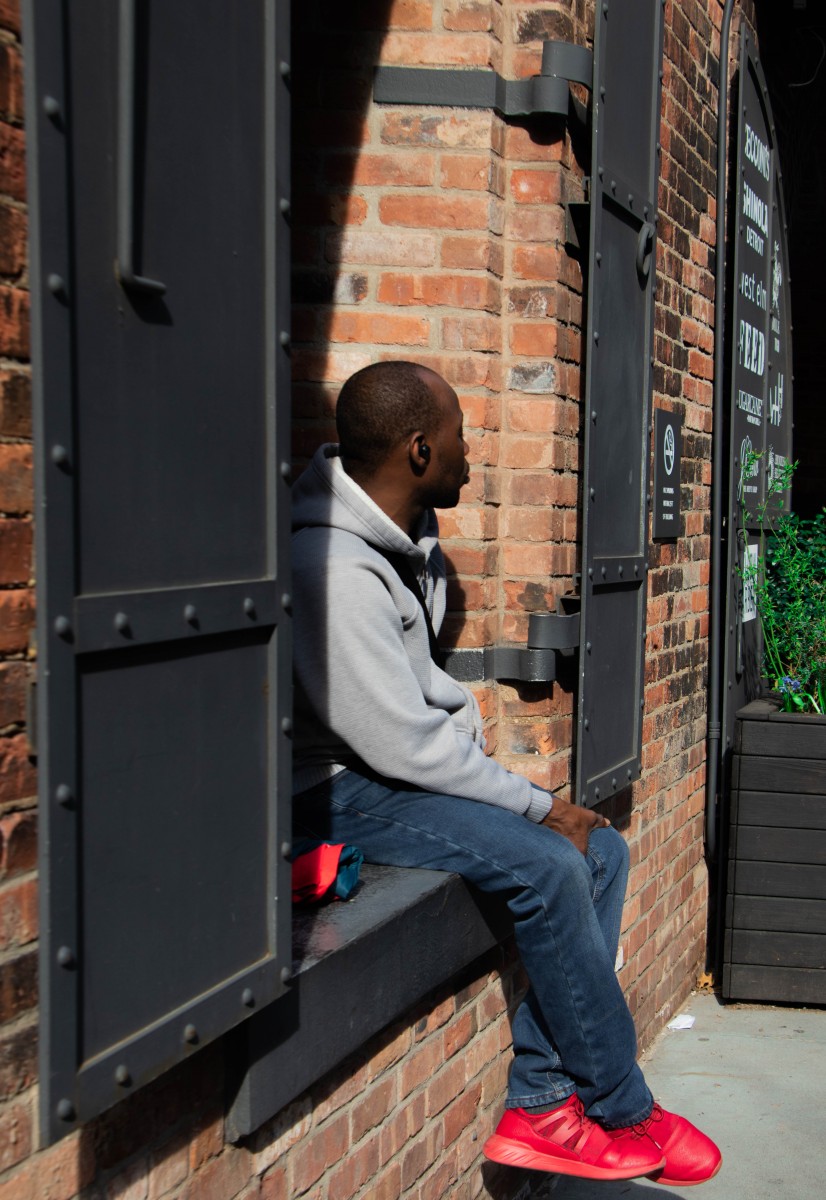
Learning Log #9


Today’s class was a little more different because we used natural lighting. It was sort of difficult at first because there was no strong sunlight, but we managed to used the reflectors to create some lights in my subjects’ face. I tried to not get distractions in the backgrounds, such as cars. My main focus was to get the brick walls in the background. The ISO used was 100, aperture was 5.6 and shutter speed was 1/125.

Learning Log #8

For this photo I used a clamshell lighting. The lightbox was placed right infront of her to make her face have that bright contrast. The inspiration for this photograph was a magazine where Ed Sheeran was on the cover of. The ISO was 100, the aperture was 6.3 and the shutter speed was 1/200. At first I was not able to get the right image quality I wanted but then after several tries, and after using a light reflector, I managed to get a good shot of her with a small space at the top of her head so I had space for the logo.

Learning log #6


Today’s assignment consisted of taking objects and photographing them in lowkey and highkey lighting. At first, my object was a watch but then I realized that I was better off using this crystal minnie mouse puzzle, so I put it together and photographed it with and without the box it came in. In order to take the highkey photos I had to increase the aperture from 13 to 18 because the due to the crystals, the minnie seemed washed out and too bright, almost like a white color. The lights in both lowkey and highkey setup were placed on the sides in the back of the object. The ISO was also 100 for both setups.

Learning log #5


This was by far the most enjoyable class session. At first I was not sure of what settings the photos were supposed to be taken at because they would come out either blurry or the subject was just not in the shot. Then my group and I realized that the reason was because the light was not going off at the right moment. The light had to be flashed right after the image was shot. Then we realized that the image still wouldn’t come out, so we had fix the settings one more time and we decreased the shutter speed. The ISO remained the same at 100. We did double exposure multiple times and even though we did not get it right away, when we did we created great images in several colors using the gels. The shutter speed we used was 10, 13 and when we needed to create double exposure, we used 15 seconds so the subject could have time to move and draw with the light. My favorite part was when we created the silhouette with the LED stick the professor had.

Shot list (midterm)

Subject: friend

1.Waking up

2. Eating breakfast

3. Getting ready to go to school

4. Waiting for train

5. arriving to school

6. in class

7. walks out of school & waits for bus to go home

8. arrives home and watches netflix

9. makes dinner

10. Goes to bed