On this page, I’m displaying some projects that I’ve worked on from home. Some are finished and others are incomplete. All in all, each idea that I came up with helped to produce something useful as well as practical.
WALL MOUNTED MONITOR/DISPLAY (July 2015 – September 2016)
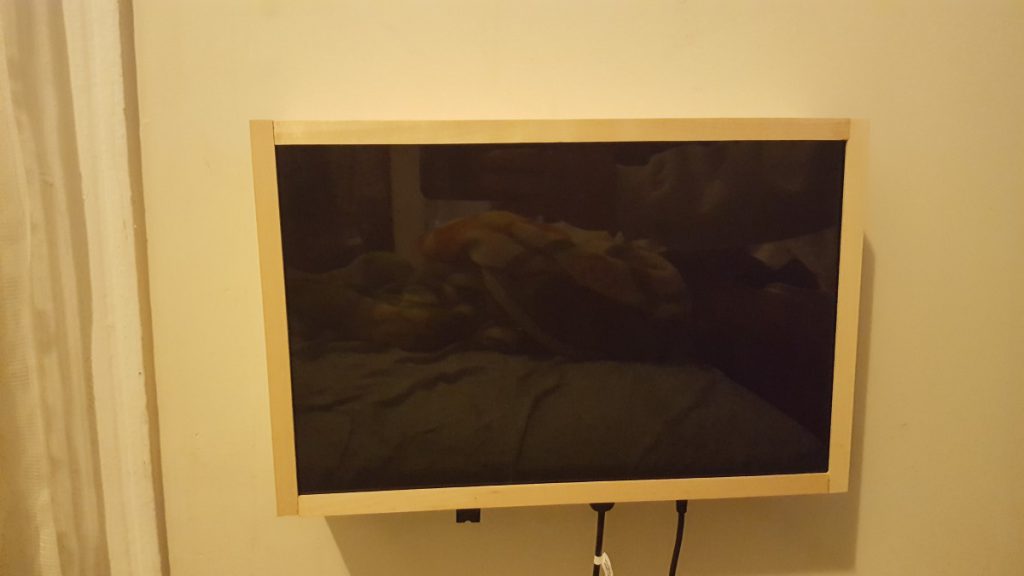
Here is one of my first home projects I started and developed over time. Its wall-mounted monitor for gaming, streaming video and music, an extended display for desktop or laptop. This idea was from a Youtuber that takes electronics and repurposes them. taking an old laptop screen or monitor and making it portable or easy to display anywhere was a great idea. I started by measuring and creating templates for me to cut at home using a rotary tool. I Started with acrylic then Basswood as I developed this.
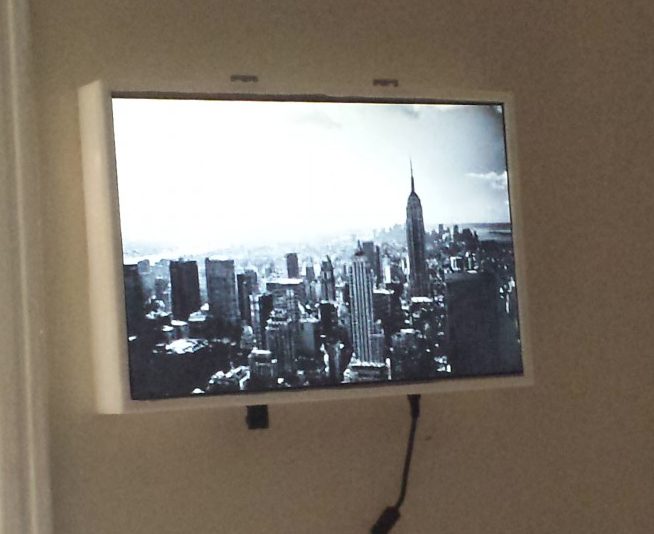
First design using white acrylic as the enclosure.
I started this build in July of 2015 and what I’ve learned from this project is that while acrylic has a nice look and comes in various colors and thicknesses, it is fragile. I’ve used white acrylic for the first enclosure build then I used a clear acrylic for the second. Both happened to break/ fail under the shock of being dropped.
I thought of many ideas to prevent the same problem from reoccurring. One solution that I was comfortable with was the use of basswood to make a new enclosure.
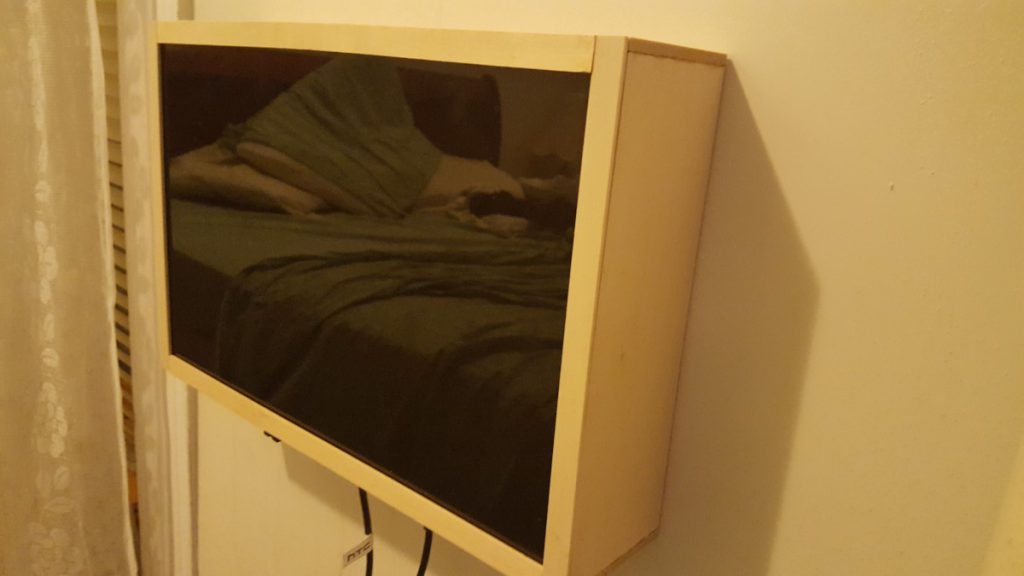
building this display enclosure took 30 mins with the use of a rotary tool and saw blade for wood attachment.
What I learned from using this material compared to acrylic is the time for assembly was different in the sense that it was faster with basswood. With acrylic, a specific glue is required to adhere pieces together, but with basswood, a variety of adhesives can be applied to create a tough yet strong bold for the frame of the enclosure.
In conclusion, I like the Basswood enclosure and the difference in durability strength it has made for the development of the project. I would like to create more projects using this idea, it’s great for any space and can be used in an array of applications.
Bluetooth Speaker (August 2015 – Present)
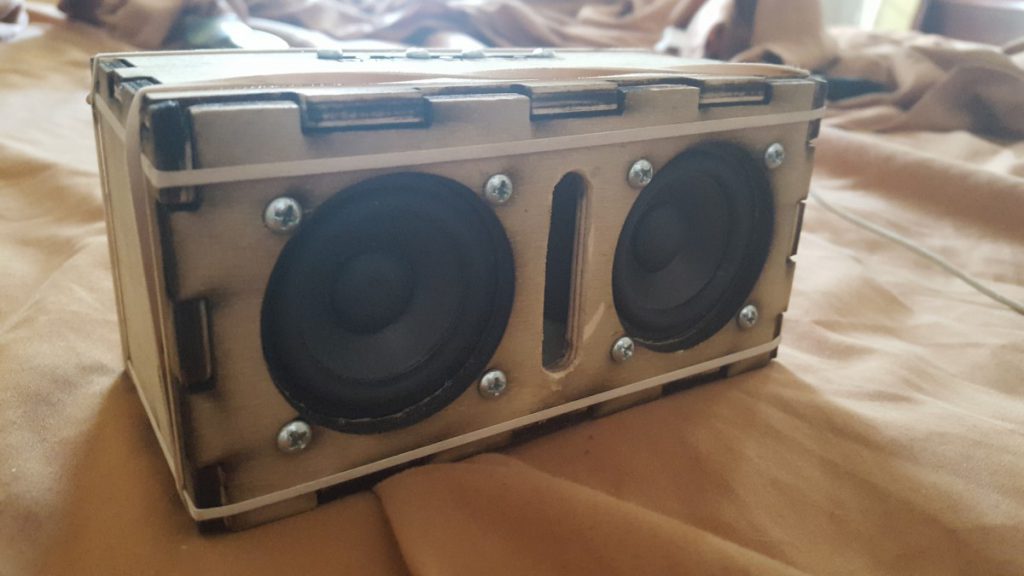
for this project I designed and made my own Bluetooth speaker. This project was a bit challenging due to the parts, and certain components needed for this build. In the end, it developed into something cool and useful. With this design, I eventually developed another version for a friend of mine.
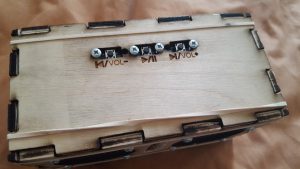
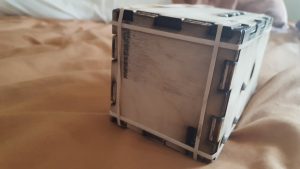
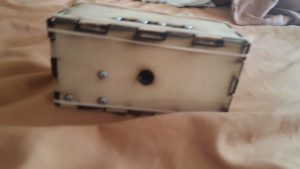
To cut out the wood to create the enclosure for the speakers took 30 mins to an hour to complete. I laser cut the wood into the pieces I needed. I found out that using birch plywood or plywood, in general, wasn’t a good idea in getting the pieces I needed from a laser cut. The wood burned from the laser along with the dried glue that attaches the plywood sheet causing dark scorched outlines. I should have milled out the pieces in the CNC router to get cleaner results and faster production speed.
In conclusion, this build is still a work in progress. I like the quality of sound it produces as well its compatibility that it provides excellent portability. The only downside of this build is the time used to make an enclosure took long and could have been faster by another means of design. Also, the plywood failed at certain points causing shreds, strands, and breaking. To work this issue out, I’d like to work on a new enclosure that is better with machining or can be made by a different means like 3d printing.
New Bluetooth Speaker (2016)
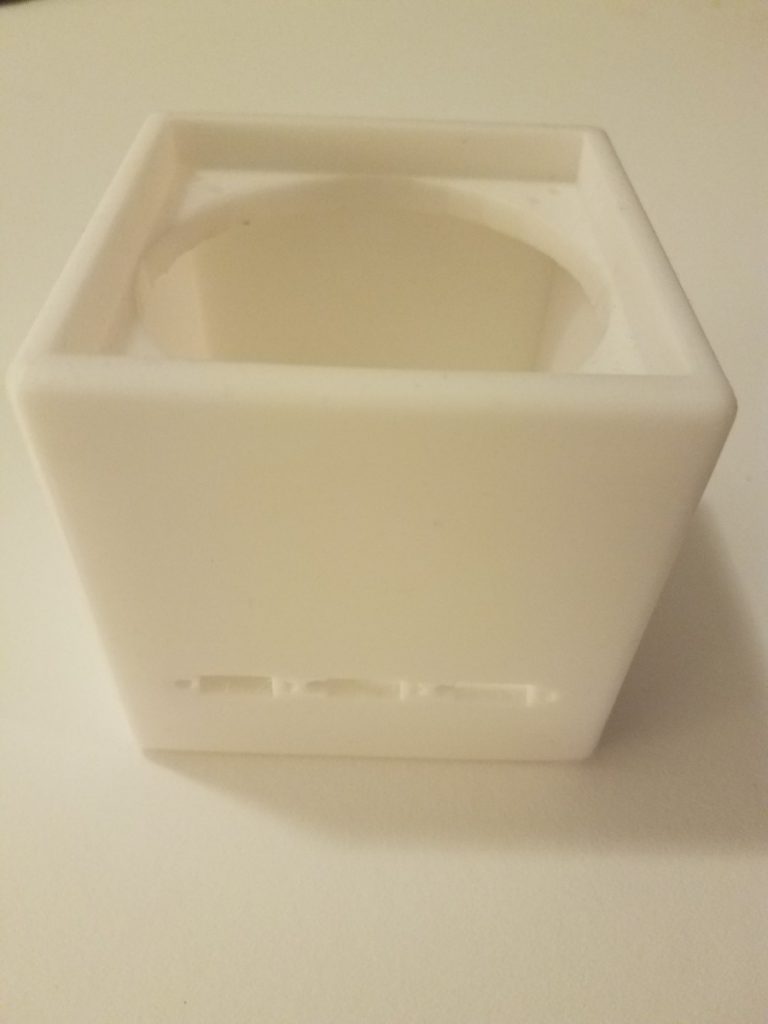
This year I was asked to design a newer Bluetooth speaker for a friend of mine. I then proceeded to look for and purchase the electronic components needed for the build. With the use of rhino I developed the enclosure for the speaker.
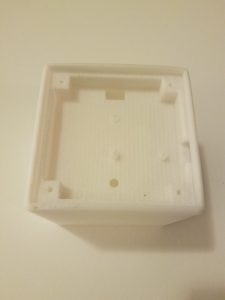
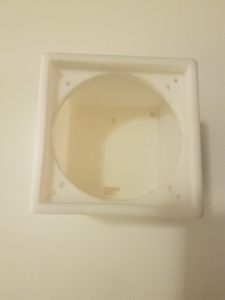
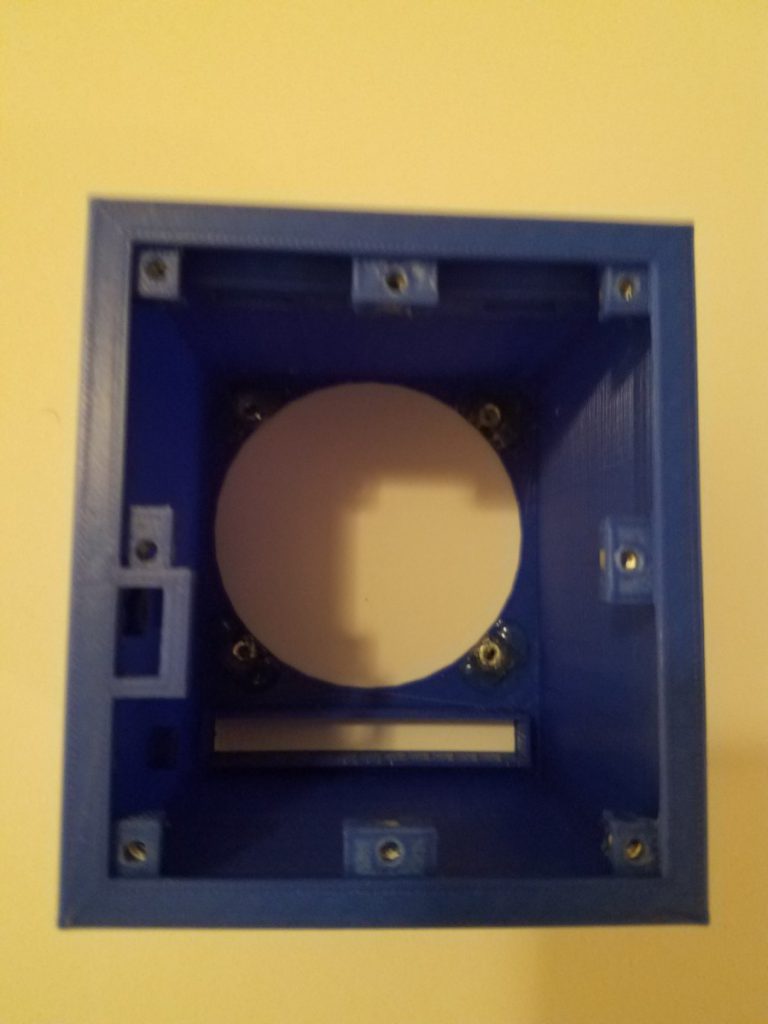
What I found out about this iteration is that this print couldn’t work for the build. It would have if i had more space available for the components at the bottom of the enclosure. The print took long, about 23 hours for it to print. The one thing that worked well was the space made for the speaker at the top, it was at the right size and screws to hold it in place fit perfectly. in the end I took those two good aspects of the first 3D print and applied it to a newer 3D printable design.
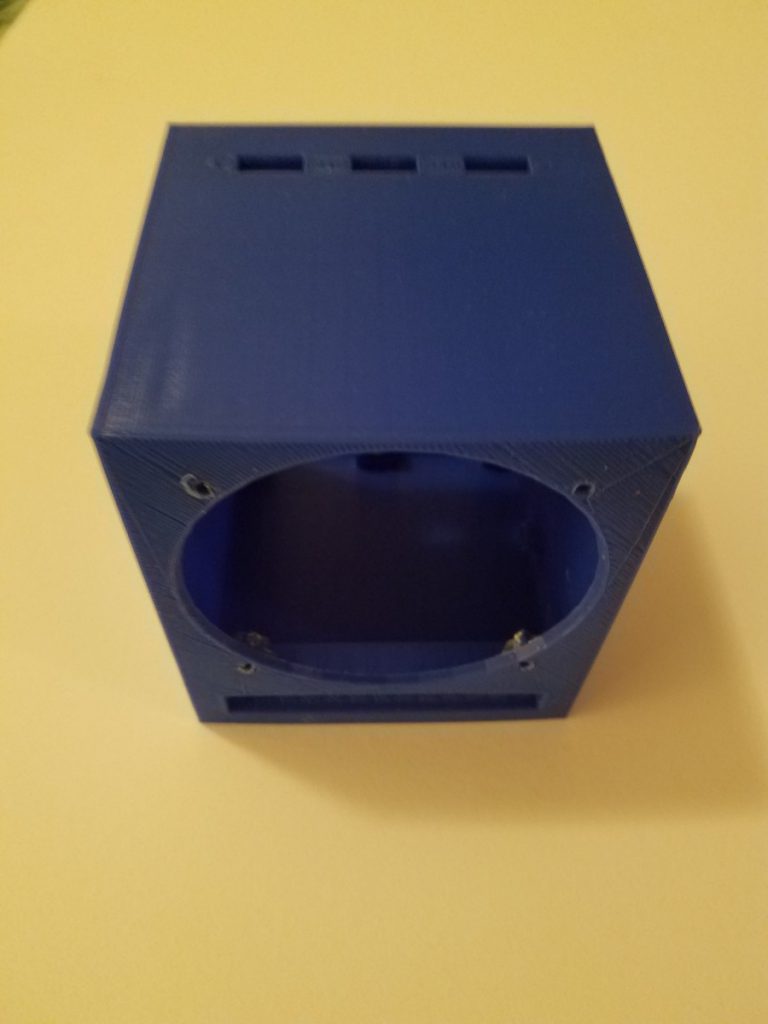
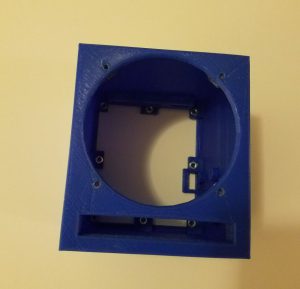
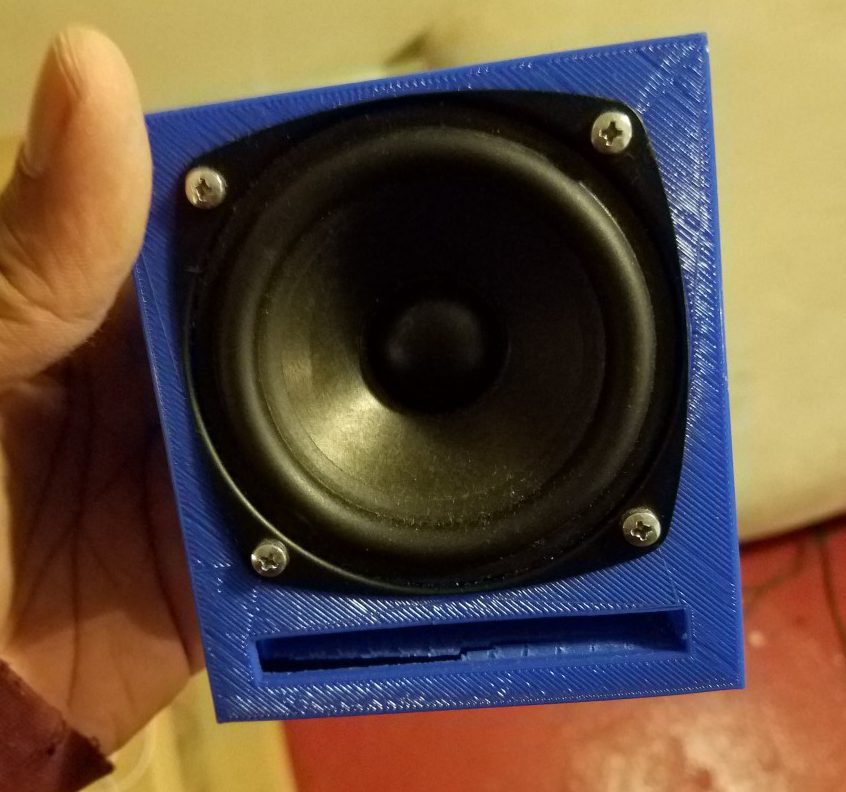
Here is my second iteration with a newer enclosure configuration. I decided that it being upright would not work well. I then decided to have it face on its side so that it looks like a common or traditional audio speaker. Some problems that existed it this iteration were the recessed points were the M8 nuts would be super glued and placed into for the back covers well as the speaker opening. they were to small at first and a couple broke due to excessive force. I also adjusted the hole in the front for the lower frequency if sound that the speaker produces.
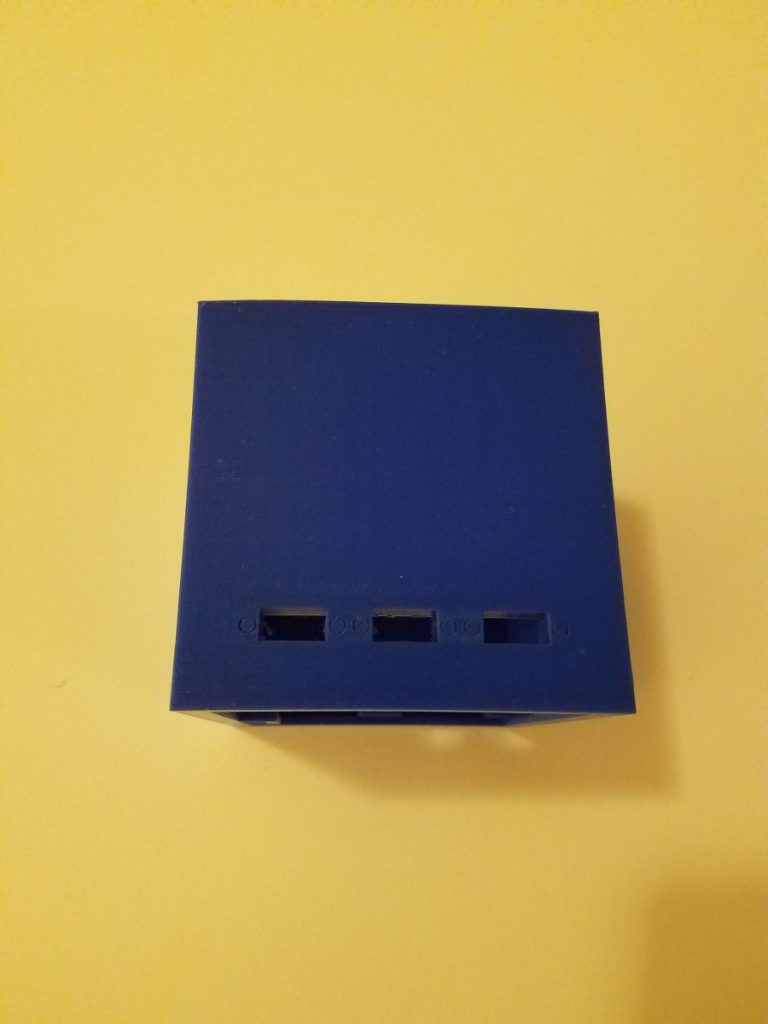
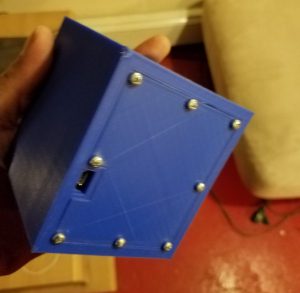
Here is the final iteration with an improved design from the second iteration. I adjusted the holes for screws for the speaker as well as the back cover to so that it is secured as well as durable.
Overall I love the newer Bluetooth speaker design. Its smaller, more compact and most of all sounds great. I gave it to my friend and he loves it, he likes the battery power especially. The Bluetooth speaker designs include a rechargeable lipo (lithium polymer) battery. I’ve used hobby ones that are rated at around 1200 mah which gives the speakers around 8 hrs of play.
