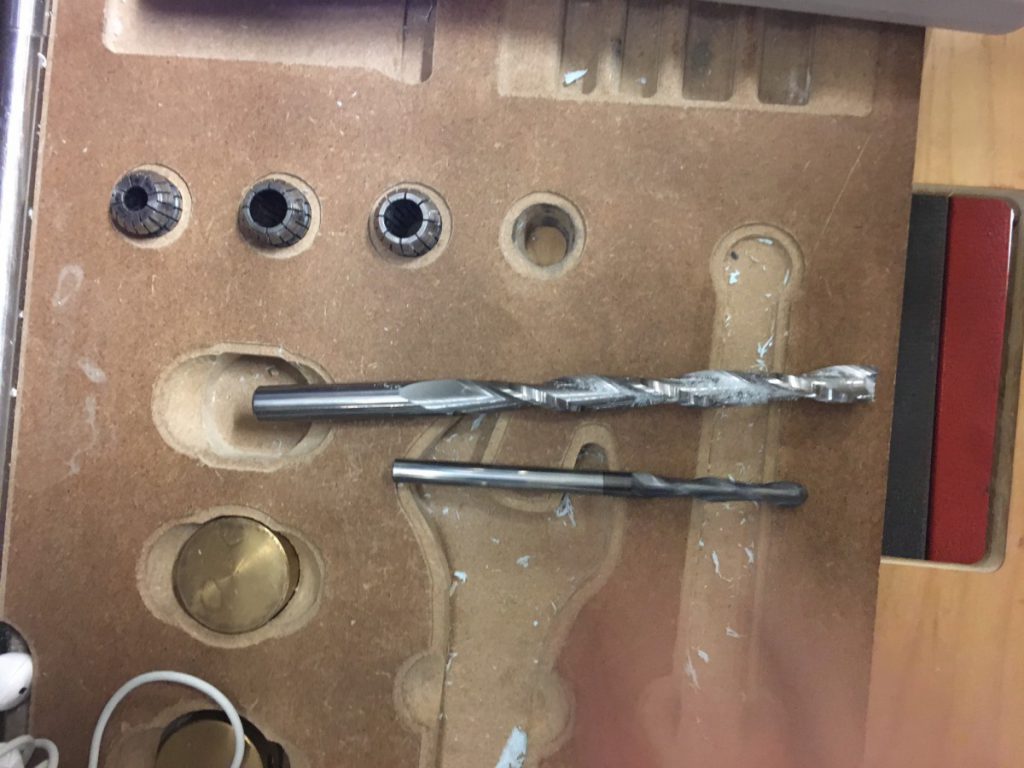
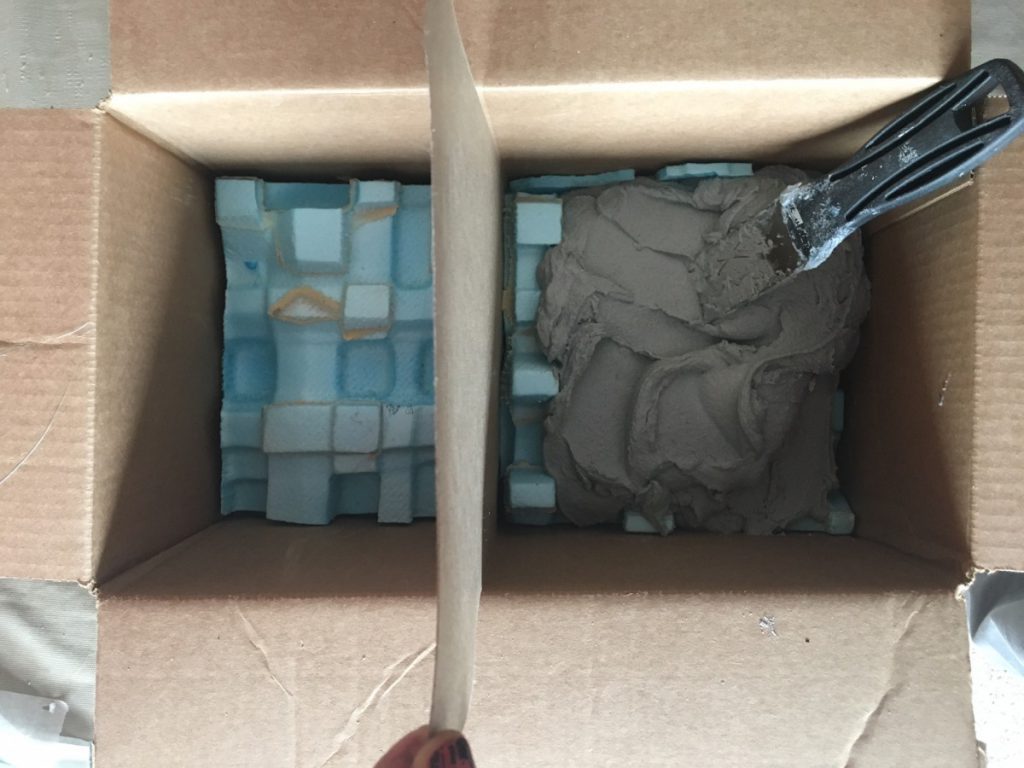
After a few pattern iterations are designed, you pick the most optimal milling option and prep the file CNC milling. Per the module below, I set up the RhinoCam two runs; roughing and finishing in parallel runs. The model should be inverted before running RhinoCam since we will cast in the opposite(inside) of the design .
Here is a rendering of what the design would look like in small to large scale. After the form is casted in cement, the outcome should resemble this rendering.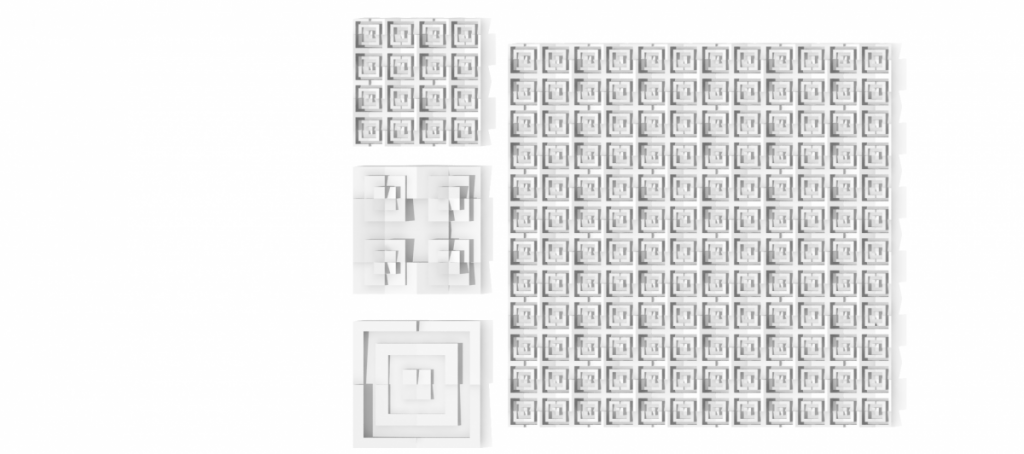
Roughing milling process will eliminate the big chunks and leave a smaller bit to go into the details.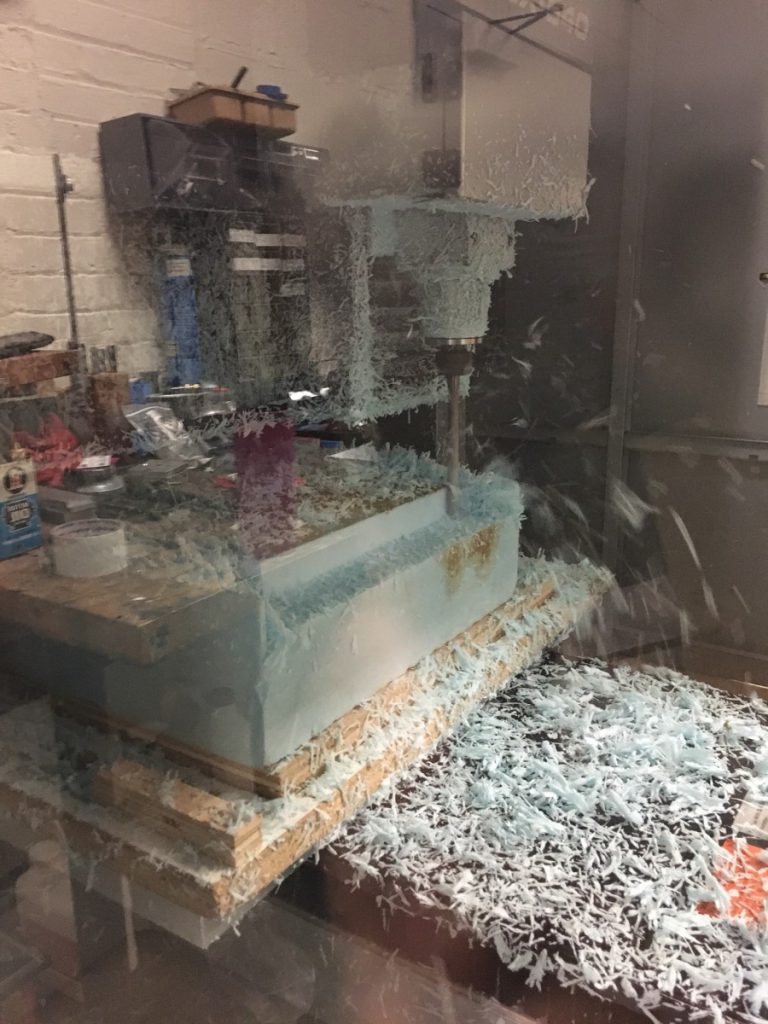
Then we change the bit, to run the parallel finishing.
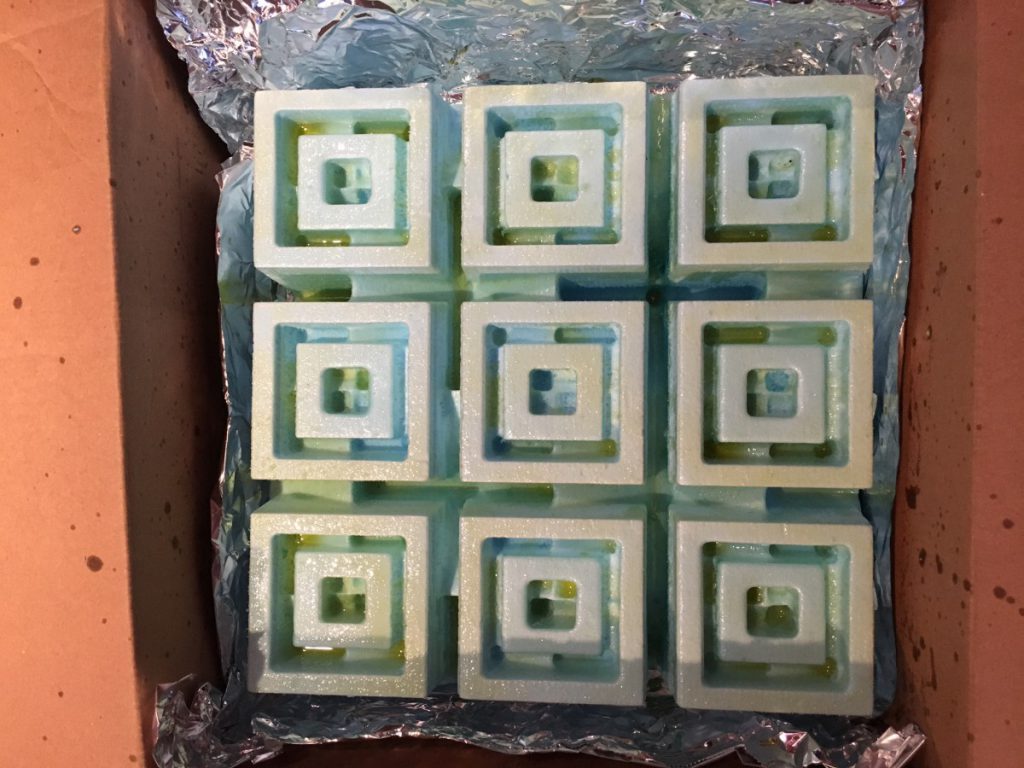
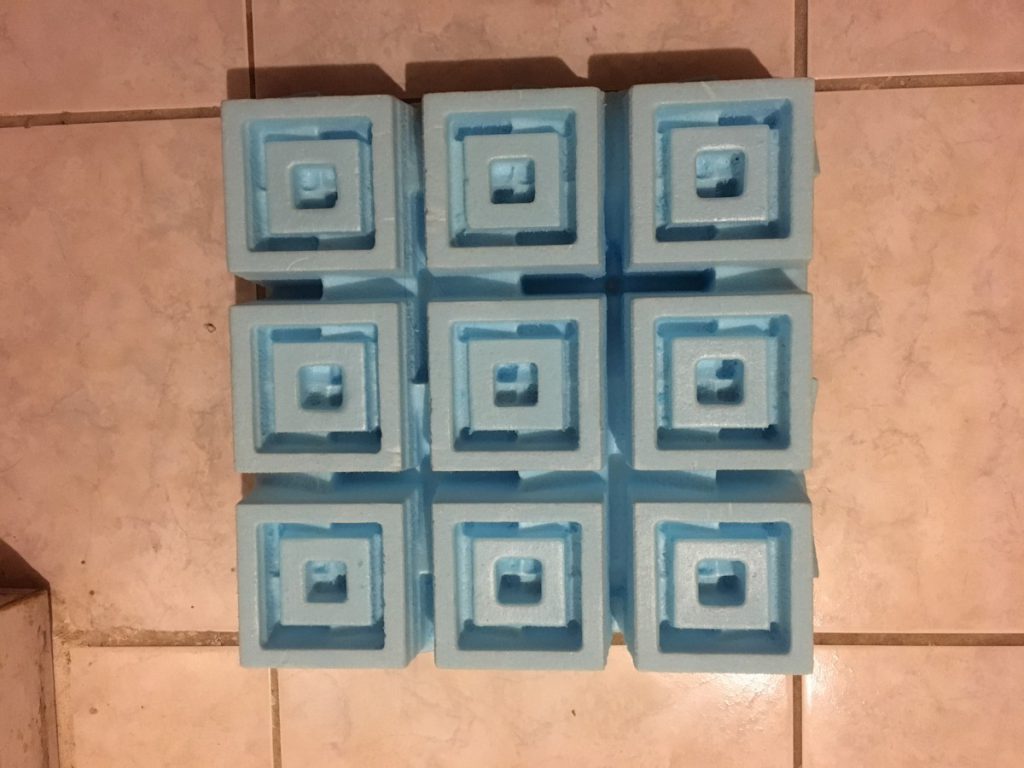 After the milling process, i found the surface of the foam to be porus, and for cement you will need a sleek surface. It will be easier to remove the form, and it will be cleaner result on the concrete. So I ran the heat gun to eliminate these issues.
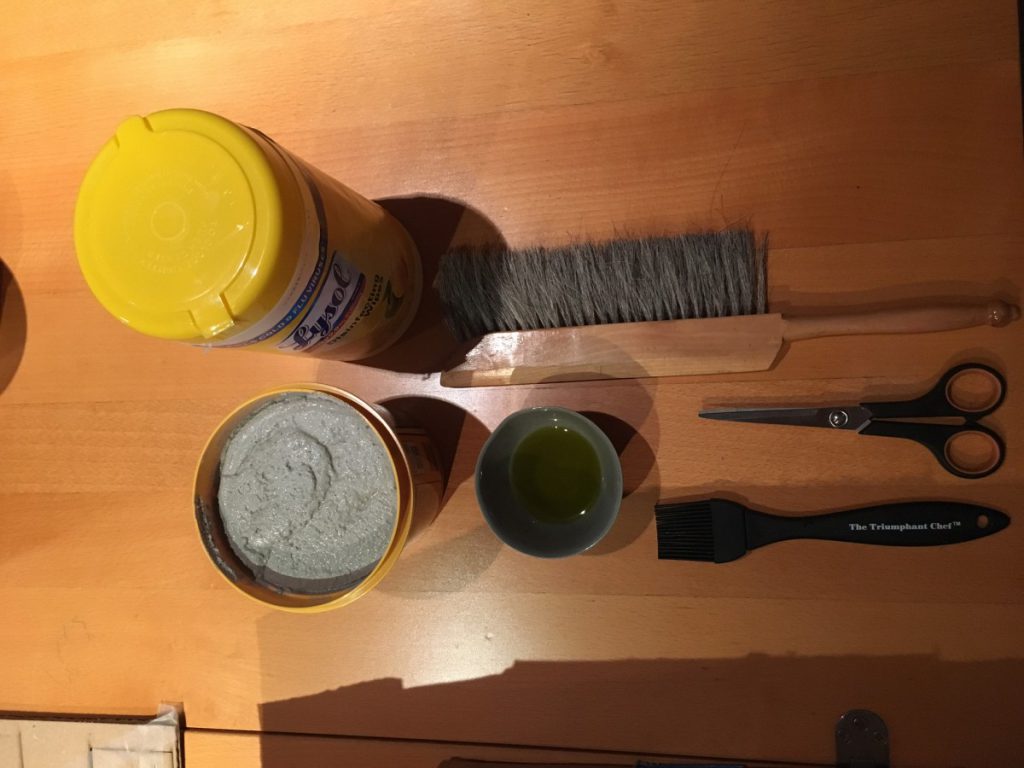
From Amazon, I purchased quick dry cement, and the rest are tools I found at home. The cement needs a oily releasing agent. Normally one should use wax, but I did not have any at the time, so I compensated with olive oil, which would perfectly.
Then I started filling in the voids, be sure to add as much pressure to the application process, otherwise you will have wholes and forming problems.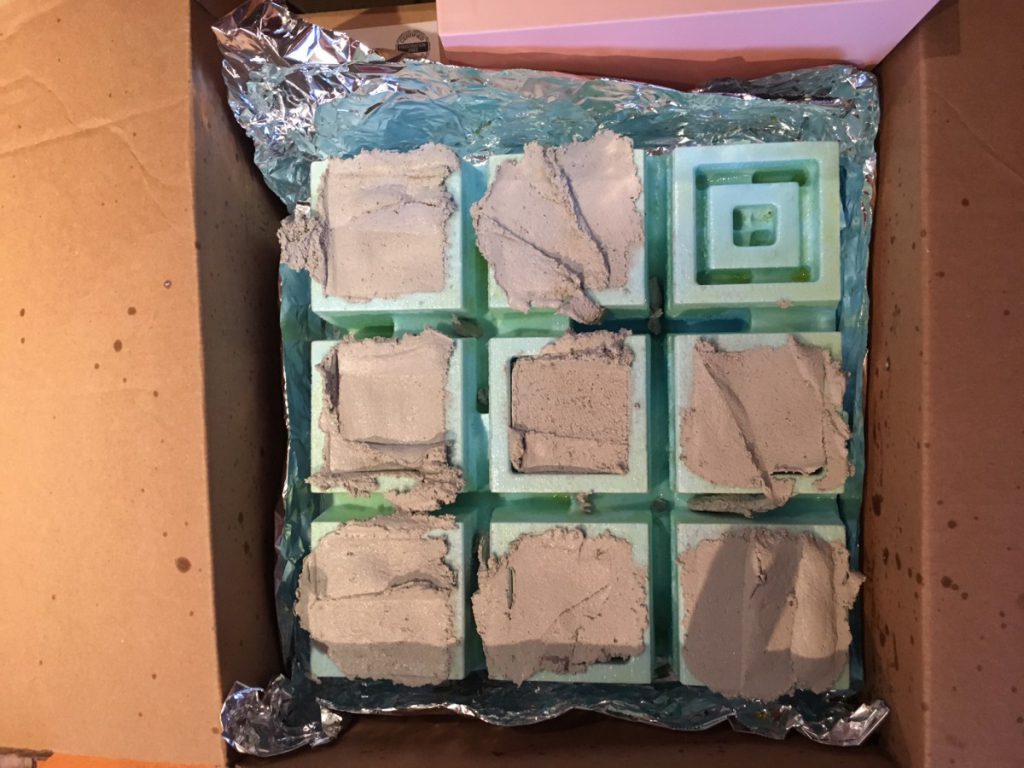
For easy release, I also made sure to model the form in angles, so there are no 90 degree perpendicular. If this is not considered, the cement might stick or break your foam form.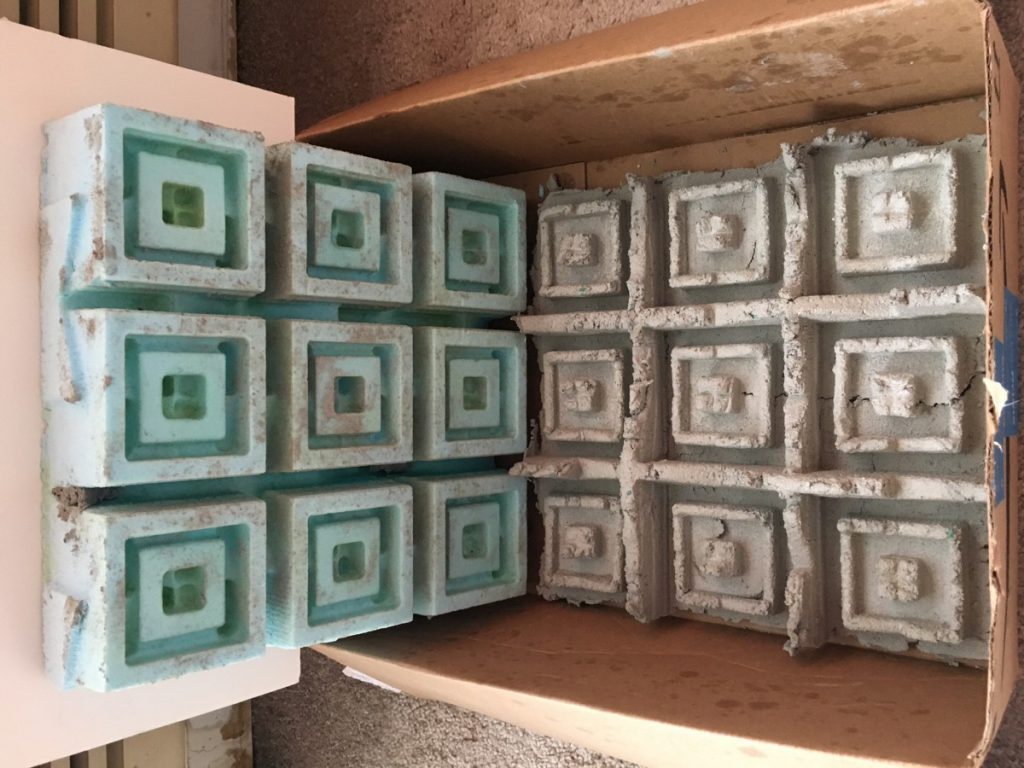
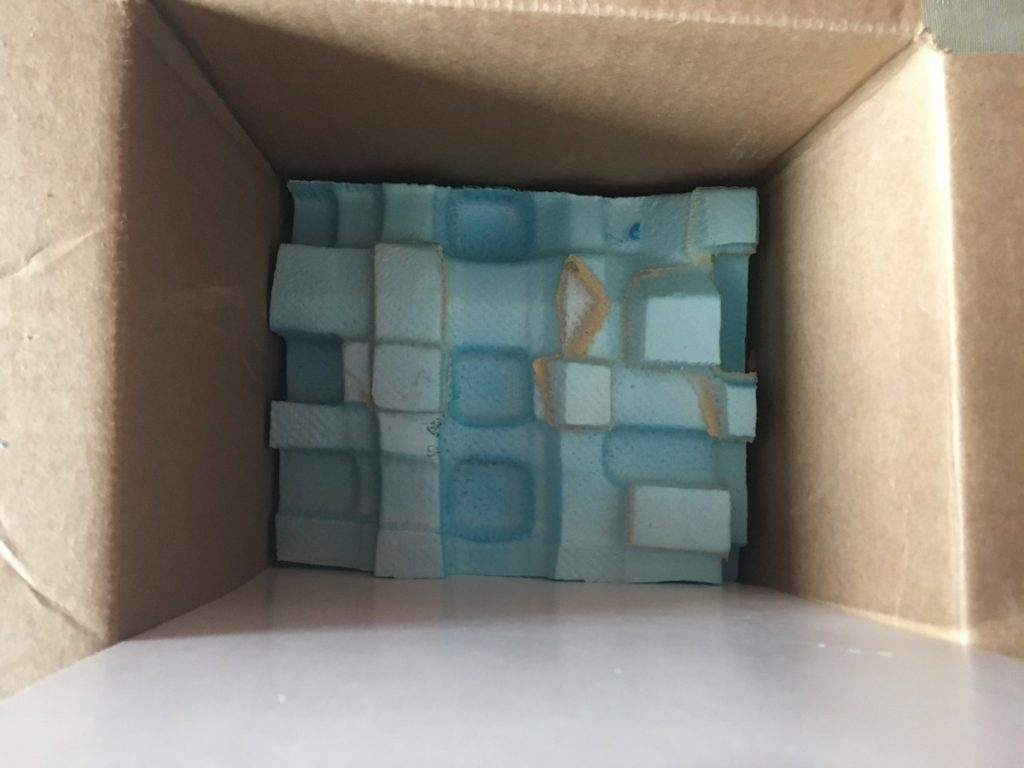
The result was not successful. I did not apply the cement into form to the max, so it did not form exactly like the design. On the second cement pour, I will use more force while applying the cement.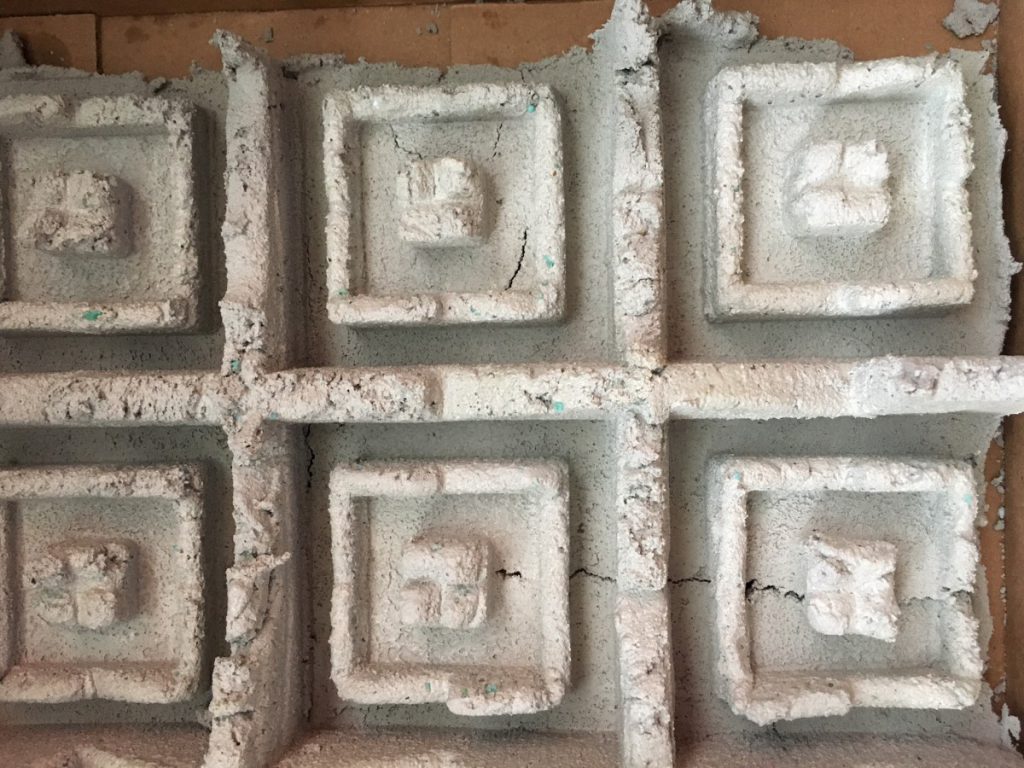
Failures:
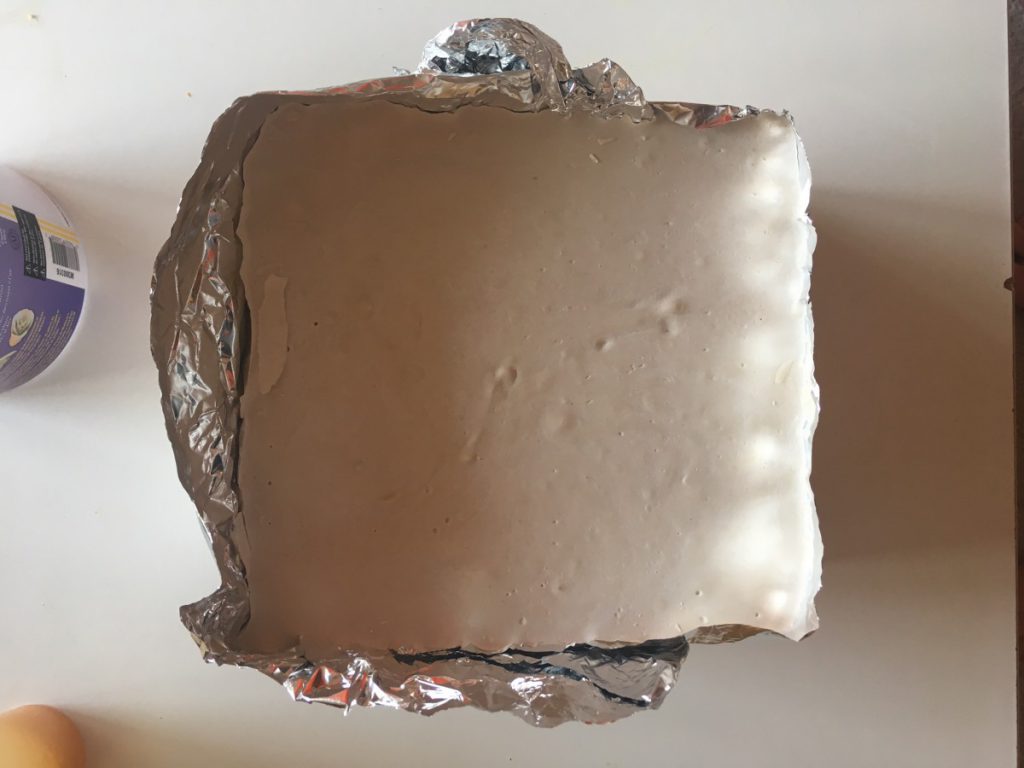
Plaster test, not sure why but after the curing, the plaster did not want to release from the form:
Third design iteration, I poured cement I mixed. I must have put too much water, and it did not cure on time for the semester final:

