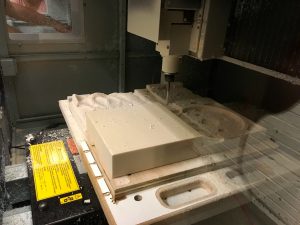
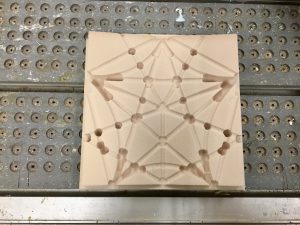
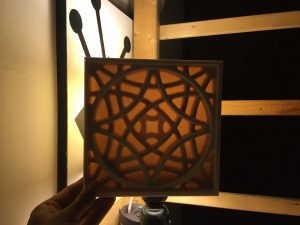
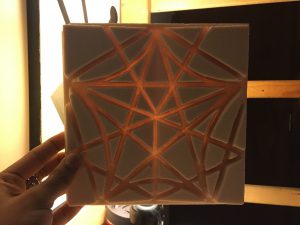
For the next phase I decided to experiment using the CNC Mill.
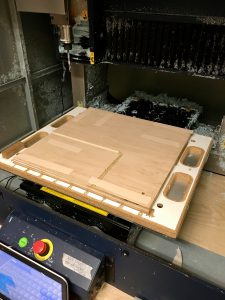
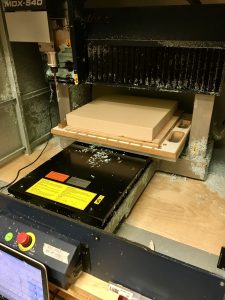
Using double sided tape to secure the foam to the platform.
Henry using the Computer to Properly align the machine to the X,Y,Z axis
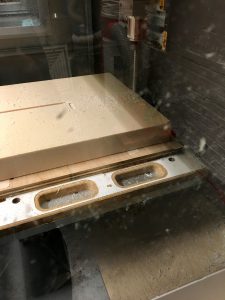
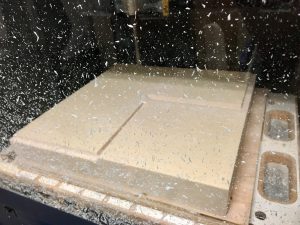
Initial cuts on the foam
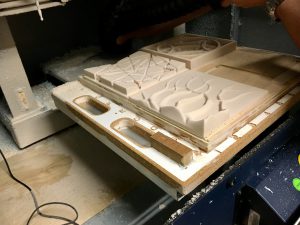
Because this particular piece of foam measured 15×15 I had to scale down my patterns to 7 5/8″. To save time and material, we programmed the CNC mill to block out the portion with no pattern
one hour and fifteen minutes later!
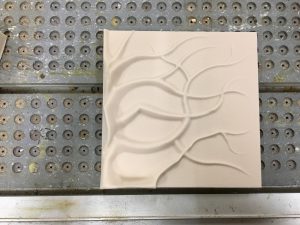
Very happy with the end results of this pattern.
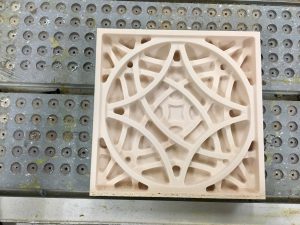
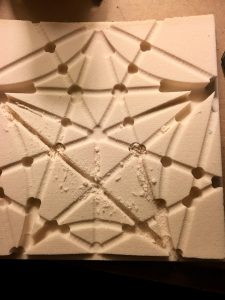
My second pattern is also successful with this one I played around with the elevations of the rings.
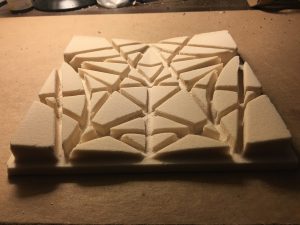
Pattern #3 wasn’t as successful as the others. I’m not sure what exactly went wrong, or what was over looked prior to beginning.
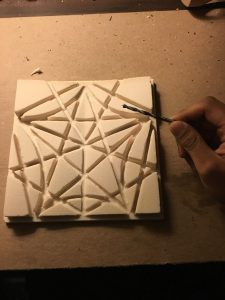
Not happy with the initials result of this pattern I went through my art supplies and found a drill bit.
I used it to carve out the excess foam I didn’t want
Although manually carving the foam is not as neat and clean like the CNC mill I’m much happier with this end result.
holding my patterns up against my lamp. I really like the transparency
