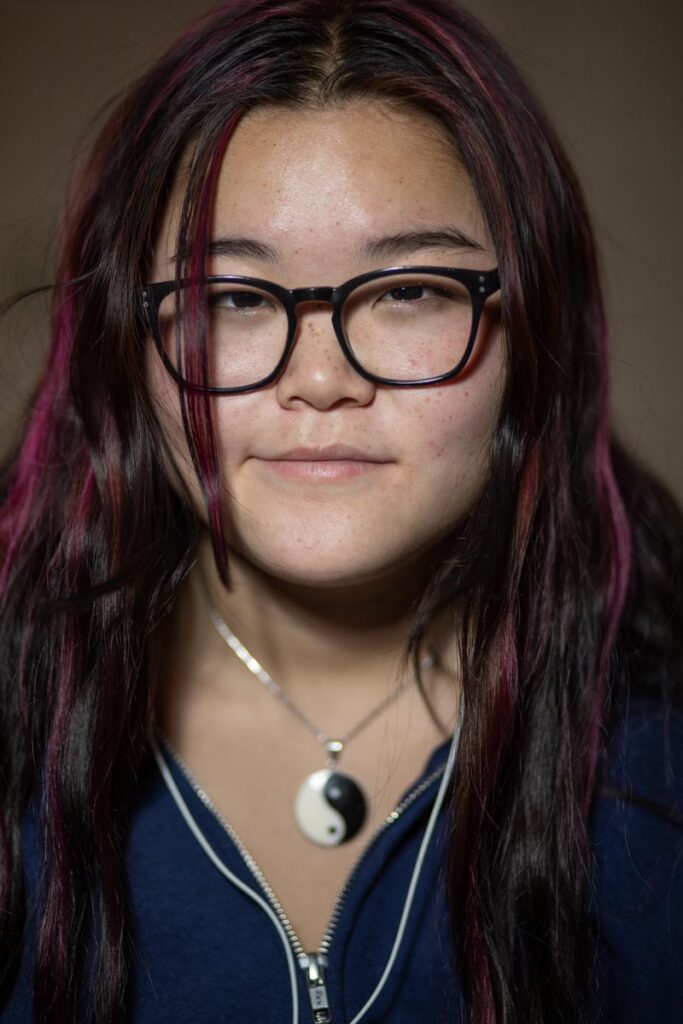
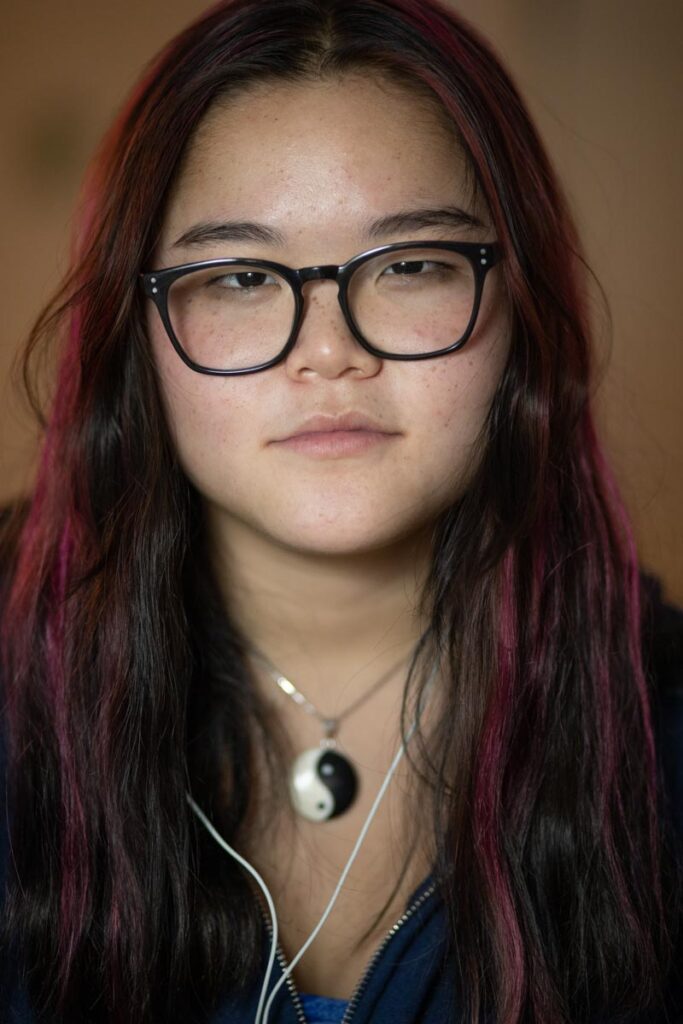
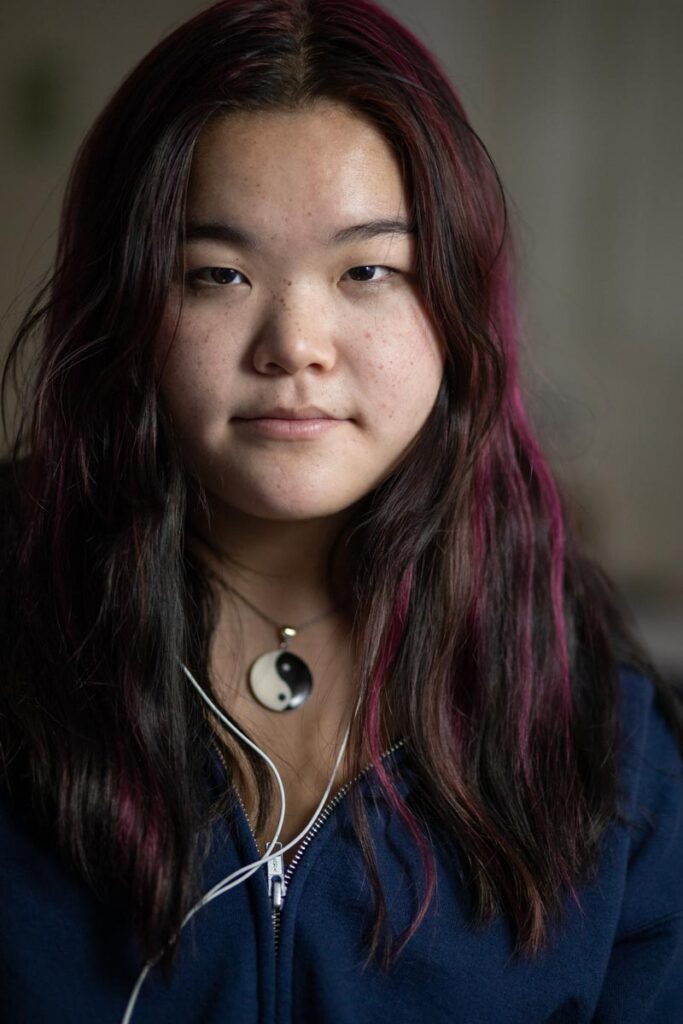
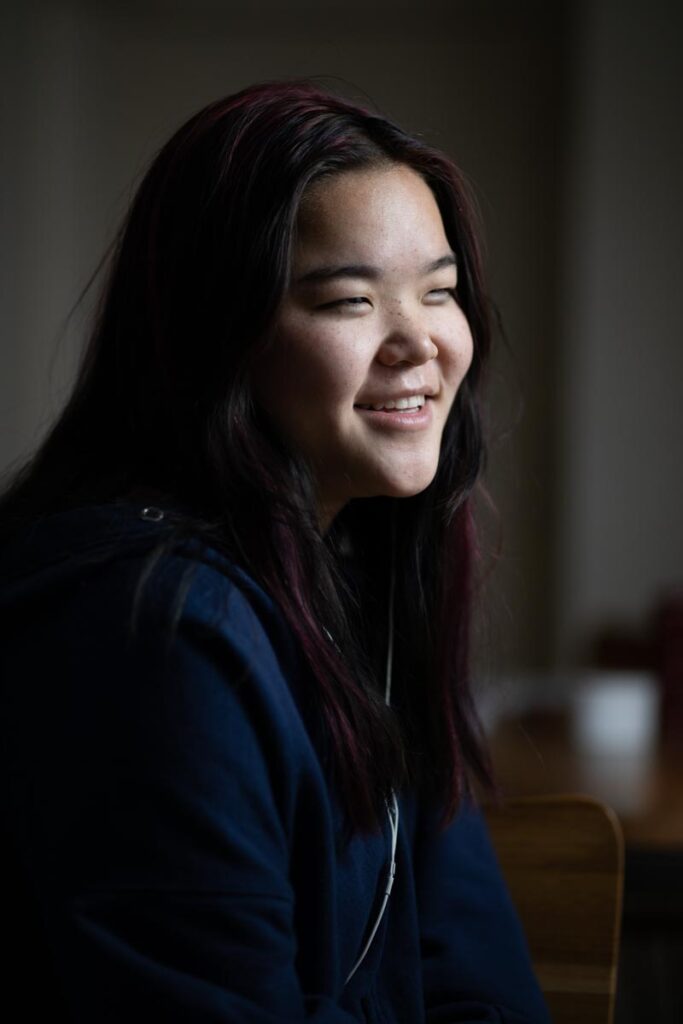
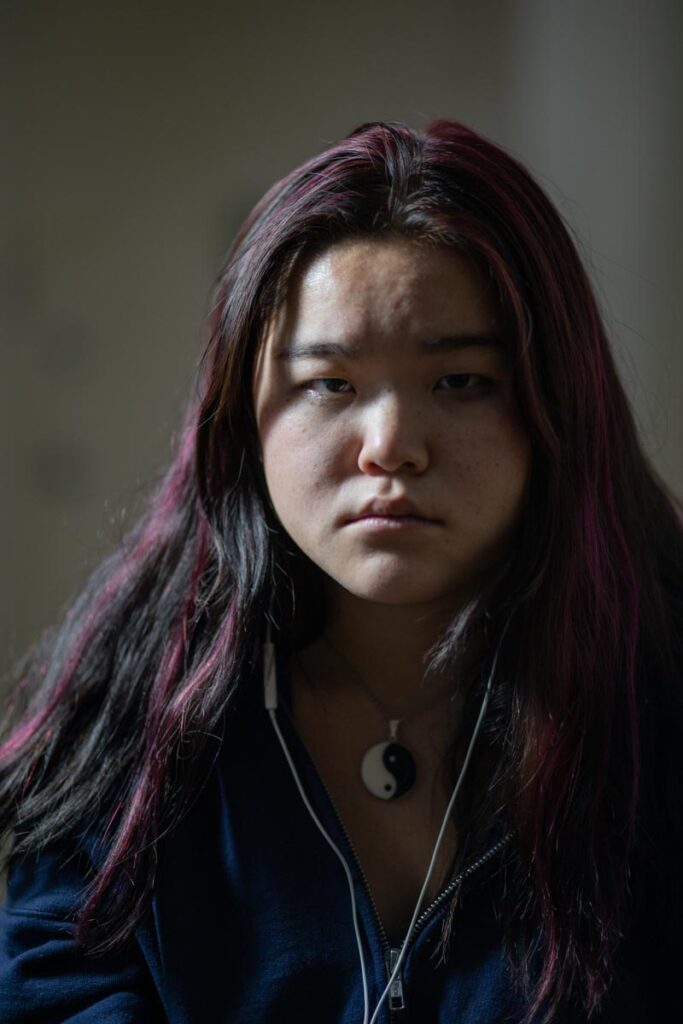
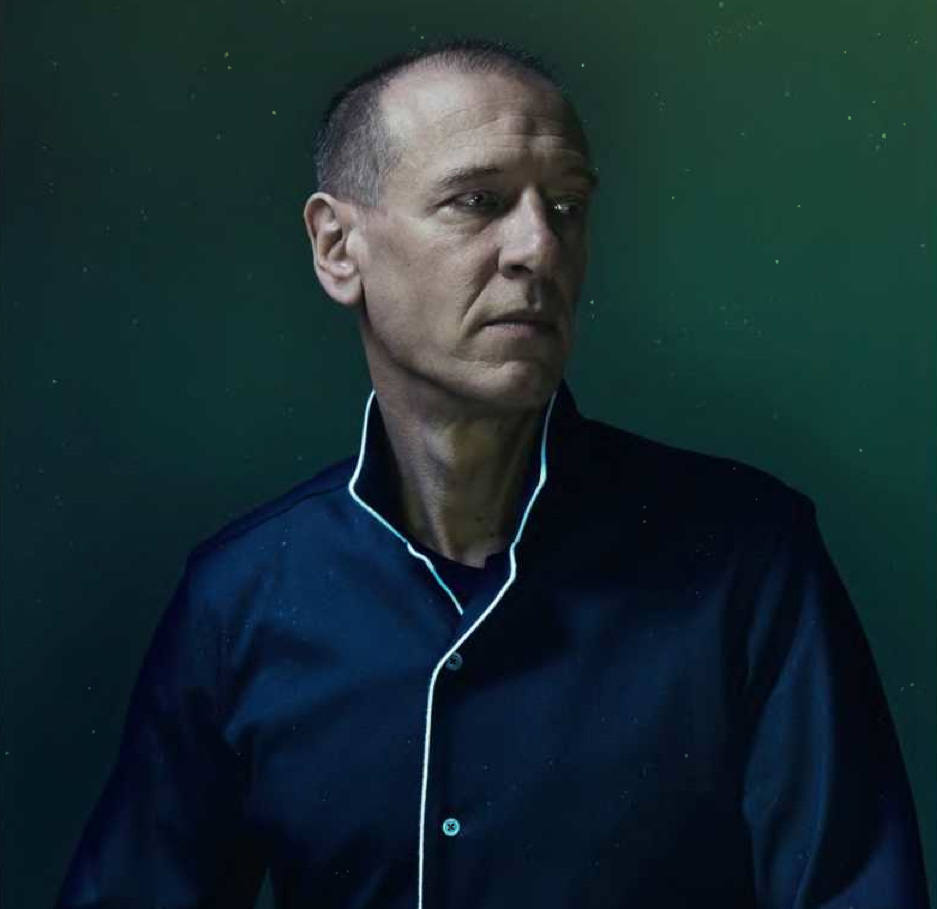
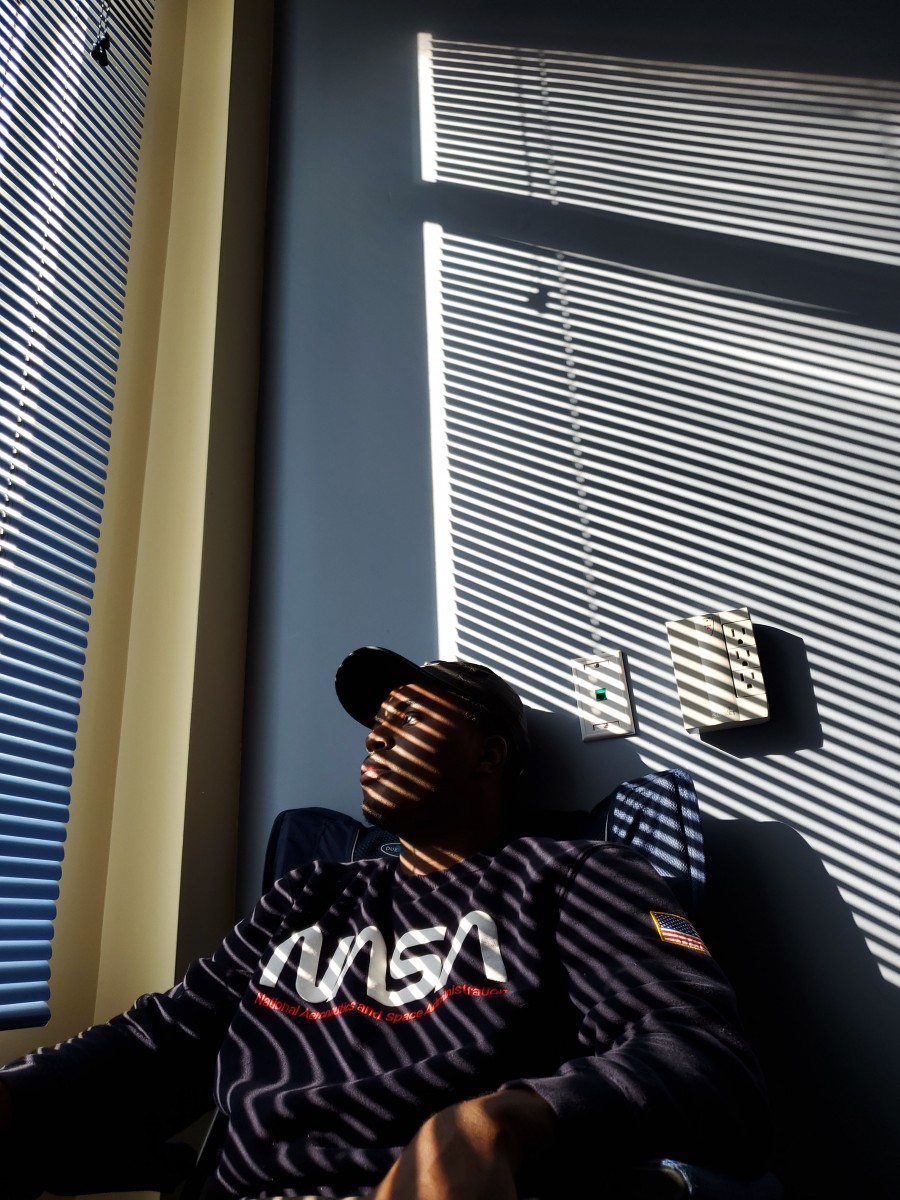
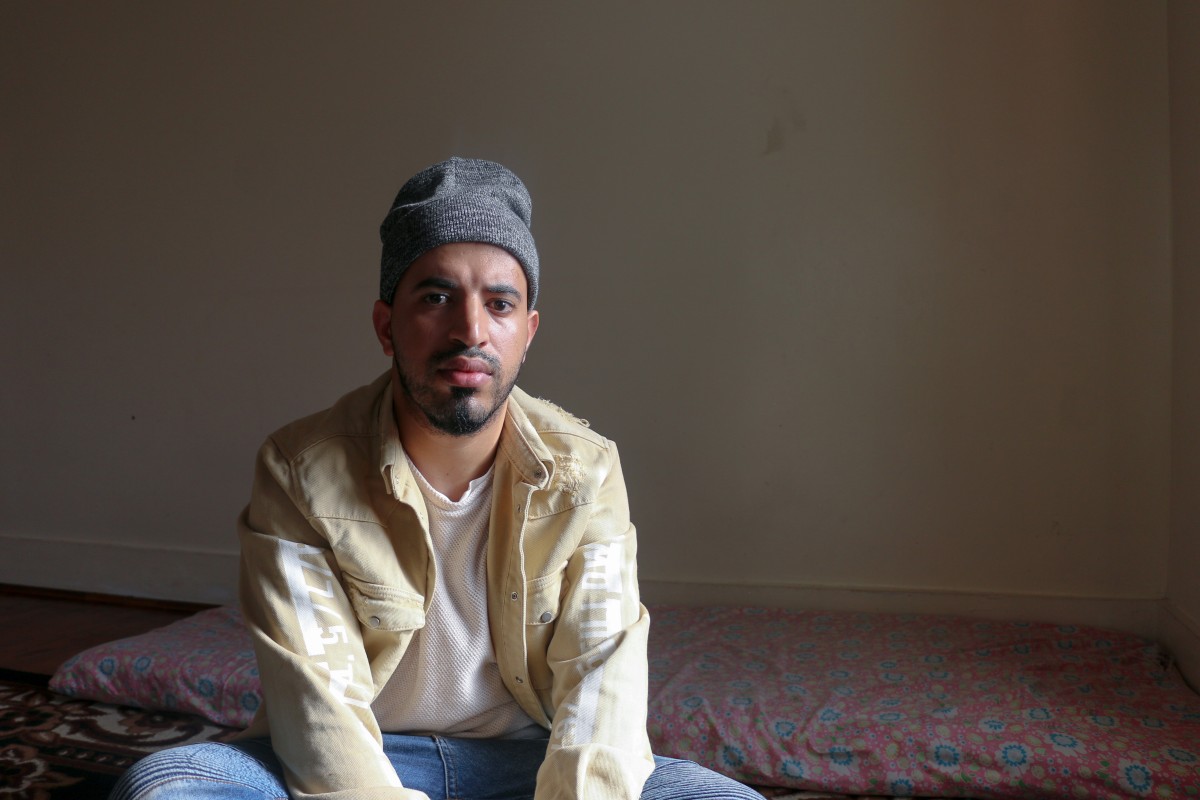
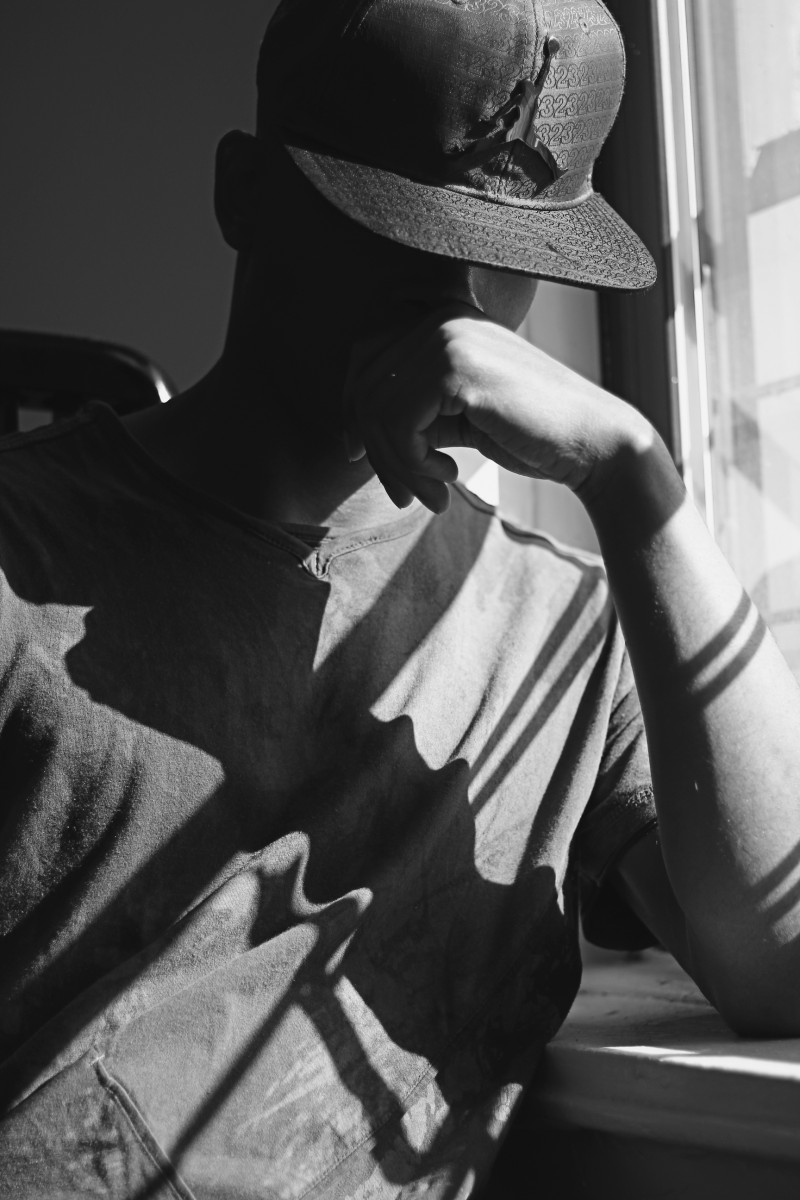
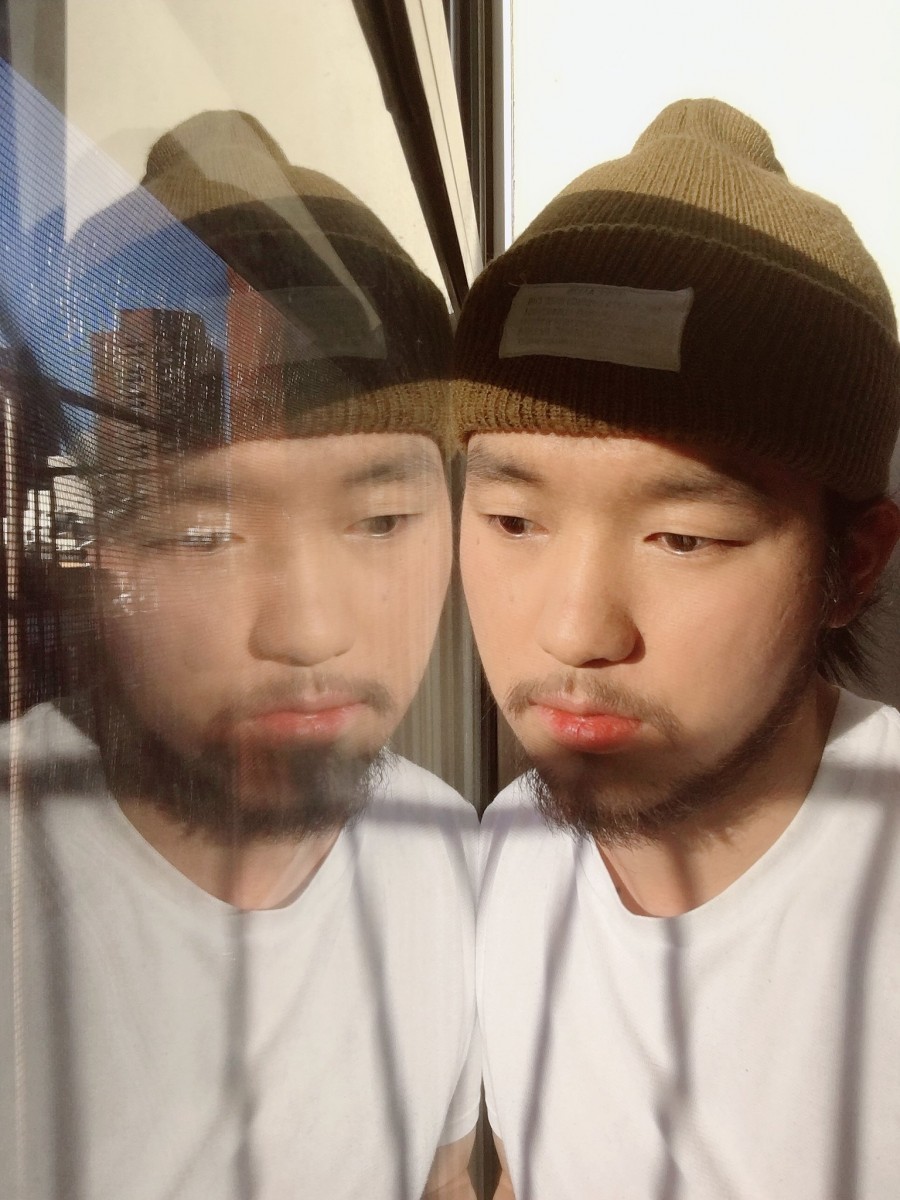
Create a series of 20 portraits or self portraits using window light. This can be done with a phone or a camera. If you don’t have a good window to work with, work outside during the day in diffused light.check the weather and plan ahead.
You should be near or next to a window during the day.
The window can be in the photo or you can just use the light from the window.
Pay attention what is in the frame and make sure the background adds to the photo and is not distracting.
Your photos should use light, expression and the relationship between the subject and the surroundings to be expressive. No props. If you have curtains or venetian blinds, you may use them as elements in the photos.
If you are taking self-portraits, do not under any circumstances hold the phone at arm’s length. No selfies. You can use the camera’s or cameraphone’s timer. Set up the camera to frame where you will be. Try books on a shelf or lean your phone on the window sill if you do not have a tripod. Or make a tripod from a cup or other disposable item. i made one from a tea box. Focus on the spot where you will be and press the shutter and jump into frame. make global adjustments in Lightroom and put your final 20 photos in an album on Flickr.
Working with one light and some kind of diffusion, take as many photos as you need to get one good example of:
Front light
Rembrandt light – loop or closed loop
Short light
Broad light
Split light
Front Light
Rembrandt Light (loop)
Short Light
Broad Light
Split Light
A few considerations:
Put a chair for your model as far from furniture and other obstacles as you can. Sit at the same level as your subject. Or both stand. But be at the same level.
Pay attention to anything distracting behind the subject. move it if you can or try facing in another direction.
You will need to be able to move the light around your subject.
Turn off any other lights besides the light you are using for the portraits.
Diffuse the light.
Settings: Shutter Speed – Keep the shutter speed fast enough to freeze both your motion and your subject’s motion. For a camera this may be 1/60. For a cameraphone it may be slower possibly 1/15. I personally would never shoot with shutter speeds that long. I would keep to 1/125 and 1/30.
Aperture – Use your widest aperture.
ISO-You may have to use a high ISO. Keep it as low as you can.
Put your five final photos in a post on OpenLab with a short description of your process, which was the easiest? which the hardest? Which one makes your subject look the best?
a model ( It could be yourself. Then you will also need a tripod.)
Portrait Poses
Front view
3/4 view
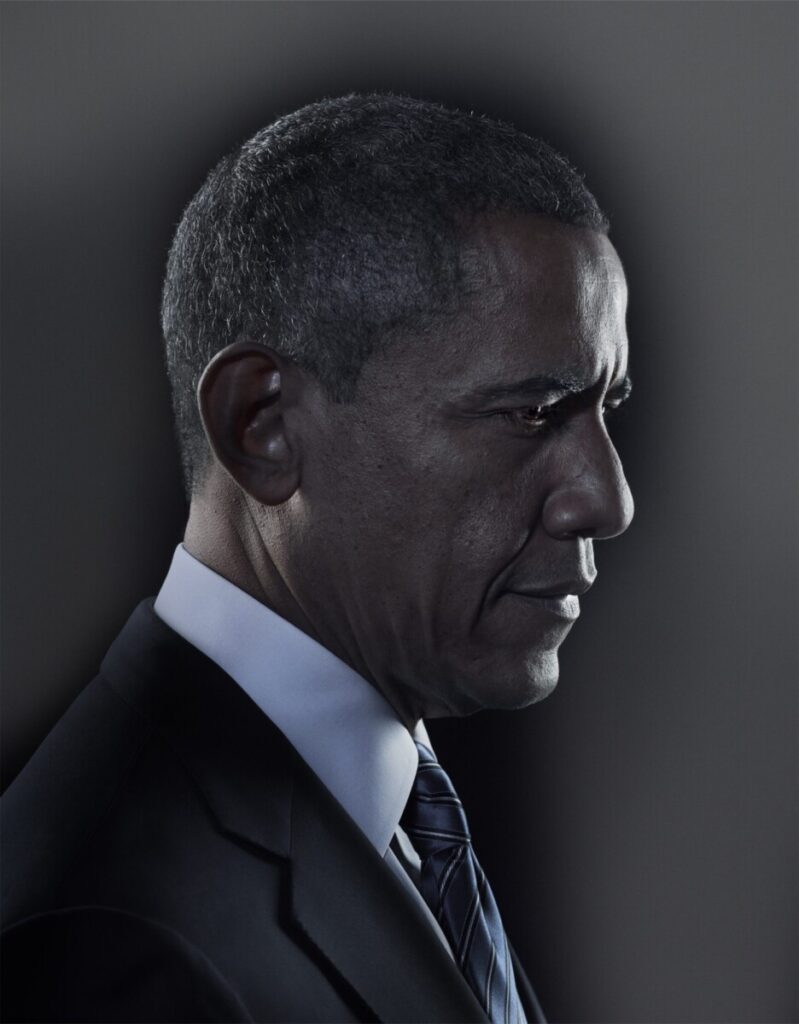
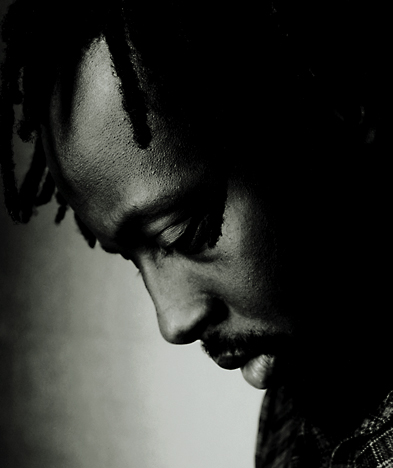
Profile
Front view. Photographer: Celeste Sloman
Three-quarter view. Photographer: Celeste Sloman
Profile. Photographer: Nadav Kandar
Focal Length
The focal length of a lens is defined as the distance in mm from the optical center of the lens to the the sensor when the lens is focused on infinity. This varies on the camera and the lens.
Focal length controls: Magnification and angle of view
Focal length is described as short, normal ie close to human vision, or long.
Wide Angle Distortion-created when using a wide-angle lens AND the camera is very close to the subject. The object close to the lens appears abnormally large relative to more distant objects, and distant objects appear abnormally small and hence more distant – distances are extended.
Focal length and proximity to the camera affect how a person’s face looks in a photograph. A wide focal length and proximity between the subject and the camera create wide angle distortion and will distort a person’s features.
Photographer: Chip Simons
Think about selfie sticks. What are they for but to get the camera away from your face? This makes the photograph look more complimentary to the subject. This is really important with a cameraphone because it has a wide angle lens. The center of the lens and the sensor cannot be very far apart given the thin design of cellphones.
When shooting with a crop-frame sensor such as a Canon 60d, approximately 65 mm will be the most flattering to your subject.
When shooting with a full-frame sensor, 85 mm is generally thought to be the most flattering focal length for portraits
Focus
When shooting a portrait, the subject’s eyes must be in focus. Full stop. period.
Generally, portraits are shot with shallow depth of field to separate the subject from the background. Be careful to have enough depth of field so that the subject’s face from what is closest to the camera to what is farthest is in focus.
If you are shooting with a cameraphone that has portrait mode, it will blur what it calculates to be the background to simulate shallow depth of field.
Portrait Lighting Styles
There are a 5 basic lighting styles for portrait photography. Each style is defined by how light falls on the face.
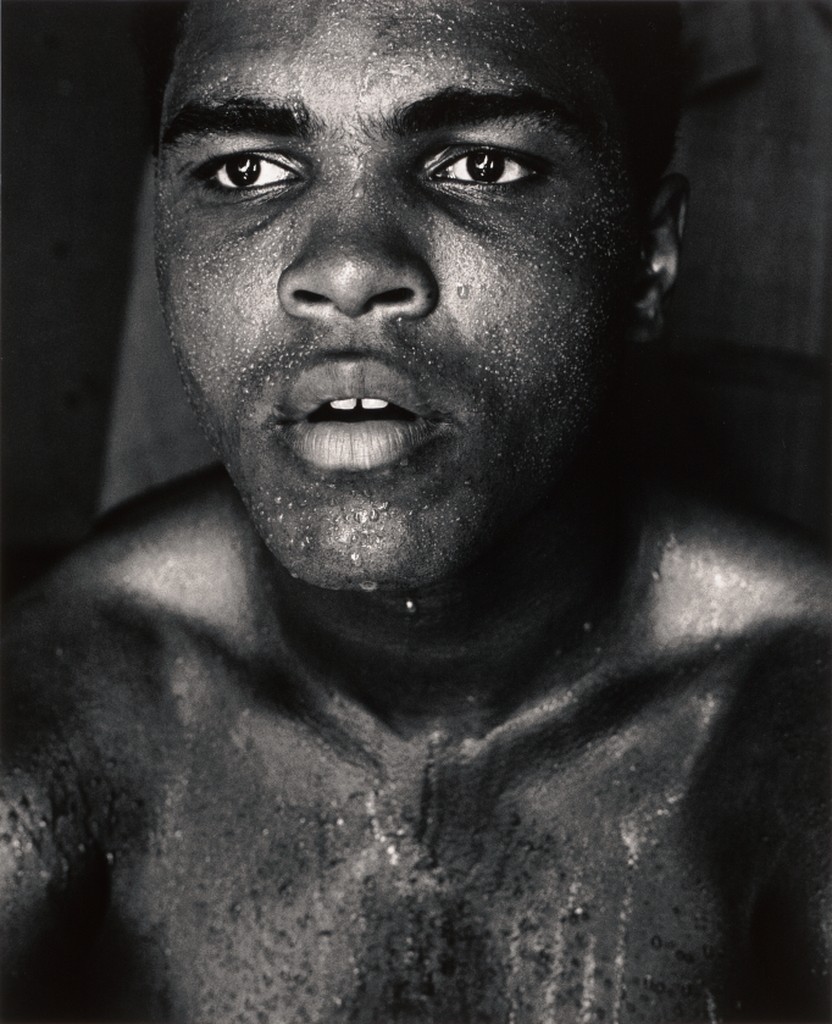
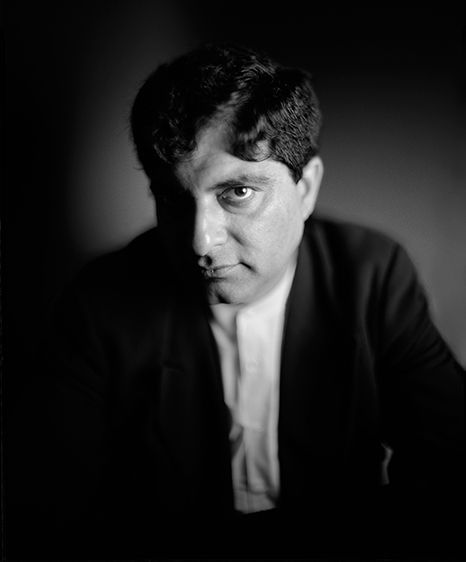
Rembrandt Light – the model is face forward, main light is at 45 degrees and casts a light on the opposite side of the face to form a triangle on the cheek.
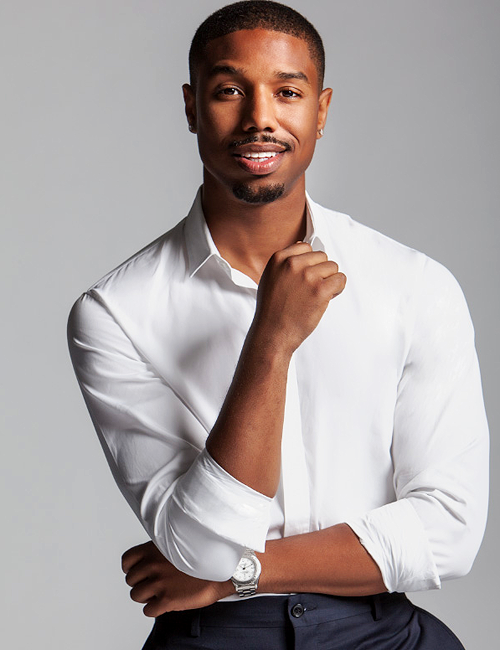
Michael B. Jordan. Photographer: Peggy Sirota
2. Broad Light-model’s face in 3/4 view-light falls on the side of the face with the visible ear. Good for controlling the reflections on glasses.
Danny Devito. Photographer: Gregory Heisler.
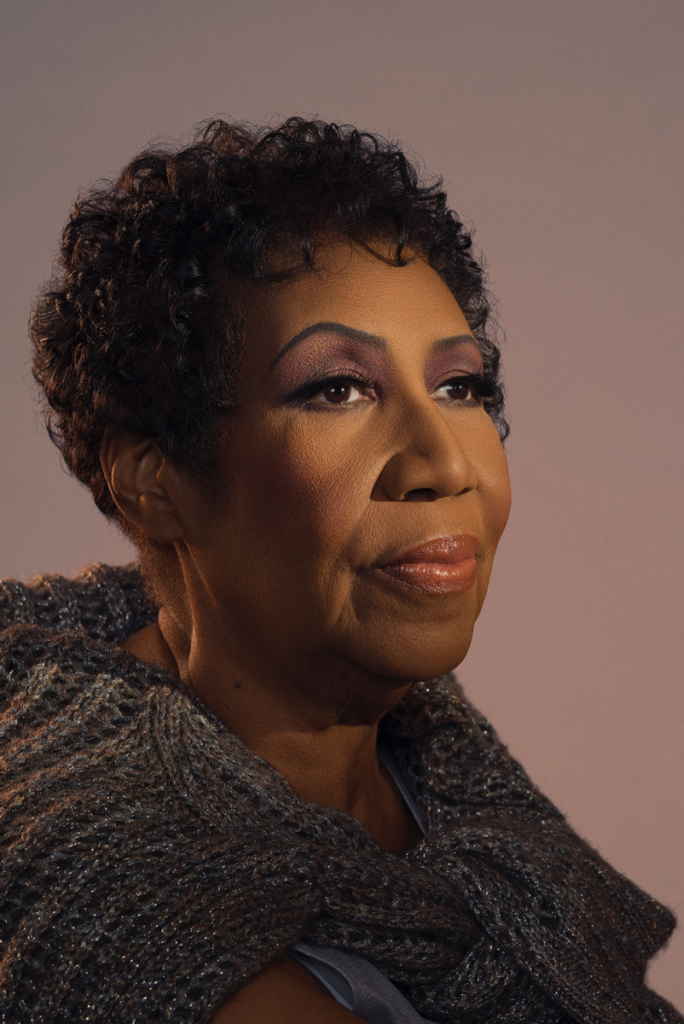
3. Short Light-model’s face is in 3/4 view, the light falls on the side of the face with the features. (Not on the side with the visible ear.)
Aretha Franklin. Photographer: Matthew Jordan Smith


Recent Comments