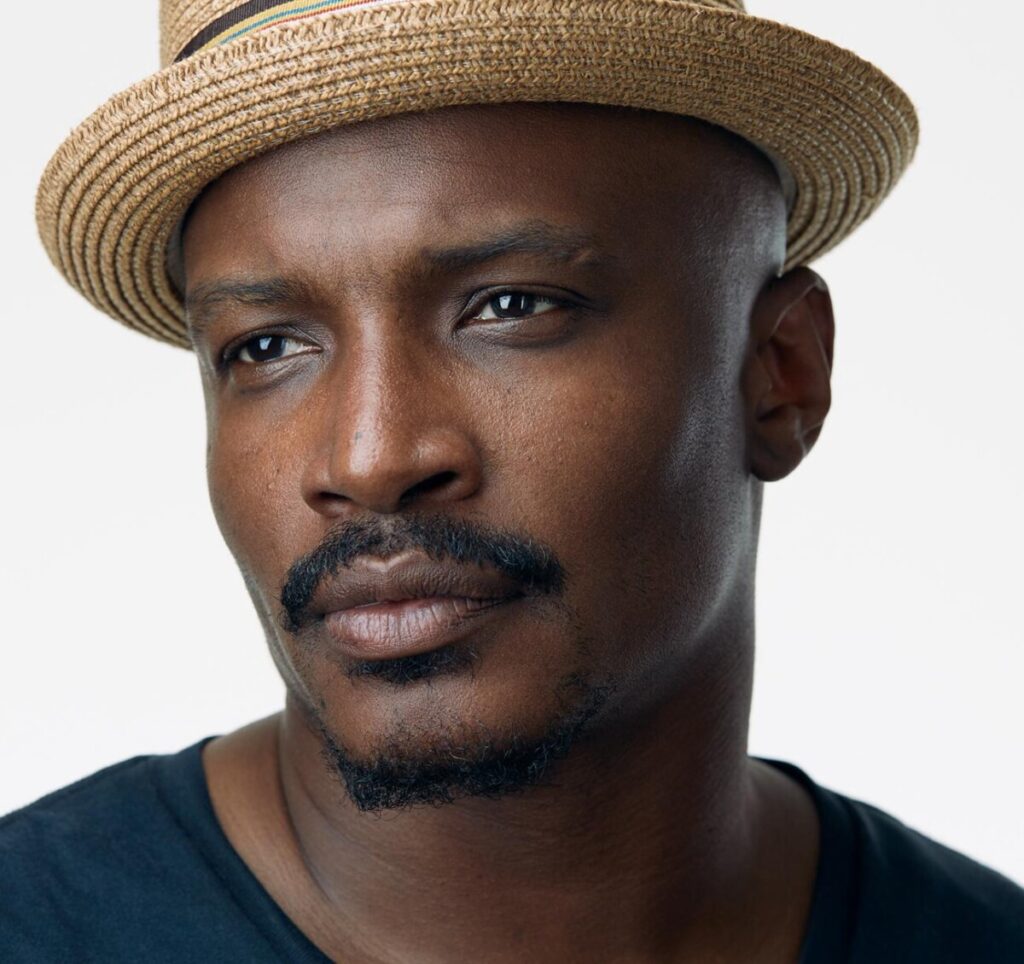
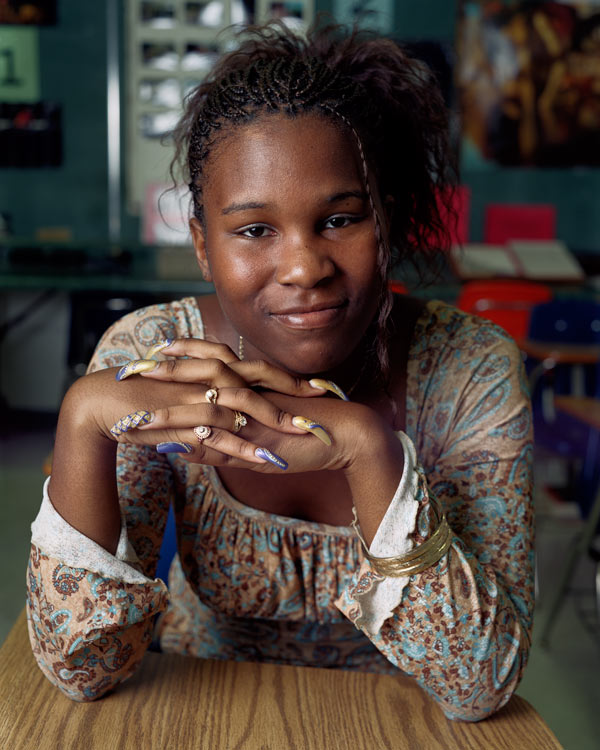
Pick one of your best portraits shot with front light to work with. Create four versions:
- the file exactly as shot
- the file with the exposure adjusted
- the file re-touched in Lightroom
- the file re-touched with frequency separation
Put them in a gallery block in a post on Openlab with the category:
Lab: Week 13 – Re-Touching
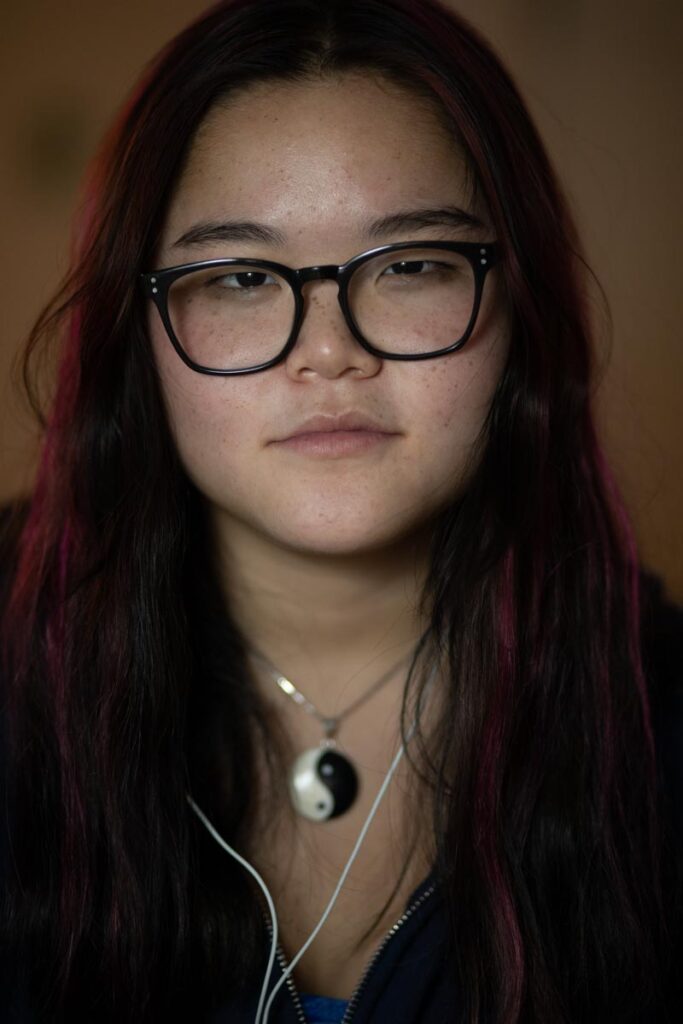
No adjustments 
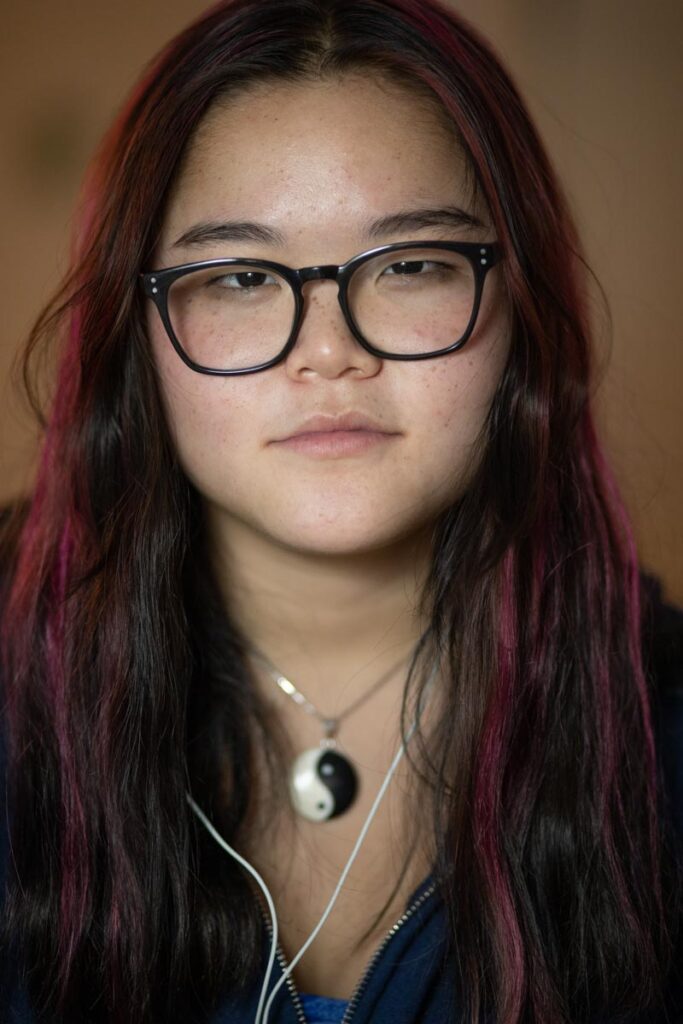
Exposure +1. Highlights -35, Shadows +50
Using the histogram, first adjust the basic exposure. Most portraits will benefit from opening up the shadows to +50.
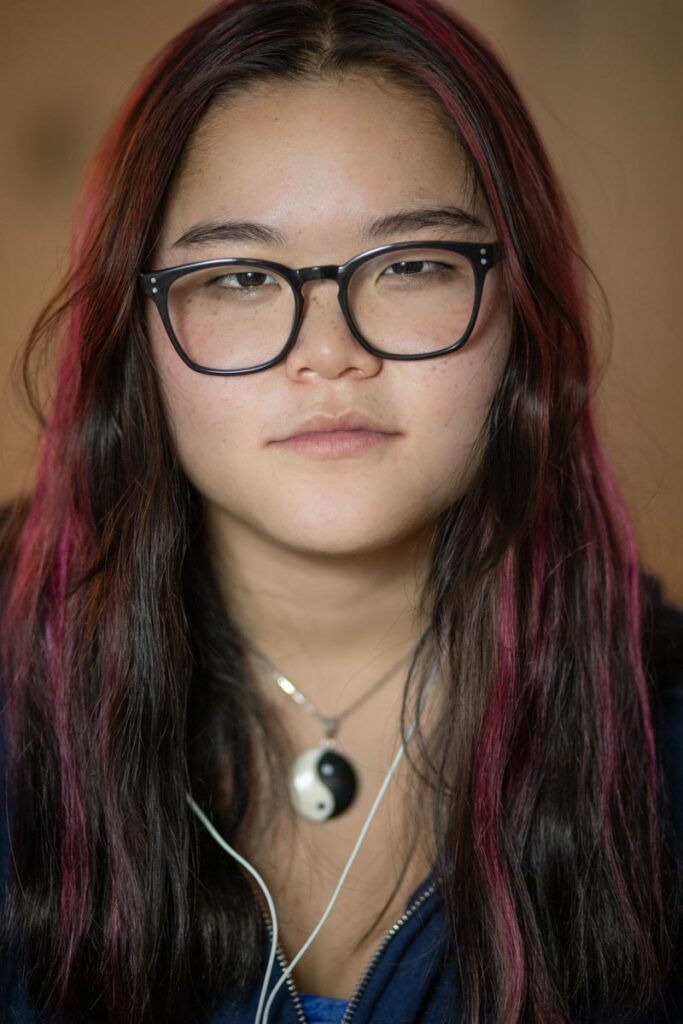
Re-Touching With Lightroom
Use the adjustment brush set to soften skin. Brush loosely over the expanses of skin avoiding the features.
Use the adjustment brush set to dodge dark areas such as under the chin and in this cas I also lightened the glasses shadow. Use the adjustment brush set to burn to lighten and bring detail into the hair.
The eyes are the most important feature. To make them stand out slightly:
Use the adjustment brush set to clarity to outline the eyelids.
Use an ajsutment brush to carefully select the iris and brighten.
Use an adjustment brush to carefully select the whites of the eyes and increase the exposure very carefully. Do NOT so this too much otherwise it will look very artificial.
No re-touching 
Lightroom re-touching
Frequency Separation
Frequency separation allows you to re-touch the skin without losing its texture.
- Set up the file:
- Make two copies of the background layer.
- Name the middle on Low and the top one high
- Select the Low layer and then filter>noise>dust and scratches> 15 radius
- Select the High layer and then image>apply image.
Layer: low, blending: subtract. - Set blending mode to linear light.
- Group the High and Low layers and name it skin.
- Command-shift N to create a new layer. Mode>Overlay. Check 50% gray. Name it DB.
- Add a B&W adjust layer on top and bring down the red channel to enhance the flaws.
2. Remove blemishes: On the High layer, using the healing brush, hold option to sample an area near the blemish. Then paint over it to remove it. Use this to remove stray hair.
3. Smooth skin: On the Low layer, uses lasso tool to select areas to smooth out. Filter>blur>gaussian blur> 15 radius.
4. Dodge and Burn: On DB layer, use the dodge (lighten) tool set to midtones>3%>protect tones. Us this to lighten bags under the eyes and brighten the eyes.
Lightroom Re-touching 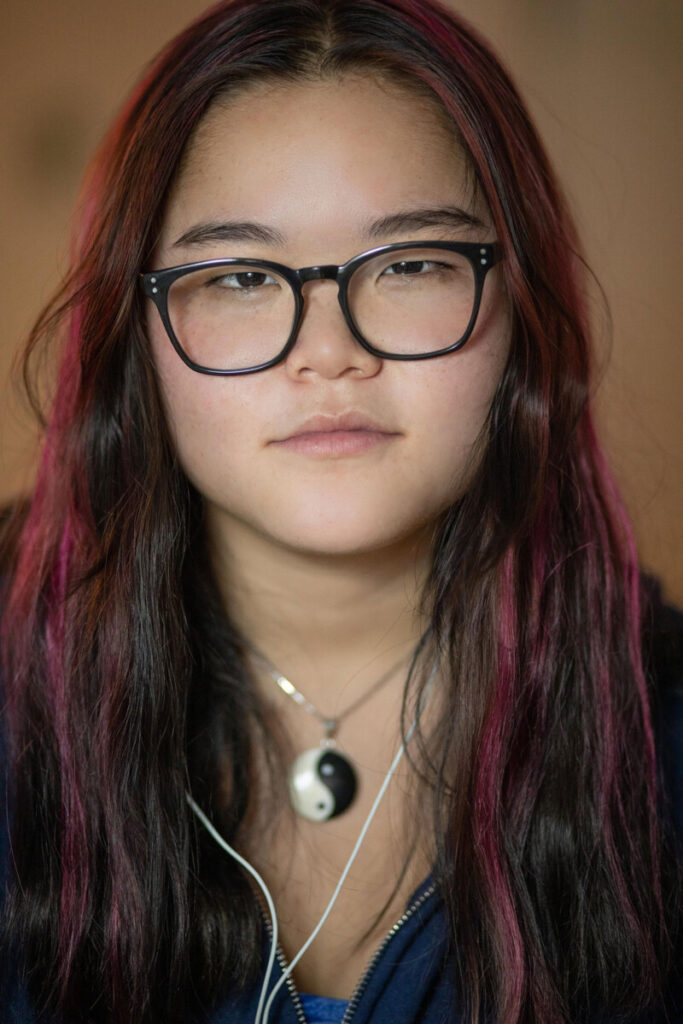
Frequency Separation
Resource: Photoshop Retouching Skin Retouching Technique Frequency Separation Made Easy by Joel Grimes


Recent Comments