Work with two or three vegetables or fruits.
Place them on a complimentary background- a cutting board, a baking sheet, a plain cloth, a wood table.
Use a tripod or other way to secure the camera and use the timer to take the photos.
Start by placing the main light at 90 degrees to the subject.
Take your first photo.
Then add diffusion to soften the light. You can put a diffuser in front of the light or turn the light around and bounce it off the wall.
Next, add the fill. Place a white board as close to the subject as possible without being in the frame.
Create an appetizing photo of your subject with side light and a good balance between the main light and the fill light.
Reposition your main light to be a back light. Note it may be easier to change the orientation of the food and camera depending on your workspace. Take your first photo. then add diffusion and reflection to make an pretty photo of your subject where the balance between the main light and the fill brings out the shapes of your subjects.
Put the four photos (different then my example below) in a post. Please put the settings you took each photo in the caption.
Include a description of how you lit your subject to get a pleasing balance between the main and the fill lights. What did you use for diffusion? How far away was the main light and the reflector?
Category: Lab: Week 8 – Food Photography Lighting
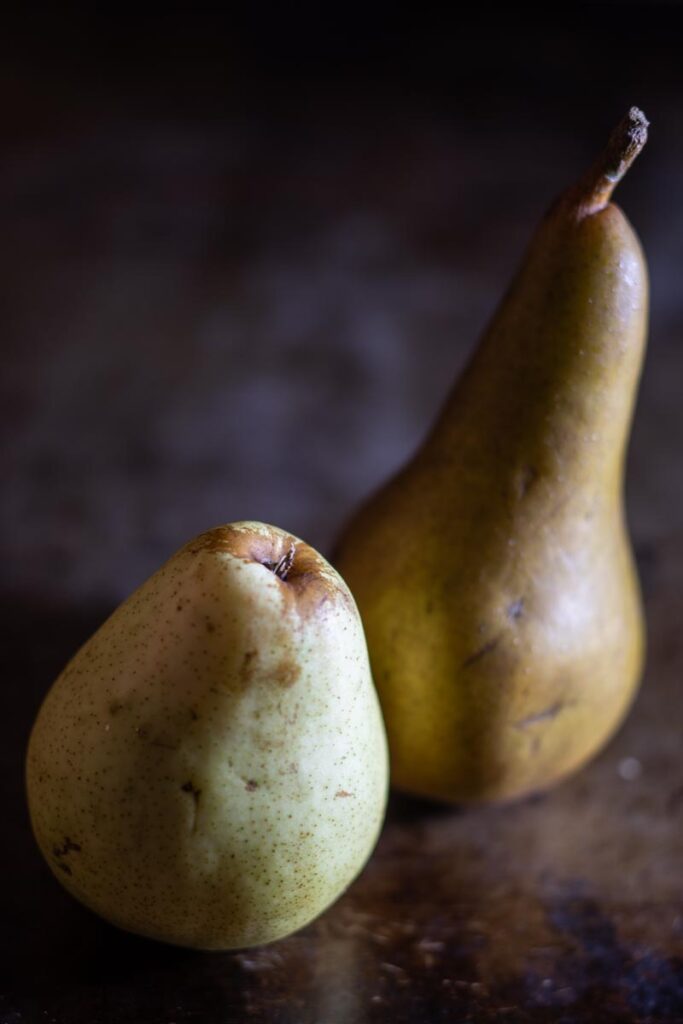
Side light: Clamp light no diffusion, no reflection.
1/40 sec, f2.8, ISO 100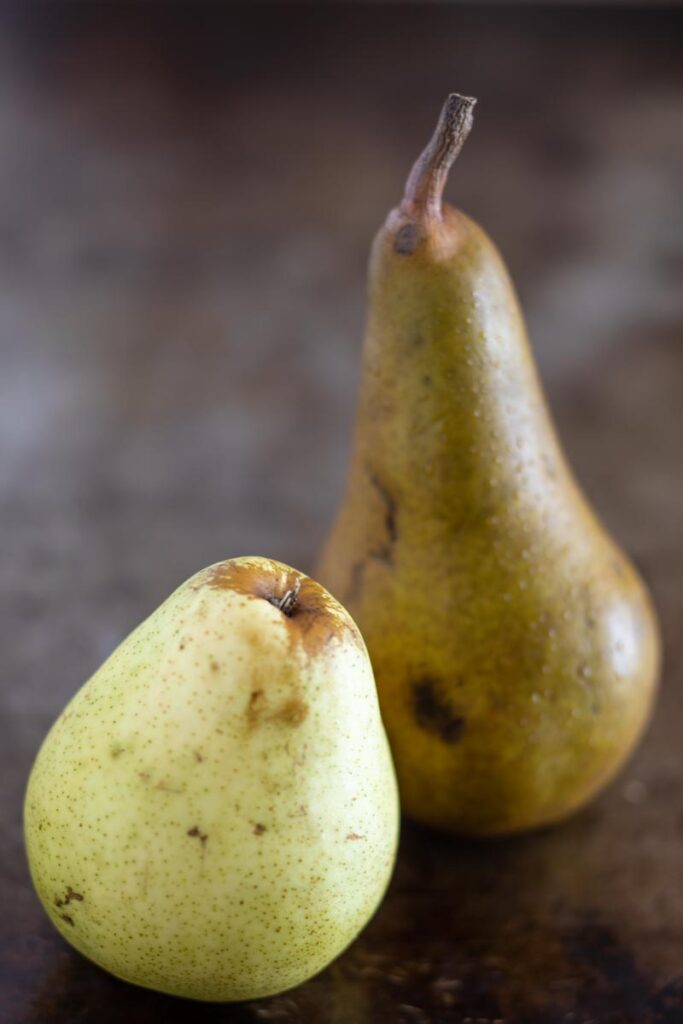
Side light: Clamp light with diffusion and reflection.
1/4 sec at f2.8. ISO 100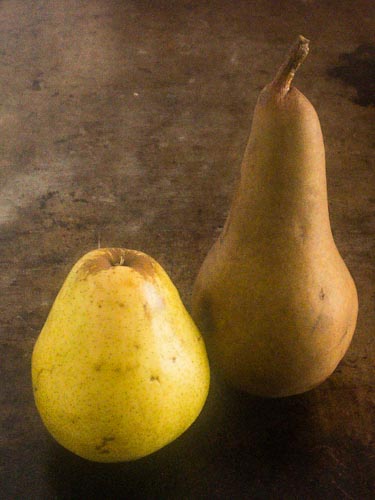
Side light: shot with iPhone 7 
Back light with diffusion and reflection
1 sec at f5.6, ISO 100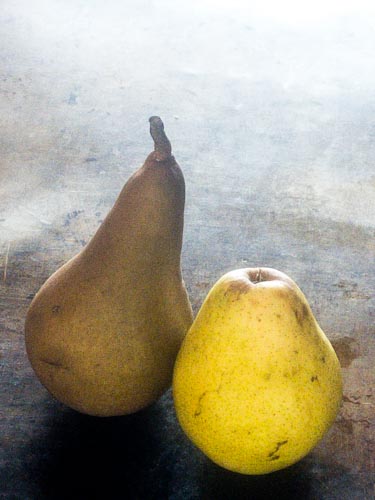
Back light shot with iPhone 7
1/4 sec. f 1.8 ISO 20


Leave a Reply