Robin Michals | COMD 1340 Photography 1 OL89 | FAll 2020

Category: Assignment Instructions (Page 4 of 9)

HW 9: Yummy!

Working with something you think is delicious, create a series of appealing photographs to convince everyone else this food is good to eat. The goal is to make the food look appetizing.

Pick something simple and easy to work with. Take off and wrappers or labels. Odd numbers are visually more appealing than even so get three of whatever it is. Three cupcakes or donuts. Or you could use three fruits or vegetables. It will be easier if they are around the same size and shape. Three pears will be easier than a banana, grapefruit, and an apple. Or better yet try a bunch of grapes.

Pick a background to compliment your subject. A bright pink background will be perfect for donuts with colorful frosting while a cutting board will be better for fruits and vegetables.

Use side light with fill for 10 photos and back light with fill for 10 photos. You may shoot from overhead or a three-quarter view or a combination. Experiment with the composition. Each photo should have a unique composition. You may add simple props, a spoon, a napkin, a plate, a flower but keep it simple. Post the 20 photos to an album on Flickr.

Select your best two and adjust the two photos in Lightroom. Send them to the class group.

Due: November 24th at 8am.

HW 8: Lighting Direction

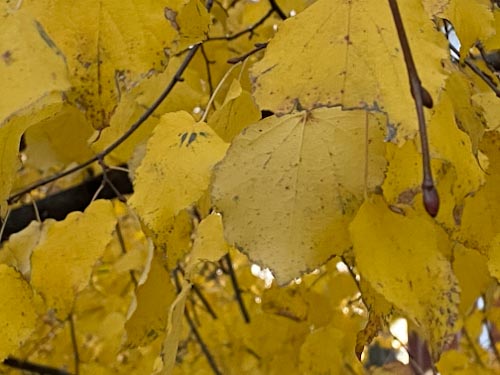
Working outside on a sunny day, capture the fall season by photographing trees and the changing color of their leaves.

Think of the sun as your main light and move so that it is a front light, a side light and a back light. Also, work in the shade (or on a cloudy day) and find diffused light and directional diffuse light.

Take 6 photographs of each kind of light for a total of 30 photographs.

Post to an album on Flickr.

Due: November 17th, 2020

Lab: Week 10 – Light direction

Shooting with direct light meaning direct sunlight or a clamp light, take a photo of your stuffed animal or doll in front light, side light and backlight.

Then, working with directional diffused light such as light from a window that does not get direct sun, take a photo of your stuffed animal or doll in front, side and back light.

Put the six photos in a gallery block in a post on OpenLab. Label each one with direct or directional diffused light and the direction of the light: side, front, back.

Include a short description of the difference between direct and directional diffused light and what are the characteristics of front, side, and back light.

Category: Lab: Week 10-Lighting Direction

Lab: Week 10 – Fill the Frame

Working with your stuffed animal or doll, take 10 detail shots, filling the frame each time with the toy. In every shot, there MUST be something sharp and in focus and despite this being a detail, we must be able to recognize what we are looking at. Best strategy for this is to concentrate on the face of the stuffed animal or doll.

Start by figuring out how close your camera can actually focus. If you have an older camera phone, you will find that you cannot get that close and still have the image in focus.

If you have an iPhone 11, access the macro mode by swiping up on the magnification setting in the bottom of the frame when using the camera. the default is .5x.

Remember to reduce the size of the jpgs and put them in a gallery block in a post on OpenLab with the category:

Lab: Week 10-Fill the Frame

No text required!

HW 7: Homework: Barriers

Physical Barriers: Something that prevents movement form one place to another. Anything , either natural (trees, hedges) or manmade (fences, police tape, gates, walls ), that keeps you from passing through.

Working outside during the day:

Actual Barriers

  1. Find examples of 4 different barriers. 

For each barrier shoot  following:    

  1. Perspective shot of barrier-use the converging lines of the barrier as it moves away from you to create a strong sense of space in your photograph.
  2. Using shallow depth of field technique from class, move in close and focus on subject and the background is out of focus
  3. Using shallow depth of field technique, take the same photo but focus on background and the barrier should be out of focus.

 Total of 12 images for part 1

Visual Barriers

  1. Frame within a frame: Shapes and forms that occupy large areas of the frame that are not the main subject. 

Use the frame to isolate a shape or form in the composition.

  1. Use rule of thirds and shallow depth of field and focus on shape
  2. Use rule of thirds and shallow depth of field and focus on background

Do this for 5 different shapes or forms

Total of 10 images for Part 2

Upload to flickr in an album labeled  Barriers DoF. There should be 22 images in this album. Send your best 5 images selecting from Parts 1 & 2 to the group.

Due: November 10, 8 am

« Older posts Newer posts »

© 2024 Photography I

Theme by Anders NorenUp ↑