Robin Michals | COMD 1340 Photography 1 OL89 | FAll 2020

Category: Assignment Instructions (Page 3 of 9)

Lab: Week 12 – Window Light Self-Portraits

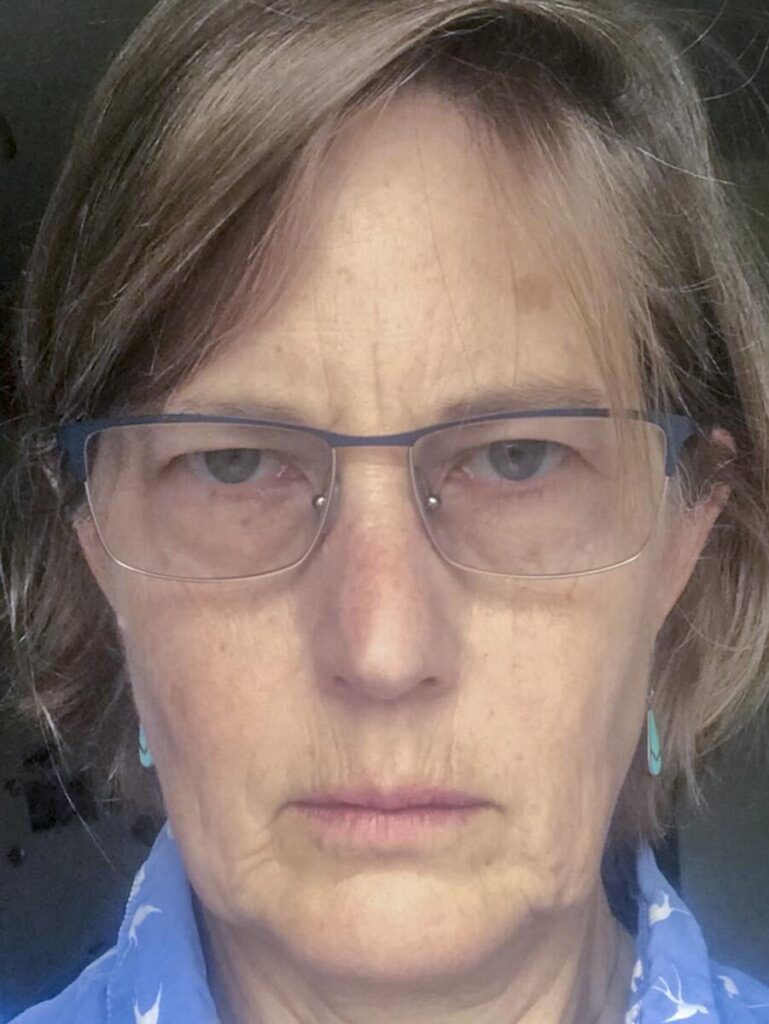
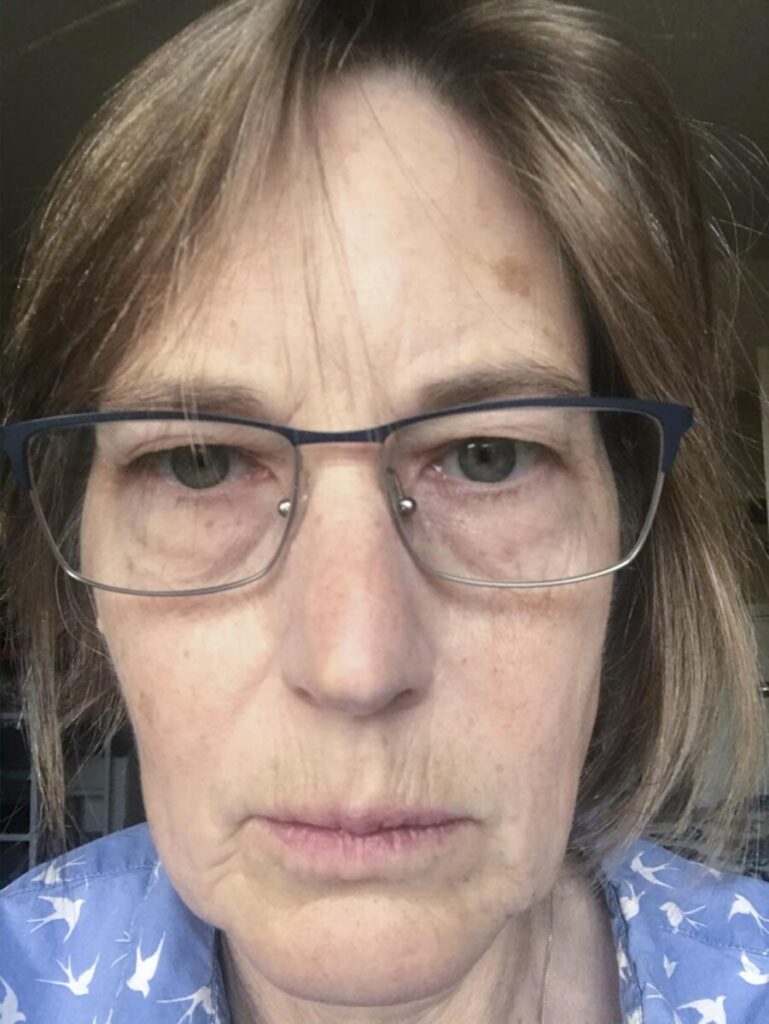
Working very near a window, take a series of 8 self portraits. Not Selfies. Each image should convey a mood or a feeling. Your photos should use light, expression and the relationship between you and the surroundings to be expressive. No props. If you have curtains or venetian blinds, you may use them as elements in the photos.

Expression is important but it isn’t everything. Consider the position of your head, if the background is light or dark, how much contrast there is to the light.

If you are very close to the window and there are no other lights on in the room, you should be able to create a shot with a black background and high contrast. The further away from the window you are, the more even the light will be and the lower the contrast will be.

Variables to experiment with:

  • Head position: front view, 3/4 view, profile
  • looking at the camera and looking away from the camera
  • high and low contrast
  • low key and high key – (most of the tones are light or most of the tones are dark)
Lab: Week 12 – Wide Angle Distortion

Wide Angle Distortion is created when using a wide-angle lens AND the camera is very close to the subject. The object close to the lens appears abnormally large relative to more distant objects, and distant objects appear abnormally small and hence more distant – distances are extended. 

When shooting a portrait with a cameraphone, you can’t change your focal length unless you have an iPhone 11 or 12 and even so the choices are limited. But whatever camera you shoot with, you will see wide angle distortion in the photo if the camera is too close to the subject.

Take two photos of a model or yourself: one with wide angle distortion and one without.

If you are shooting with a cameraphone, take the first photo with the camera very close to your subject or your own face. Take the second photo with the camera at least at arm’s length, better yet on a tripod, home-made or otherwise.. You will need to crop the second photo in Lightroom to get the framing to be about the same.

There are times though when we want to use wide angle distortion. The exaggerated scale relationships can be used to be funny or dramatic.

Create two photos that use wide angle distortion to make a funny or surprising image.

Put the four photos in a post with the category Lab: Week 12- Wide Angle Distortion with an explanation of wide angle distortion. What is it? how do you create it and how do you avoid it. When do you want to avoid it and when might you want to use it?

Technical Note

When you are shooting with an iPhone camera, you can use the ear buds that come with the phone as a shutter release. Plug the ear buds into the phone and press the volume control to take the photo.

Final Project

The goal of the Final Project is to create a series of 10 related images on a theme.

You may choose to do either:

A series of portraits or self-Portraits OR

A still life series

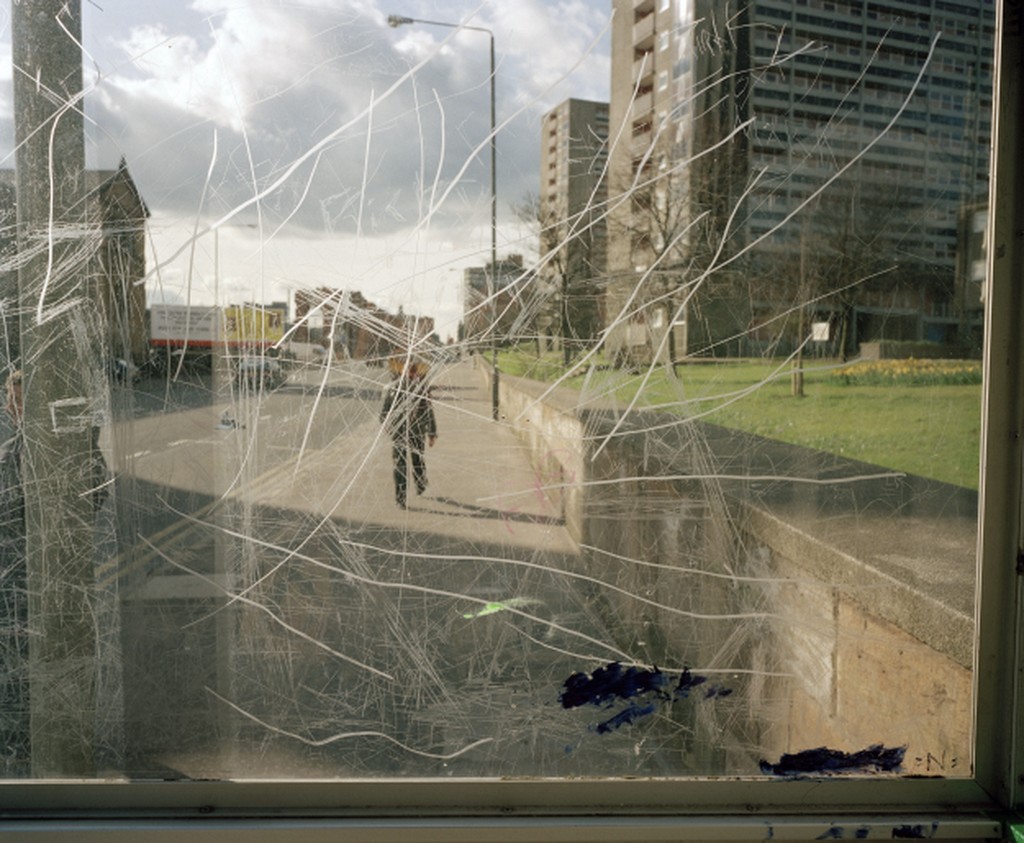
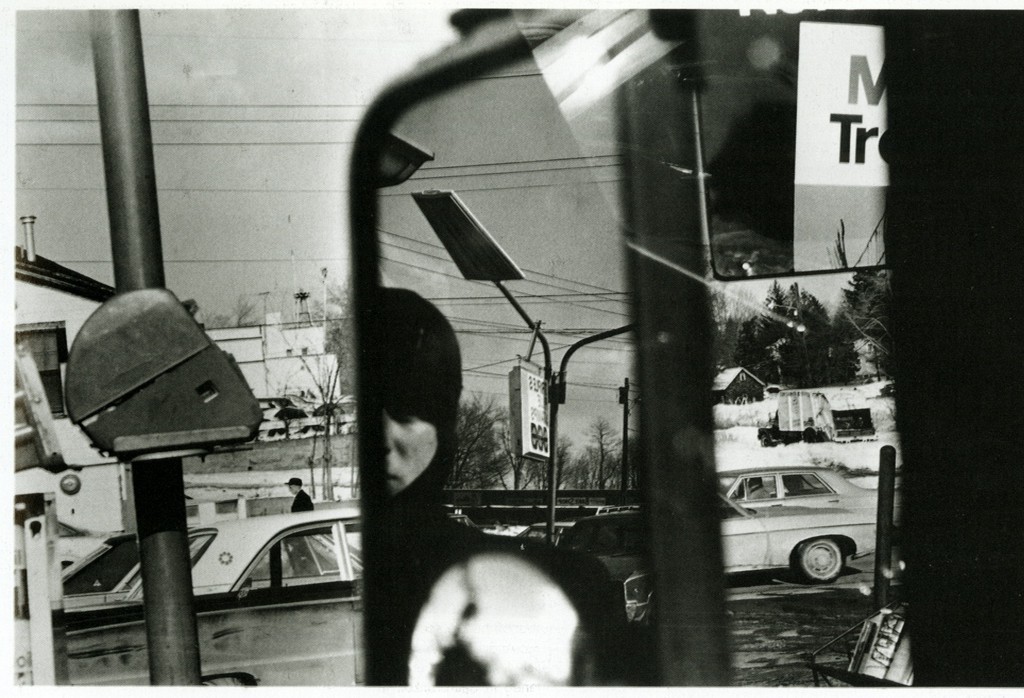
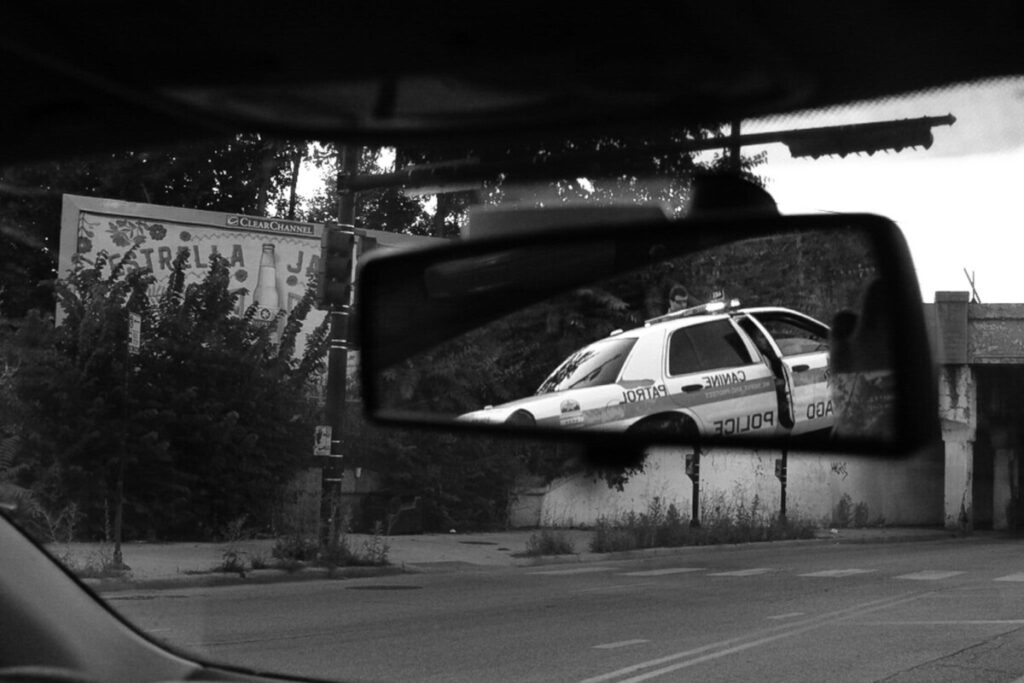
OR working outside during the day a series on Mirrors (reflections) and Windows.

First decide which assignment(s) you most enjoyed. Then consider: do you have people to work with? Do you feel most comfortable working at home given cornona virus? Do you prefer to take photos outside?

Inspiration for Self-portraits:

Joel Meyerowitz did a self-portrait a day during last spring’s lockdown. Note how many use window light!

The New York Times ran a story on photographers working in quarantine. See some of the Joel Meyerowitz photos there.

Inspiration for Still Life:

A maximal approach – Lucia Fainzilber The Cookbook

https://www.luciafainzilber.com/work-1/project-two-zsmla

Inspiration for Mirrors and Windows:

Deliverables and dates:

Due Week 13, December 1: Shoot 1 – minimum of 30 images in an album on Flickr

Due Week 14, December 8: Shoot 2 – minimum of 30 images in an album on Flickr

Due Week 15, December 15: Shoot 3 -minimum of 30 images in an album on Flickr PLUS

  • final 10 images selected, adjusted in Lightroom, and posted to an album on Flickr
  • a presentation to the class of the final images.

Example Projects:

Jennifer Humala – Portraits

Daniah Saifan – Photography and illustration

1. wake up

Razan Ikhais – still life

Final project part#part2 week 13

Lab: Week 11: The Background Matters

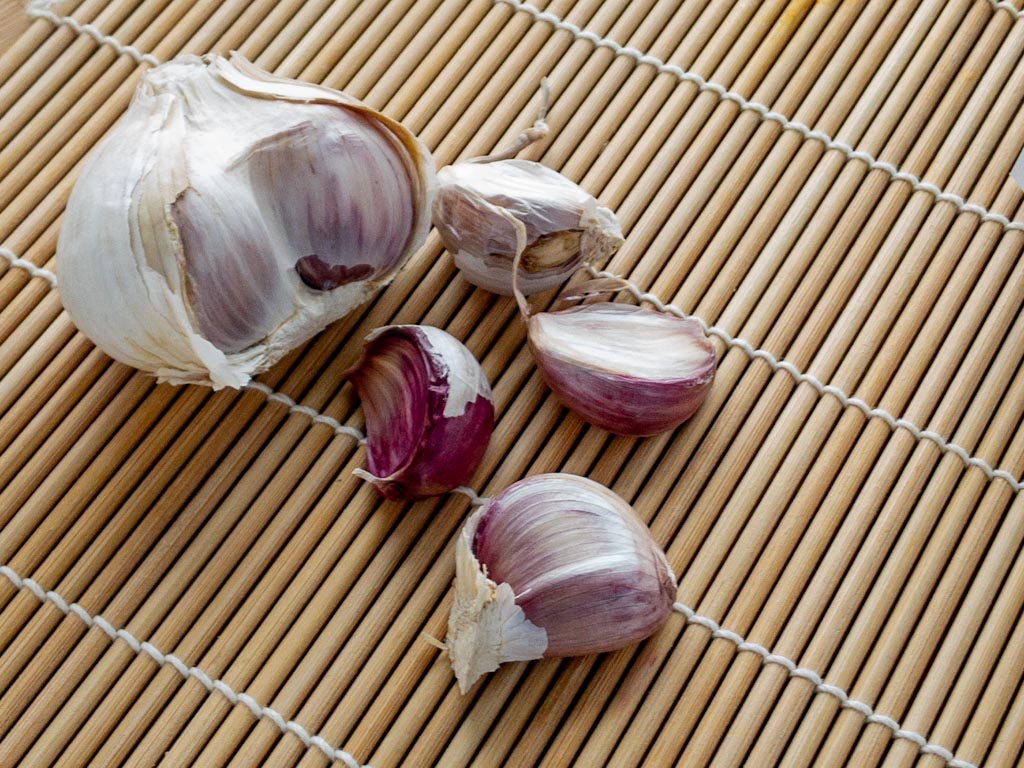
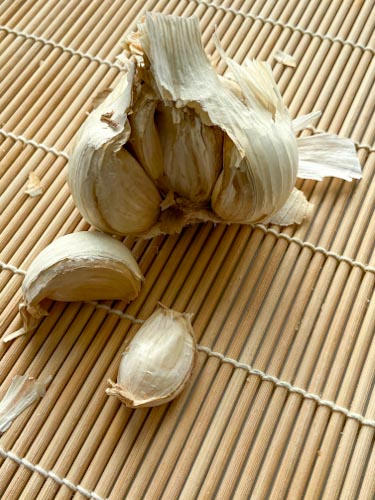
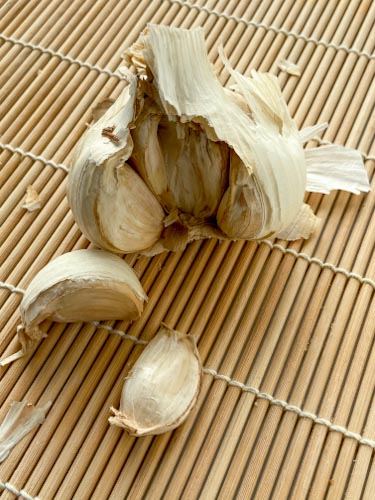
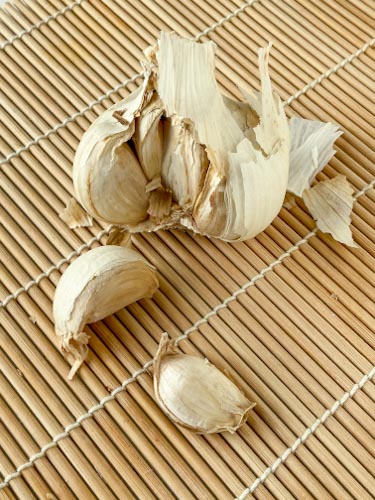
Photograph a simple food item on two different backgrounds. Select an onion, a head of garlic, some grapes. Keep as much about the photo the same – the composition, the angle of view – and change the mood just with the background. The background must fill the entire frame. Adjust your photos in Lightroom.

Put the two photos in a post with a short description of what you used and how the different backgrounds change the mood of the two photos.

Category: Lab: Week 11: the Background

Photographed on a sushi mat.
Photographed on an old baking sheet.

Lab: Week 11: Back Light and Side Light with fill to brighten the shadows

In food photography, a window is often used as the main light. The main light can be either backlight or side light. To make the food look appetizing, we generally fill or brighten the shadows.

The side of the food away from the main light will be dark. To brighten and soften the shadows, we reflect light from the main light into the darker side. Adding fill evens out the light. It reduces contrast. You can’t simply correct for this with software. When you do, you will lose detail in the brighter areas to get a good exposure on the areas in shadow.

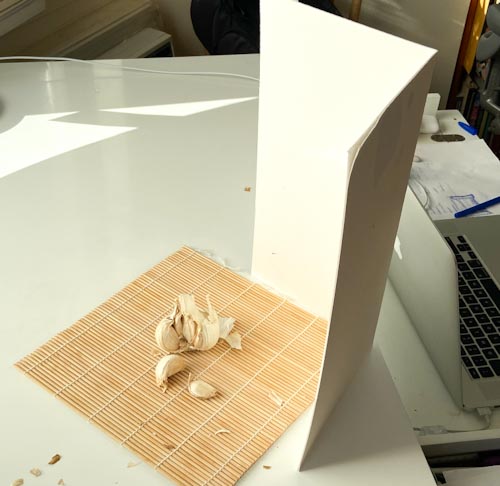
The fill in a photo studio may be another light but in my home window studio I used a piece of white cardboard folded in half to stand up. You can try a piece of computer paper if you don’t have white cardboard. Use it to reflect the main light – which is the light from the window – back onto the subject. It will brighten the shadows and even out the light.

Working with a window as your main light, photograph a few small food items, using back and side light, both with and without fill.

First pick a background. Arrange the items on the background by the main light. Create a pleasing composition. You can shoot either from directly overhead or from a three-quarter angle which is between overhead and eye level. If direct sun is coming in the window, put tracing paper or computer paper over it to diffuse the light. If you are using a clamp light put tracing paper or computer paper in front of the light to soften it.

Shoot the scene with backlight and then add the fill.

Then shoot the scene with sidelight and then add the fill.

Adjust the final four photos in Lightroom bringing the shadows up to +50. Make sure to adjust all four photos exactly the same. I adjust all 4 photos below: Exposure +.5, Shadows +50, Black +50

Describe your process including how you set up the shot: If you are using a window or other light source, if you needed to diffuse it. What did you use to reflect light into the shadows. Did you get better results from back or side light?

Category: Lab: Week 11 – Back and side light

« Older posts Newer posts »

© 2024 Photography I

Theme by Anders NorenUp ↑