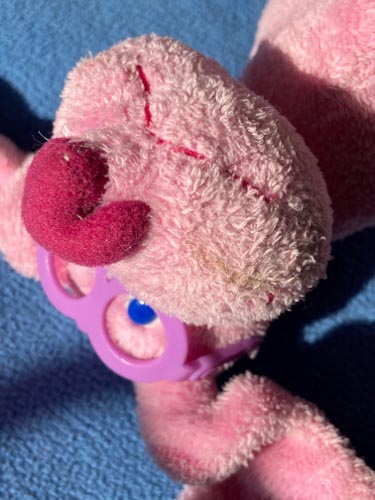
Wide Angle Distortion is created when using a wide-angle lens AND the camera is very close to the subject. The object close to the lens appears abnormally large relative to more distant objects, and distant objects appear abnormally small and hence more distant – distances are extended.
When shooting a portrait with a cameraphone, you can’t change your focal length unless you have an iPhone 11 or 12 and even so the choices are limited. But whatever camera you shoot with, you will see wide angle distortion in the photo if the camera is too close to the subject.
Take two photos of a model or yourself: one with wide angle distortion and one without.
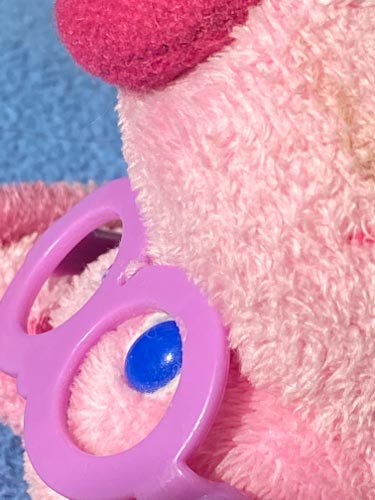
If you are shooting with a cameraphone, take the first photo with the camera very close to your subject or your own face. Take the second photo with the camera at least at arm’s length, better yet on a tripod, home-made or otherwise.. You will need to crop the second photo in Lightroom to get the framing to be about the same.
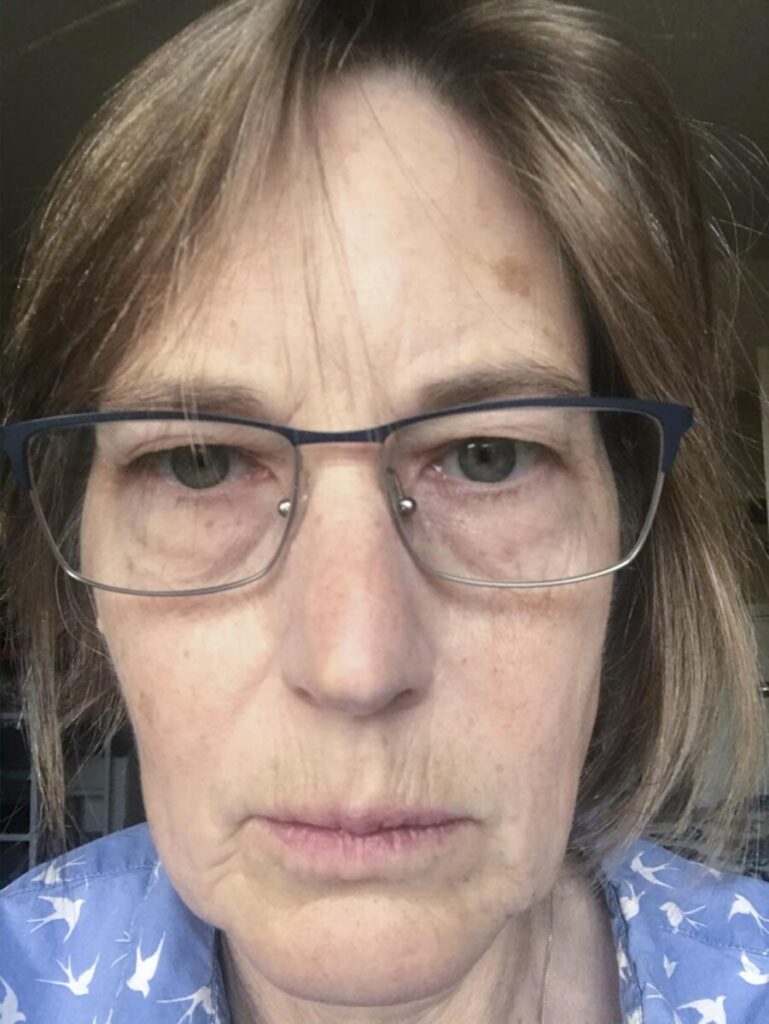
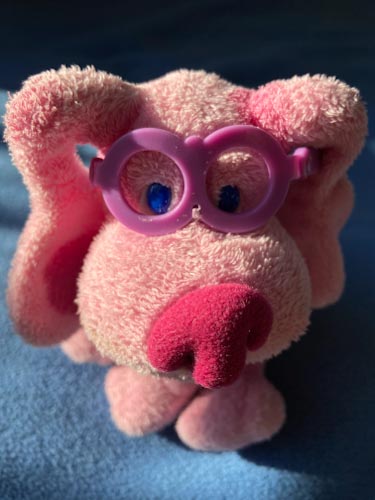
Wide Angle Distortion 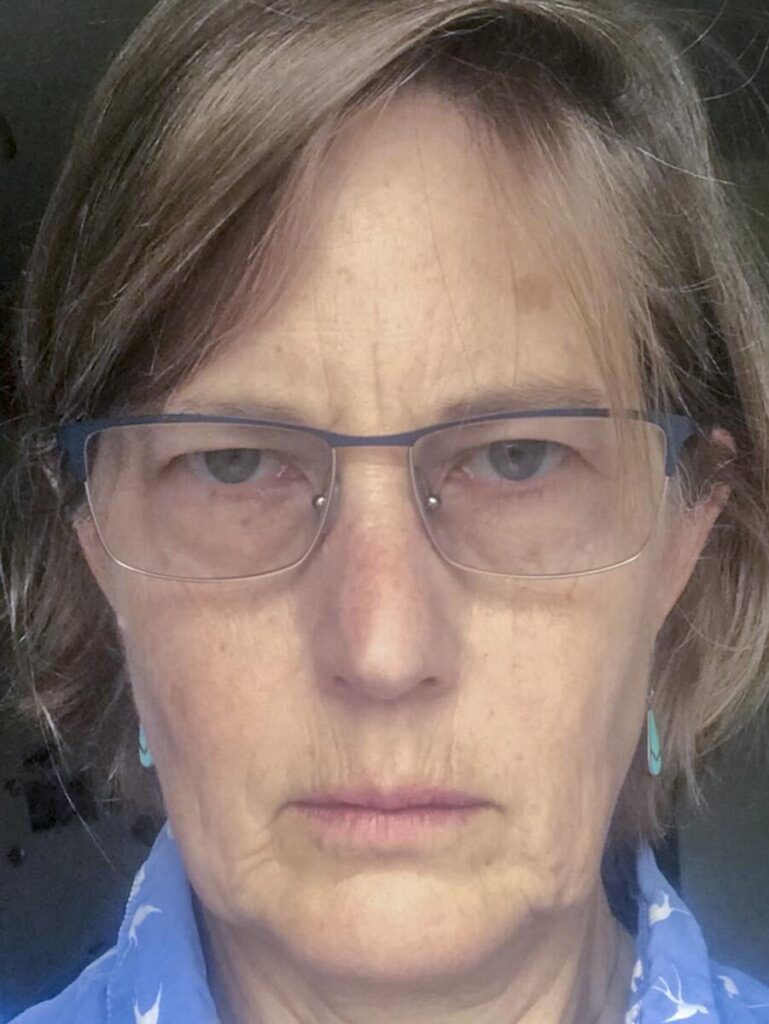
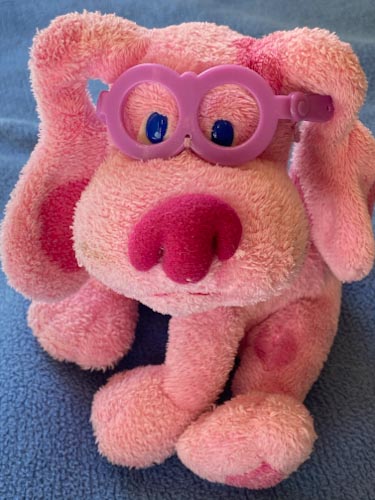
No Wide Angle distortion
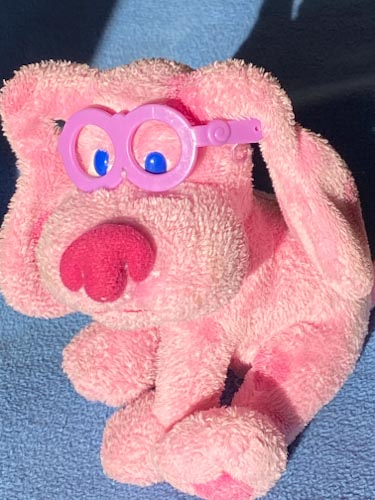
There are times though when we want to use wide angle distortion. The exaggerated scale relationships can be used to be funny or dramatic.
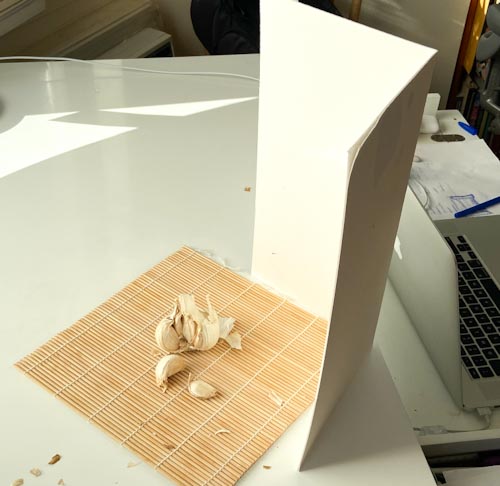
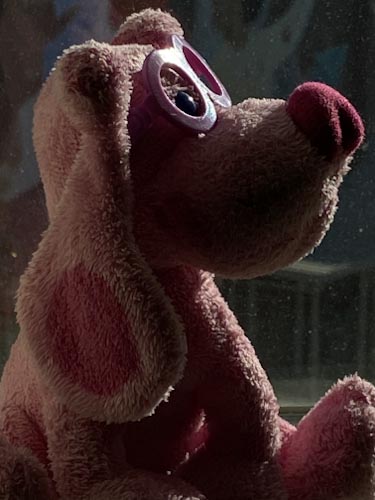
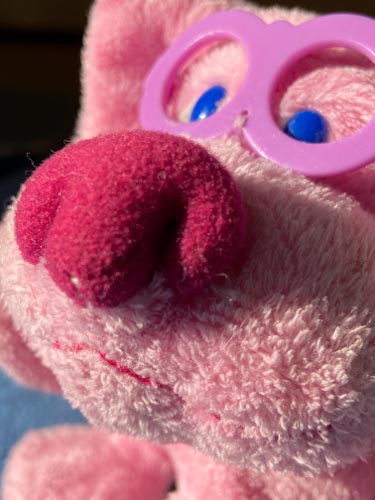
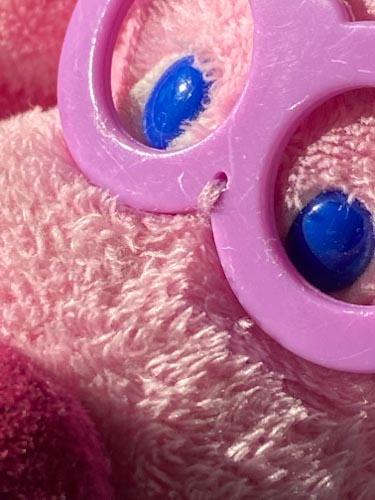
Create two photos that use wide angle distortion to make a funny or surprising image.
Put the four photos in a post with the category Lab: Week 12- Wide Angle Distortion with an explanation of wide angle distortion. What is it? how do you create it and how do you avoid it. When do you want to avoid it and when might you want to use it?


Technical Note
When you are shooting with an iPhone camera, you can use the ear buds that come with the phone as a shutter release. Plug the ear buds into the phone and press the volume control to take the photo.


Recent Comments