
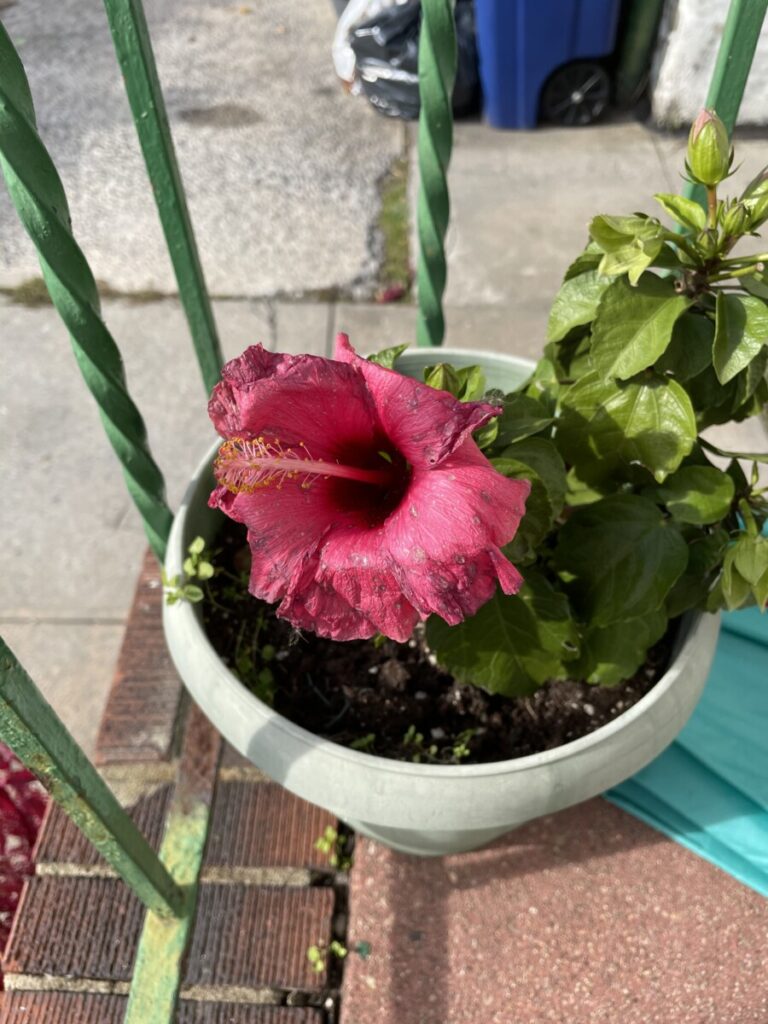
Direct Front Light 
Direct Side Light 
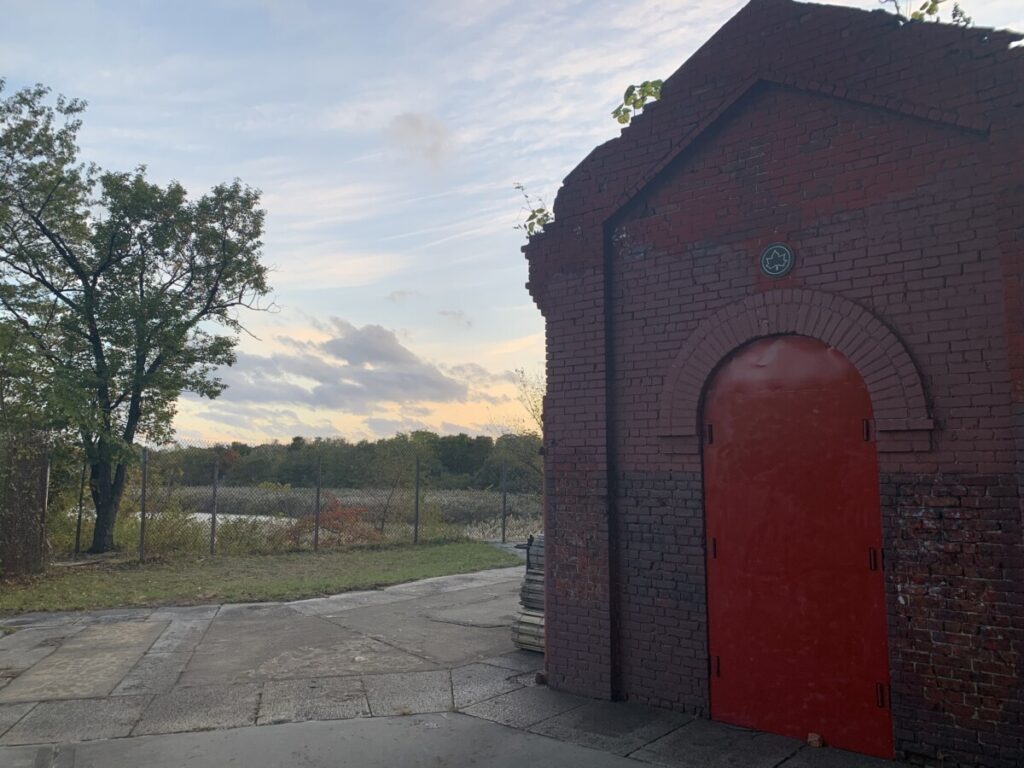
Direct Backlight 
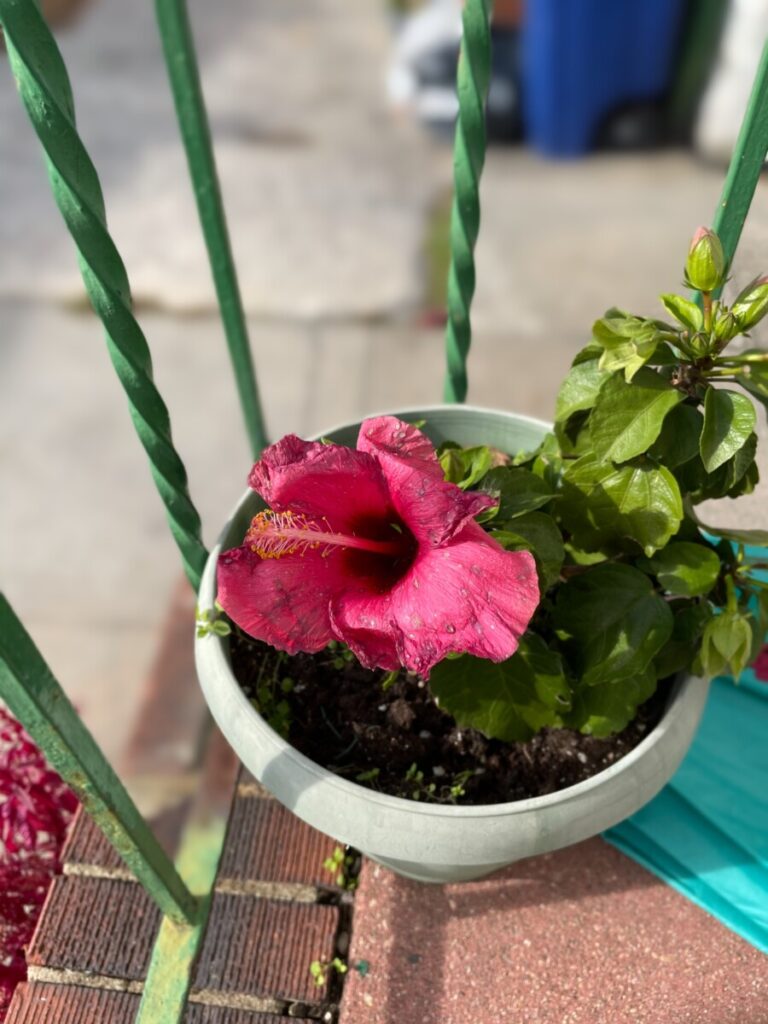
Directional Diffused front light 
Directional Diffused Side Light 
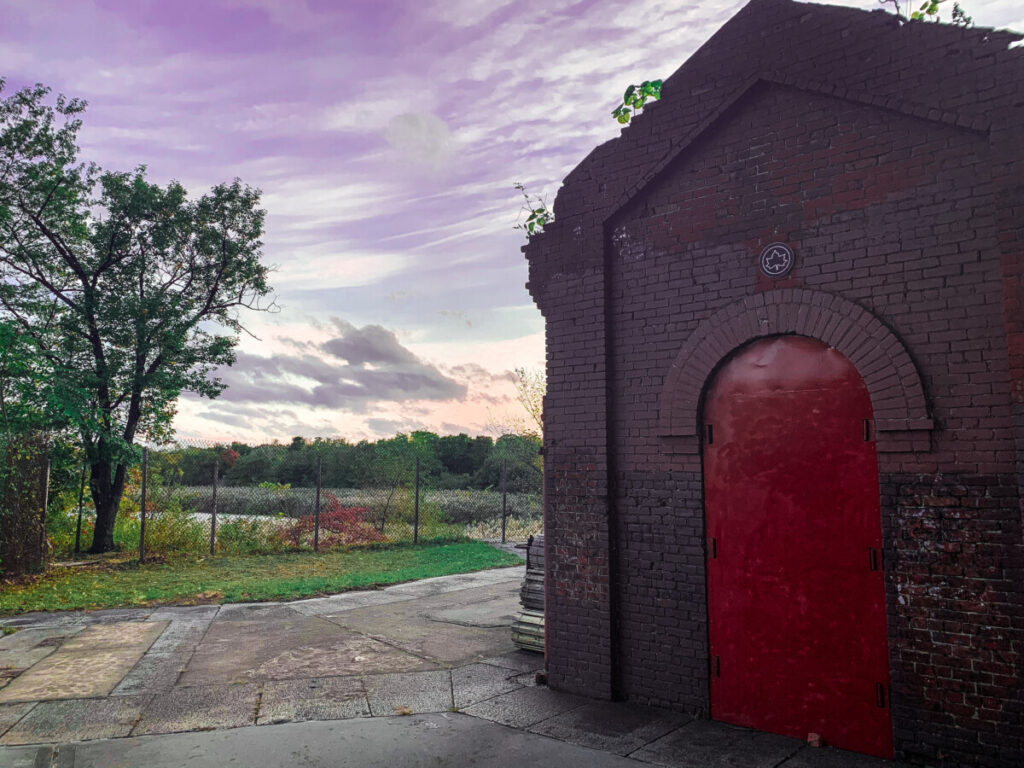
Directional Diffused Backlight
In order to get direct front light as opposed to diffused front light, the easiest thing to do was place the figure in a place where you can clearly tell that what is shining in is sunlight. As for diffused front light, the object is still lit up and the colors pop more than they normally would, but the shine is different. The same applies for side and back lighting as well: working in front/ on the side of sunlight rather than any other light source provides a glow that differentiates the photos a lot from one another. The direct backlight shot makes certain portions of the back of the figure stand out in ways that the diffused light does not.


Recent Comments