Monthly Archives: February 2014

DIY Studio

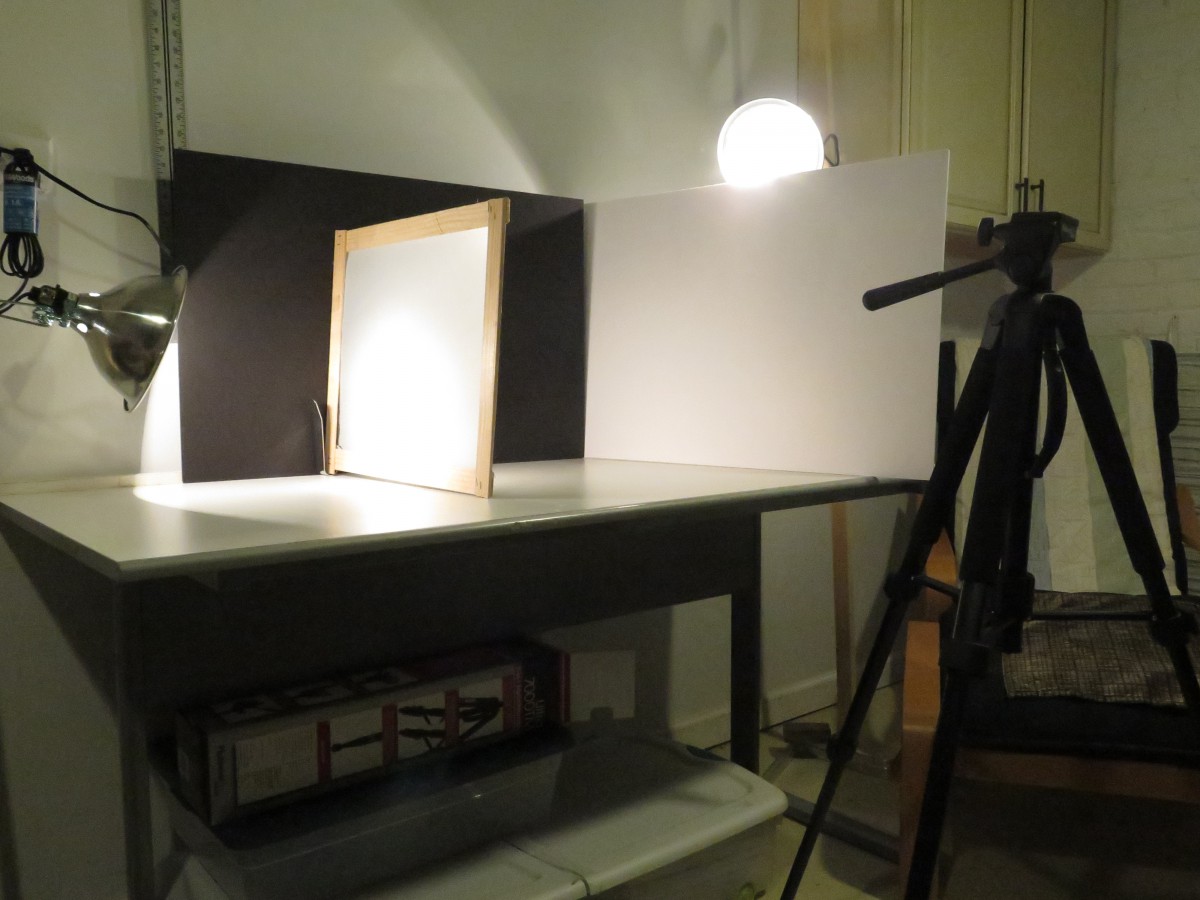
After hearing about the DIY studio, I was thinking of buying it online or something. I’m thinking how the hell am I going to built this, but as I was thinking its a lot cheaper just making my own than buying one. The first thing was to look for a location for the studio itself, which wasn’t that hard, I had to move some furniture around. Getting the broads was pretty easy but

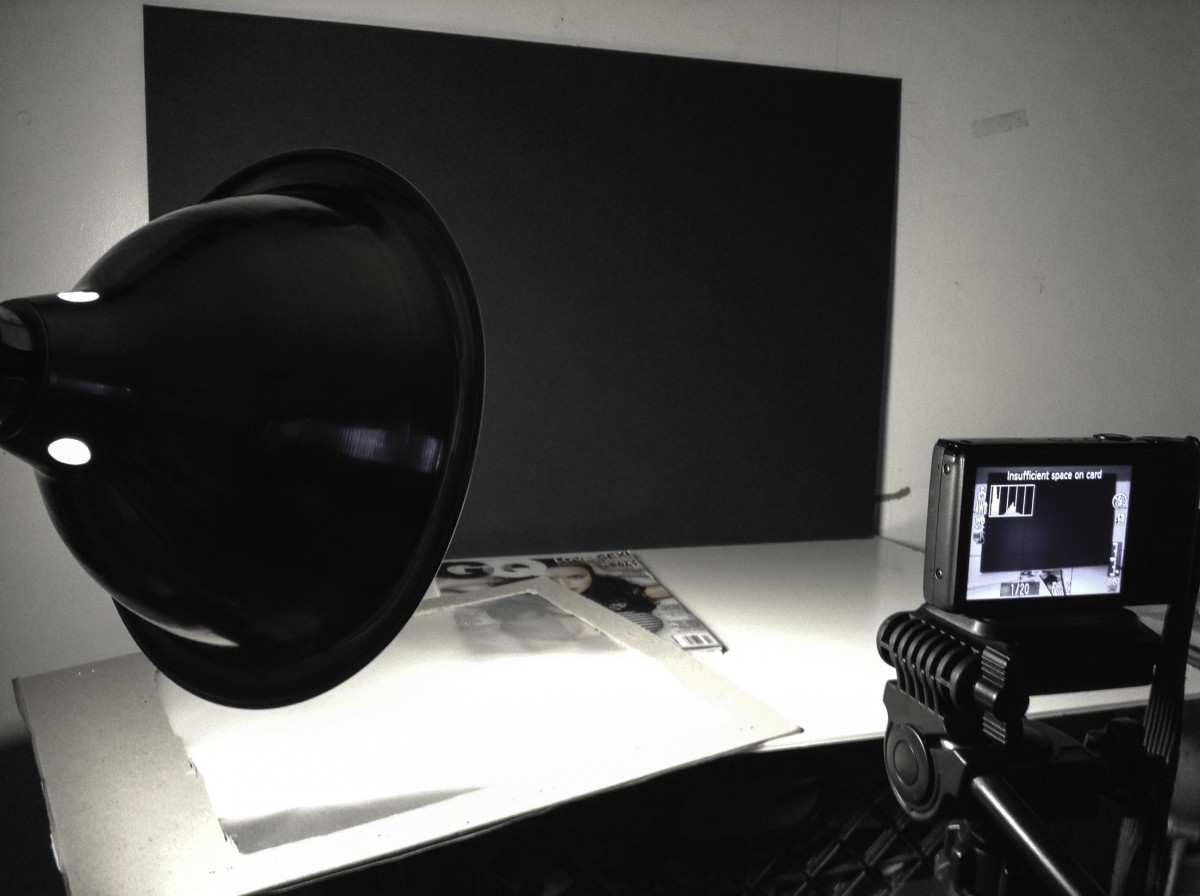
as I was looking at the items that I need to buy I had no idea what was an a-clamp (but there was a picture next to it.) I was going to go to a hardware store which they also cut wood, think I was going to buy a stick so I can use it as a stand for the light. But then I remember that I have a light stand. I still brought a light clamp just incase. which I feel I have more control of directing the light where I want.

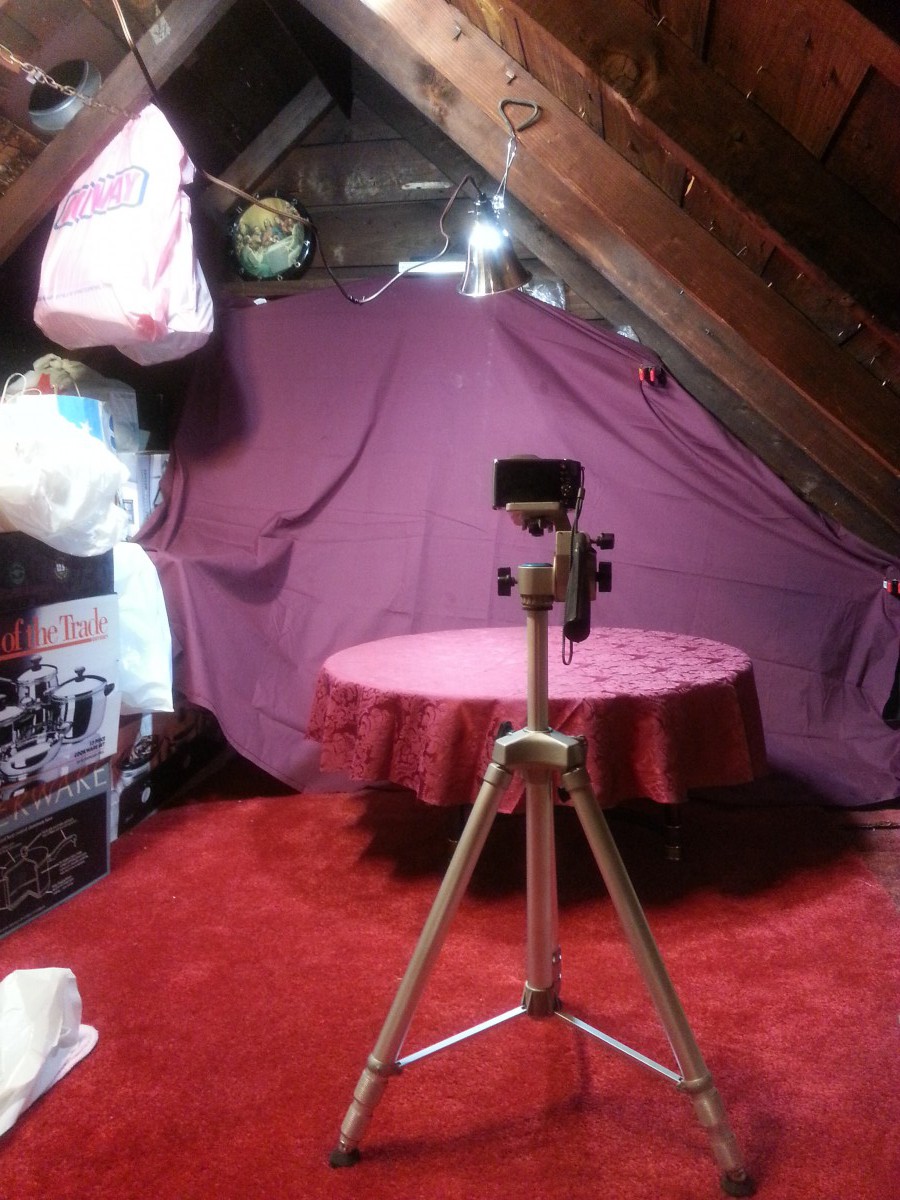
The last thing was the tripod, I couldn’t find my old one so I had to buy at bestbuy, the closet electronic store.

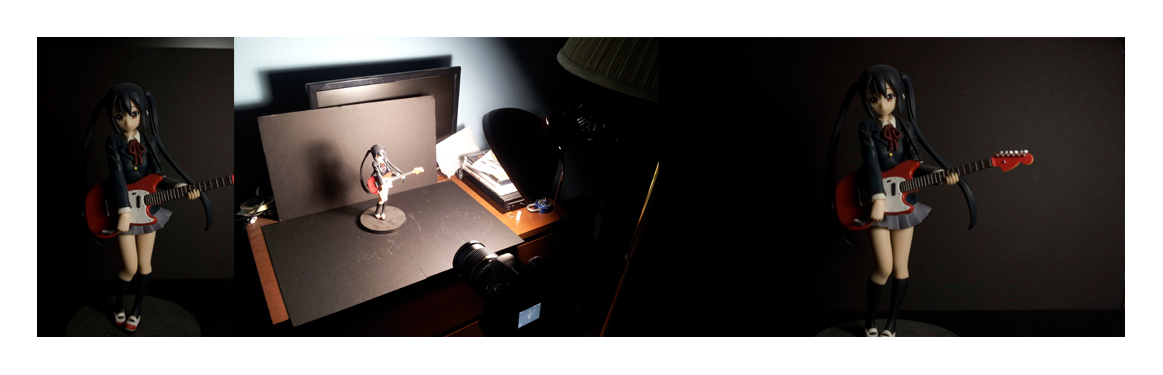
At the end of the day, it all turn out okay. It was a lot easier to make than I thought and I can’t wait to use it.Photo Feb 01, 11 27 48 AM_1

Angelo Pena’s DIY studio setup

Angelo_Pena


I’m pretty used to doing this with my camera, minus the tripod ad the light, so it felt natural to me. The only thing that was bothering me was what type of light to get. I needed to replace the one in my room and I wanted a daylight bulb, however, that light would affect my final image if I got let’s say a bright white or a soft light, so I decided to get a daylight bulb for my set up too. I light the effect it gives. I own many figures like the one in may image, smaller and even larger than that one and daylight light to me presents figures the best. The lamp I got actually saves me a lot of time because even though there’s no diffusion made by me, the lamps head actually is the diffuser. As you can see in both shots(left by hand, right in the tripod), there aren’t any harsh shadows. I tried making some but the images never came out well or just too dark, even with a fill(which I do not have shown). Overall, now with the tripod and the lamp, I’m much happier taking pictures in my “studio”.

DIY Home Photo Studio

After hearing about setting up a home photo studio, I was at first stressed out about the whole situation; but after speaking to a few of Professor Michals’ old students I calmed down and started planning. First thing I had to do was to figure out a location for my studio. At first I figured my room would work perfectly, All that was need was moving my junk off the desk and placing everything on top, so therefore after getting home that Tuesday night I would begin creating my home studio but soon realized I couldn’t move around with a camera in my tiny room ! Therefore I had to move to my second option which is the dining room. The dining room was a perfect spot theres a large space and big table, the only thing I would be giving up is my privacy and not being bothered my anyone. Second part of my planning was to either build the studio or purchase a light box. My first choice was to build the studio over this past weekend but after speaking to a former student of the professor, he explained how buying the light box from Amazon is a much easier solution than to build it. However luckily he offered to give me his studio because he no longer needed it. After hearing the great news and having a massive amount of weight off my shoulders, I made plans to buy a tripod. My search for a affordable tripod however has not started due to my bad memory, but I should be able to purchase one very soon.

Overall my experience with the DIY home studio has been incredibly easy and quite cheap! I only hope that my pictures taken with my home studio will not only help me receive a good grade but also provides some great photos.

DIY Photo Studio

Valerien Yepes - DIY STUDIO

The experience I had building my DIY Studio was fun but a little stressful. The most tense time I had was when I went to Home Depot. I decided to create light stands by using 1X2X6 premium pine. Then I found the clamp lights I would use, but I had a difficult time trying to find what bulbs were appropriate. I bought several bulbs and decided to buy a sensor, because it might help me “set the mood” when taking photographs. When I finished buying some supplies. I walked out of Home Depot, my mom was in the driveway and we almost drove away, when I suddenly realized that I had forgetten the premium pine! A worker already knew I had left it and was there by the cash register, but it made me really tense because I had been walking all over Home Depot looking for supplies and then the thought of me going back to find my future light stands made me a little hectic. I later went to Best Buy and Staple. In Best Buy, I bought my very first tripod and I found it really cool because I could also use it as a monopod. I felt like trying to find the supplies made me crazier than building my DIY Studio.


When I got home, I decided to place my DIY Studio in the laundry room. There was more space and I dont have to take it apart. I set up my lights with my light stand, I used a metal zig zag to keep the light stand table and put something heavy on top. I used tracing paper and my dad helped me make a frame. I found my experience fun, my parents got to help me and it was a great bonding experience!

DIY Studio

20140202_182353Setting up my DIY studio was probably the most challenging homework assignment that I’ve ever had to do. I managed to get most of the items together this weekend. I’ve set up a corner on my attic. I used a round, glass table I found in the attic for placing my props on. Using the ring clamps I purchased from True Value, I hung a dark, solid sheet I’m using as the backdrop. I’ve my clamp lights (which I also purchased from True Value) hanging on the slanted wood beams of the attic top. I’ve set my camera up with a tripod I found in the attic. I think I’ll throw tracing paper over the clamp lights to use as my diffusion screen. The materials weren’t as big a challenge as arranging the space but luckily that worked out fine. I moved some boxes out of the way to move the table to the center of my DIY area. There were also a bunch of things on the table itself. I moved them all to the other side of the attic across from where I packed the boxes. After attaching my camera to the tripod, I practiced angling the tripod; this way I could get used to it for when I began shooting. I also haven’t used this camera in a while, especially since I got my new phone, which has a pretty good camera. The only other studio I’ve shot in is in school and I’m looking forward to shooting in my new DIY studio.

DIY Studio

“Describe in a separate post how you set up your DIY photo studio. Cover any great solutions you discover as well as any challenges that you face. Include a photograph of your DIY photo studio. (300 words min.)”


The table I used was a small, 2-foot by 2-foot end table. I put a cloth over it and positioned it in front of the backdrop I am using, which is the dark blue curtain to my closet. For my own personal stick in a can, I just used a 6-foot adjustable mic-stand that I have and tied my key light to it. The key light I used was simply a good flashlight I had lying around. The mic stand turned out to be perfect because it is height adjustable with no assembly required! To clamp the flashlight onto the mic stand was a little difficult but once I found string to tie it securely to the stand, it was a piece of cake. For my light diffuser, I simply removed the cork from a cork board so that all I was left with was a wooden frame that was about 1-foot by 1-foot. I took a piece of tracing paper and taped it to the frame and voila! I seem to have very sheer tracing paper so when it comes time to actually shoot, I might need two pieces of it, which i can always do later. Lastly, for my reflective surface, I took my other cork board (no removal of the cork required), and I took some aluminum foil and covered one side of the cork board with it and it seems to be working fantastically. I still have not gotten a chance to get my clamps yet, but I fully intend to pick up some clamps from the hardware store so that I can secure the diffuser/fill light to the table, because at this point they do stand up on their own but they fall over easily. The best part about my whole setup is that luckily, my closet is right near the window so if I shoot in the daytime I will have both natural light and my key light if I choose so.