Monthly Archives: February 2014

HW2: Shoe photo shot Diellza Kasimi

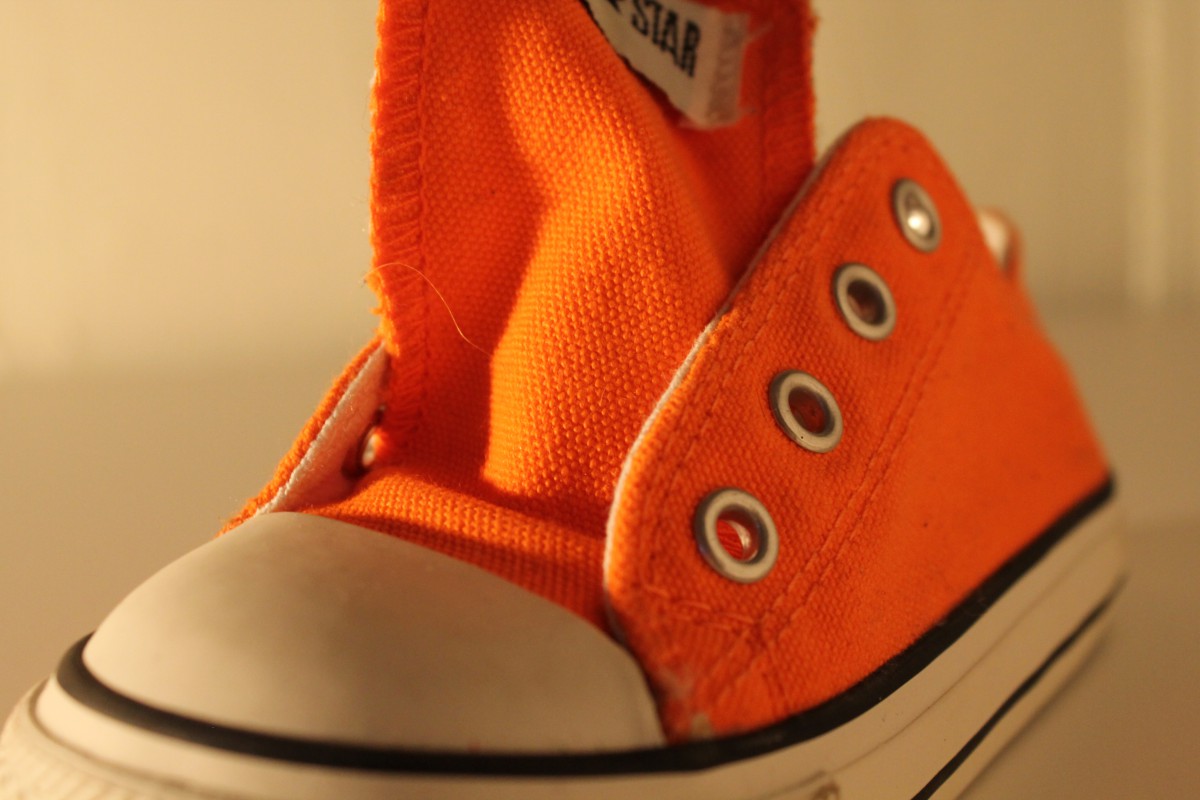
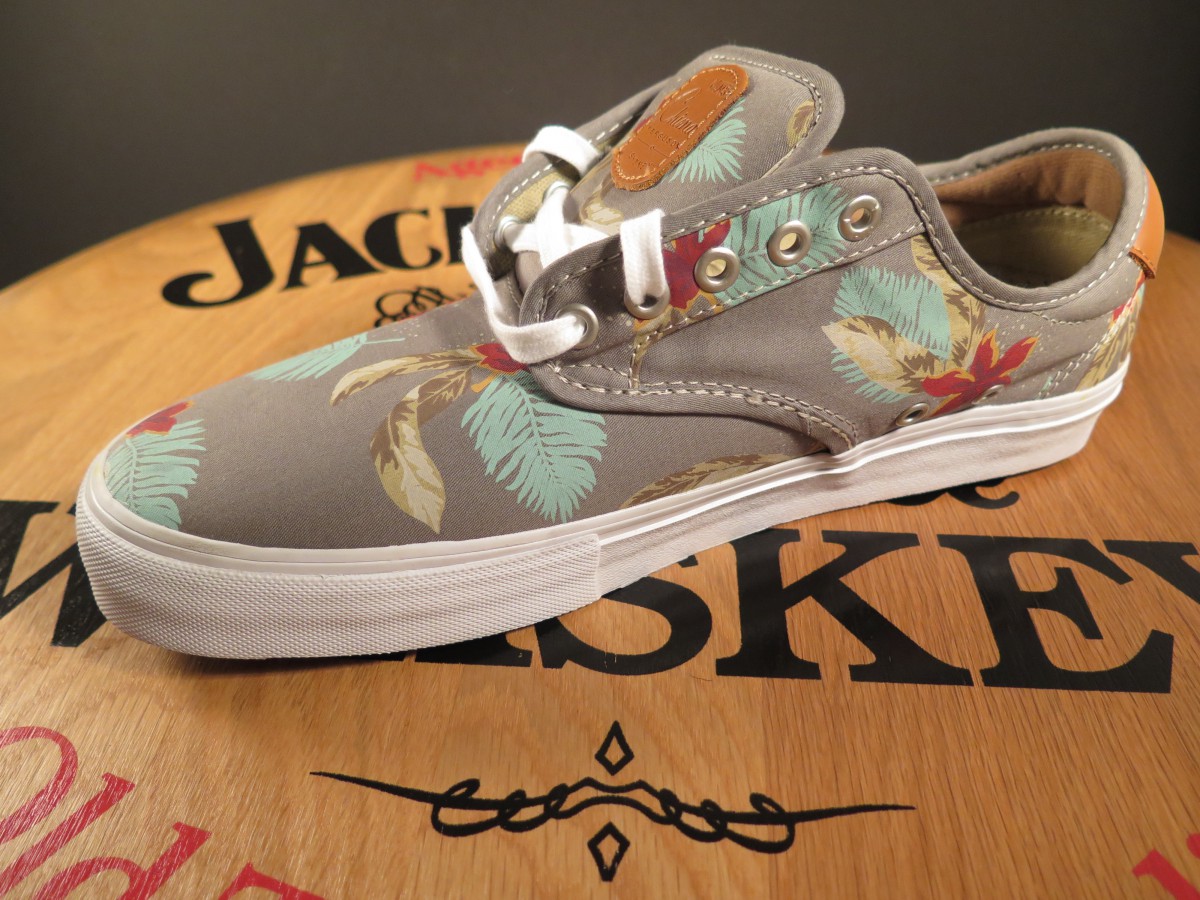
For this assignment I picked my child’s rain boot. I thought it was a nice pick because of the bold colors. I took lots of pictures and I’m still not quite happy with it. I know I could do better. I will try to experiment more during the following week with different lighting, backgrounds and manual settings but for now since this is due this is what I got. I can’t wait to see everyone’s shoe looks like 🙂

DSC_1047

Sneakers


PA130034


The second homework is base on the sneakers with a few colors suchas blue, white and orange  to make a simple sneaker look better depending on the position on the light or the position of the camera. This is one sample of the sneaker in different position getting the light from the top side of the sneaker to enhance the color at the end of the sneaker. In ohter images since I move the light away the sneaker dark color was even more darker than the original  position.So I think that I catch the qualitie on the sneaker in this image and the rest.


DIY Studio

For my DIY Studio, i didn’t have some of the materials that the tutorial was showing/asking for, so since i have a lamp that gives a good amount of light, soft like the ones in the studios, I thought that my lamp was great for this mini project at home. I also used left over material from previous classes. I used two white boards and the a black one for back up.

Hw2 Shoe

For my shoe photo shot, I picked my niece’s Converse. I though it looked nice and had a brighter color/ quite cool color in my opinion. The more I moved the foam board closer to it. The light wasn’t much trouble. But it took me some minutes to manually adapt my camera into the new settings. And the result was this shoe =).

#shoe

#shoe

Vans – Shoes

Valerien Yepes - Vans Shoes

The quality of the light you use determines how the subject appears. This subject was a shoe. As I changed around the lighting, the shoe would stand out even more or fade away, taking away the importance of it. I mostly used front and side lighting, and I was on and off using a white foam core. When I put the light closer to the shoe, it gave it the shoe a more pleasant tone. As I moved the light to one side, more shadows were casted on the opposite side. When I used the foam core, the photographs came out cleaner.


Shoes – Arianna B.

DSCF0783

For my shoe, I chose my high heels I wore for my prom in my senior year of high school. As I changed the position of the light of my shoe, the shadow made the most changes throughout my shoot. My light sources are not that bright, but there are some pictures where the light shines directly on a certain spot which makes the shoe sparkle even more in that certain spot.

Studio-DIY_copy


The studio it was a challenge because the small space in my apartment. At first I was thinking to buy a small set online but then I realized that the purpose it was to have the experience to create one from scratch. So I wnet to the hardware store and I bought the materials except the box and this is the result that I have at the end of my small studio.

HW1: DIY Studio Diellza Kasimi

Setting up the DIY Studio was fun and challenging. After watching the video I did some research to find photos of DIY studios that would inspire me. I found some very interesting ones that I wanted to share with the class.

27f403dcac12ea01c7405352fd4c5ea92c5e04e7590ee288cecfd5168ad532c30c4611364034c139e8832998d82d5cdaf4e5f9dae15e68f6bd0c6f550f6b6e61a5bab178dfbe80219ff06297e2b7222728e68d42e1600cda577e11a953f1b80e3b4ebc1ebe219eae41d8fe869b67dfd0

My second step was checking what I could find at home. I found a little coffee table, tracing paper, camera and tripod. I needed more supplies so I went to Lowes and got one clamp light for $9 and one light stand that could be adjusted for height and had three adjustable lights too for $29. I bought two A-clamps for around $2. I had no time to look for other things like backgrounds so I decided another day to try out Home Depot. I was able to find different floor slate textures that I bought for less than a dollar. I also got plenty of different free small samples that I could use for future projects maybe or maybe not. I also got a piece of small luxurious moulding for less than a dollar. My final and most challenging step was finding space. I was able to find a corner that has a big window with natural light and on the opposite side a big mirror. For foam boards I’m using some ply wood that has black on one side and white on the other. If I think that I need bigger pieces maybe I will buy those too. So here is what I came up with for right now and I could dream very soon that I will have a set up like the pictures above 🙂 Pictures below taken with a camera phone. Sorry for all the pictures could delete them after this assignment.

photoimage-1image

DIY Studio

image
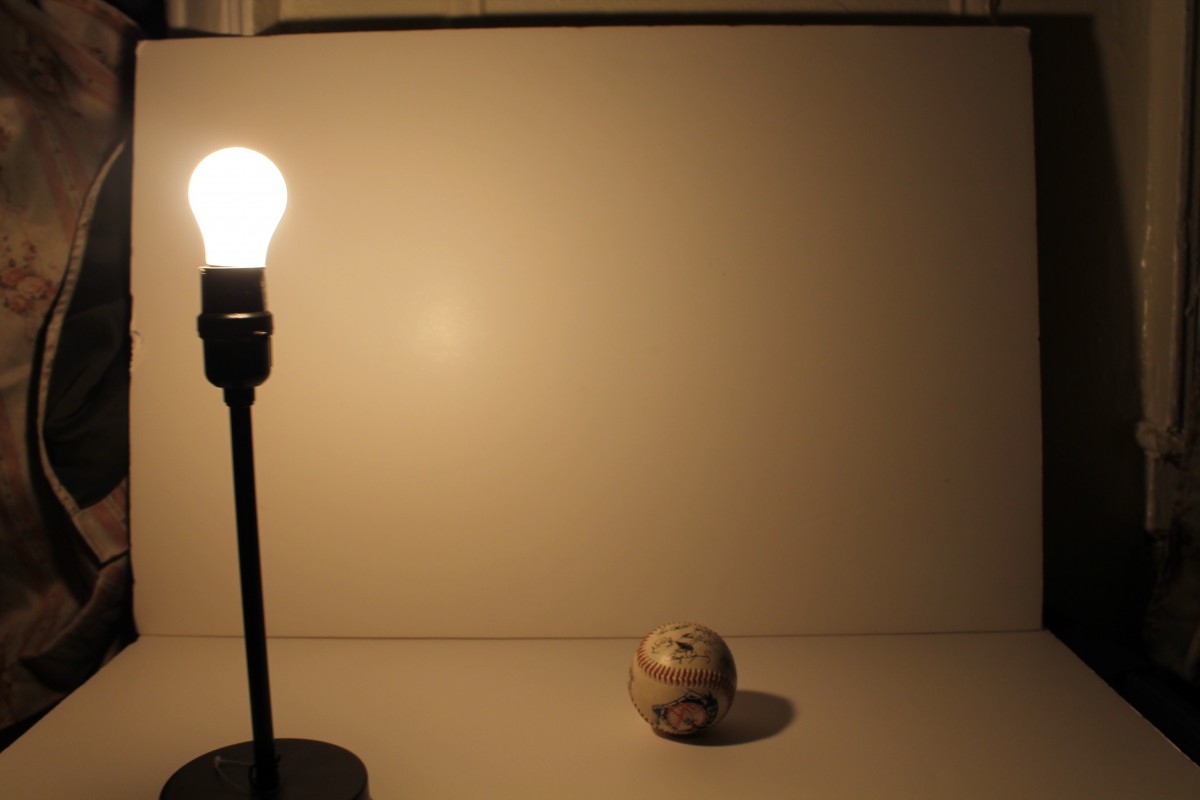
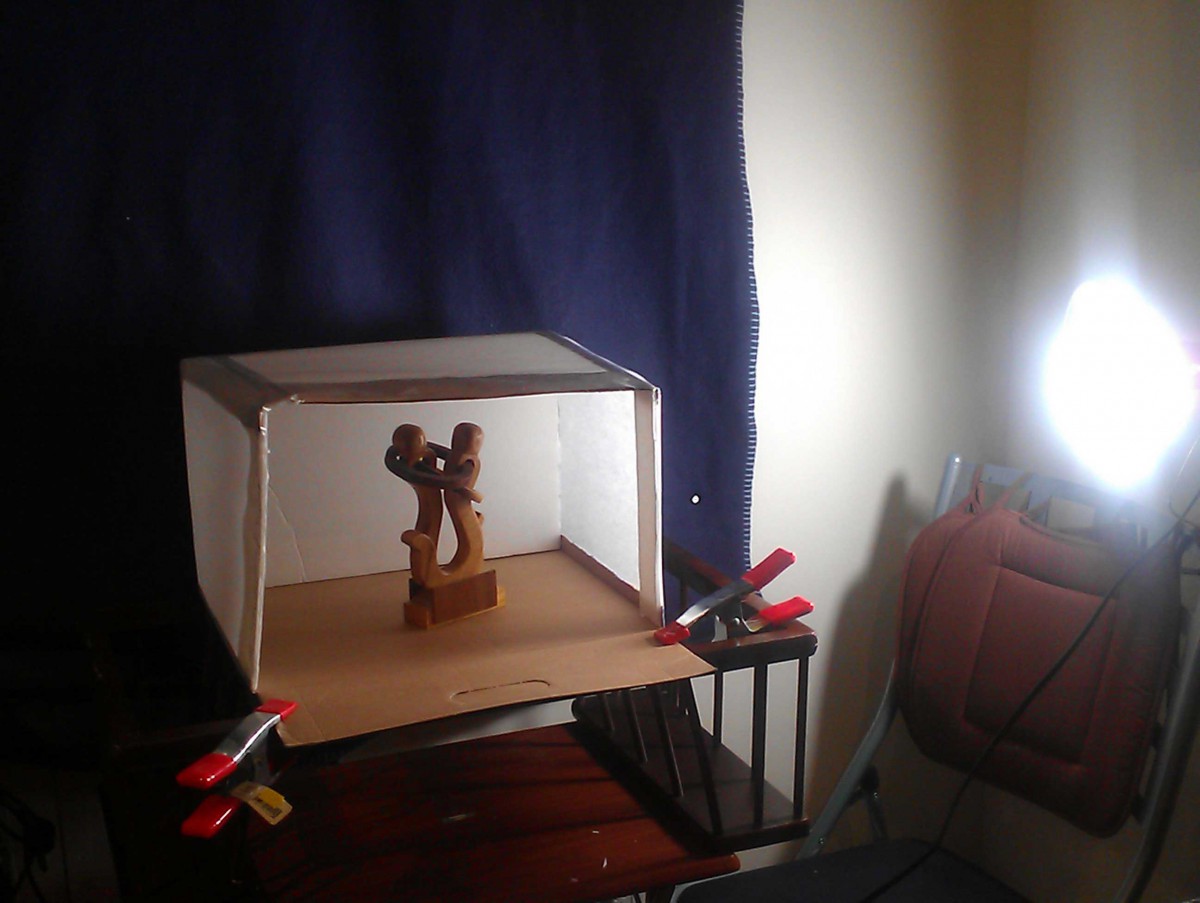
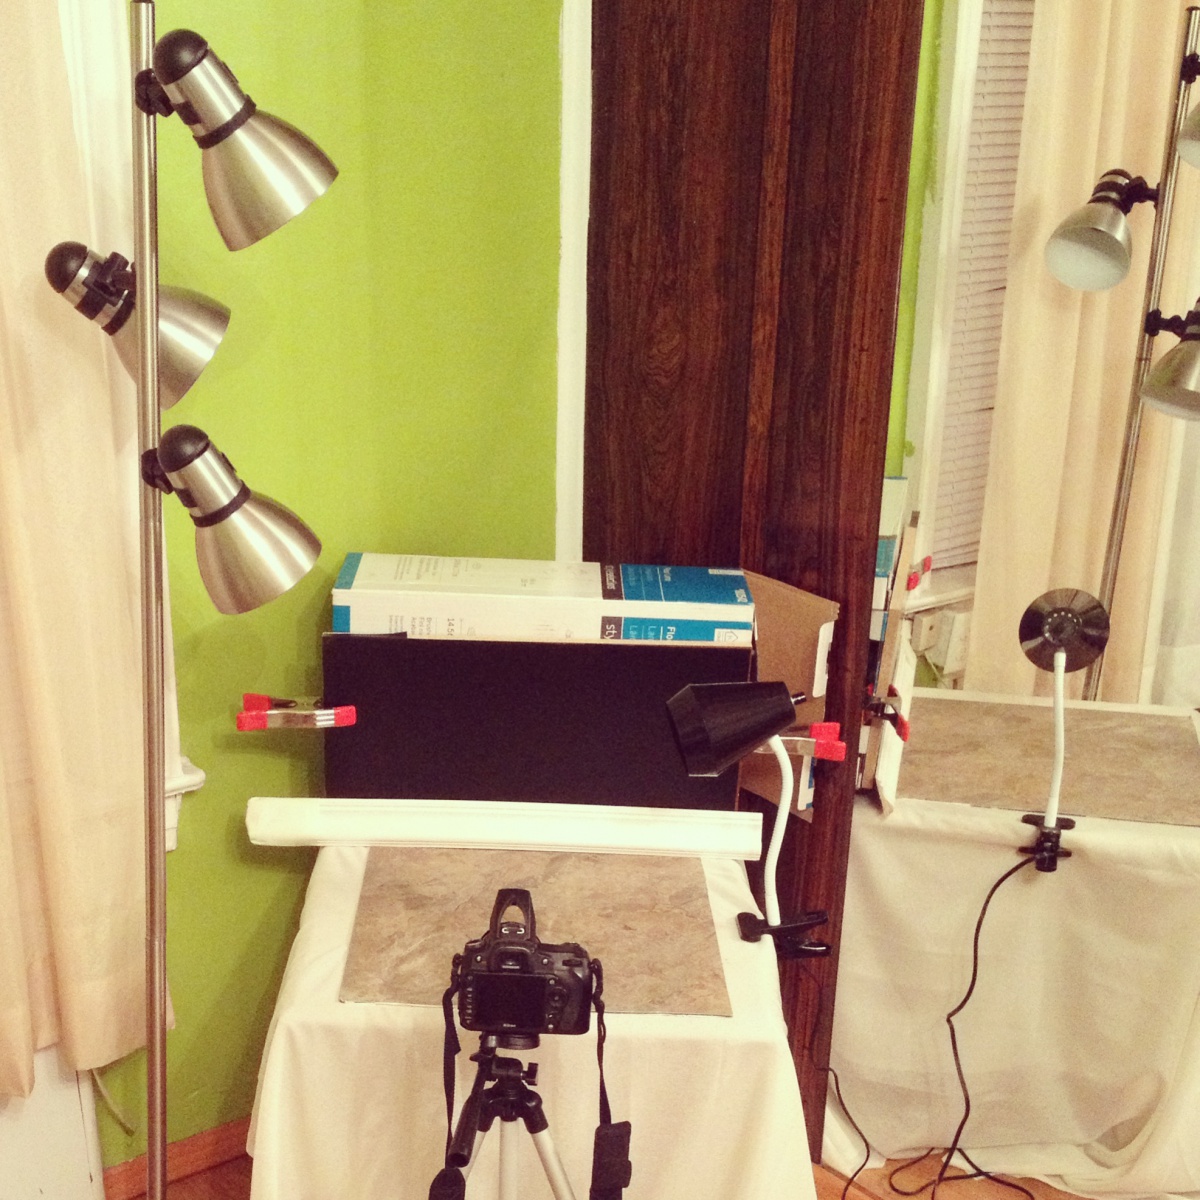
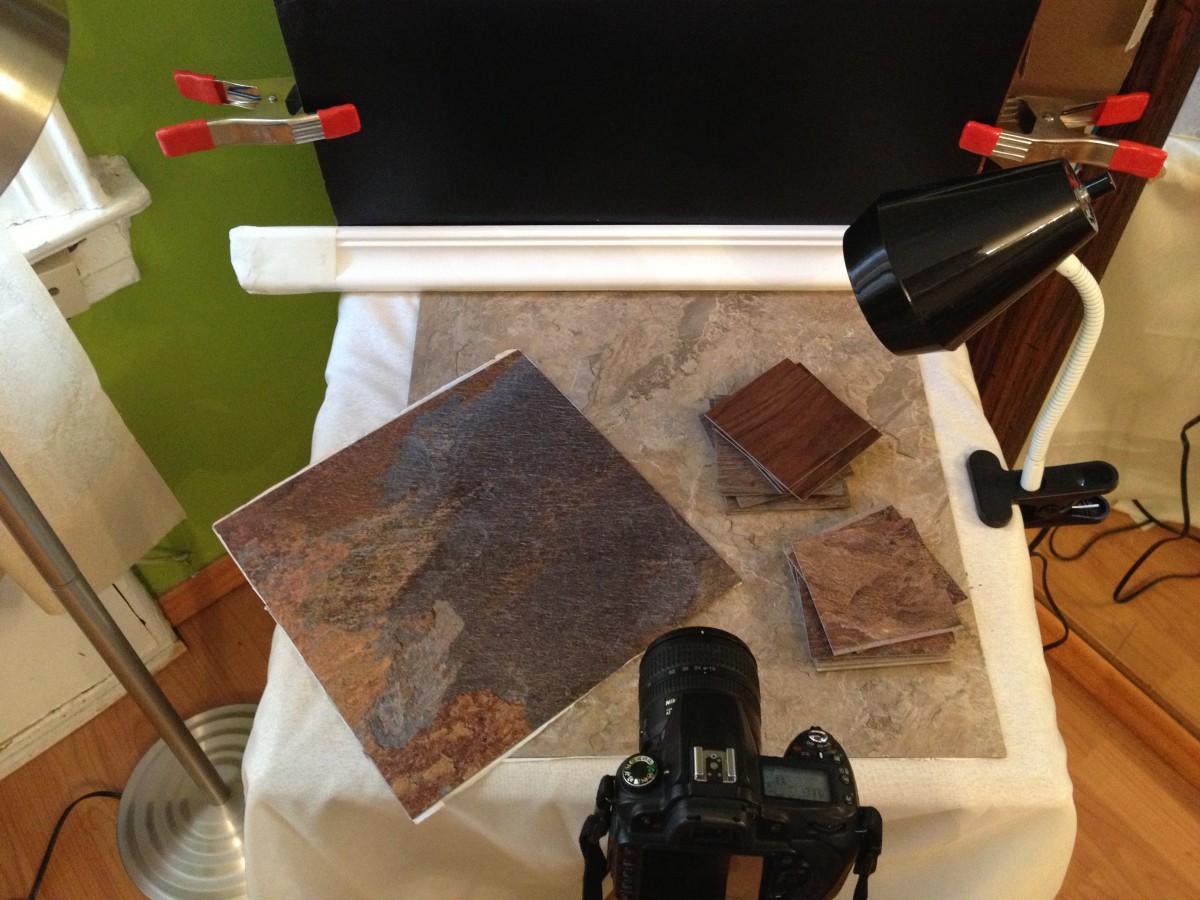
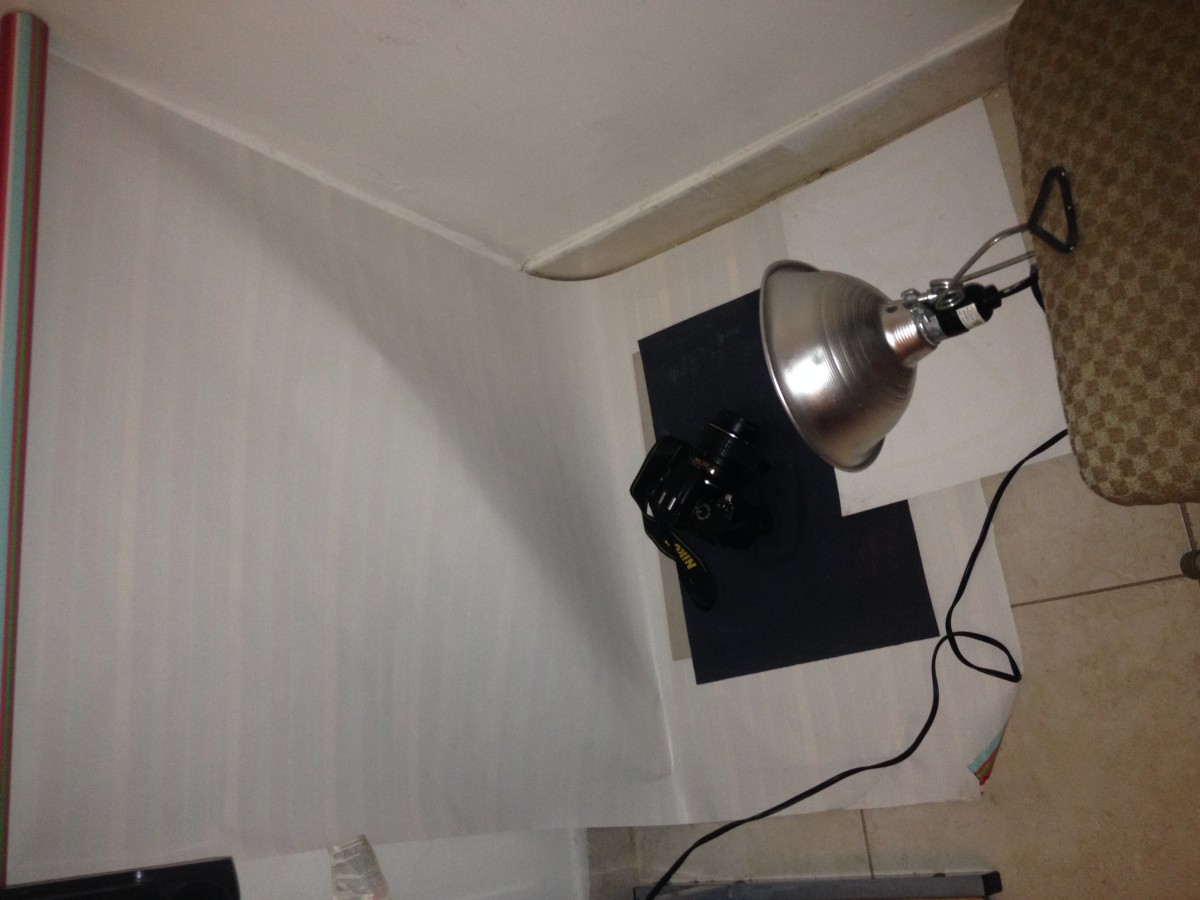
This is my DIY photography studio and is still in the prosses of getting better and improving as I experiment with the light and find a better placement. To start I had no idea how to accomplish this and try to get a few ideas from whatever I had available at home. First I found a light that’s been in my closet for a few months that I’ve never use before it was exactly what I needed according to the few blogs and videos I watched. It also came with a clamp that was really helpful to keep it in place. Next I needed some type of stand and I didn’t seem to find any and opt to use a chair as a temporary placement. I also needed some type of backdrop and I notice that I had a few rolls of left over Christmas wrapping paper. My idea is to use the blank side as a back drop and revers it to the color side as a color backdrop. This paper can also be use as a diffuser as is thin and can be warily place around the light. In this picture there’s also a black cardboard that can be place anywhere to use as contrast or just to experiment with a few color. A few of the challenges I think I will encounter are the fact that I don’t seem to find any other stands for the light and also the type of light that I can use as there are different lightbulb to choose from and plan on getting a few different ones to experiment with the light. One thing that I forgot to include was a small tripod that can be place in front of the chair and easily move around with no need to adjust the other elements also a morrow to use a reflection to be combine with the light and create different types of light on the subject . I have a few more ideas to increase the quality and variety of photos that can be taken in this small studio that need more materials such as getting more lights. 

Arianna B DIY Studio

DSCF0681

For my do-it-yourself studio, I was able to use a small low table. I put a white board on the edge of the table to use for the surface. I found that the clamps where ruining my table. I didn’t want to use the clamps to ruin the table because it isn’t personally my own. Until I get a different table that will be easier to use the clamps on for the studio, I used two items to use to hold up another board instead that is used as an example for how the background will be display while I use my do-it-yourself studio. I will also use another board where I will cut out a square opening in the middle and then replace the space with parchment paper. I have a stand alone lamp that I used for the use of light. The light that is used is Tungsent light. I also have a florescent light stand as well that I can use if I’m interested in playing with the light. The lamp can be positioned in any way possible because the stem of the lamp is flexible I am able to walk around the table and move the lamp around the table and use my do-it-yourself studio. It is not displayed in the picture but I also have a small mirror for reflecting light and black foam core for blocking light. I also can use a tripod for my camera to take the photos. I am still working on it to make the studio look better to my liking but this is so far what I’ve got.