
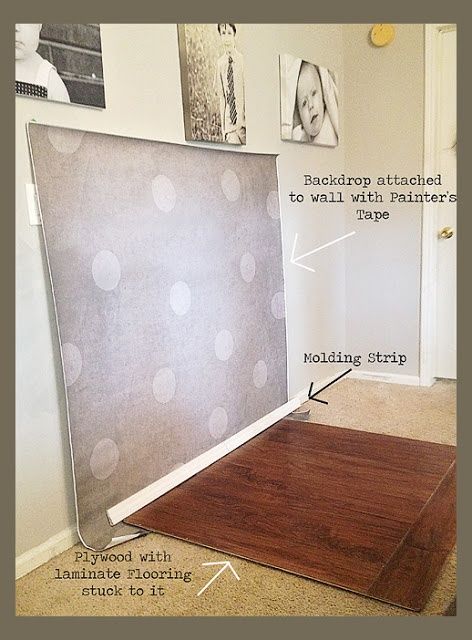
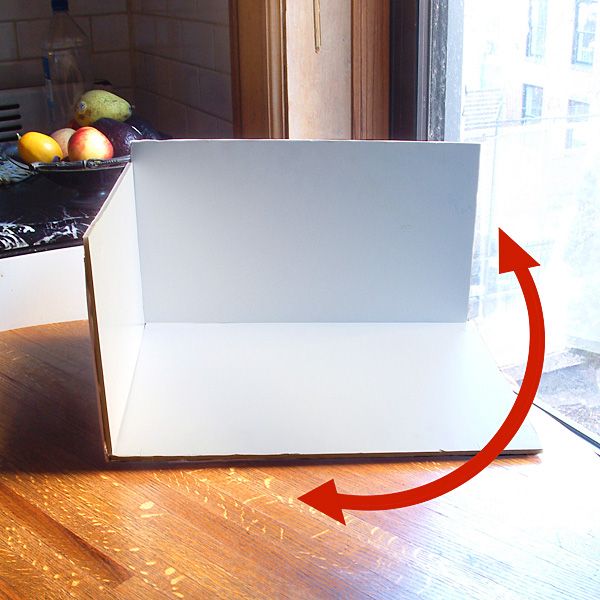
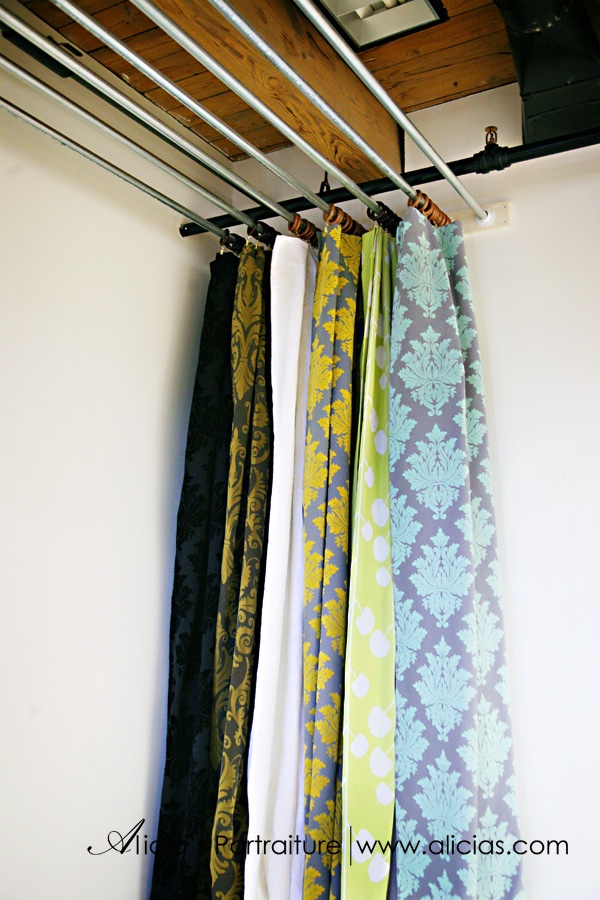
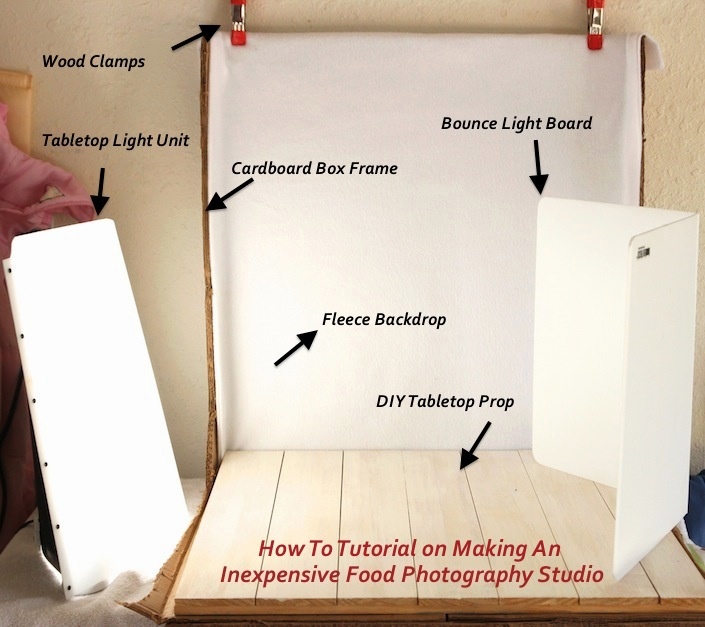
Setting up the DIY Studio was fun and challenging. After watching the video I did some research to find photos of DIY studios that would inspire me. I found some very interesting ones that I wanted to share with the class.


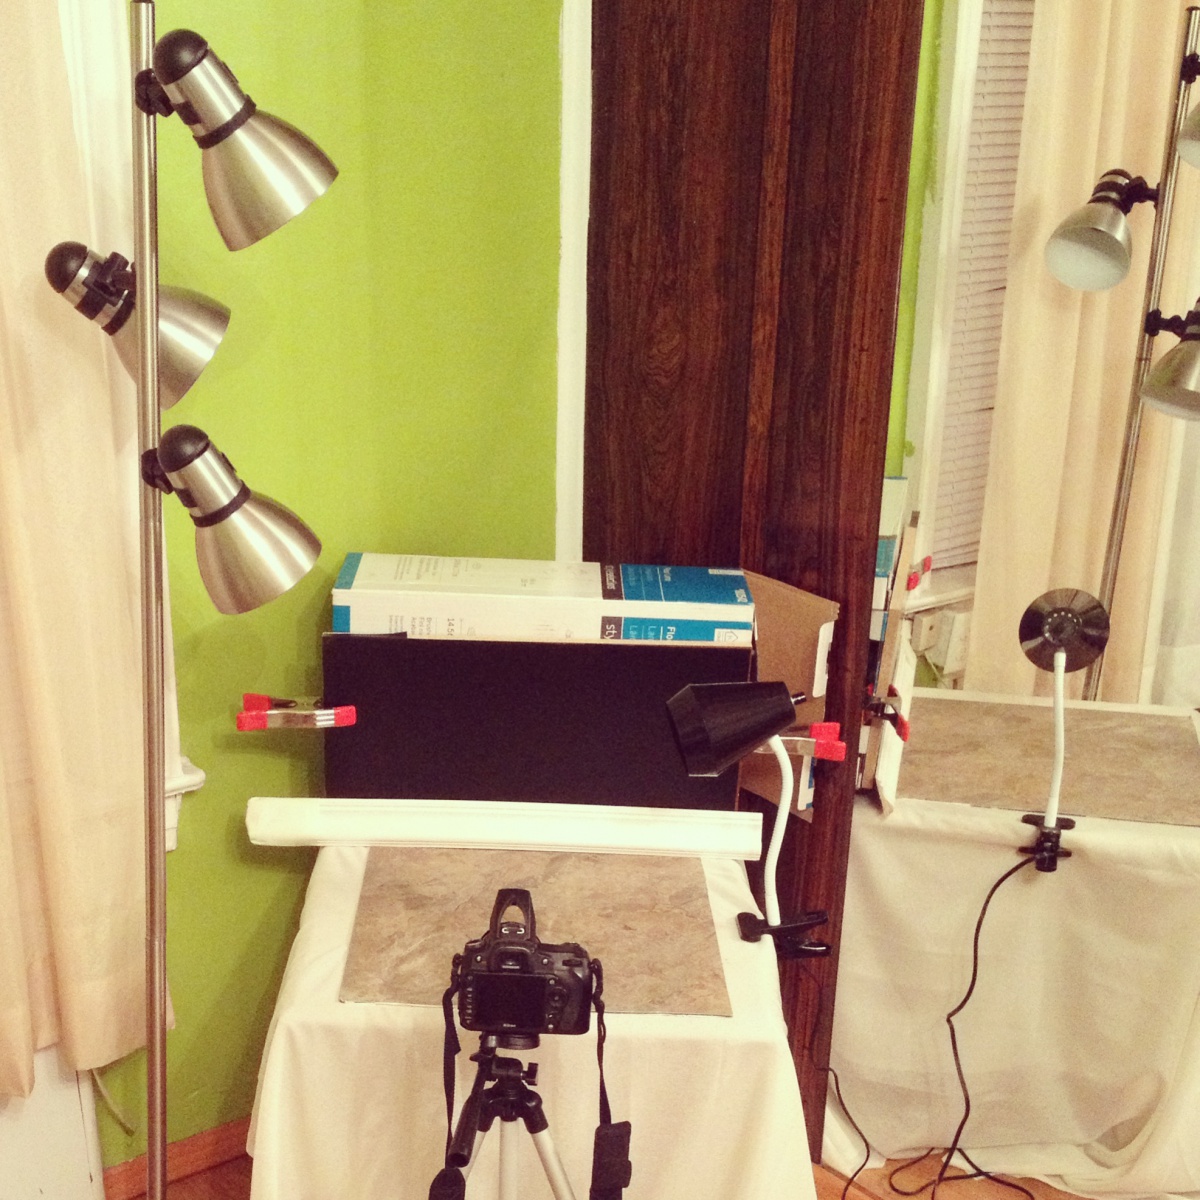
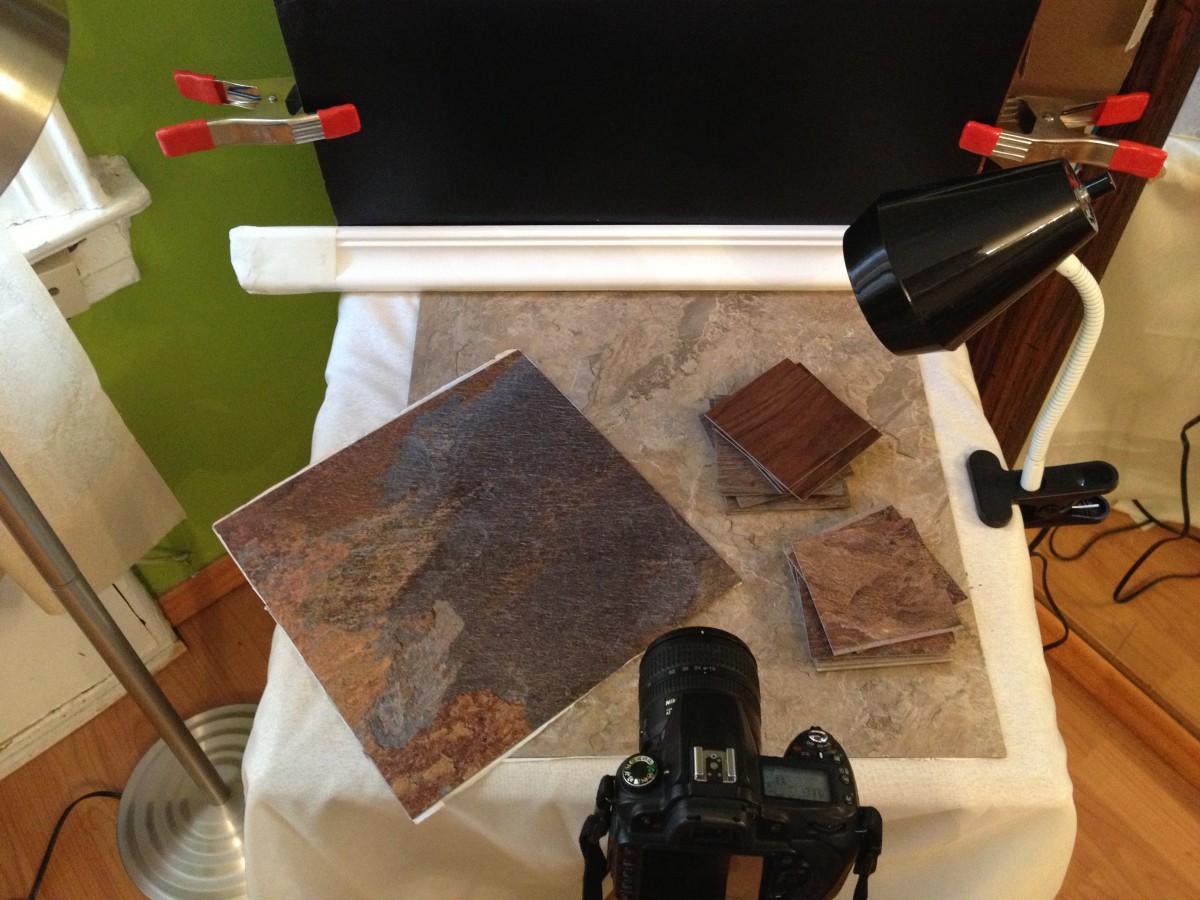
My second step was checking what I could find at home. I found a little coffee table, tracing paper, camera and tripod. I needed more supplies so I went to Lowes and got one clamp light for $9 and one light stand that could be adjusted for height and had three adjustable lights too for $29. I bought two A-clamps for around $2. I had no time to look for other things like backgrounds so I decided another day to try out Home Depot. I was able to find different floor slate textures that I bought for less than a dollar. I also got plenty of different free small samples that I could use for future projects maybe or maybe not. I also got a piece of small luxurious moulding for less than a dollar. My final and most challenging step was finding space. I was able to find a corner that has a big window with natural light and on the opposite side a big mirror. For foam boards I’m using some ply wood that has black on one side and white on the other. If I think that I need bigger pieces maybe I will buy those too. So here is what I came up with for right now and I could dream very soon that I will have a set up like the pictures above 🙂 Pictures below taken with a camera phone. Sorry for all the pictures could delete them after this assignment.


Great research and I love the coffee table solution. We all have space challenges and this is an answer I never thought of before.