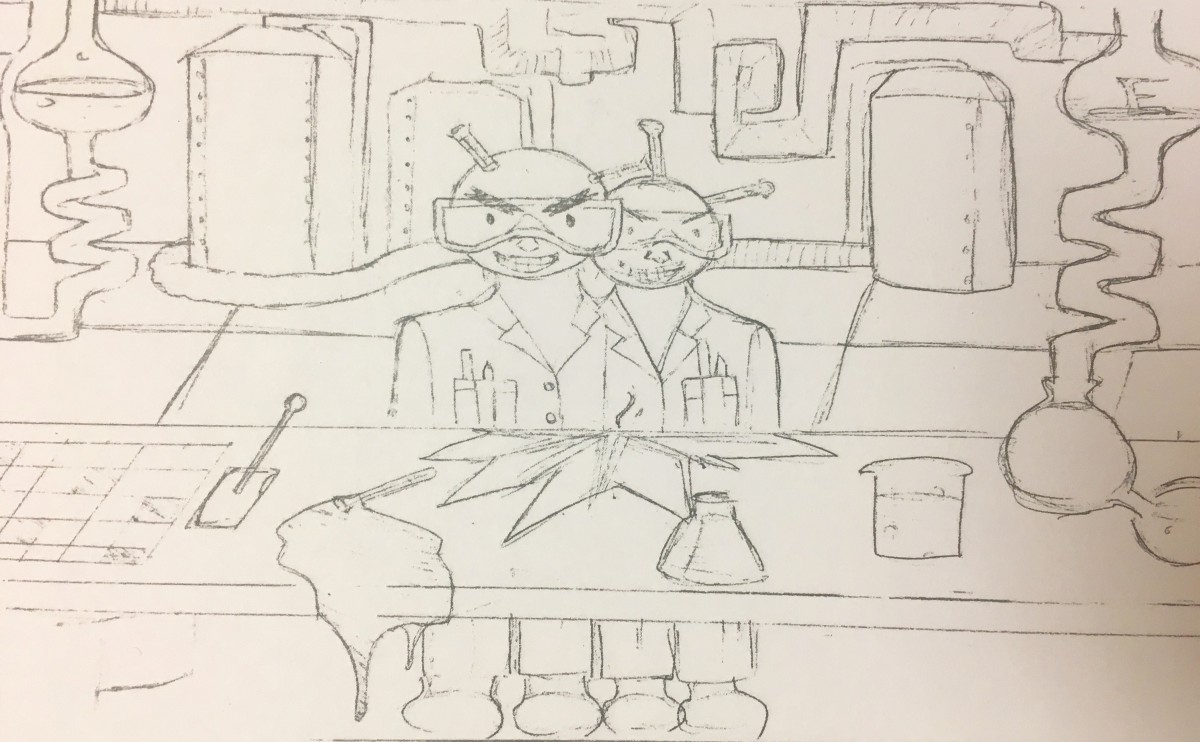
Concept Sketch
Image
Reply
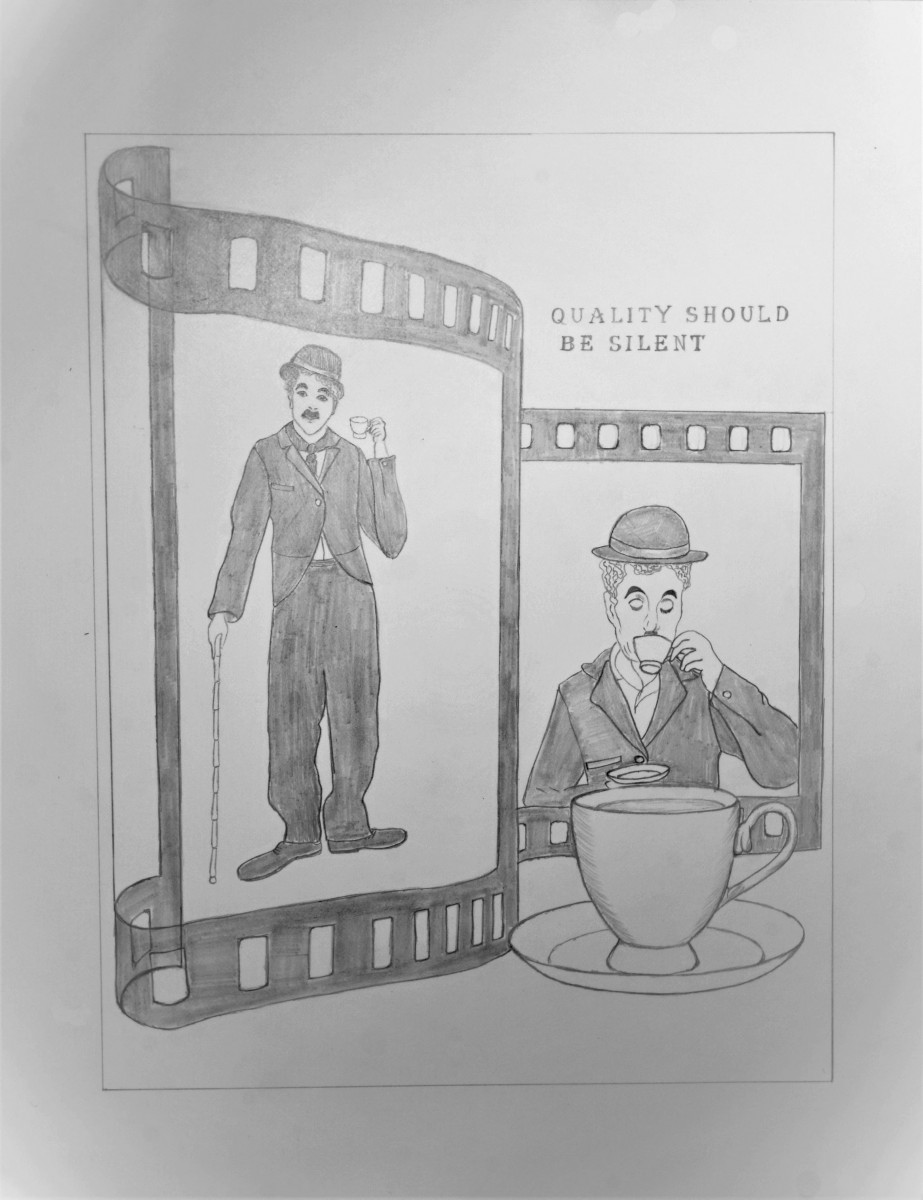
Illustration for “EIGHT O’CLOCK COFFEE”
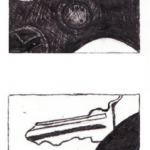
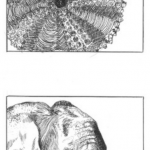
Exercise 2: Ink Objects
(Part 1 – Pencil)
(Part 2 – ink)
For your second exercise, you’ll have to find photo references for two objects. Choose objects that are very different from one another. They do not need to relate, thematically.
Looking at your references, ink the surfaces and details as realistically as you can with various pens. You must have a minimum of five different textures total for the two objects. Rendering different textures is a good way to explore different ways of inking and becoming familiar with your pens.
PART 1
PART 2


Assignment 2: Object Staging
Part 1 Brainstorm, and Thumbnails and Rough Sketches
Description
For the first stage of this three part assignment, you will create a concept based on one of your objects from the Inked Object Exercise. Your concept must meet the following parameters:
To gain a better understanding of the assignment, please review the student examples.
For this stage, you’ll brainstorm on the object using the IDEATION Method viewed in class.
Then Sketch a minimum of 20 thumbnails for review. Next class you’ll create a pencil rough and value roughs, in preparation for the final inked illustration.
Specifications
Directions
|
| Tip: | |
|
|
| Purpose |
The purpose of this assignment is to practice creating concepts, thumbnails, and learn illustration process.
Tools
Due Date

Illustration for Funky Buddha, Last Snow
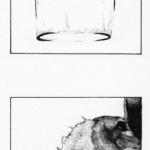
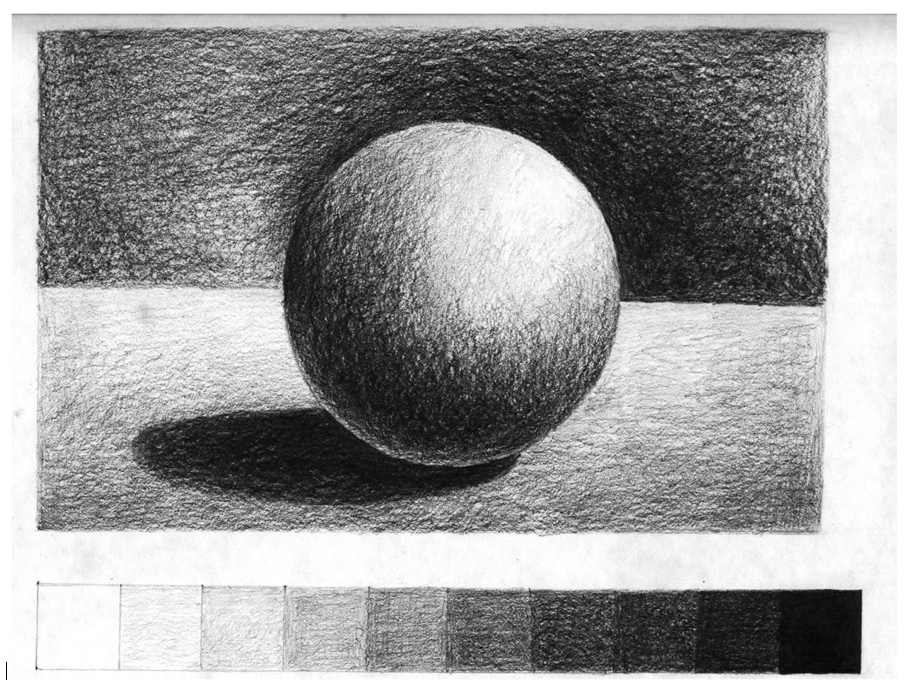
First: In your sketchbook do a drawing with a Value Scale of a sphere.
Create a simple value scale such as the one at the bottom of the study below. Find a cube and a sphere to light and draw. Do a value study from observation. Set up a simple form and a light source. Try to “turn the form” or create volume by using the values in the scale you created.
NEXT:
USING your Value Scale as reference. Create 3 different Value Studies of Assignment 1.
If you are UNPREPARED FOR CLASS and clan’t shade your OWN WORK… here is a value shading Exercise to get you started.
POST to OPENLAB When Complete

Illustration for Ikano, Dry Red Wine
Illustration for Coyotea All-Natural Sleep Tea, peppermint.
Eric Fortune uses photographs as reference for his illustration. The photographs helped him to figure out, which poses he wanted to use for the piece. Using the photos made this piece successful because he was also able to correct the anatomy before transferring. In fact, it also helped him when testing out colors and opacity for the final piece.
Illustration for Bellwoods Brewery, Wizard Wolf.
The OpenLab is an open-source, digital platform designed to support teaching and learning at City Tech (New York City College of Technology), and to promote student and faculty engagement in the intellectual and social life of the college community.

