Exercise 2: Ink Objects
(Part 1 – Pencil)
(Part 2 – ink)
For your second exercise, you’ll have to find photo references for two objects. Choose objects that are very different from one another. They do not need to relate, thematically.
Looking at your references, ink the surfaces and details as realistically as you can with various pens. You must have a minimum of five different textures total for the two objects. Rendering different textures is a good way to explore different ways of inking and becoming familiar with your pens.
PART 1
- Find a photo reference for two objects of varying texture, such as a wood-grain surface, basket, mammal, reptile, grass, flower, tree, metal surface, etc. The objects must have very dissimilar surface textures.
- Using pencil and paper, sketch from the reference, focusing on its contours. Draw the majority or entirety of the object.
- Position and scale your sketches to create interesting positive and negative shapes within the 3-inch square. Enlarge, reduce, rotate, and/or crop each sketch before transferring it onto the Bristol paper to ink.
- Bring transferred Drawing to Class
PART 2
- Before you begin to ink, preplan the strokes. Mentally organize the shapes that are to be a pattern, texture, or local color/value. You need to decide whether the stroke has a specific function, such as defining a form or creating a surface like fur or scales. No strokes should be random.
- Ink two 3-inch x 3-inch squares on one sheet of Bristol paper, per the requirements in the diagram below.
- Once Complete UPLOAD to OPENLAB as PART 1)
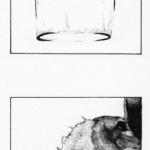
-
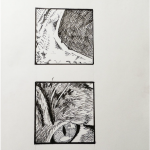
- Student Example
-

- Reference
-
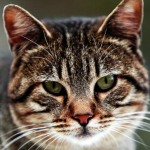
- Refererence
-
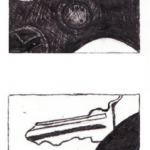
- Student Example
-
- Student Example
-
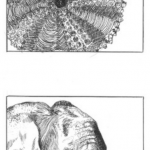
- Student Example
-

- Student Example

