
Team Members:
Mike, Stephanie, Rich, Dino
Premise:
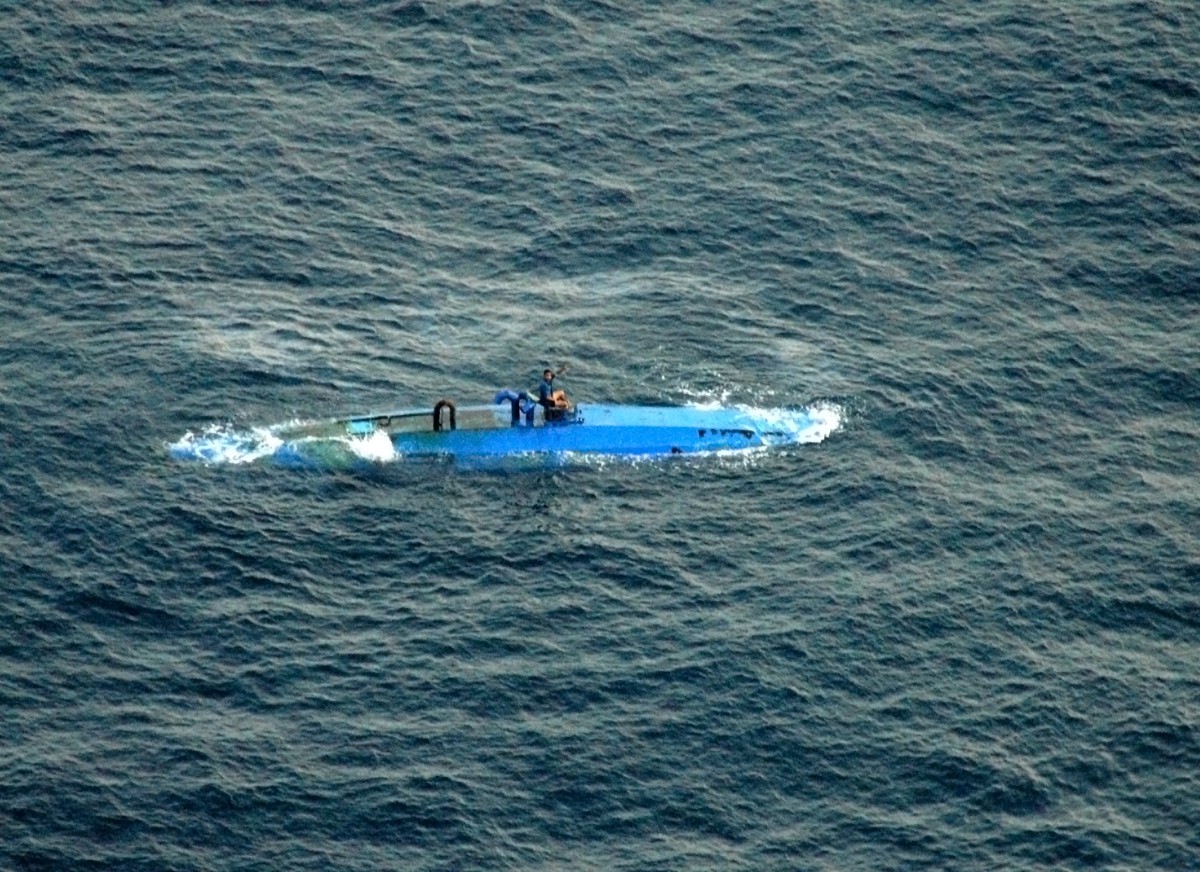
To devise a plan to construct an miniature scale model of an E.P.M.R.C.M.P.P.U.S.C – an electro-plasto-mechanical remote controlled, [Arduino] microprocessor powered underwater submersible craft.
Impractical Archetypal Depiction of a working [Colombian] model craft which the basis for the miniature model is based upon:
Operative Background:
This project was dreamed up and gotten off the ground by our design blueprint coordinator, Stephanie X. whom in addition also often acted as chief disciplinarian using her mastery and prowess of the English language and awareness of complex psychological processes to galvanize motivationally-deficient team members. Sargent Michael Perez acted as our resident engineering professional and systems specialist with nearly a decade of real world, combat-ready experience of various sorts including: pilot, repair, and maintenance of vehicular, aerial and amphibious assault vehicles, proficiency in precision-grade munitions, and field-deployable computerized electronics and S&D systems. Myself and R&D specialist Rich X. assisted the squadron with administrative, electrical, networking and program capabilities.
Procedure:
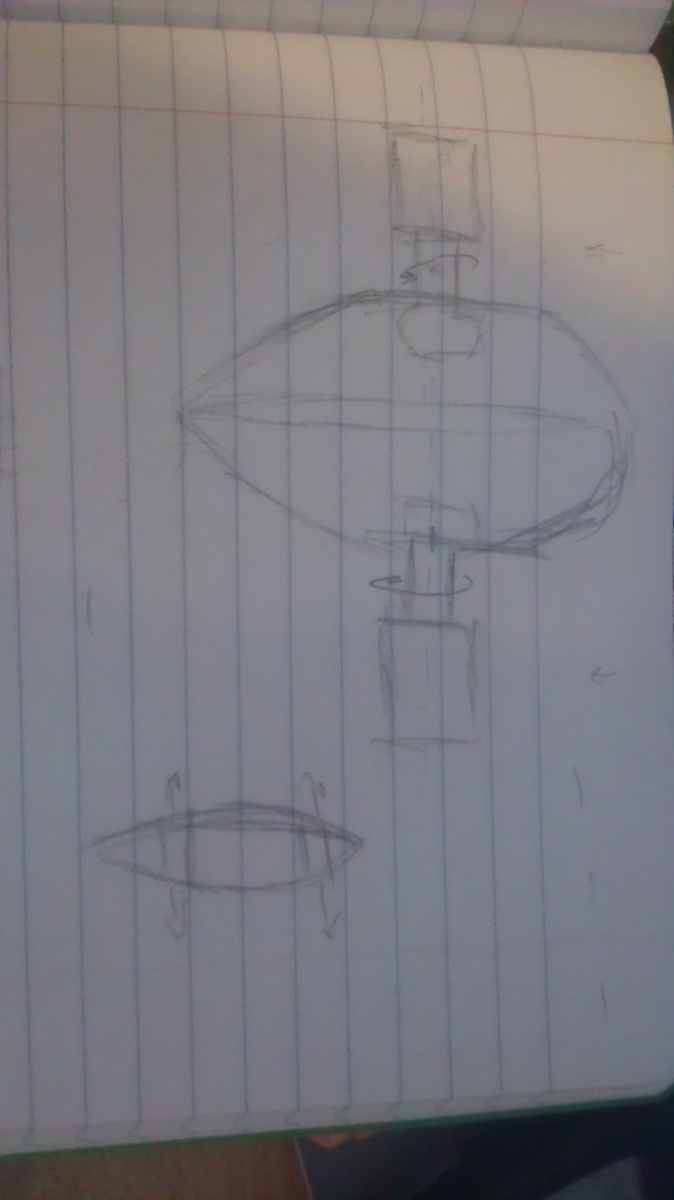
1) We debated implementing a design straight-from-scratch but decided that the requirements of such a project would be unrealistic and beyond the scope of this class, citing temporal and financial constraints. Although we did brainstorm and throw around a few ideas and sketch-ups of possible designs such as these intricate Picassoesque blueprints:
2) We reached an agreement and settled on an assembly kit, ordering and receiving said goods within a reasonable time frame. All parts were checked for inclusion, damage and were identified and labeled upon receiving.


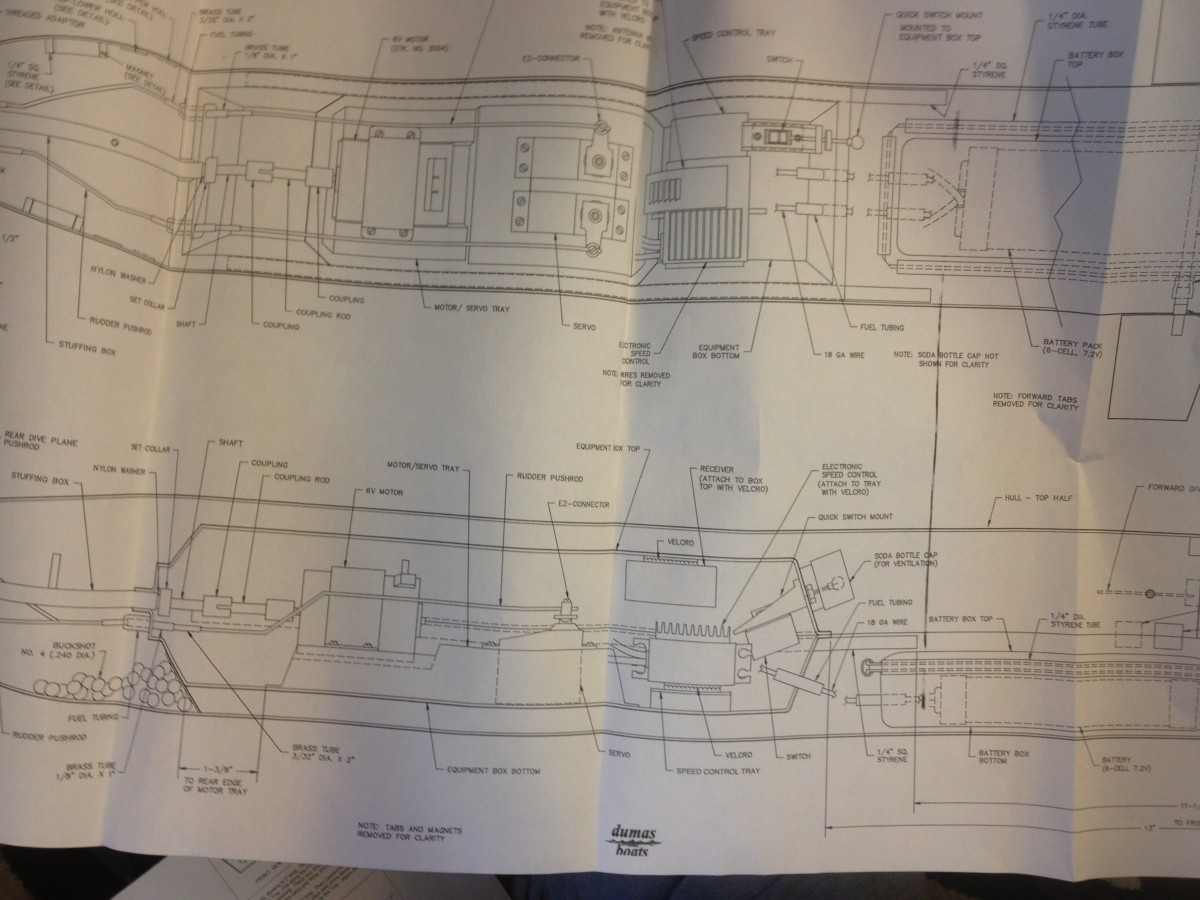
2) We ordered a DC motor and at this point “all systems were a go” as far as parts were concerned. It was time to examine the intricate blueprint and 150+ step instruction booklet for assembling the submarine.
3) We began the complex process of assembly by working on the exterior of the sub, using precision power tools and some elbow grease to cut the sheets of plastic and form the hull of the submarine. Getting the shell/hull completed was an arduous and time-intensive process.
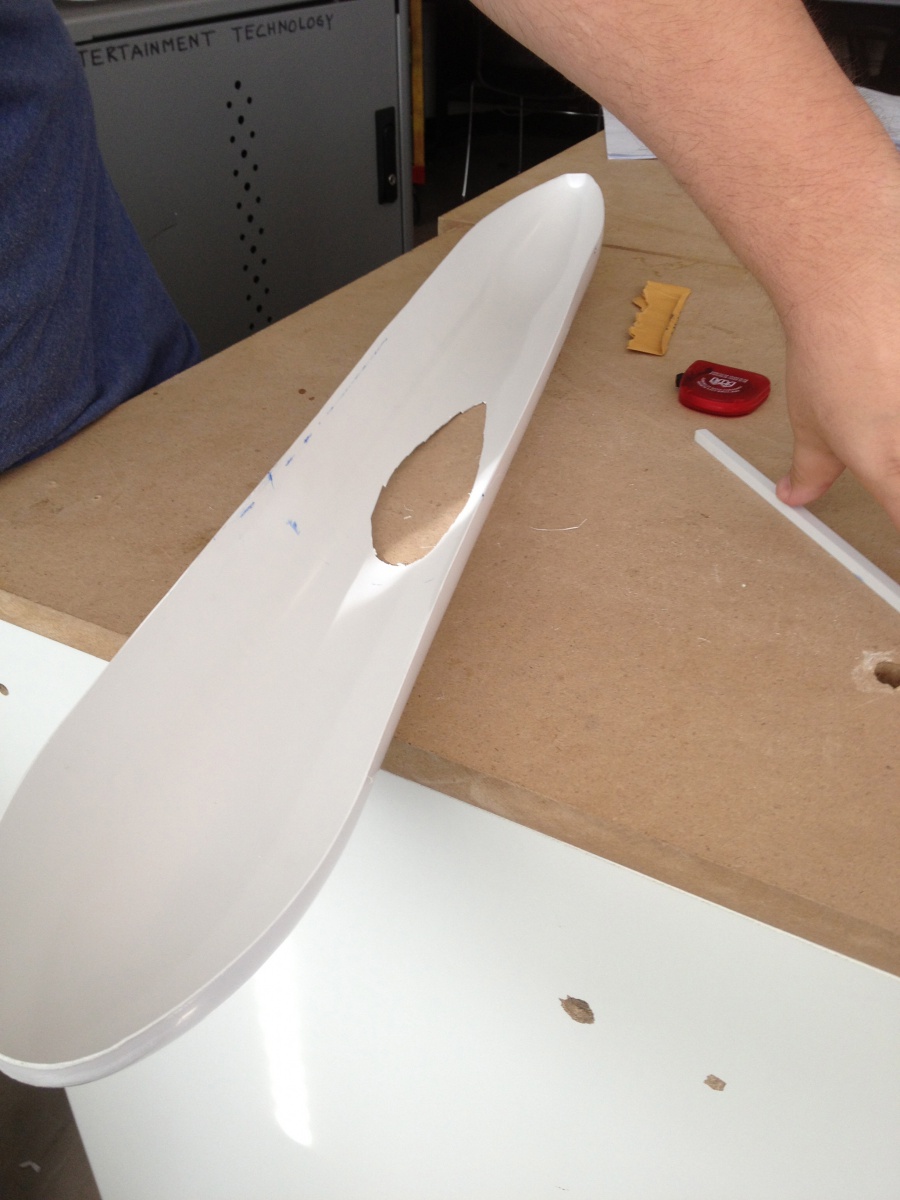
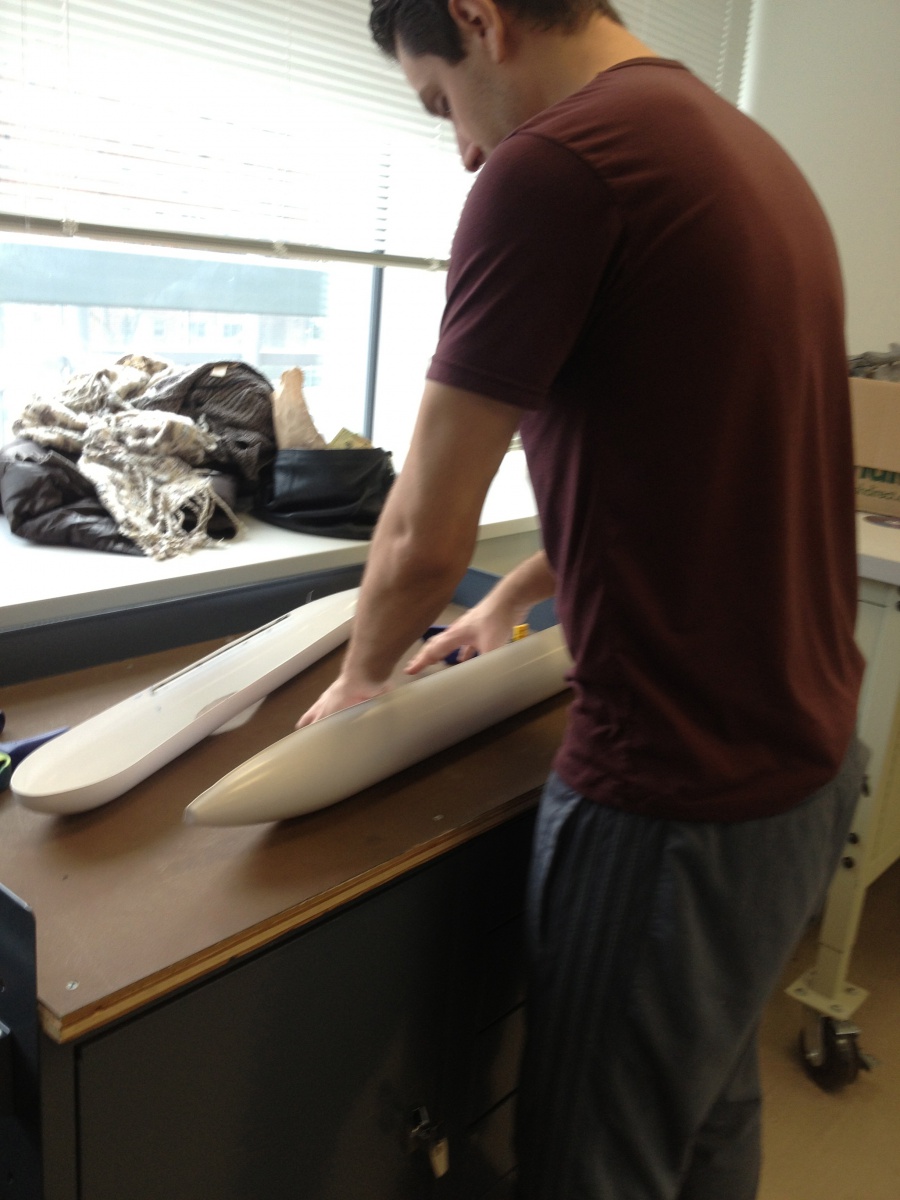
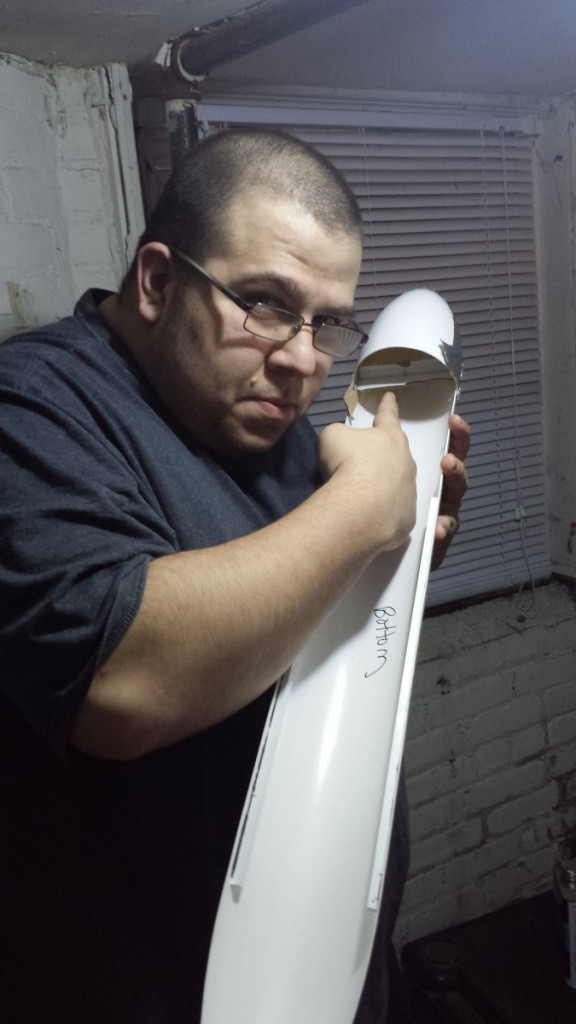
4. We found that the given time estimates for this task within instruction book were, shall we say, very optimistic and probably assumed a familiarity with model construction and/or engineering in general. Of course, we ran into hurdles and made some mistakes (such as erroneously cutting a huge hole into the hull) which caused some problems with morale (squabbles etc.) but we were able to pull together as a team and patch things up, literally and figuratively.
5. I want to mention at this point that we purchased probably every sort of adhesive known to mankind: epoxy, 2-step primer, rubber cement, marine glue, super glue, crazy glue, gorilla glue etc. and it is rumored that Mike lost a few million neurons in the process. TIL: Use open/ventilated spaces when working with industrial strength adhesives.

6) With the hull sanded, primed, bonded, and the support columns installed in the interior all complete, we drilled holes for the [custom made (Thanks Mike!)] motor mount and installed the suspension/supports for our little workhorse, the DC motor. Note below the magnets which assist in holding the two halves together. We were giddy at this point as we could see the fruits of our labor were finally coming together nicely.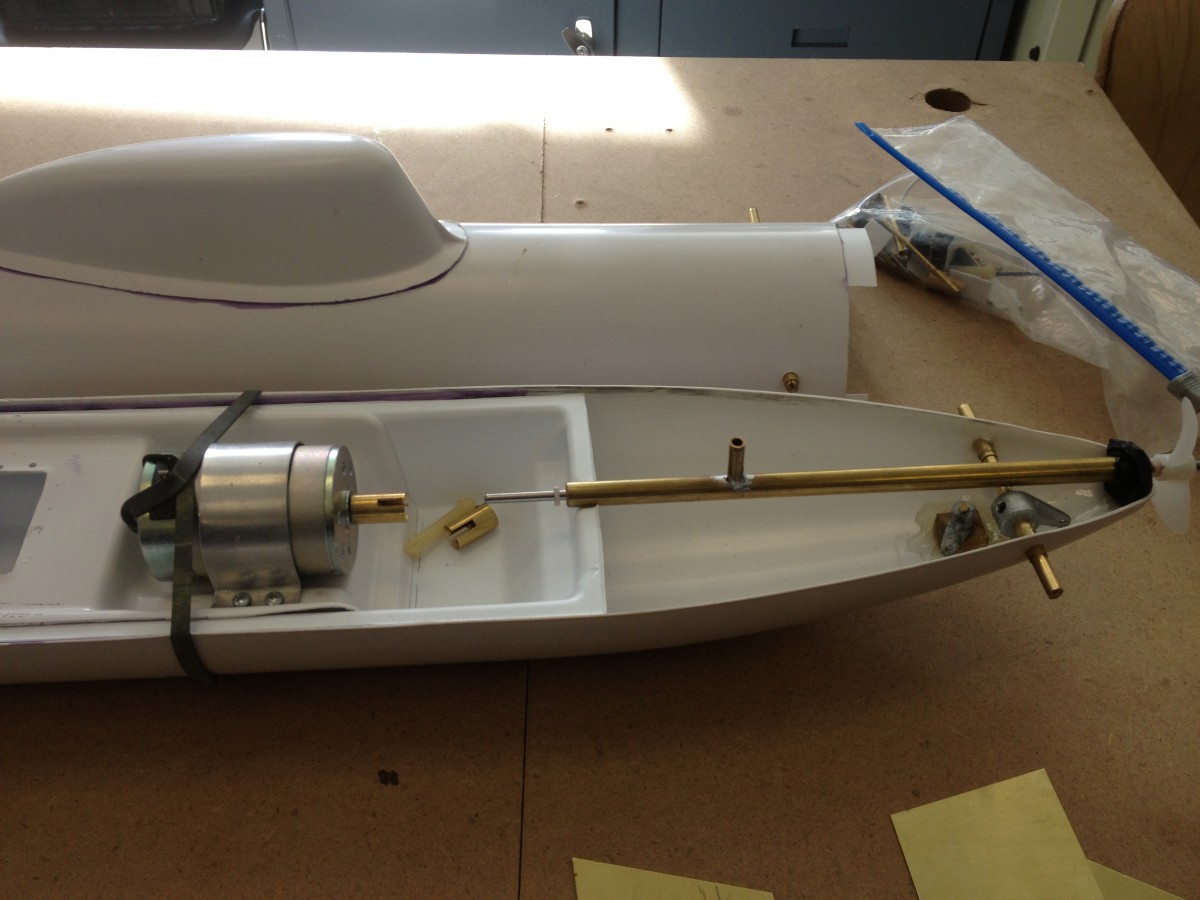

7) The motor spins, but it must transfer power to the propeller somehow – that’s what the push rods are for! Again, we encountered great difficulty at this stage as the push rods were somewhat fragile and difficult to bend into the corresponding shape, as illustrated in the blueprints. They also required some precision soldering and offered virtually no margin for error, as a thin bronze sheath had to be jacketed over the push rods (and soldered together) so any extra bit of soldering material made this process a frustrating practice in futility. As each individually tried [and failed] to complete this part of the project we ended up doing something we had become very familiar with at this point, improvising … and gluing the sheath together instead.
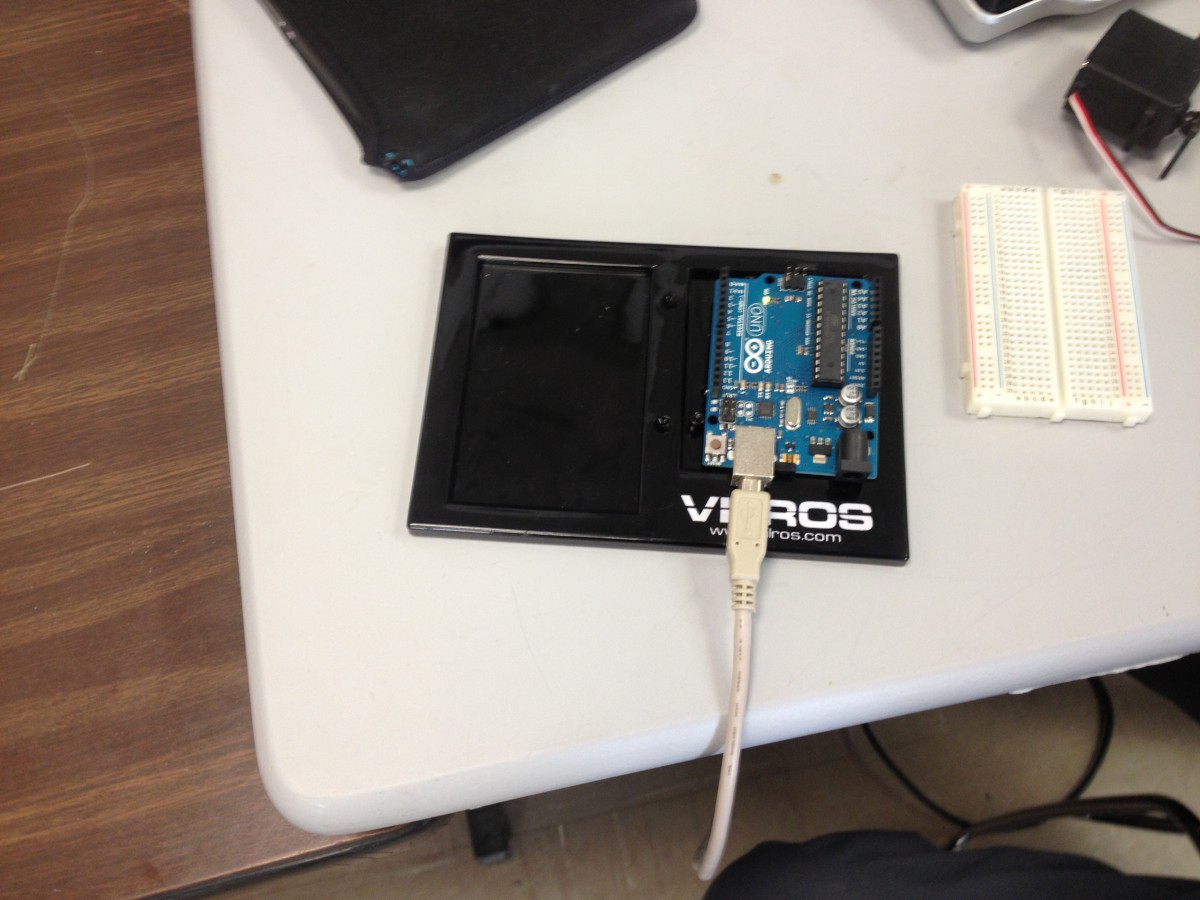
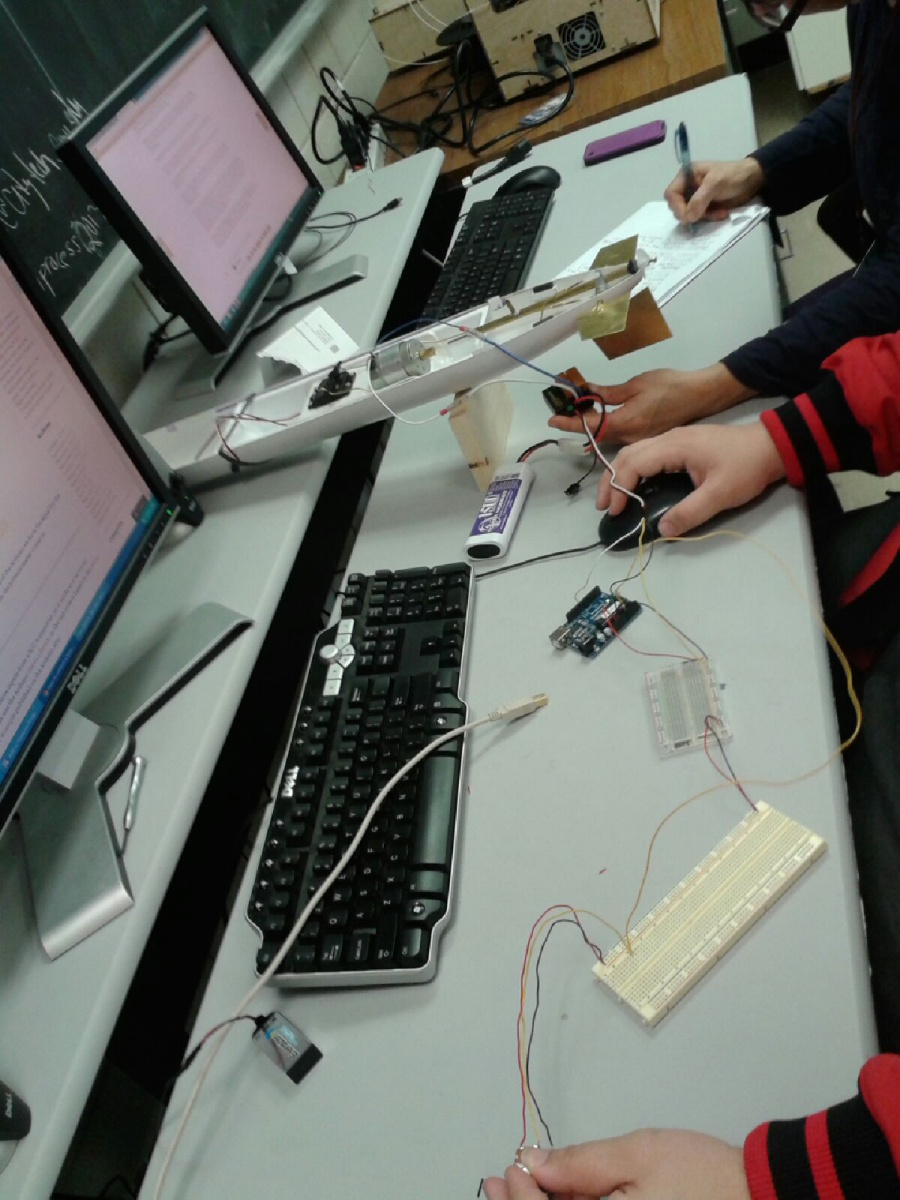
8) At this point most of the physical components had been assembled and it was time to do some work “under the hood” so to speak. We needed to write some code for the Arduino which would control the fins for directional maneuvering and stability in the submarine.

9) The code was far from easy but not impossible to conceive of either. After some trial and error, and using the example included in the Arduino software, we were successful in developing a rough model of the code necessary to move the sub in the manner we wished.
10) The code was just about finalized and working! Here is the full code snippet:
#include <Servo.h>
Servo rudder; // create servo object to control a servo
// a maximum of eight servo objects can be created
int pos = 0; // variable to store the servo position
void setup()
{
rudder.attach(6); // attaches the servo on pin 6 to the servo object
}
void loop()
{
pos = 40; // Setting the rudder to it center position
rudder.write(pos);
delay(5000);
for(pos = 40; pos >= 0; pos -= 2) //Makes the rudder move from rest to full port turn
{
rudder.write(pos);
delay(500);
}
delay(5000);
for(pos = 0; pos <= 40; pos += 2){ //Returns the rudder to center position
rudder.write(pos);
delay(500);
}
for(pos = 40; pos <= 64; pos += 2){ //Makes rudder turn to full starboard
rudder.write(pos);
delay(500);
}
delay(5000);
for(pos = 64; pos >= 40; pos -= 2){ //Makes rudder turn to full starboard
rudder.write(pos);
delay(500);
}
delay(10000);
}
// * Mike’s comment: A similar program is run for the dive planes but more importantly I have also written the code for the motor control *//
#include <Servo.h>
Servo myservo;
void arm(){
// arm the speed controller, modify as necessary for your ESC
setSpeed(50); // this is the value for rest for the motor
delay(5000); //delay 5 second, some speed controllers may need longer
}
void setSpeed(int speed){
// speed is from 0 to 100 where 0 is off and 100 is maximum speed
//the following maps speed values of 0-100 to angles from 0-180,
// some speed controllers may need different values, see the ESC instructions
int angle = map(speed, 0, 100, 0, 180);
myservo.write(angle);
}
void setup(){
myservo.attach(9);
arm();
}
void loop(){
int speed;
speed = 68; /*sets the speed variable before running the setSpeed function.
A setting of 50 is rest for the motor and the speed control.
values above 50 move it forward and values less then 50 move it in reverse.*/
setSpeed(speed);
delay(5000);
setSpeed(0);
delay(5000); // stop the motor for 5 seconds
}
11) The trials and tribulations are drawing to a close. The moment of truth approaches: comprehensive testing in a contained and controlled aqueous environment. Which is just a fancy way of saying: we are going to throw it in a bathtub. Here goes!


Great post TROOP, for anyone reading these I don’t think they understand the level of G** D*** sanding we did. We also had growing pains in mastering our cutting techniques, and one final side note, DO NOT try to solder brass together find a small spot welder and use that instead.
Hi team. I am proud of us! Not only did we complete the task – for the most part – we DIDN’T kill each other.
Beers on me!
Wow, nice post! And that was a heck of a project. Even with our project – the jacket didn’t have *that* many components, but in an effort to make everything modular, we ended up with more potential problems spots. The more pieces of anything, the more room for trouble…
I did not think of it that way, but your right making something more modular causes for larger problems when they happen. I tell you what next time I will never order something like this again, the fear of messing something up that cannot be replaced was more present than if it was made from scratch by us. Lesson Learned.