Write your concept out in the form a of a sentence in your sketchbook, to refer back to as you sketch.
Using a Ruler make 20 -25 boxes in your sketchbook approx 2″ on the longest side.
Always draw thumbnail boxes in proportion to your final art!
Be sure thumbnails don’t share edges. Leave a space between boxes.
Fill these boxes with 20 – 25 thumbnail sketches exploring your concepts.
Look at your inspiration board as you explore your concepts visually.
REMEMBER:
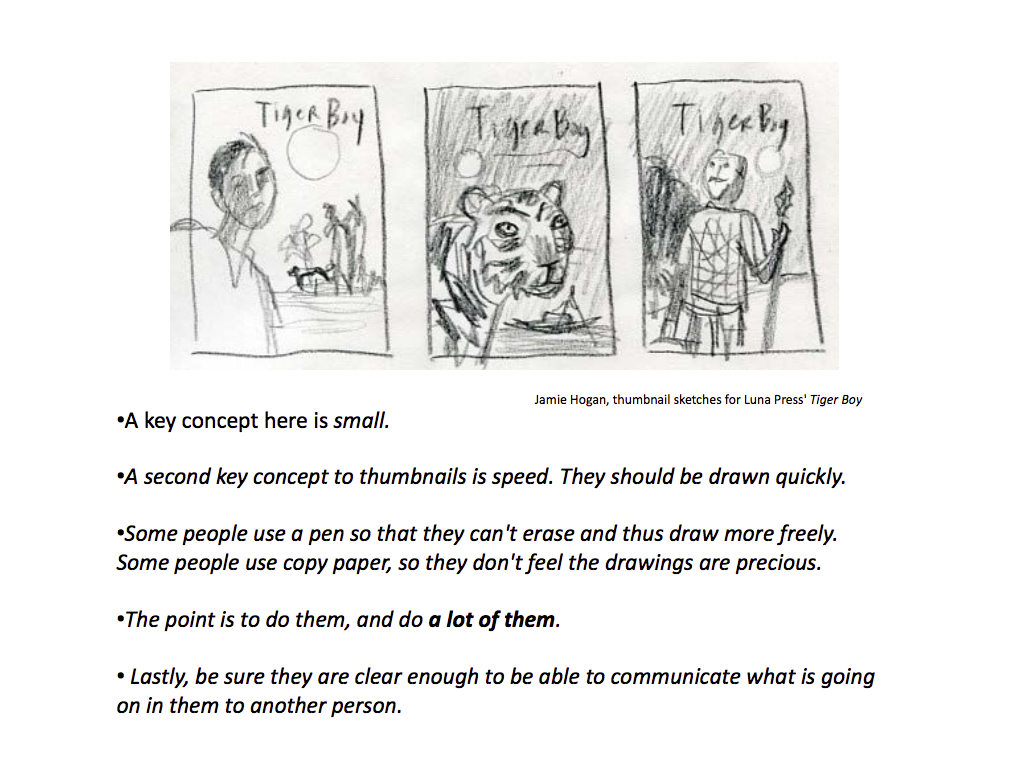
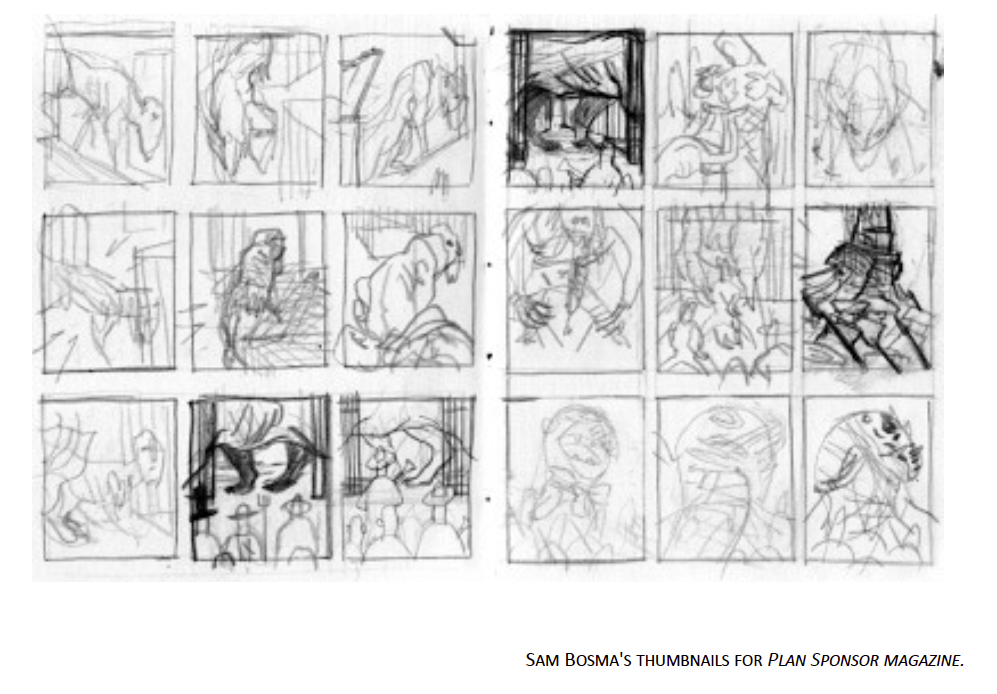
EXAMPLES
DUE NEXT WEEK:
Post your
Post your Thumbnail Sketches carefully labeled, with name of client and a description of concepts illustrated, along with any additional sketches you may have done.
Faculty: This example post demonstrates how you can provide information about each class for your students. It uses the category “Classes” and can be found under Activities > Classes in the site menu. Use the suggested outline below to structure your class posts.

This Week's has been outlined in detail to give a clear vision of the overall course. Please feel free to use your own materials.
Hello Class!
Besides your brain, your sketchbook is the most powerful illustration tool you have! It is your visual diary. It is the place where you can collect your visual observations and thoughts, as well as practice the foundational skill that underpins the art form of illustration, DRAWING. Remember, this sketchbook is yours! Draw as many pages as you want in it per week. The more you do, the better you’ll get at using your hands, your eyes, and most of all, your mind.
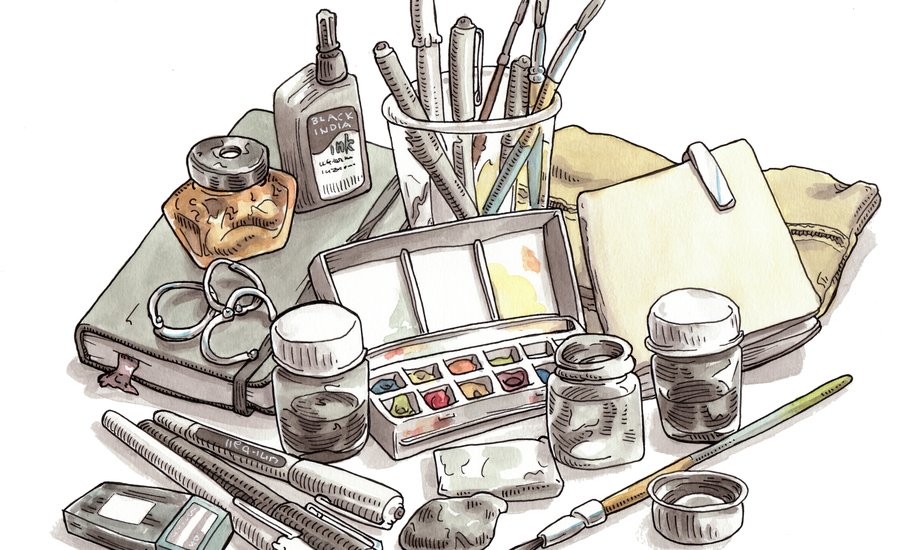
Illustration by Steven B. Reddy.
Every week you’ll get a sketchbook exercise.
Post your weekly sketchbook exercise and any additional sketches you would like to share from that week, right here.
Be sure you:
Ensure your sketches face the right way up
You photos are clear and easy to read.
Categorize your post sketchbook
Write a few lines about what you drew
Title your post “Week One Sketchbook, Week Two Sketchbook”, etc.
Post your sketches before the start of class!
Getting Started:
When you are ready to begin, go to WEEK ONE SKETCHBOOK EXERCISE to find out this week’s theme!
Helpful hint:
Before you start, you should read the article which begins this weeks’ DISCUSSION Topic!
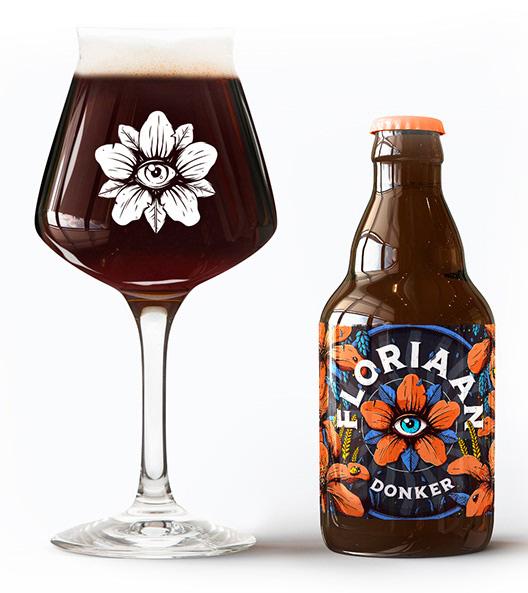
Floriaan, OostEke Brewery, Belgium – Designer: Jonas Devacht, New York
Project Overview:
Congratulations you got your first gig! You have been approached a client to redesign an existing beverage label. You may identify your own client for this project. You may choose between an illustrated tea, beer or wine label.
NEW DESIGN MUST BE PRIMARILY ILLUSTRATED, NOT TEXT BASED.
Learning Outcomes
Problem solve visually
Apply technical skills
Apply design concepts
Analyze content
Apply critical thinking skills to make creative inferences
Respect and Use Creativity
Instructions
Art must be made to fit the Product. (Wine label art should fit a bottle of wine, tea should fit a tea box, etc. )
Final Art is required to be created in Black and White only. Ink and Pencil may be used.
Solution may include text, but must be primarily image based.
Students will be required to present the illustration alone, as well as a digital mock up of the illustration with all necessary text included.
Work in Progress should be posted for feedback to the OPEN LAB, (categorize as work in progress)
Due Date(s)
Part 1, Brainstorming and Research : Generate Ideas, find new ones through research, create an image library. Come up with at least 5 concepts to discuss with your client.


Recent Comments