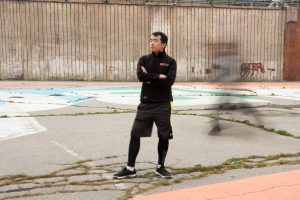
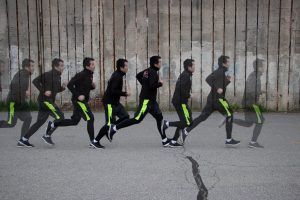
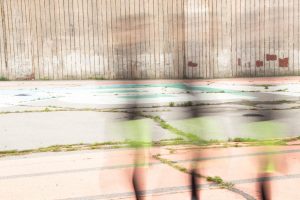
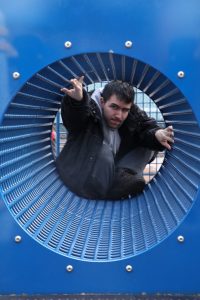
For the first shot, I had someone run behind my subject as I hit the shutter button so that they can come out in a blur while the subject stayed in focus. For the second shot, I set the camera to rapid shot with a high aperture speed and had my subject run across as I took multiple focused shots as they moved. For the third capture, I focused on a moving vehicle and followed it with the camera in the same motion so that the background can be blurred and the vehicle can be focused. For the last shot, I had my subject spin in place as I took a rapid shot to capture their blurred movements as the background stayed in focus.
Author Archives: Megan A Gelin
Learning Log #10 – Street Photography
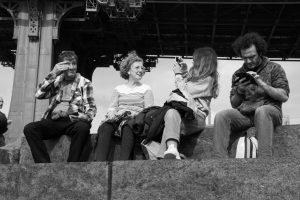
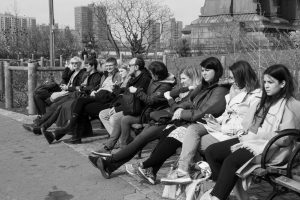
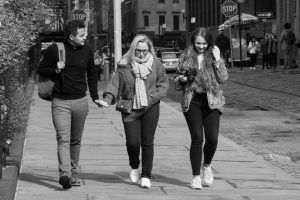
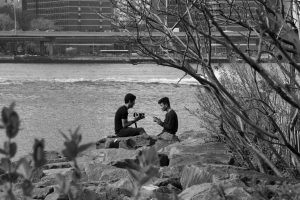
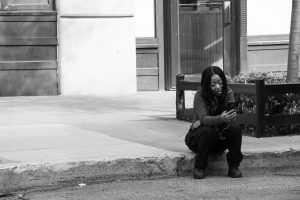
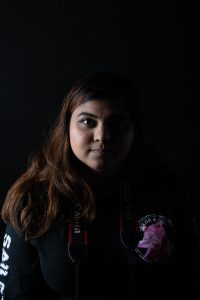
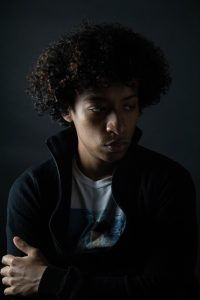
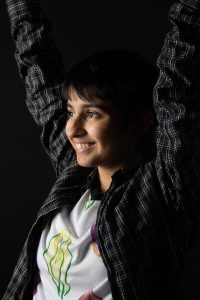
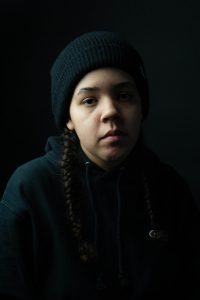
For these photos, I did my best to make sure I got the faces of my subjects and even gained approval for a photo to be taken. It took a lot of waiting and patience to get the best results. I set the camera to monochrome to give a more timeless quality to the images. I feel it gives a subtle feel and provides beautiful results.
Learning Log #9 – Natural Light Portraits
Learning Log #8: Public Service Announcement
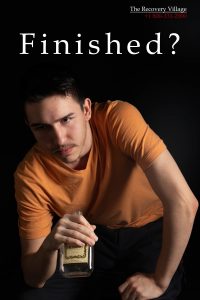 For this shot, I readjusted the softboxes away from the subject and the background. I grabbed a stool and an old Hennessey bottle and positioned my subject accordingly.
Learning Log #7: Magazine Cover Shoot
Learning Log #6 – Advertising Photography
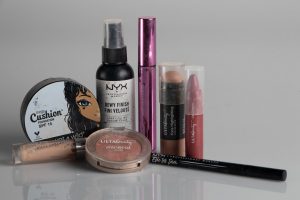
For these photos, I had to place the objects in a way that would look presentable. On a white curved table, the objects were placed in the middle. There was a light behind the curve of the table to brighten up the background, as well as one on the left side of the objects, and a reflector on their right. I wanted to show the products as well as the package design included, so I presented them accordingly.
Learning Log #5 – Light Painting
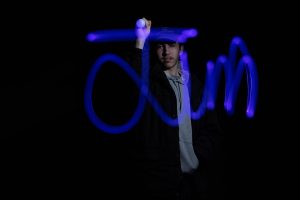
For this photo, I had the exposure on the camera set to 13 seconds. When I pressed the shutter release button, a light flash was used to show the subject and the subject proceeded to use a blue light stick to write their name in the air. When the shutter closed, their name became visible in the final image.
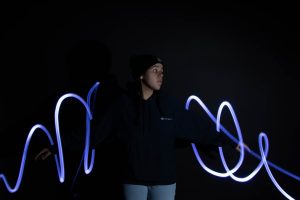
For this photo, I had the shutter speed set to 20 seconds. I pressed the shutter button, grabbed the flash and lit my subject, then I rushed to grab the blue light stick and quickly but carefully moved the light going around their arms. When the shutter closed soon after, the image came out just as I expected it to look.

