COMD 3330 OL 30 Spring 2021

Professor Michals

HW3: Near and Far

It is strongly suggested to do this assignment outside during the day.

Alternatively, you could do this as a still life assignment.

For cameras and cameraphones

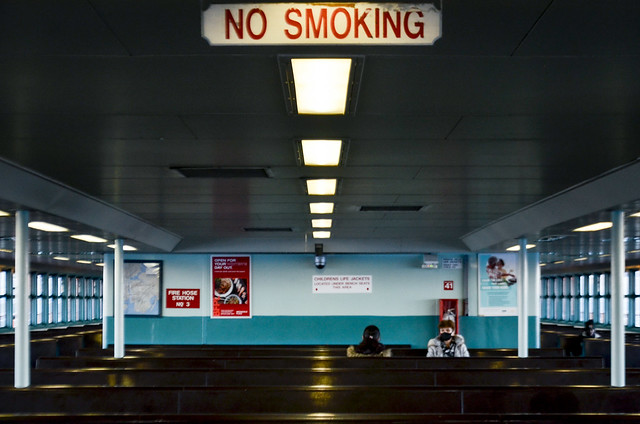
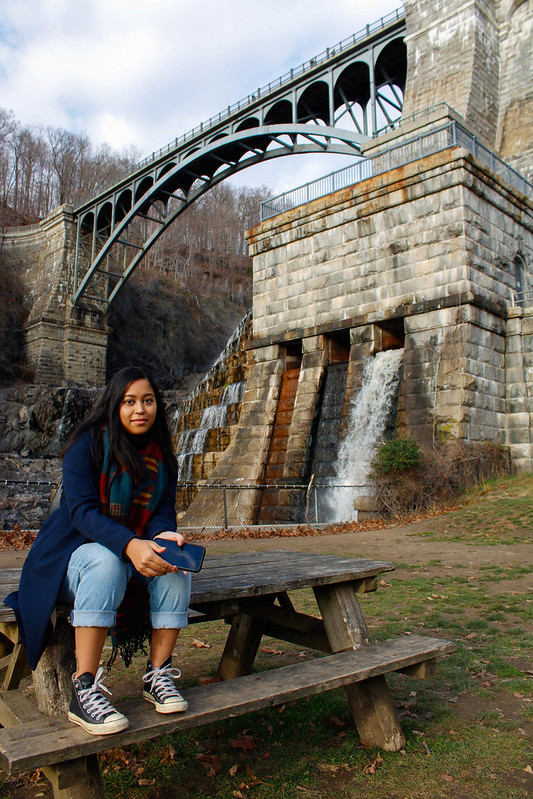
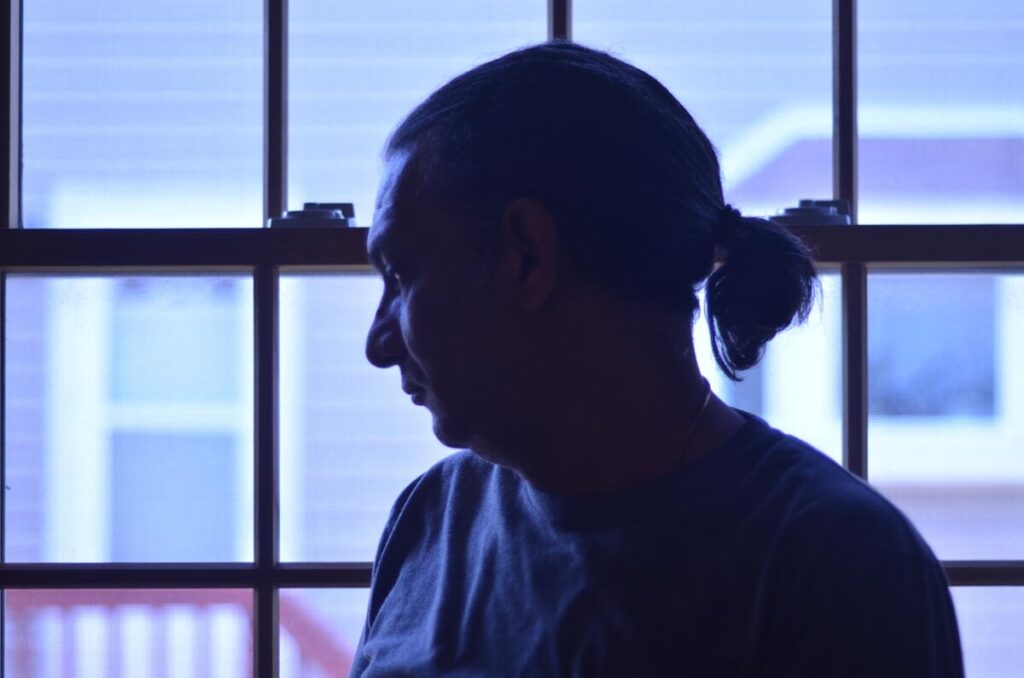
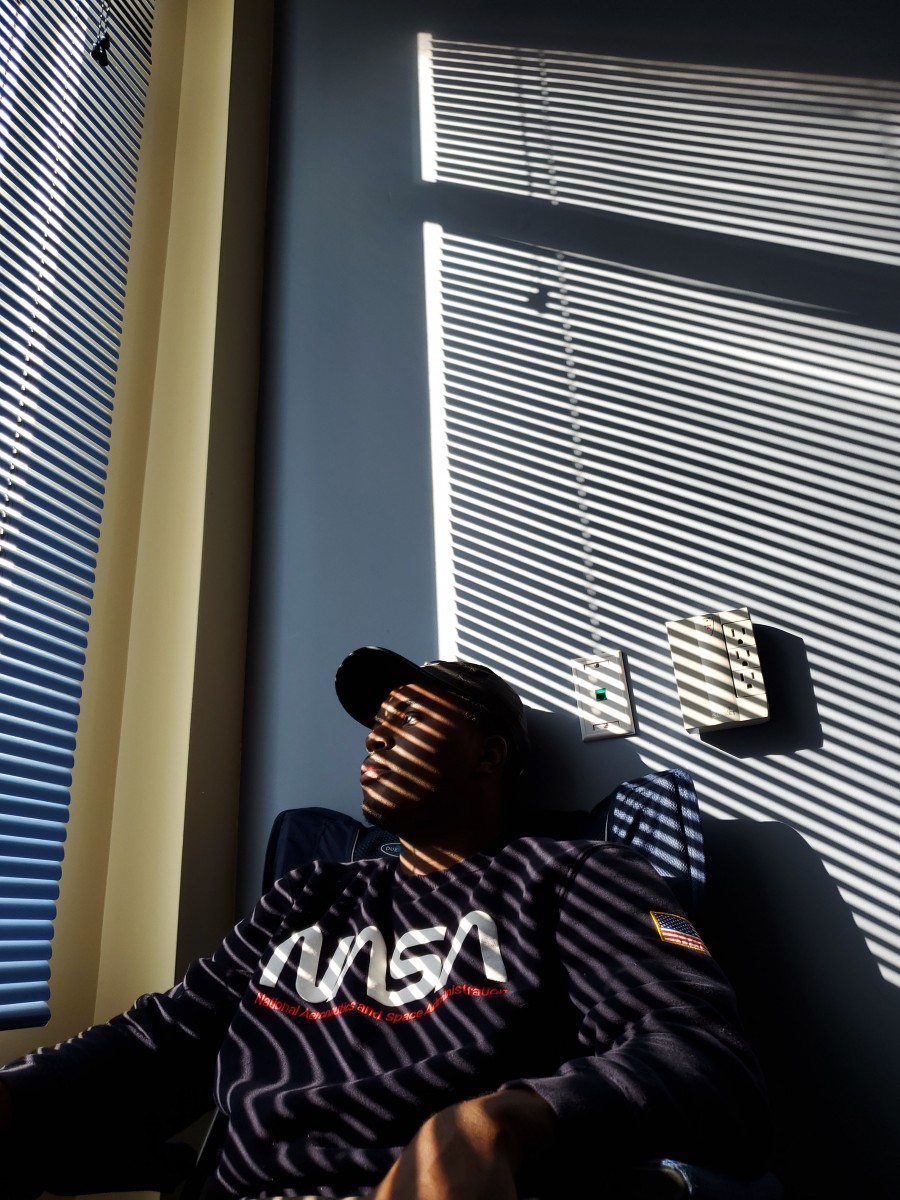
Take 30 photos in which there is something in the foreground and something in the background, something near the camera and something far from the camera. Use perspective to create a strong sense of depth.

Put the 30 photos on an album in Flickr.

Due: February 25, 2:30 pm

Camera

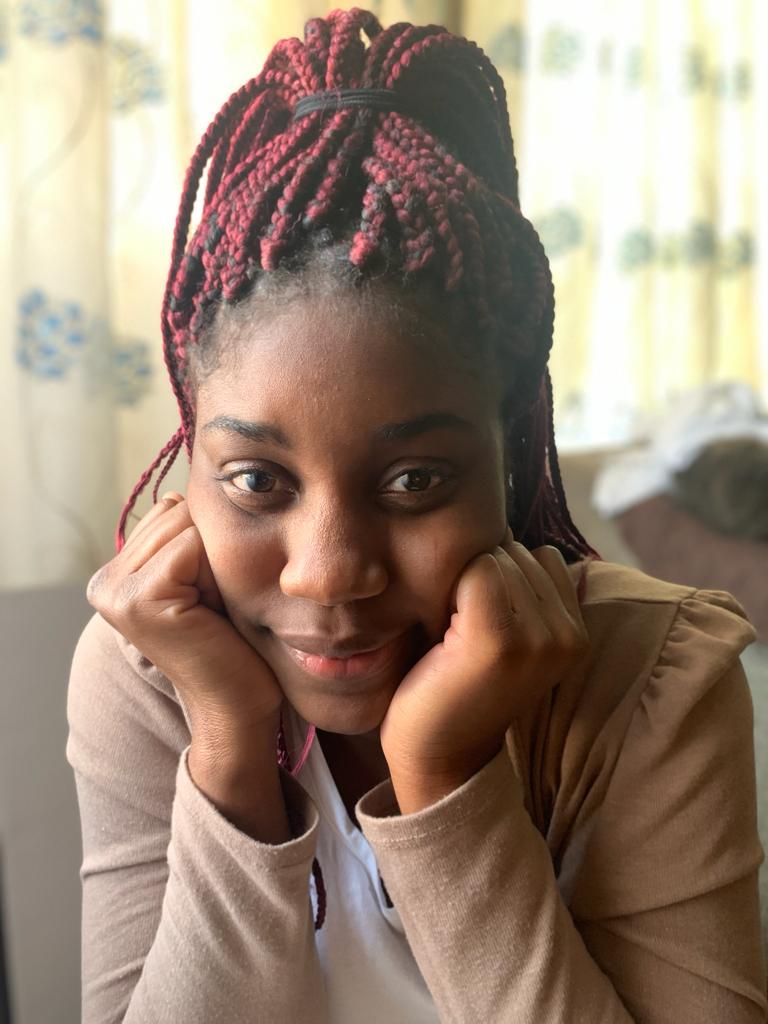
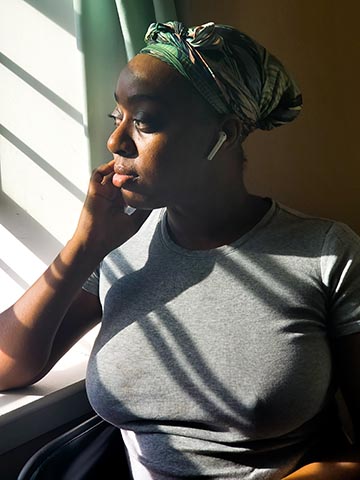
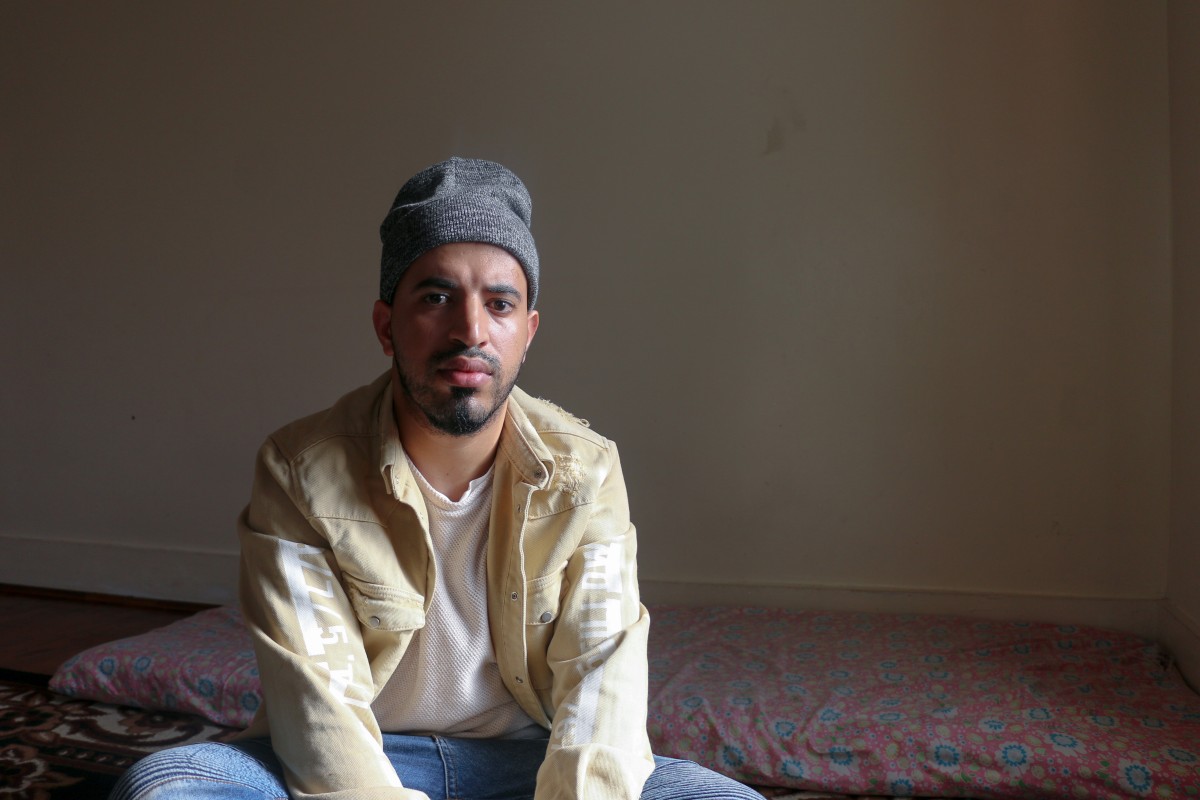
Use shallow depth of field for some of the photos and extensive depth of field for others. when using shallow depth of field, sometimes focus on the object closest to the camera and sometimes to the object farthest from the camera.

Experiment with:

  • Focal length- Try using a wide focal length and wide angle distortion for extra drama. If you have a telephoto lens, try getting back from the main subject and experiment with the compression you can get between the foreground and the background. A wide angle lens will tend toward extensive depth of field. A telephoto lens tend toward shallow depth of field.

Cameraphones

If you are shooting with your phone and working outside, use the app Focos to create shallow depth of field in half of your photos.

Quiz 2

4 pts. Please put your answers in a text file, convert to PDF, and email it to me: rmichals@citytech.cuny.edu

Due: May 18th, 12 pm.

Each question is worth 1 pt.

  1. Describe the difference between direct and diffused light. What is the type of weather that corresponds to each one? Take (your own photo) an example of each one and include it in your answer.
  2. In both food and portrait photography, it is common to use a main light and a fill light. Describe the role of each of these lights. Take and include in your answer a photo that clearly has a main light and a fill light. The subject can be anything from an onion to a person as long as the two lights are clear.
  3. Compare and contrast these two photographs of eggs. Be specific about how each photo uses the following conventions of food photography:
  • angle of view
  • lighting
  • depth of field

4. Compare and contrast these two author portraits. Make a minimum of four points of comparison about the lighting and composition of the photos using professional vocabulary.

The Final Project

The goal of the Final Project is to create a series of 10 related images on a theme of your choice.

Examples from last semester:

Jonathan Lopez

JL_L2936

Rany Selem

DSC_7623

Daniel King

_MG_4106

Isadora Martinez

IMG_3916

Final Project Statement– Post to OpenLab by April 22, 2:30 pm

Topic: What is it about? What genre of photography interests you and would you like to explore: street photography, food photography, portrait photography

What purpose will it serve in your portfolio? Do you want to highlight your

conceptual thinking, your design sense, your lighting skills

Subject Matter: Literally what will you shoot?

Style: What will it look like? How will you use photographic style to communicate

emotion and point of view? Find at least one example and include at least one

image with your description.

Lighting: how will you light your project? This may be daylight.

Due Week 12, April 29, Shoot 1 – minimum of 30 images in an album on Flickr

Due Week 13, May 6, 2:30pm:

Create a mood board for your project-use Instagram or an internet search to find 6 photographs by 6 different photographers that look like what you want the photos in your final project to look like. Post the images to a gallery on OpenLab with a short description of what you like about the photos. Please be courteous to the photographers and list their names!

Shoot 2 – minimum of 30 images in an album on Flickr

Due Week 14, May 13: Shoot 3 – minimum of 30 images in an album on Flickr

We will spend time during class on May 13th selecting your best images from the three shoots and editing those images in Lightroom.

Due Week 15, May 20:

  • final 10 images selected, adjusted in Lightroom, and posted to an album on Flickr
  • a presentation to the class of the final images.

HW 8: Window light portraits

Needed for this assignment

  • Camera or cameraphone
  • if you are photographing yourself – recommended: tripod
  • A window with daylight

Create a series of 20 portraits or self portraits using window light. This can be done with a phone or a camera. If you don’t have a good window to work with, work outside during the day in diffused light. This means on a cloudy day or in the shade. Check the weather and plan ahead.

Pay attention what is in the frame and make sure the background adds to the photo and is not distracting.

Your photos should use light, expression and the relationship between the subject and the surroundings to be expressive. No props. If you have curtains or venetian blinds, you may use them as elements in the photos.

If you are taking self-portraits, do not under any circumstances hold the phone at arm’s length. No selfies. You can use the camera’s or cameraphone’s timer. Set up the camera to frame where you will be. Try books on a shelf or lean your phone on the window sill if you do not have a tripod. Or make a tripod from a cup or other disposable item. i made one from a tea box. Focus on the spot where you will be and press the shutter and jump into frame.  make global adjustments in Lightroom and put your final 20 photos in an album on Flickr.

Examples from last semester

Due: April 22 at 2:30 pm


HW 7: Telling a Story

Pick a favorite recipe and imagine it will be the star recipe in a cookbook or pick a favorite restaurant.

Create an image that either tells the story of that recipe or restaurant. First decide what the message is. Then build the shot.

  • What is the hero of the shot? Say you decide on a tomato. Then pick a background to compliment it. Select a few other ingredients to go with it that visually add to the story. Pick a prop or two. Keep it simple.
  • Decide if you are going to shot it from a three-quarter view or an overhead view
  • Decide if you are going to use back light or side light
  • Set up your shot and work on the composition until it is beautiful and tells the story you want to tell

Put a set of a minimum of 20 images of the process of building your shot. Send your final shot to the group.

Due: April 15, 2:30 pm

HW 6: Beautiful Enough to Eat

Make a range of simple compositions, minimum 20 images, of fruits and vegetables and photograph those compositions with direct and diffused light, back and side light. Use window light if you have it. The goal is to make the food look beautiful.

Select 1 or 2 types of vegetables or fruits with 1 to 3 of each to work with. Odd numbers are usually most appealing. Stay away from anything shiny like certain apples. Use everything you know about composition to make your shot visually appealing. Fill the frame, diagonals, shallow depth of field are just a few of the things you can do to make your shot beautiful.

Try a range of backgrounds.

Create a series of beautiful photos of these objects: 10 with side light and 10 with back light. At least 5 should use hard light and the shape of the shadows should be important in the composition. At least 5 should use diffused light and lots of fill to look light and bright.

Post to an album on Flickr. Due: April 8 at 2:30 pm.

« Older posts