To avoid direct reflection, light glass from behind.
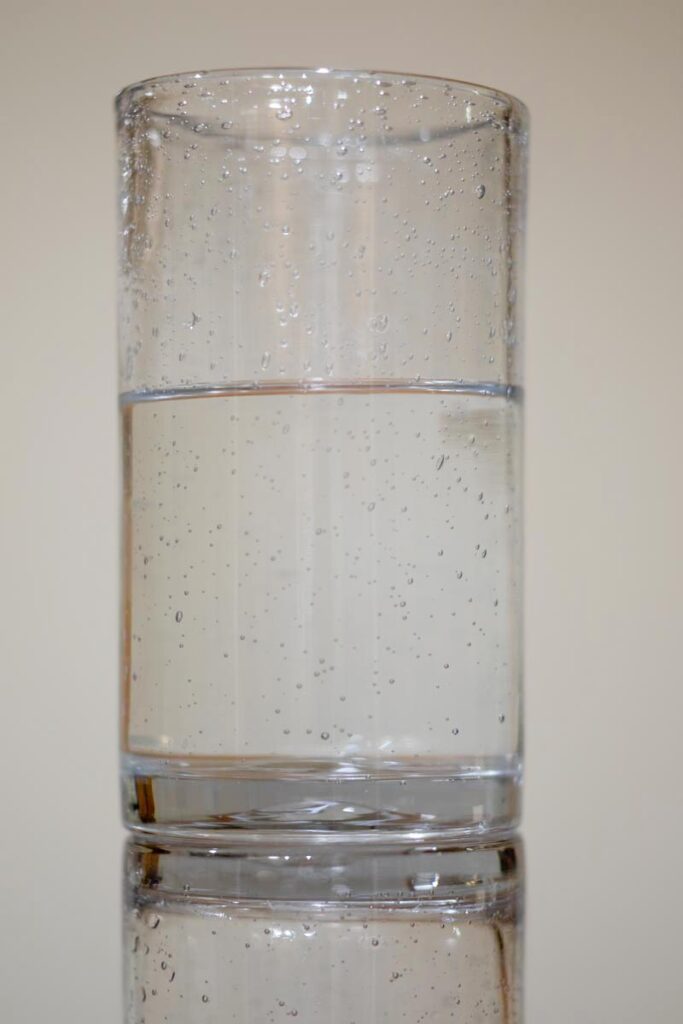
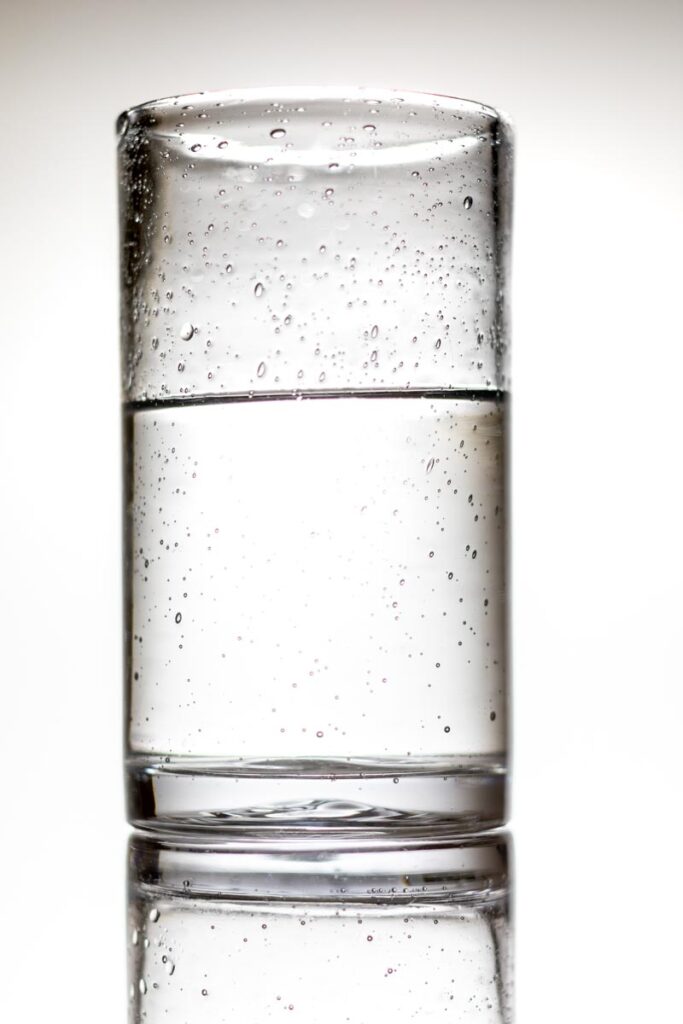
The glass on the left was shot with the ambient light. The glass on the left was shot with diffused backlight.
Photograph a glass of water with ambient light.
Photograph a glass of water using backlight. Trun off all other lights so that there is no direct reflection.
Place one glass on top of an identical upside down glass in front of a white wall or other white background that fills the frame behind the glass.
Think abut the ellipses in the glass as you choose the angle of view. A low angle will make the glass appear larger and more “heroic.”
Put your two photographs in a gallery block in a post on OpeLab with a description of how you were able to photograph glass and control direct reflection.
The subject’s material can transmit, absorb or reflect the light that hits it.
Types of reflections:
Diffuse reflections-the material reflects the light equally in all directions. Neither the angle nor the size of the light source changes the appearance of a diffuse reflection. The distance of the light to the subject will make the subject look brighter. An example of a material that creates diffuse reflection is paper.
Direct reflections are a mirror image of the light that produces them. If a direct reflection is seen is determined by the angles between the light source, the subject, and the camera. Brightly polished metal or glass are both examples of materials that create direct reflection.
Metal
To manage reflections on metal, either light it and let it go dark or fill the surface with light so the whole thing is reflecting the light.
Rany Selem
Jonathan Baez
Glass
Glass produces direct reflection but it is also transparent. One needs to bring out the edges to see the shape of the glass. So there are two problems when photographing glass:
Controlling the direct reflection
Bringing out the edges by reflecting onto them so they are visible.
We are going to consider the basics of portrait photography. You can use yourself if need be but if you can get someone to model for you it will be much easier for you.
You will need 1 light, a diffuser, and a reflector – the same basic tools needed for food photography. Generally, because people are bigger subjects than the small things we have been shooting, it will help if your diffuser and reflector are bigger.
If you are going to photograph your self, then you will need a tripod.
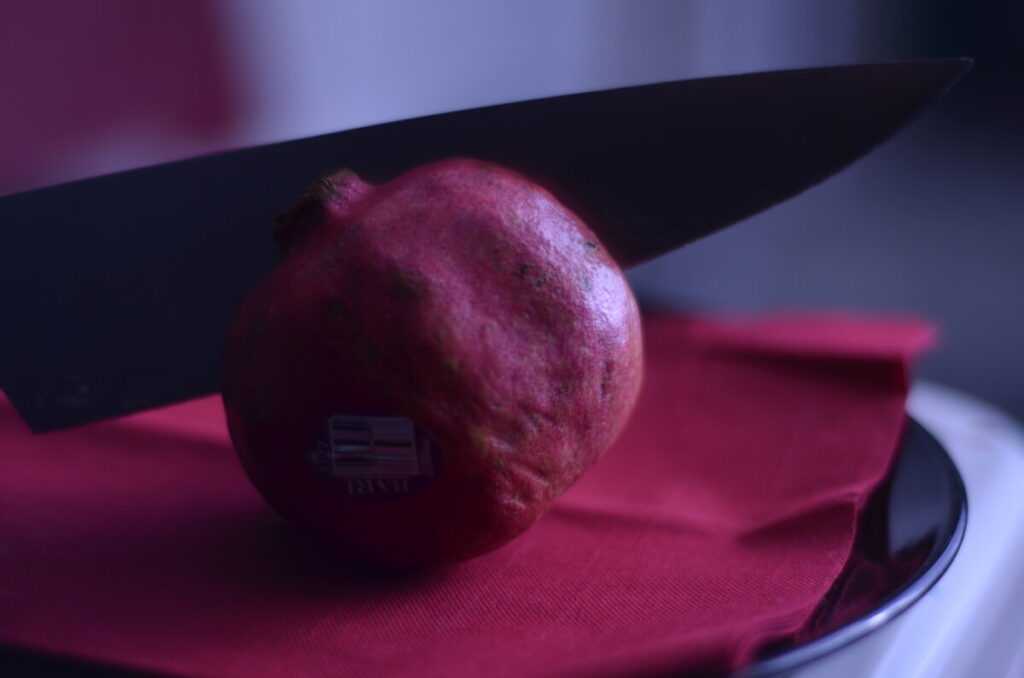
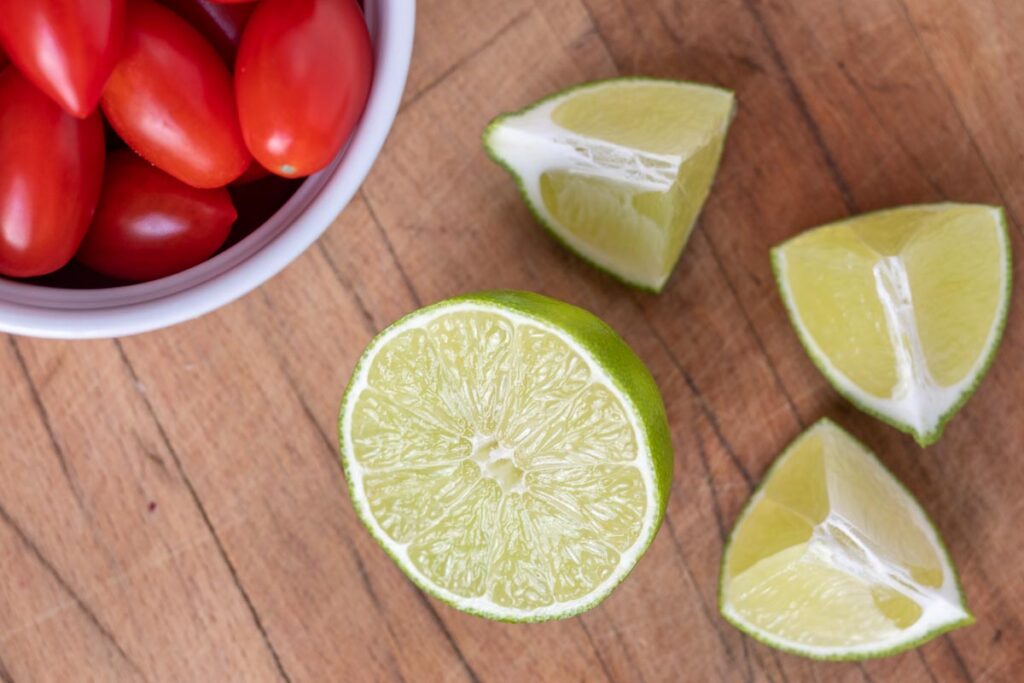
Pick a favorite recipe and imagine it will be the star recipe in a cookbook or pick a favorite restaurant.
Create an image that either tells the story of that recipe or restaurant. First decide what the message is. Then build the shot.
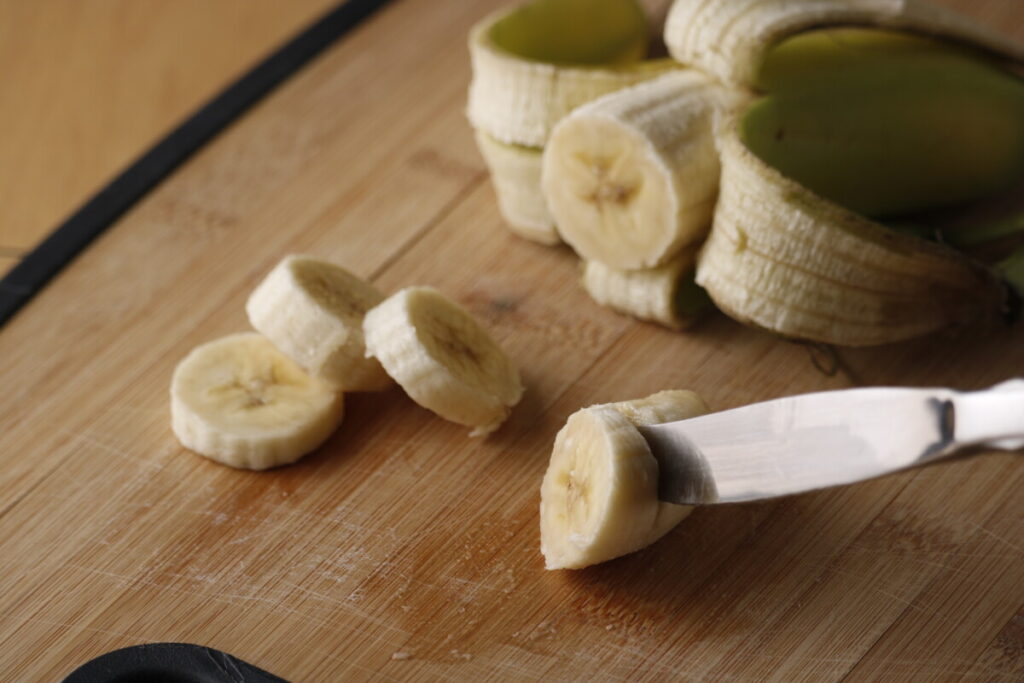
What is the hero of the shot? Say you decide on a tomato. Then pick a background to compliment it. Select a few other ingredients to go with it that visually add to the story. Pick a prop or two. Keep it simple.
Decide if you are going to shot it from a three-quarter view or an overhead view
Decide if you are going to use back light or side light
Set up your shot and work on the composition until it is beautiful and tells the story you want to tell
Put a set of a minimum of 20 images of the process of building your shot ending with your final image.
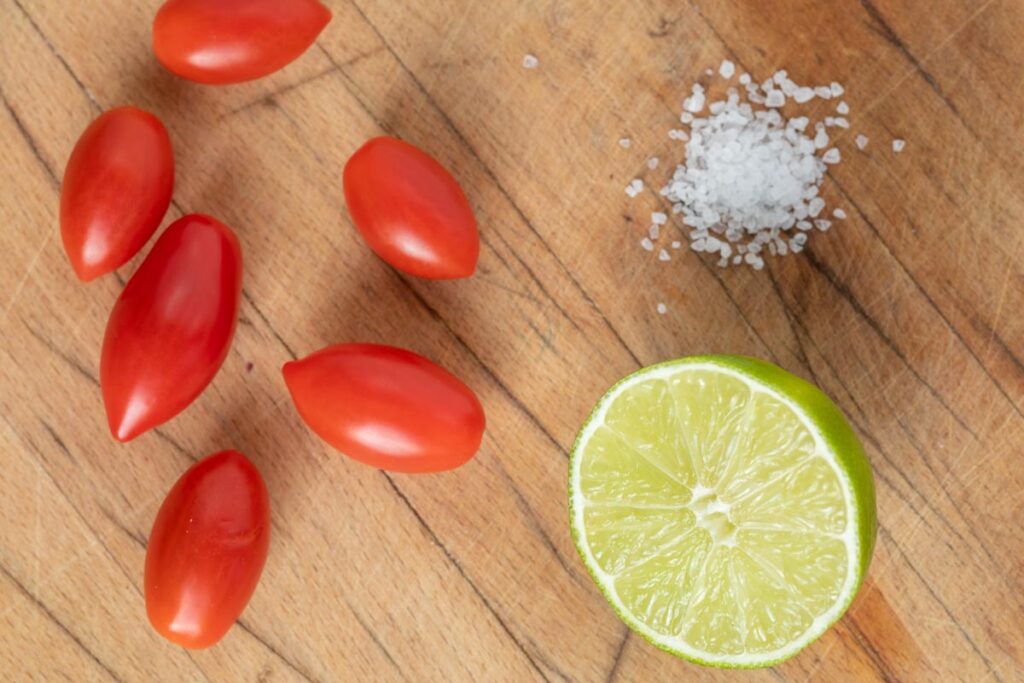
Recreate the same story, this time using a flat lay or an overhead shot.
It may be best to set your shot up on the floor. Given the difficulties of shooting overhead without a tripod arm to secure the camera, you may have to boost your ISO to get the shutter speed to be fast enough to hand hold.
Follow the same steps to build your shot. there may be things that do not translate and you may need to change individual props and so on but the story should be the same.
Put your final photo into a gallery with your three-quarter shot. Add a paragraph below the first paragraph on the first shot with a short description of what works about the overhead format and what was your greatest challenge.
Decide on the story that you want to tell. It can be very simple even a word: Flavor, fresh, natural, healthy, comforting, elegant and so on.
This will help you decide how to put the shot together.
Build the shot slowly.
Start with the background. Choose it carefully.
Set up the camera so that the background fills the shot.
Decide if you are going to use back or side light.
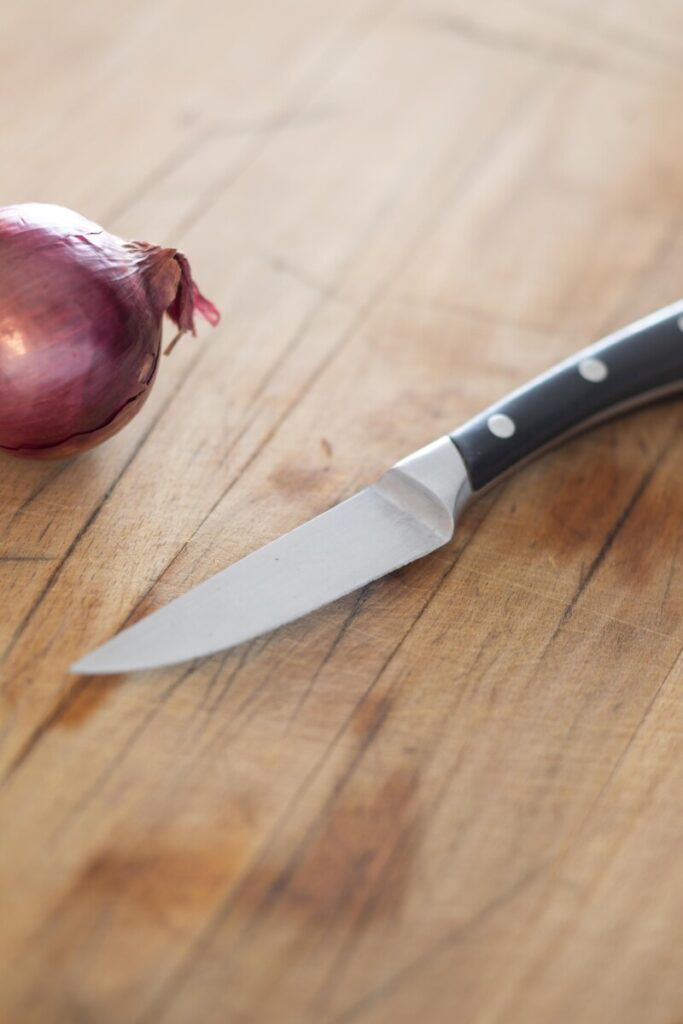
Place one or two items in the shot and set up the main light, its diffusion, and a reflector to fill the shadows.
Then work on the composition. Be clear what is the hero of shot. Everything else should compliment it.
Put your final photo in a post with the a short text describing your process. Include: what is the story that you were trying to tell? What did you do to tell that story? What was the biggest challenge?


Recent Comments