Needed for this class
- Lightroom
- Photoshop
- a portrait file
Natural vs idealized

Omar. Photographer: Dawoud Bey 
Sekou Caradine. Photographer: Peter Hurley 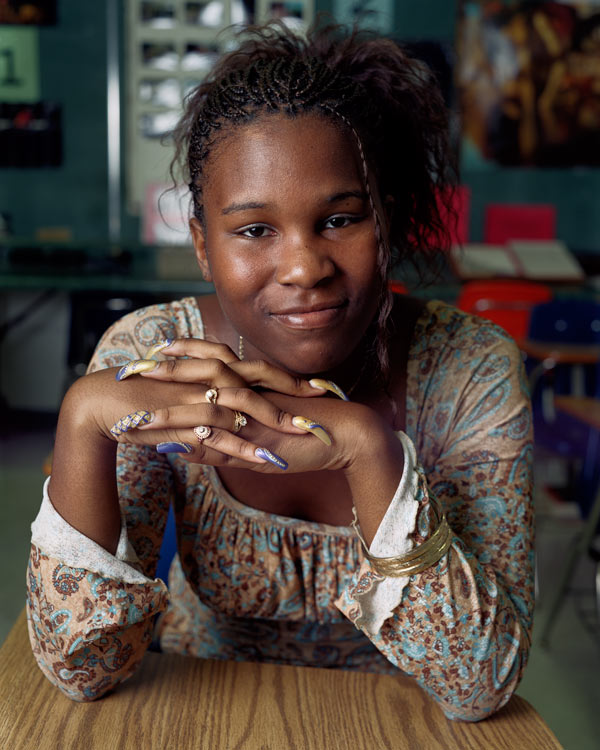
Shalanta. Photographer: Dawud Bey 
Farhia Hagi. Photographer: Peter Hurley
Robin Michals | COMD 3330 OL98 Fall 2020
Needed for this class
The goal of the Final Project is to create a series of 10 related images on a theme.
You may choose to do a project from any of the Photoville categories:
Creatures, Food, Home, Nature, People, Play, Streets
Example Projects:
Food
https://fence.photoville.com/throw-aways/
Home
https://fence.photoville.com/we-are-here/
People
https://fence.photoville.com/flex/
Play
https://fence.photoville.com/summer-on-wheels/
Streets
https://fence.photoville.com/summer/
Deliverables and dates:
Due Week 13, December 1: Shoot 1 – minimum of 30 images in an album on Flickr
Due Week 14, December 8: Shoot 2 – minimum of 30 images in an album on Flickr
Due Week 15, December 15: Shoot 3 -minimum of 30 images in an album on Flickr PLUS
The main light casts the shadows and the fill light brightens the shadows.
Create a portrait for each of the five main lighting styles with a main light and a fill light. The fill light can be a reflector or a wall as illustrated in the video on today’s Topic page. Shoot each on first with just the main light and then add the fill for a second shot. For each of the five lighting styles, post an example with and without fill. Write a short text about how you set up your fill and how it changes the photos. 10 photos total.
Those lighting styles are: Rembrandt, broad light, short light, butterfly, and split Light.
Jonathan Baez
https://jonathanbaezart.com/video
The single most useful pose suggestion that you can make to your model is to lower their chin. Peter Hurley explains his apprach to this in the video below.
The fill light brightens the shadows. It can be an actual light or you can use a reflector. This video shows how to use a reflector as the fill light.
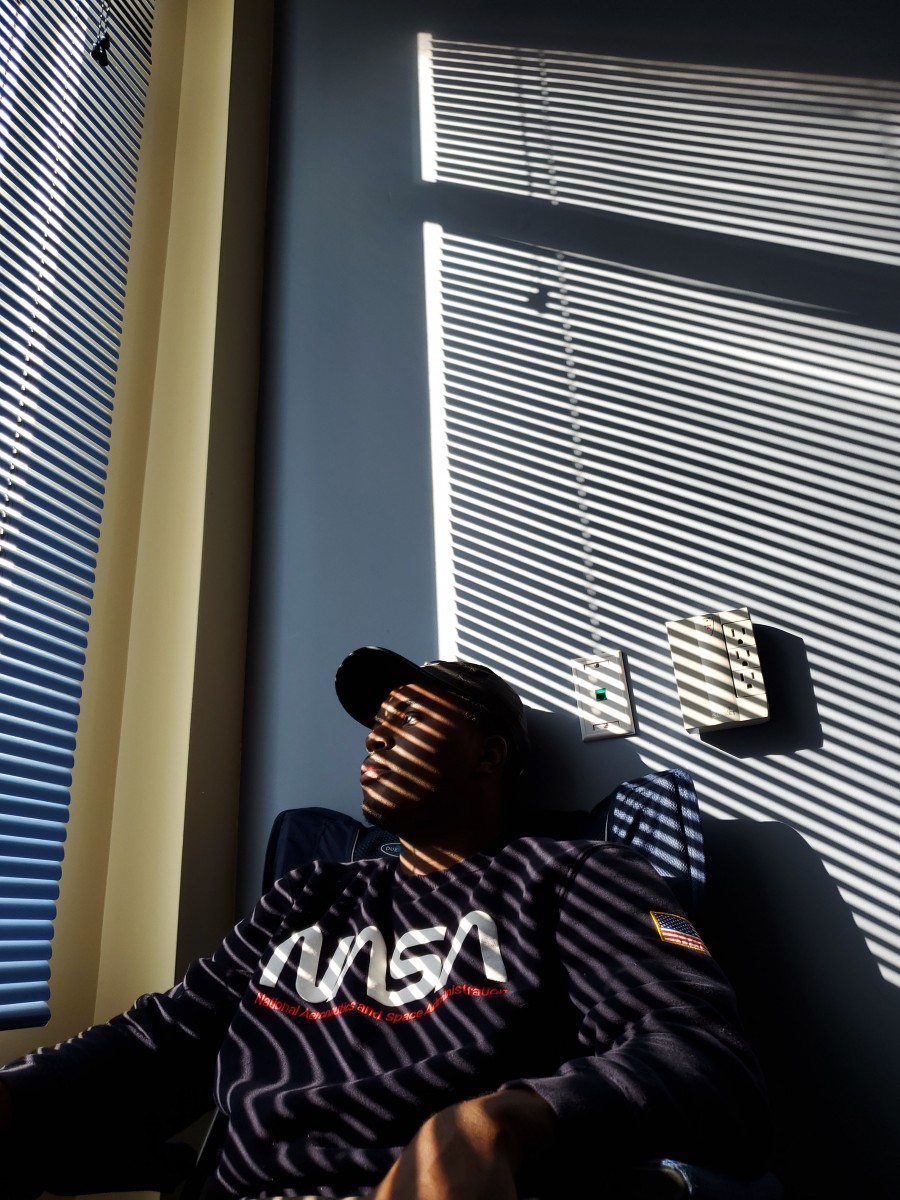
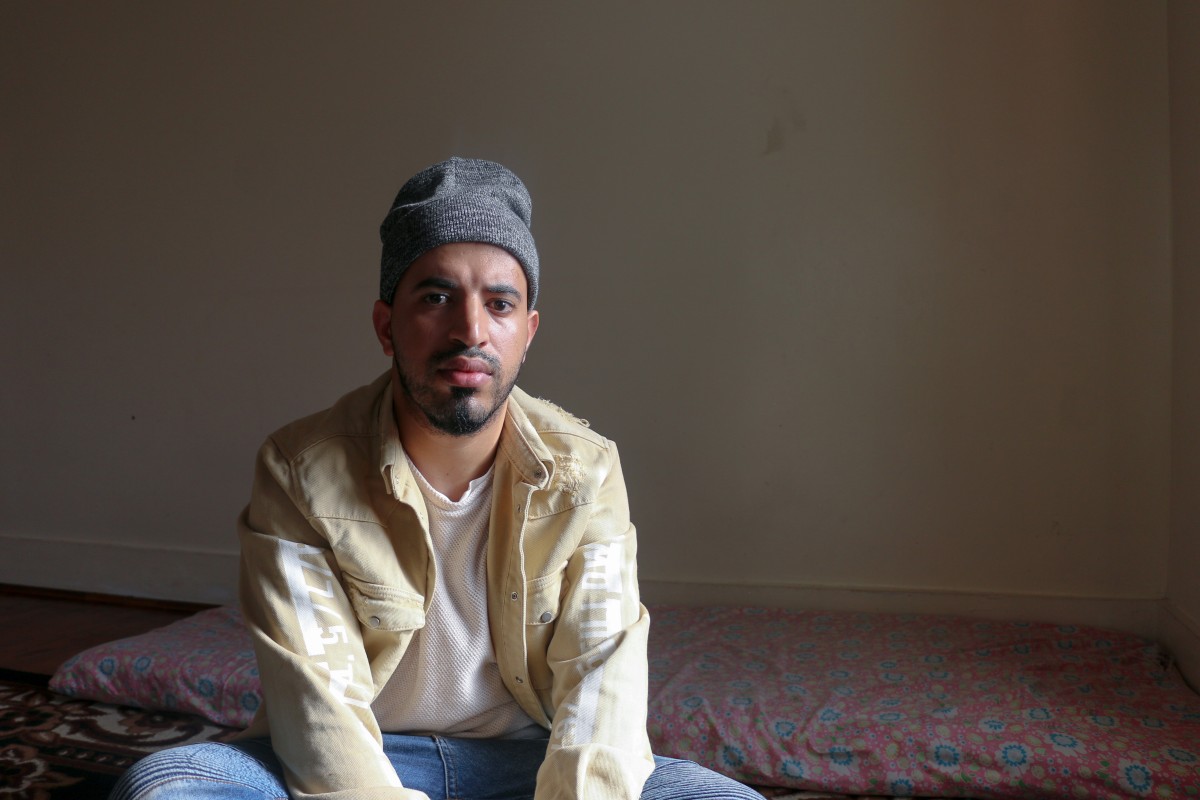
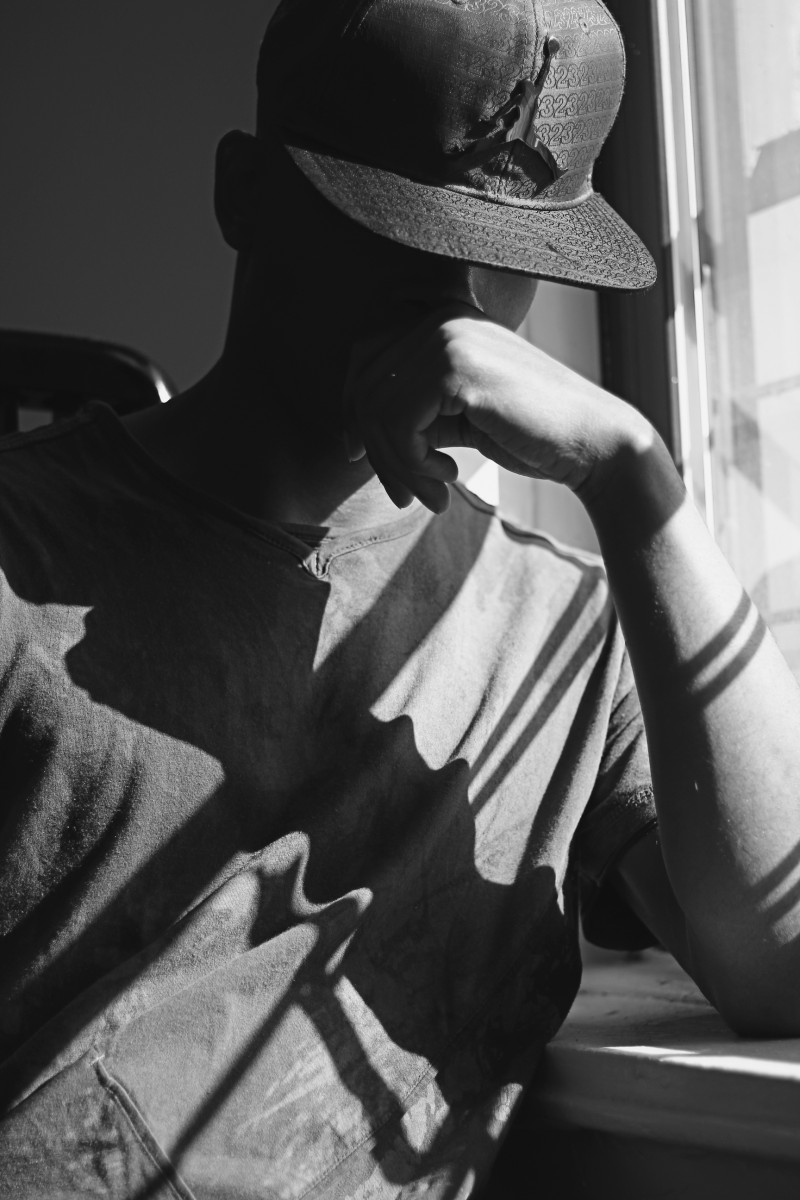
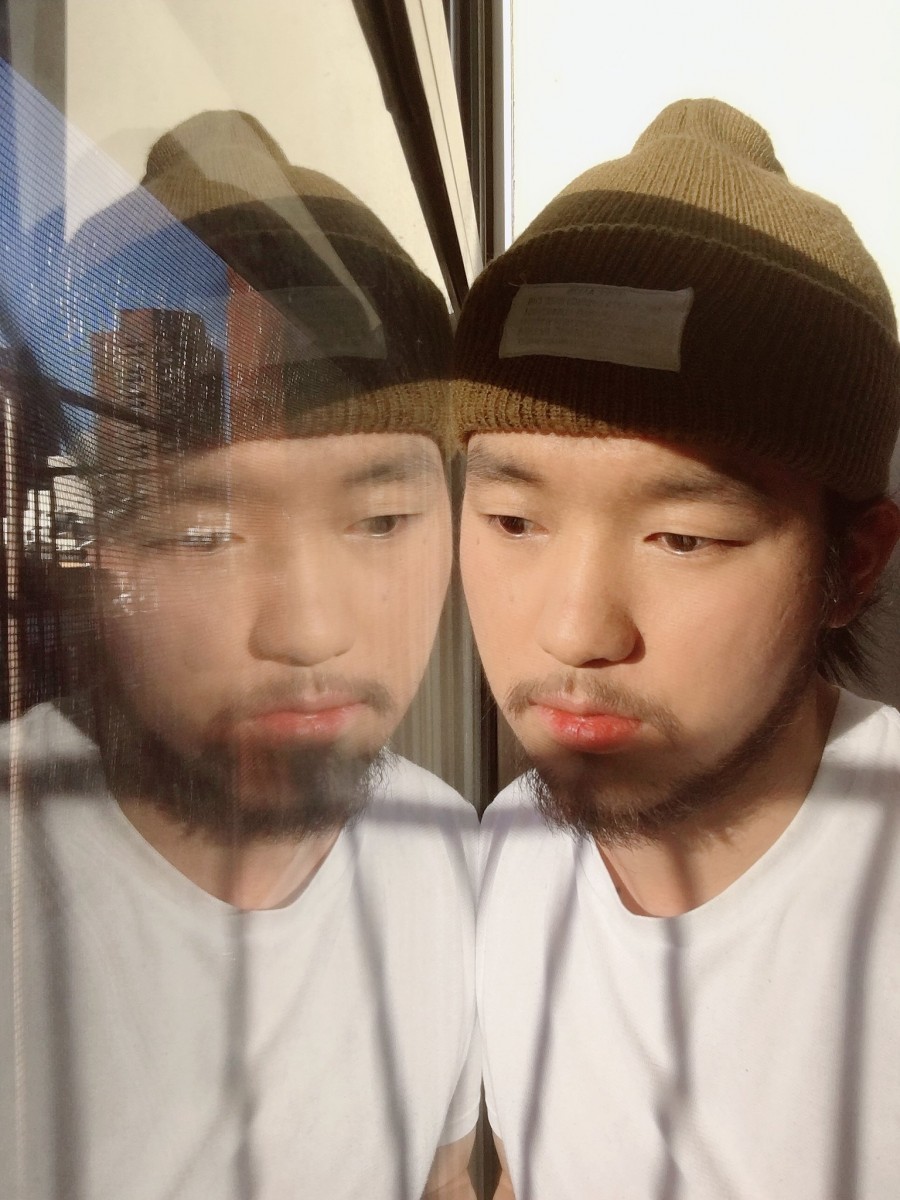
Create a series of 20 portraits or self portraits using window light. This can be done with a phone or a camera. If you don’t have a good window to work with, work outside during the day in diffused light.check the weather and plan ahead.
You should be near or next to a window during the day.
The window can be in the photo or you can just use the light from the window.
Pay attention what is in the frame and make sure the background adds to the photo and is not distracting.
Your photos should use light, expression and the relationship between the subject and the surroundings to be expressive. No props. If you have curtains or venetian blinds, you may use them as elements in the photos.
If you are taking self-portraits, do not under any circumstances hold the phone at arm’s length. No selfies. You can use the camera’s or cameraphone’s timer. Set up the camera to frame where you will be. Try books on a shelf or lean your phone on the window sill if you do not have a tripod. Or make a tripod from a cup or other disposable item. i made one from a tea box. Focus on the spot where you will be and press the shutter and jump into frame. make global adjustments in Lightroom and put your final 20 photos in an album on Flickr.
Due: November 24 at 6pm

© 2024 Photography II
Theme by Anders Noren — Up ↑
The OpenLab is an open-source, digital platform designed to support teaching and learning at City Tech (New York City College of Technology), and to promote student and faculty engagement in the intellectual and social life of the college community.


Recent Comments