Front Light. No diffusiton 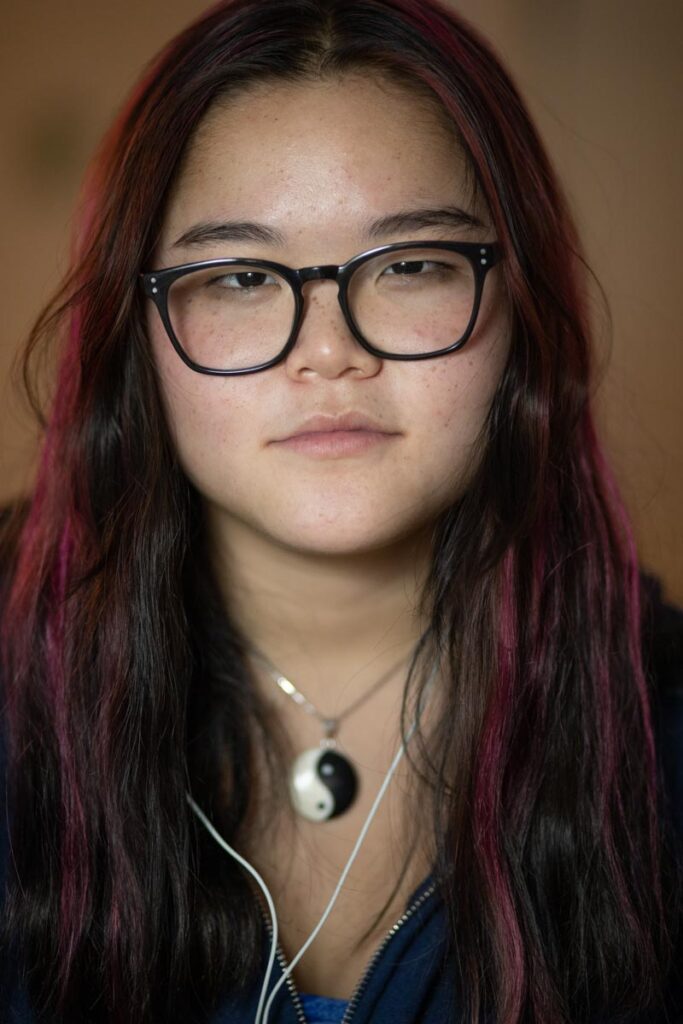
Front Light. Paper diffuser
Working with one light and some kind of diffusion, take as many photos as you need to get one good example of:
- Front light
- Rembrandt light – loop or closed loop
- Short light
- Broad light
- Split light

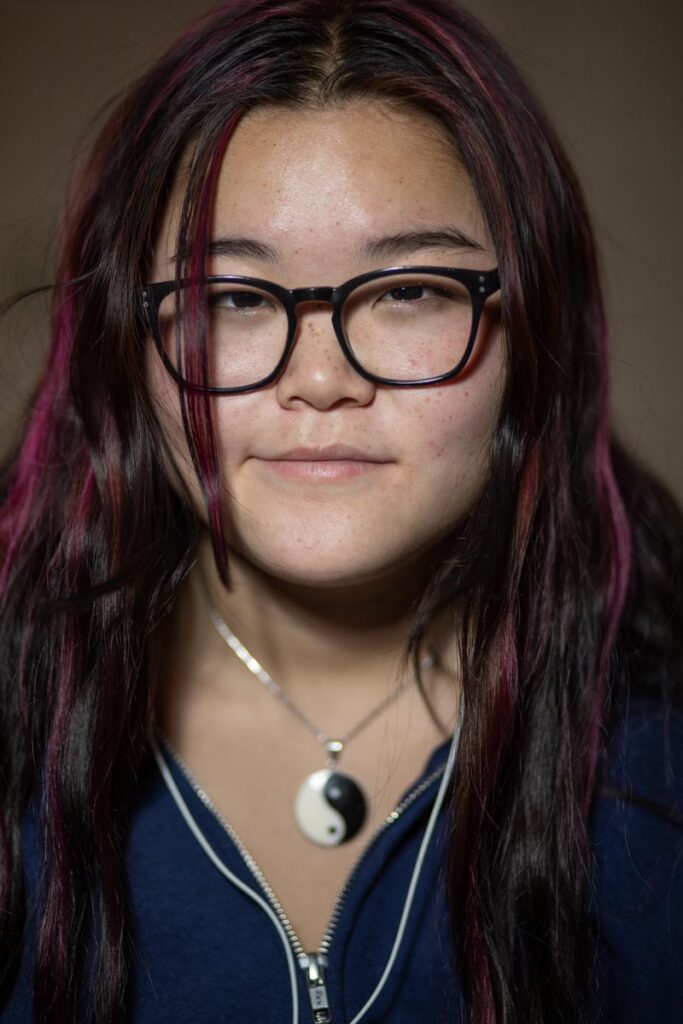
Front Light 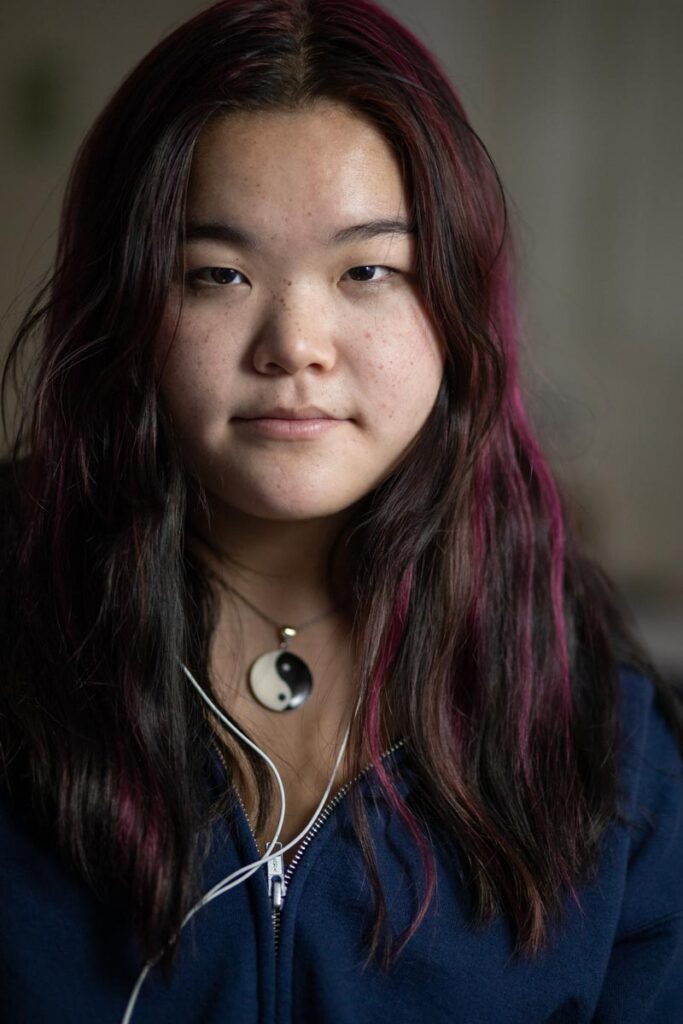
Rembrandt Light (loop) 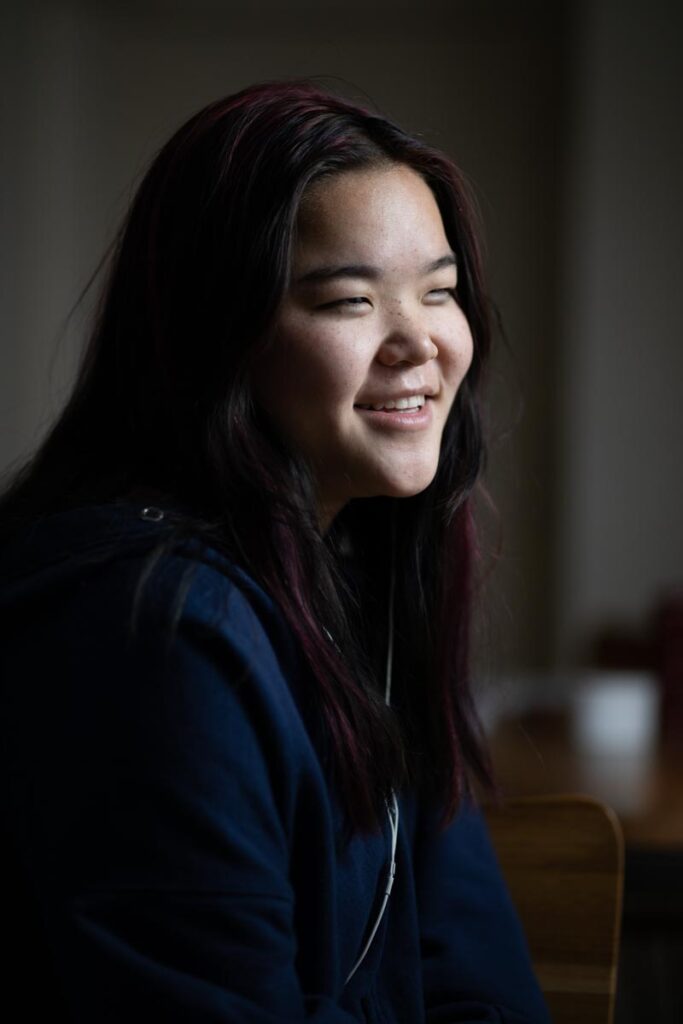
Short Light 
Broad Light 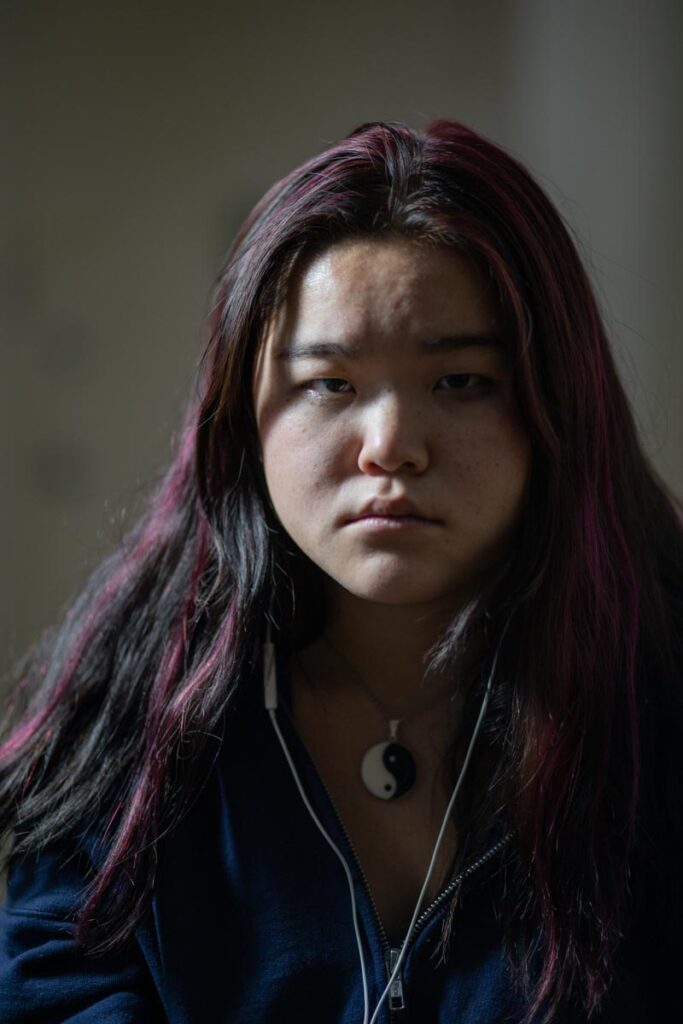
Split Light
A few considerations:
Put a chair for your model as far from furniture and other obstacles as you can. Sit at the same level as your subject. Or both stand. But be at the same level.
Pay attention to anything distracting behind the subject. move it if you can or try facing in another direction.
You will need to be able to move the light around your subject.
Turn off any other lights besides the light you are using for the portraits.
Diffuse the light.
Settings: Shutter Speed – Keep the shutter speed fast enough to freeze both your motion and your subject’s motion. For a camera this may be 1/60. For a cameraphone it may be slower possibly 1/15. I personally would never shoot with shutter speeds that long. I would keep to 1/125 and 1/30.
Aperture – Use your widest aperture.
ISO-You may have to use a high ISO. Keep it as low as you can.
Put your five final photos in a post on OpenLab with a short description of your process, which was the easiest? which the hardest? Which one makes your subject look the best?
Category: Lab: Week 11: Portrait Lighting Styles


Leave a Reply