Cloning a Project
Cloning a project will create an exact copy of an existing project, keeping all content created or uploaded by an admin, but any work created by project members will not be copied over. The project avatar, project settings, and site settings will all remain the same, although you can change anything as necessary.
1. After logging in, click My OpenLab in the main menu. Then click My Projects in the right-hand menu. On the My Projects page, click + Create / Clone a Project at the top of the page.
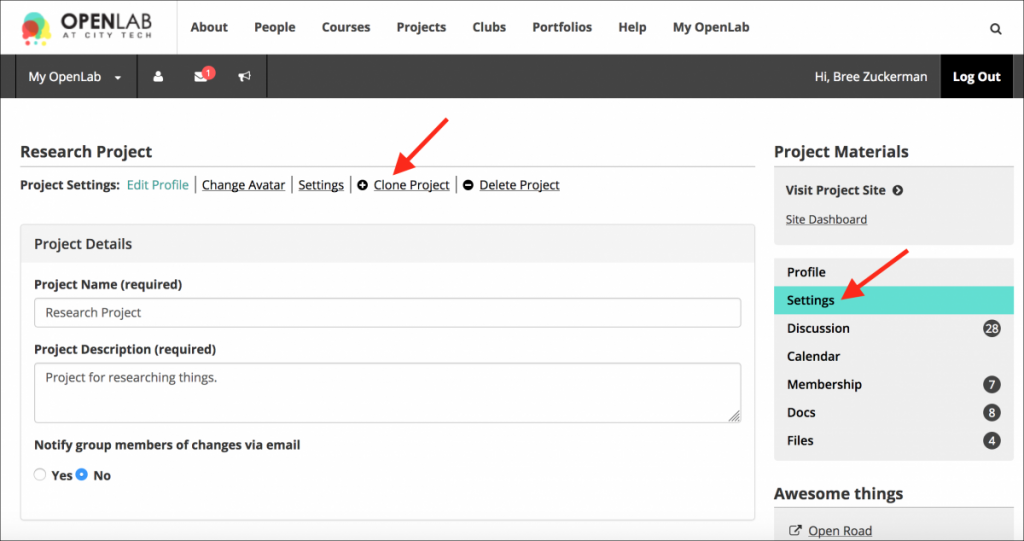
1a. You may also begin cloning a project by going to the Profile of the project you would like to clone. Choose Project Settings in the right-hand menu and then + Clone Project.

Step One: Profile
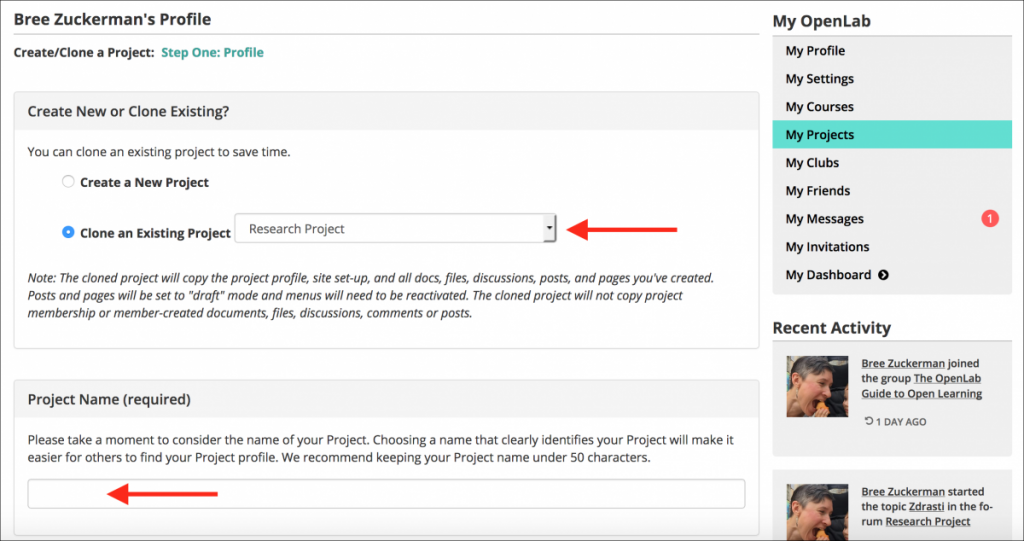
1. On the first Create/Clone a Project screen, choose Clone an Existing Project and then in the dropdown menu, select the project you would like to clone.
2. Enter the Project Name.
3. You’ll notice that the description is already filled in, and is the same as the project you are cloning. If your project was associated with a School, Department, or Category these will also be pre-filled. You can leave these as they appear or edit.
4. Select any Collaboration Tools you want to enable on the project profile: Announcements, Discussion forums, Docs, and File Library. All of these can be enabled or disabled later in the Course Settings.
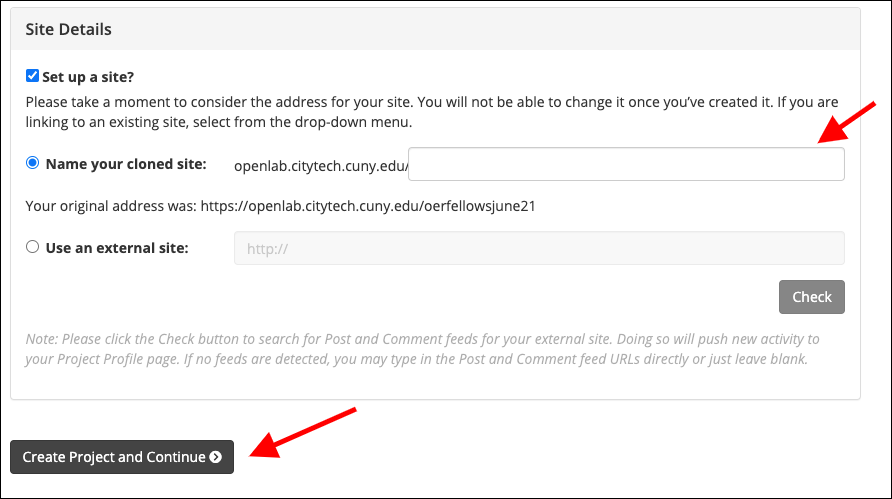
5. Choose the site details. The option for “Name your cloned site” will be pre-selected. Fill in the URL for the new site. Please note: the site address must be different from the old site, which will be displayed below. You should also only include the last part of the URL (do not include https://openlab.citytech.cuny.edu/).You may also choose to create a new site, use an existing site, or use an external site.
6. When you are finished, click Create Project and Continue.
Step 2: Privacy Settings
The privacy settings for the new project will be the same as the settings for the project you are cloning, but you may change them if you wish.
- Choose your Profile privacy settings. These settings control the privacy of the project profile, and are different from the project site, which you will choose next. You can change the settings at any time.
This is a public project:
- The project profile and related content and activity will be visible to the public, whether or not they are members of the OpenLab.
- The project profile will be listed in the OpenLab project directory and search results.
- Any OpenLab member may join this project.
This is a private project:
- The project profile and related content and activity will only be visible to members of the project.
- The project profile will be listed in the project directory and search results.
- Only OpenLab members who request membership and are accepted by the admin may join this project.
This is a hidden project:
- The project profile, related content, and activity will only be visible only to members of the project.
- The project profile will NOT be listed in the project directory and search results.
- Only OpenLab members who are invited may join this project.
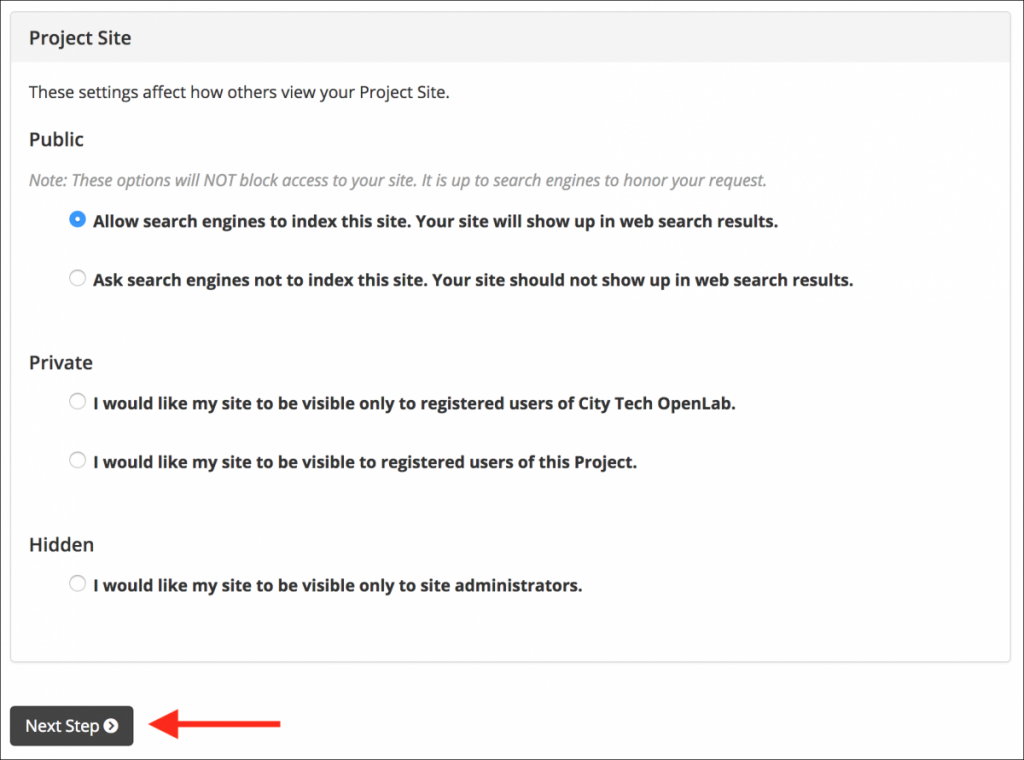
- Next, choose the privacy settings for your project site.
Public:
Allow search engines to index this site:
- Anyone can visit your site without needing a password.
- Search engines will index all pages and posts, meaning your site will show up in search results on Google, Bing and others.
- Choose this option for maximum public visibility.
Ask search engines not to index this site:
- Visitors do not need a password to see your site if they know the URL or are linked from elsewhere, but Google, Bing and other search engines should not index your posts and pages. (Please note: it is up to search engines to honor your request.)
- Choose this option if you want to be able to show the site to people who are not members of the OpenLab, but you don’t want people to stumble upon it via search engines.
Private:
I would like my site to be visible only to registered users of City Tech OpenLab:
- Anyone who is signed into the OpenLab can see this site.
- Choose this option if you’d only like the OpenLab community to be able to see the site.
I would like my site to be visible to registered users of this Project:
- Only members of your project will be able to visit the site.
- Choose this option if you only want project members to be able to see the site.
Hidden:
I would like my site to be visible only to site administrators:
- No one except site admins (only the professor, unless you add others) can see the site.
- You may choose this option if you are in the process of creating your project site, but it would rarely be useful during an active project.
- When you’re done, click Next Step.
Step 3: Project Avatar
1. The avatar for the project you have cloned will appear. If you would like to keep that avatar, just click Next Step. If you would like to change it, click Browse. Select the file you want to use from your computer or flash drive and then click Upload Image.
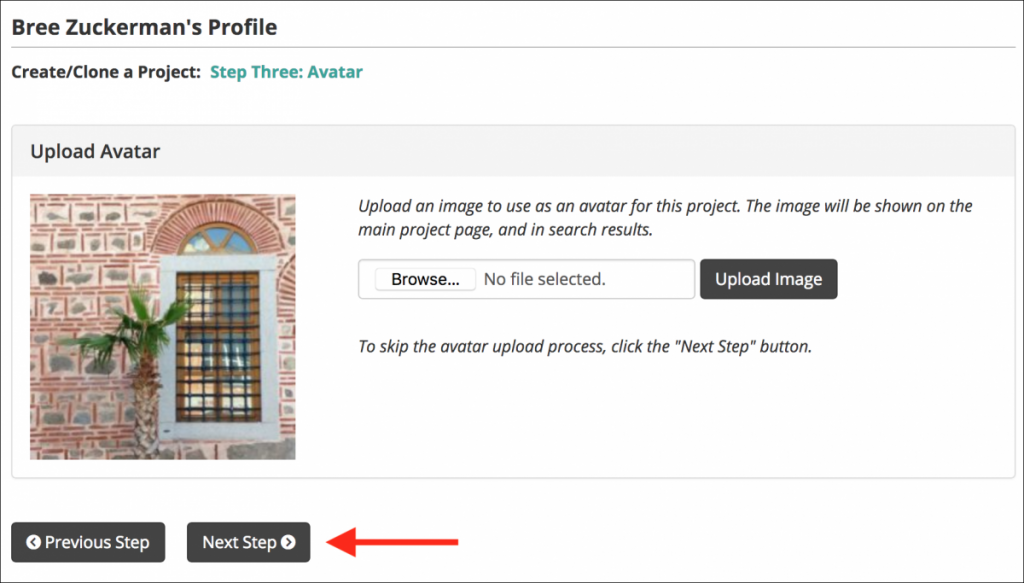
2. When you are done click Next Step.
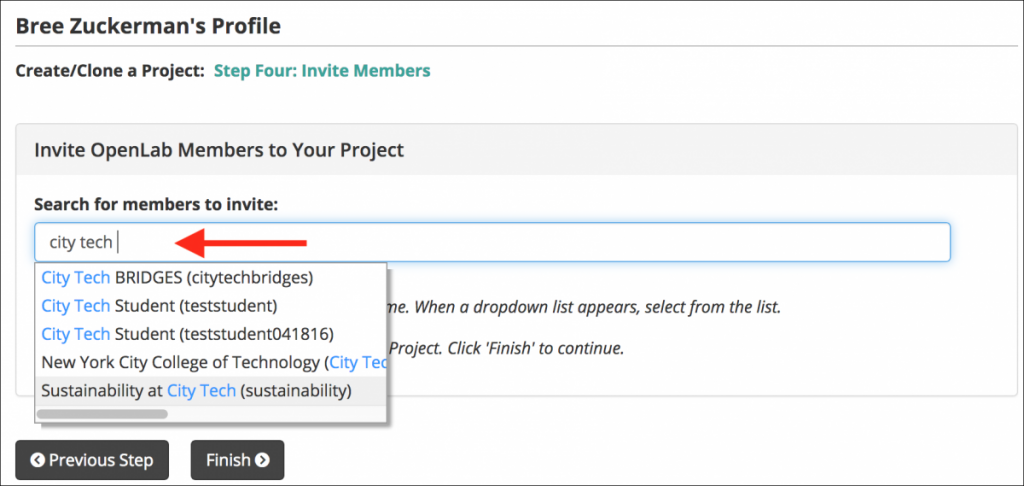
Step Four: Inviting Members
1. If you would like to invite members to your Project, start typing their display name. When a dropdown list appears, select their name from the list. Their name and avatar will appear under the heading Invites. When you’re finished, or if you do not wish to invite anyone at this time (you can always do it later!), click Finish, at the bottom of the page.
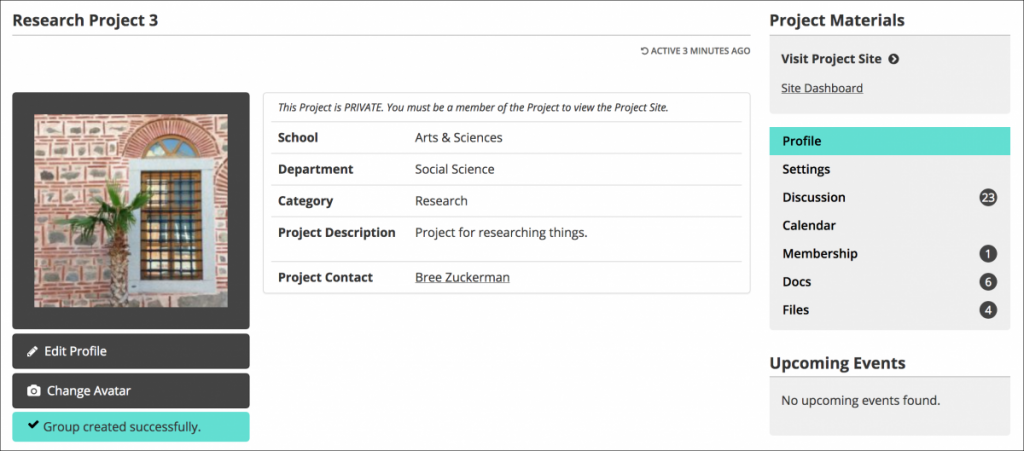
2. After you click Finish your project will be cloned, and you will be on the Project Profile of your new project! From here, you can change settings such as privacy or project description, or change your avatar. From your Project Profile you can also access your Project Site and Dashboard (the admin panel, where you will edit and add content to your Project Site).
Please note:
- All your posts and pages from the previous project site will also have been cloned. However, they will be in draft form, so you will need to publish any that you would like to appear on the new site. If you do not publish them, it will appear that your site is empty.
- If you had a custom menu it will need to be activated before it appears on the new site. To do so, go to Dashboard > Appearance > Menus and click on the Manage Locations tab at the top of the Edit Menus page. Choose your menu from the Primary Navigation dropdown and click Save Changes.
- You will notice that any posts on the Discussion forum or Docs you created and Files you uploaded in the previous project will appear in the new project. You can keep or delete any as necessary.
- The theme and header image will remain the same, although you may change these at any time. In addition, any plugins or widgets you had activated on your old site will appear on the new site.
Help information on project site privacy courtesy of Blogs@Baruch at Baruch College, CUNY.


