Changing the appearance of your Site with themes
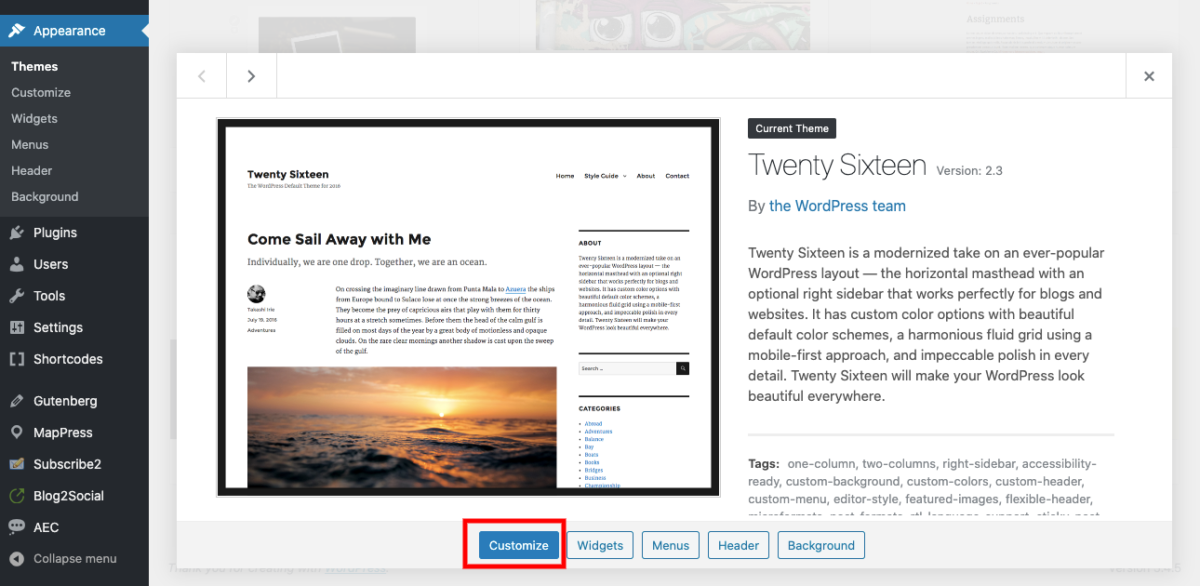
1. Choosing a theme allows you to determine the visual aspects, or “look,” of your site. You can change your site’s theme by going to your site Dashboard and clicking Appearance > Themes in the left-hand menu. Additionally, you can customize your current theme by clicking Appearance > Themes and then clicking Customize underneath the description of your current theme.
2. To change your current theme, you can browse through the “Available Themes,” or search for installed themes using the search box on this same screen.
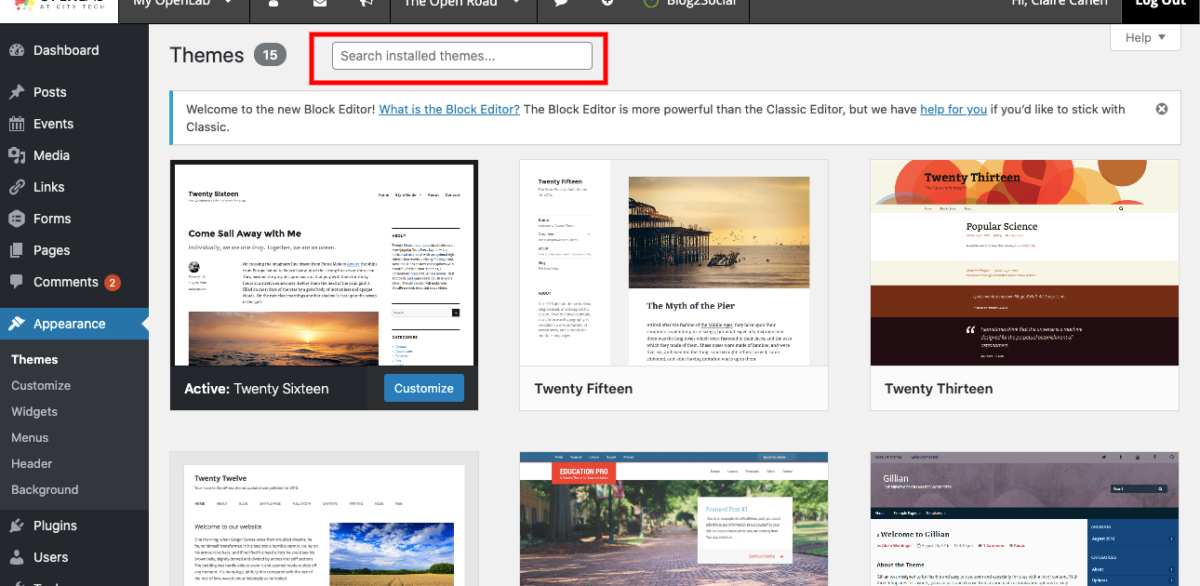
3. Once you have decided on a theme, you can either click Live Preview to view the theme with your site’s content without changing your current theme, or you can click Activate to install your chosen theme.

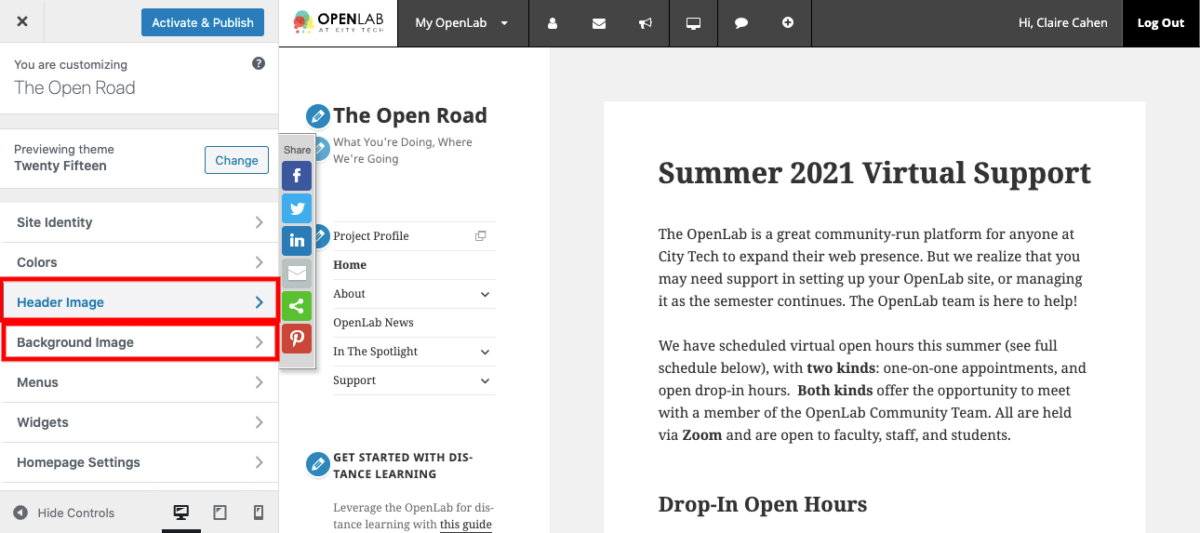
4. If you choose to preview a theme, you will be taken to another screen where you can edit the site title, site tagline (i.e., the short description of your site), background color, header image, background image, and front page of your site. Click Activate & Publish in the left-hand menu to save any changes that you make on this screen and to install the theme on your site. If you change your mind about an installed theme, click Appearance > Themes and select another theme from “Available Themes.” Click either Live Preview to preview it or Activate to install it on your Site.

5. If you choose to activate a theme, you can customize that theme (e.g., change the background color, add custom menus, etc.) by clicking Customize underneath “Manage Themes.” You can also choose to customize your theme at a later time.
6. One common method of customizing a theme is to change the header and/or background image on the theme. To change the header image, go to your site Dashboard and click Appearance > Themes and then Customize underneath “Manage Themes.” In the left-hand menu you will see the available customization options for your theme. To change the header image or the background image, click Header Image or Background Image in the menu. From here, you can either drag-and-drop an image saved to your desktop or select an image file that is saved on your computer.
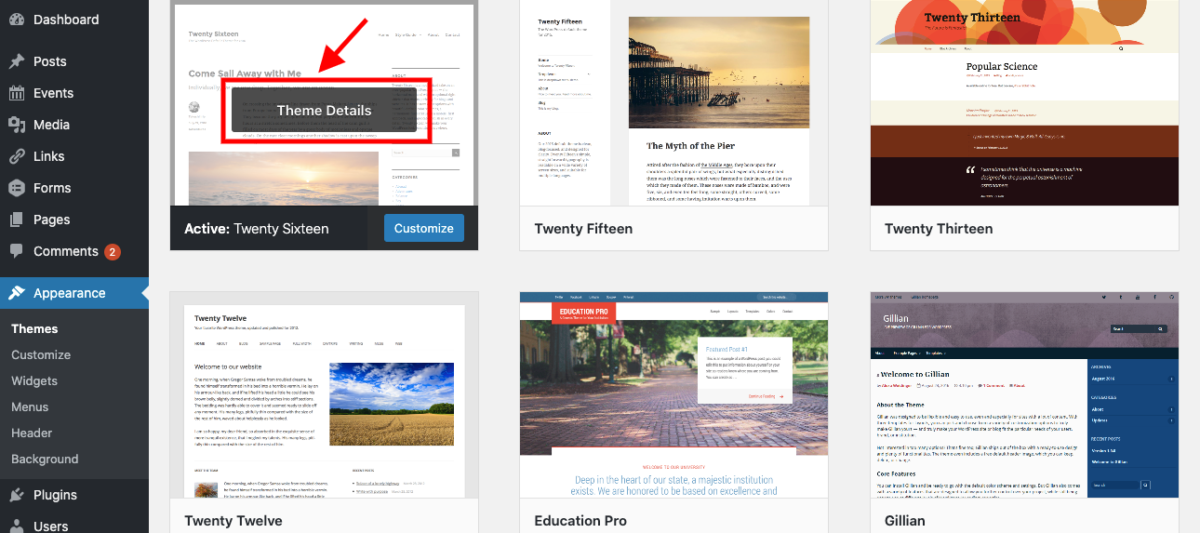
7. Please note that not all themes will have the same customizing options available to you. For example, some themes will allow you to change the header image and add custom menus and some themes will not. To get more information about a theme before previewing it or installing it, hover over that theme in your Dashboard and click Details.
Themes and Custom Menus
If you have created a custom menu, you will need to reactivate it if you change your theme. At first glance, it will appear that your menu may have been erased. However, all that has happened is that your menu has been deactivated and removed from it’s primary location.
1. To reactivate your menu, simply go to Menus under Appearance and select Manage Location at the top of the page.
2. Depending on the theme you using, that page might have anywhere from one to three or four possible options. Identify where you’d like the menu to be (chances are it will be Primary Navigation) and choose your menu from the dropdown next to that location. Click Save Changes and you’re finished.


