Creating pages on your Site
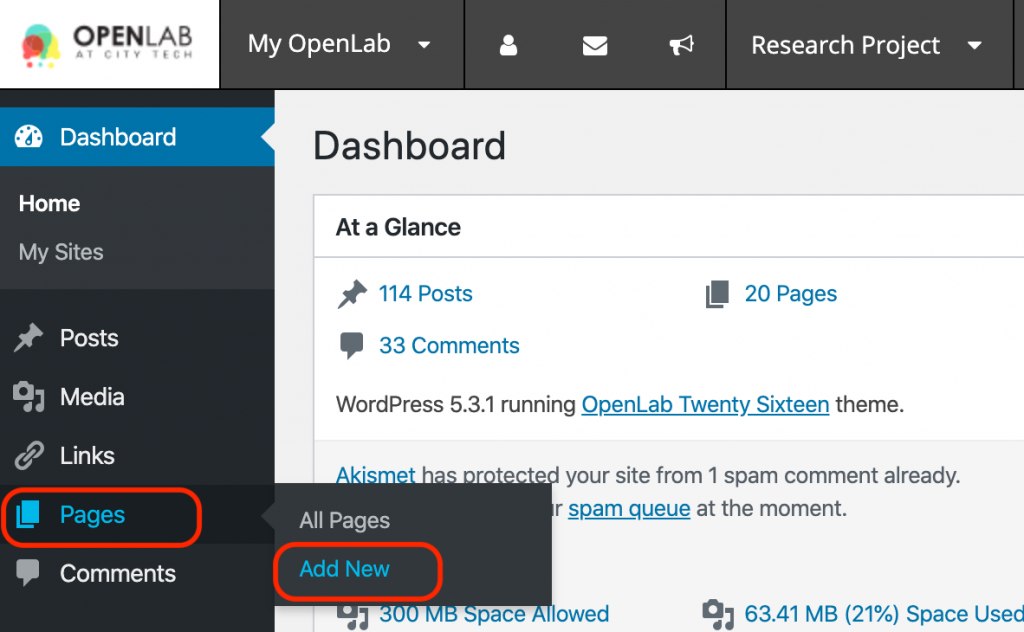
1. From your site’s Dashboard, click on Pages > Add New in the left hand menu.
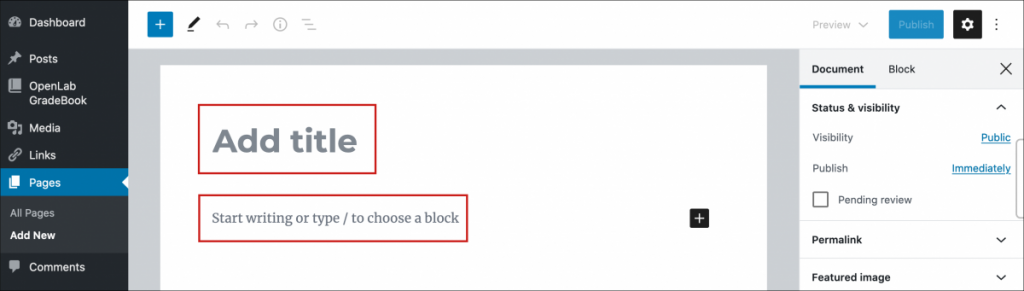
2. Add a title to your page. You will notice that the title is automatically formatted in a title heading style.
3. Add content to your page by adding blocks. The default block type is a paragraph block, which you can start using just by typing where it says “Start writing or type / to choose a block” or by pasting in text from Microsoft Word or another program. When you start writing, a block toolbar with formatting options will appear. If you want to format your text, highlight the text that you want to change and click the appropriate button from the formatting toolbar.
To add another type of block, you can search for other block types by typing a forward slash followed by the block name, for example: “/image” or “/heading”. Then, choose the type of block you want to use. Please note that this only works if you have no other text in the block.
You can also add a block by clicking on the add block button —the the black ‘+’ button on the right side of any empty block or the the blue ‘+’ button in the upper left corner of the editor. Once the block library appears, simply select the kind of content you would like to add, such as a heading, an image, or a video.

3. Once you have finished adding everything to your page, click Publish on the right-hand side of the editing toolbar. If you would like to see how your page will look before you publish it, click the button next to it that says Preview. Additionally, if you would like to continue working on your page and publish it at a later time, click Save Draft, which is to the left of Preview.
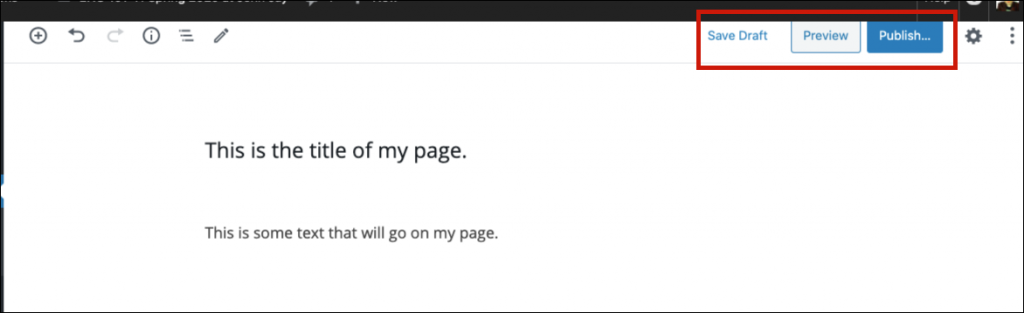
4. You can change or edit your page’s settings, including privacy settings, by clicking on the Settings gear icon in the same area of the editing toolbar. Your default privacy setting will be Public. To change it, click on the word Public to see the menu and then select your preferred option. You can choose to make your page public, password protected, or private.

Looking for Classic Editor help? You can find it here: Creating pages on your Site (Classic)


