Creating pages on your Site (Classic)
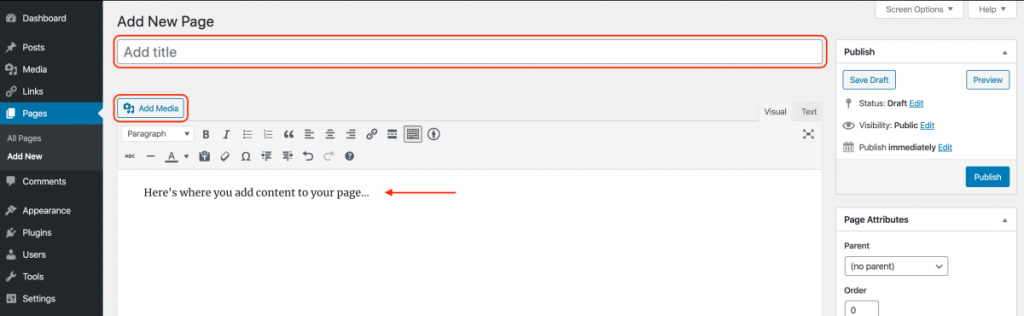
1. To create a page on your site, go to your site Dashboard and click Pages > Add New in the left-hand menu.

2. On the following screen, you will see a title line, a text box, and a formatting toolbar. Here you can enter a title for your page and the content that you would like to appear on your page. To modify your text (e.g., to change the font style, add a link, etc.), highlight the text that you want to change and click the appropriate button from the formatting toolbar. You can also add images, audio, or video to your page by clicking the icon next to Upload/Insert.
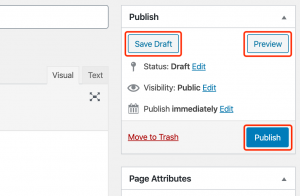
3. Once you have finished adding content to your page, click Publish in the “Publish” section of the right-hand menu. If you would like to see how your page will look before you publish it, click Preview in the right-hand menu. Additionally, if you would like to continue working on your page and publish it at a later time, click Save Draft in the right-hand menu.
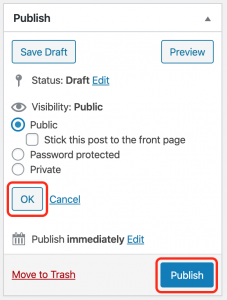
4. You can also change or edit your page’s privacy settings by clicking Edit in the Visibility settings in the same right-hand menu. You can choose to make your page public, password protected, or private.
Help information courtesy of Qwriting.org at Queens College.


