Adding Categories and Tags (Classic)
Categories and tags are keywords or phrases that are added to posts to help to organize information on a site. Categories are usually more broad, like the table of contents of a book, and tags are more narrow, like a book’s index.
Categories can only be created by a site admin, but can be added to a post by any site member. If you don’t add a categories to a post, the default category, “Uncategorized,” will automatically be added.
Tags can be created and added to a post by any site member.
Categories
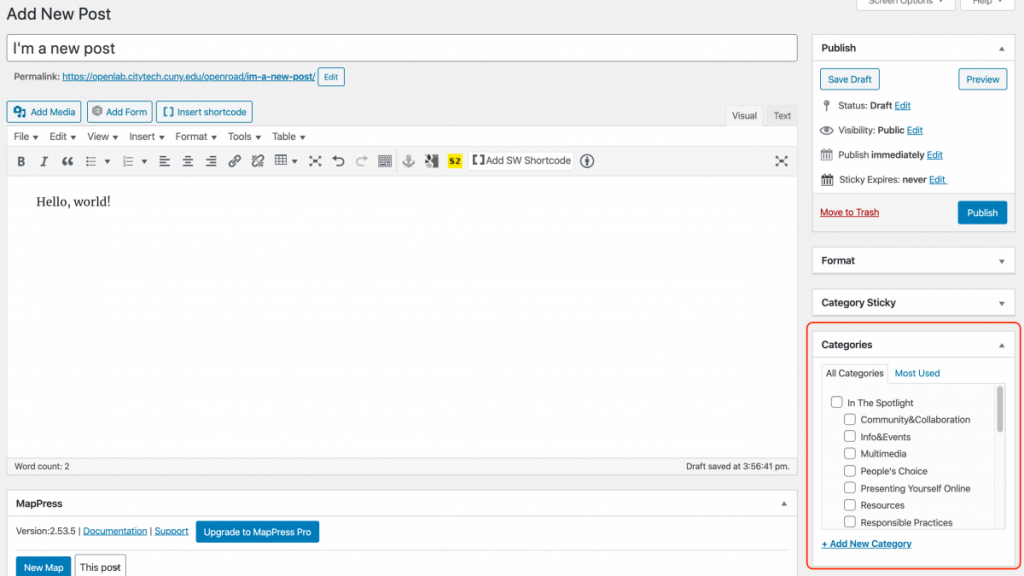
1. You can add a category to your post by creating a new post or editing an existing post. Check the box next to the appropriate category in the “Categories” box on the right-hand side of the page. When you’re finished with the post, click Publish, and the category will be assigned to your post.
2. To change your a post category, edit the post, choose a new category, and click Publish.
Tags
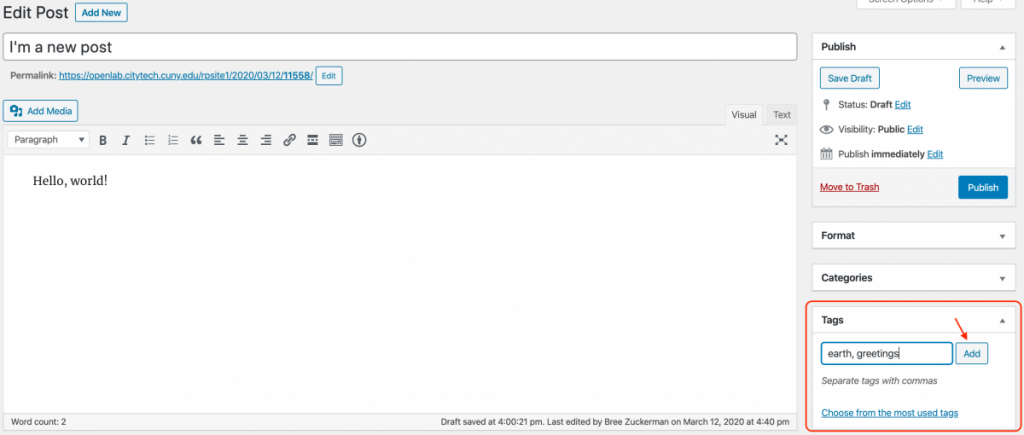
1. To add a tag to your post, type in the tags of your choosing into the text box in the “Tags” box on the right-hand side of the page, and then click Add. After you publish the post, the tags will be added to your post. If you would like to remove an assigned tag, hover your cursor over the tag title in the “Tags” box, and click the red “X” that appears.
Help information adapted from Qwriting.org at Queens College.


