Changing your Site’s header image
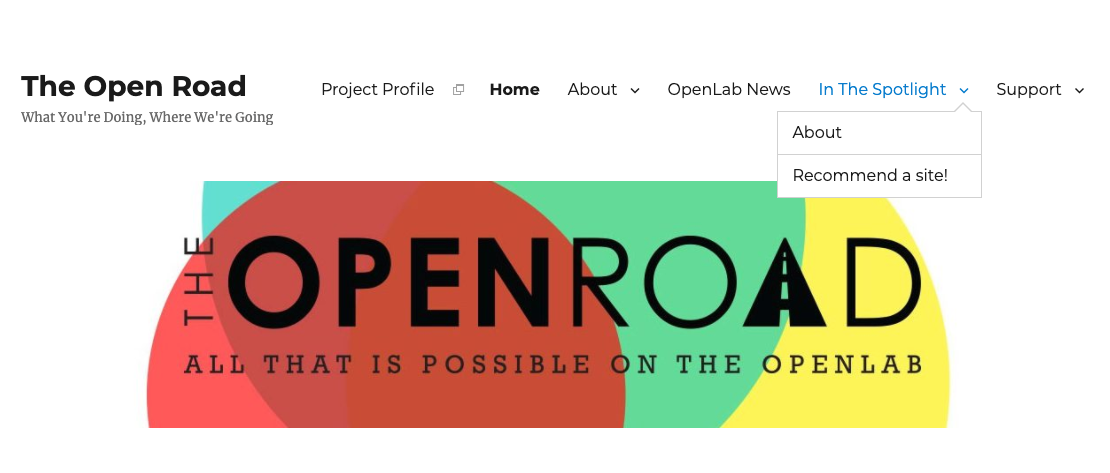
Changing your site’s header image is a quick and easy way to customize your site. A header image refers to the image that appears at the top of every page in many themes (see example below). Depending on your theme, however, the header image will appear differently.
1. To change your site’s header, you need to navigate to the Dashboard and select Header under Appearance.

2. Pay attention to the image size recommendations that are stated.

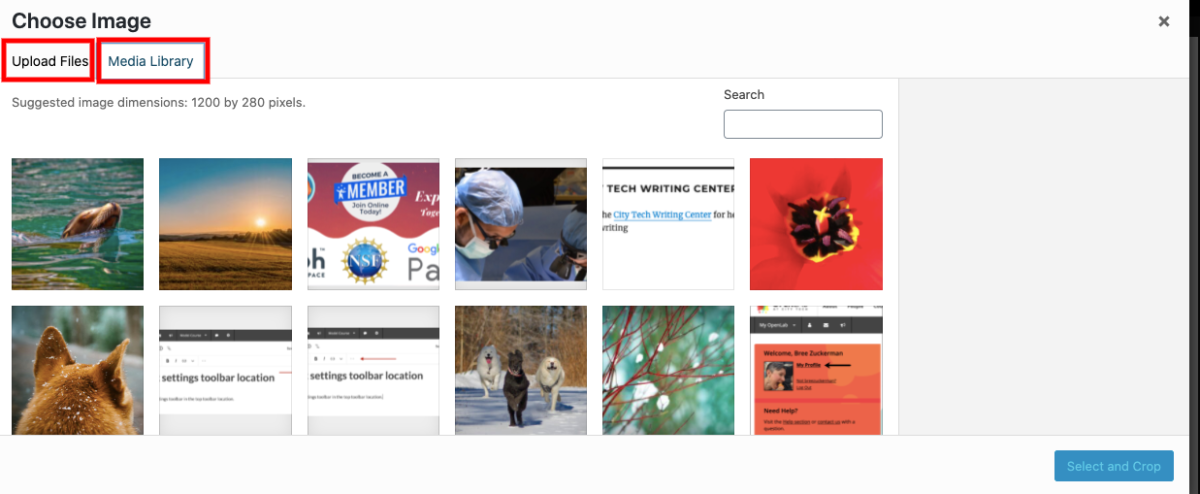
3. To upload an image to use, click Add new image. Click Upload Files to find an image from your computer or go to Media Library and Select and Crop if you already have an image in your media library you want to use.
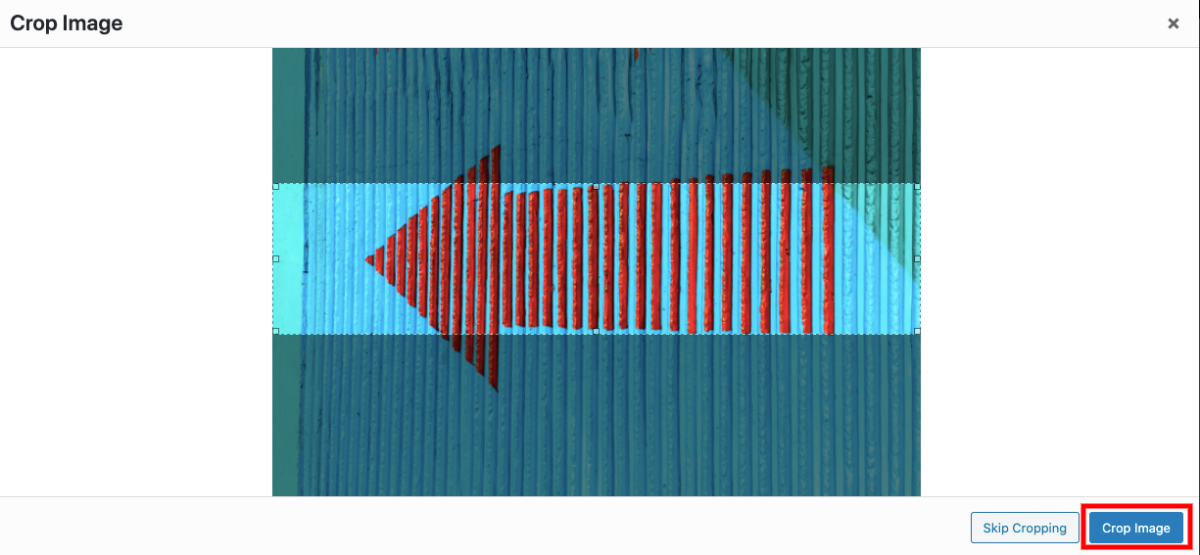
4. Once you’ve chosen an image, you’ll be given the chance to crop it. Move the cropping window around to choose the section of the image you want to use. Some themes allow you to make the area to be cropped bigger, but remember that means that the image will be bigger on your page. When you’re finished, click Crop Image.
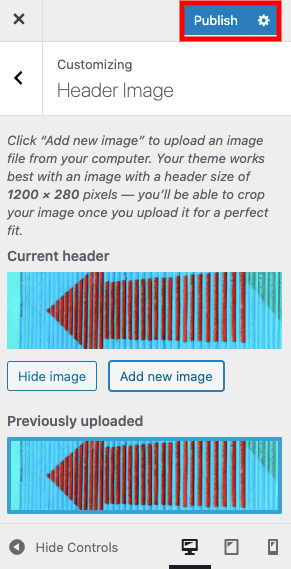
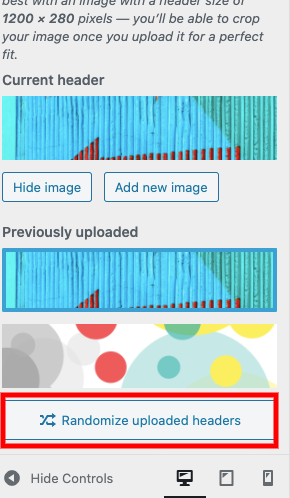
5. If you upload multiple images, you can choose between these on this same page. In addition you can choose Randomize uploaded headers as an option. This will rotate all of your header images at random so that each time someone visits your site a different image will appear.
6. When you’ve decided on your new header image, click Publish at the top of the left-hand menu.