Project 1: Beverage Label Reboot

Overall Assignment:

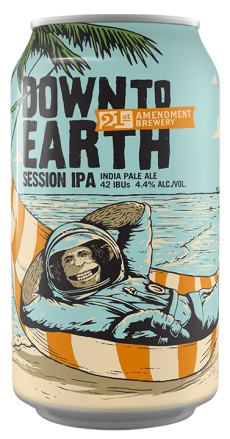
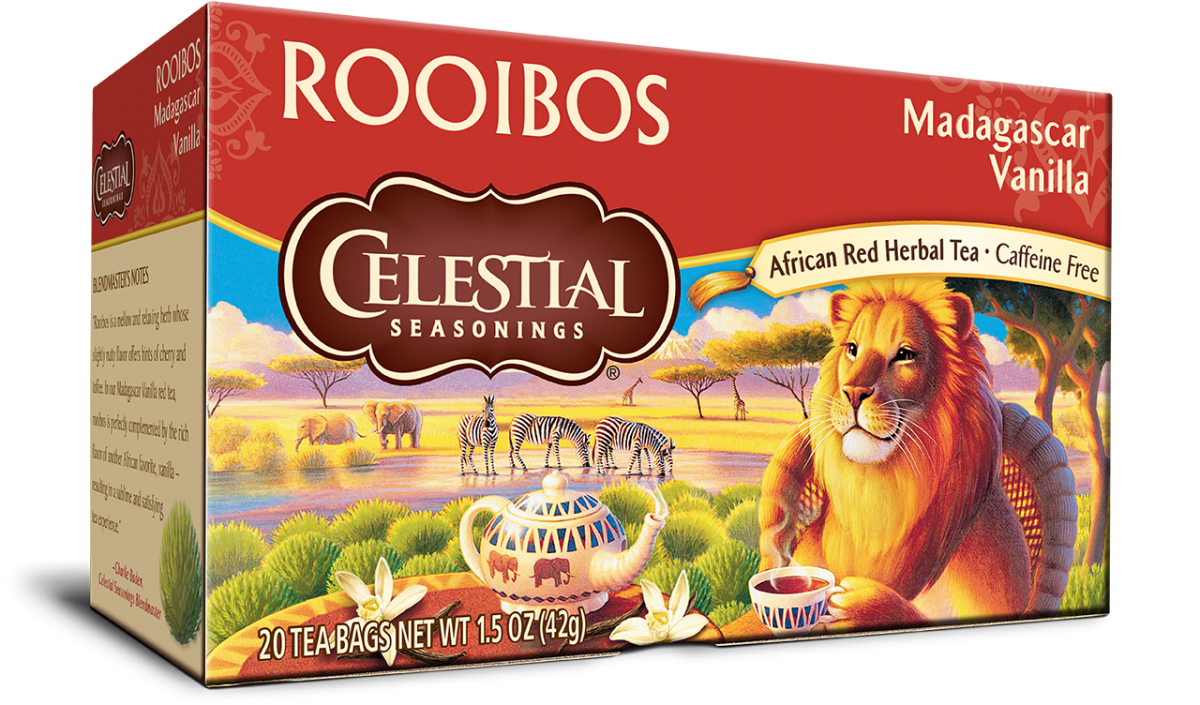
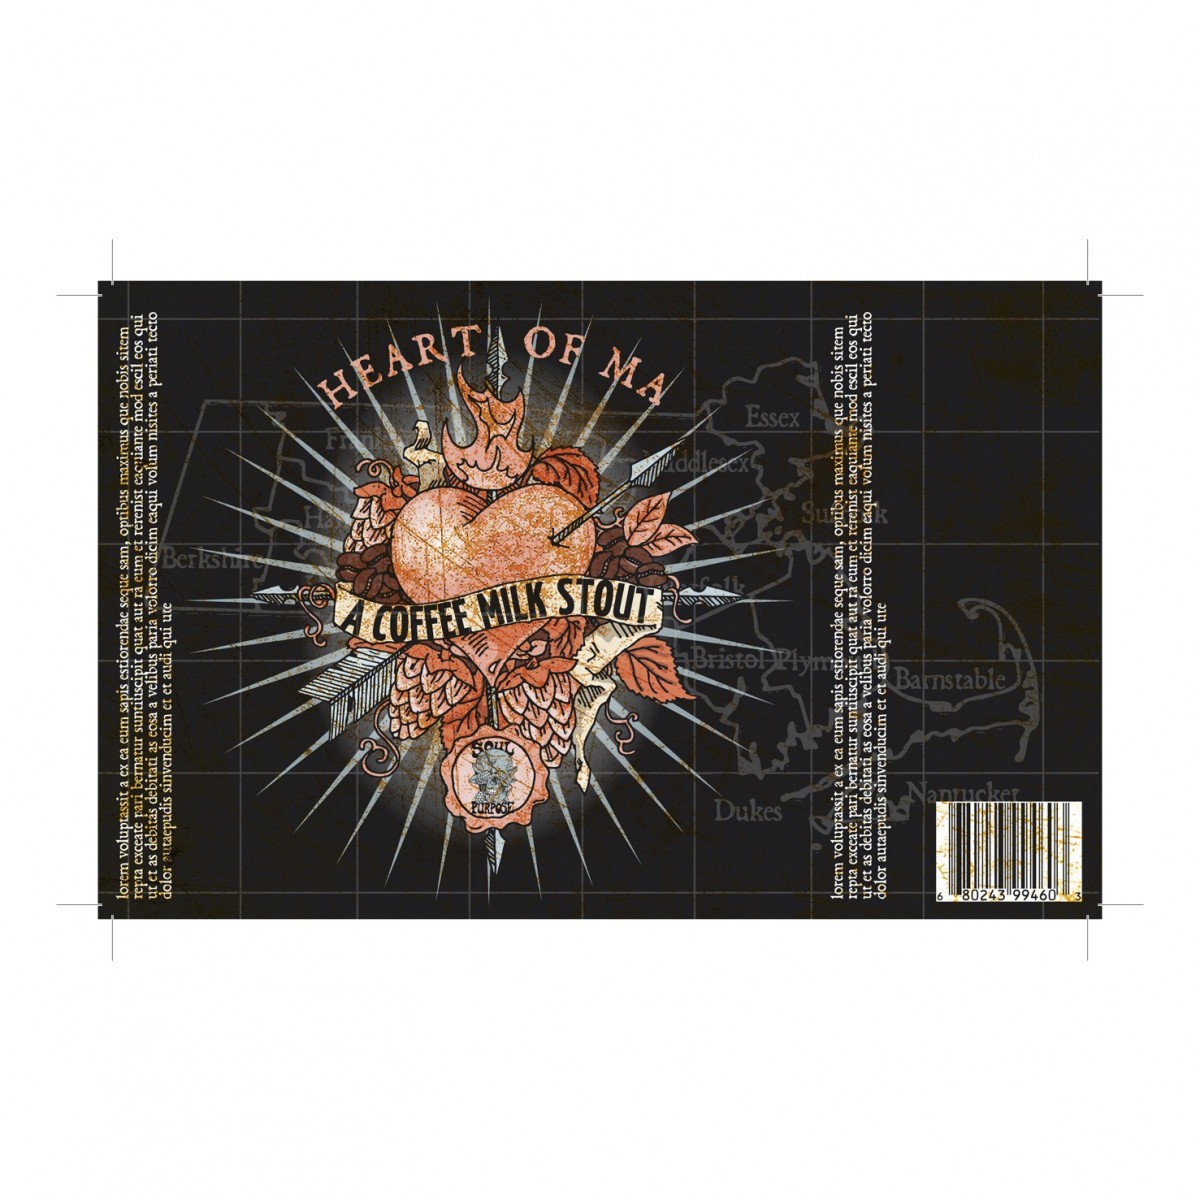
      • Choose an illustrated wrap around beer can or tea box.
      • Label will be a horizontal design:Illustration for a beverage label: You have been approached by a client to who wishes to redesign the packaging for an existing beverage label. You will identify your own client for this project.

5 inches high 6 inches wide for an aluminum can label wrap around label

4 inches high 6 inches wide for a tea box.

mint magic

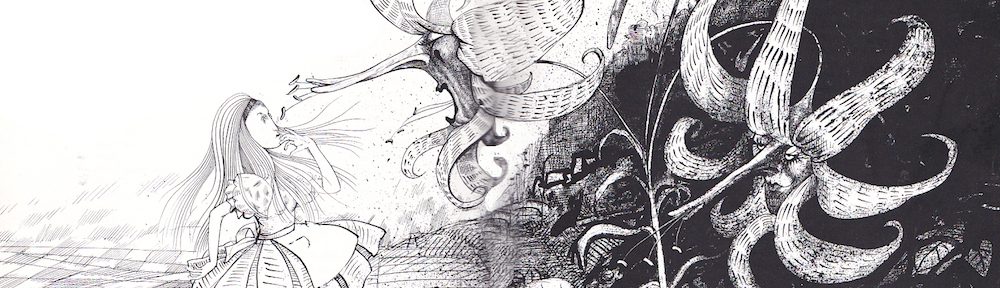
  • This is a primarily Illustrated label. Though text placement should be thoughtfully considered. If it is not hand drawn text and part of the art, then it should not be included in the final art.
  • FINAL Art is required to be Black and White only.
  • Students will be required to present the illustration alone, as well as a digital mock up, indicating space for text.


DUE NEXT WEEK:


PART 1: Generate MULTIPLE visual solutions for your client.

  • Research, Brainstorm, and Generate 4 Different Illustration Concepts.
  • Draw 5 at least thumbnails per concept, for a total of 20 Thumbnails.


Begin by identifying a client who’s label you would like to redesign.  Choose based on an inspiring name, NOT based on YOUR relationship with the product. Research the client and imagery suggested by the beverage, the brand or the name. Brainstorm in your sketchbooks based on research.

From your brainstorm identify at least 4 different concept directions their final illustration could go.  The more thorough your brainstorm, the better the final art will be. Explore these 4 different concepts through sketches related to their brainstorms in your sketchbooks.

You must also begin collecting visual imagery related to your concepts as well as inspirational images and reference images – organized them in a way that works for you.  You will need to compile them into a Blog Post about your working process, when you turn in the completed assignment.

IMPORTANT :

*Be sure to use a ruler to draw the frames for your thumbnails BEFORE you begin them.

*Be sure they are in proportion to the label you are designing.


Life Drawing in New York

Since we are in New York City artists have many options to improve their life drawing skills by drawing from a model outside of this class.  The only way to improve your drawing is to practice!  Practicing our craft is VITAL!  Take advantage of the resources in our city!


IN MANHATTAN:


The New York Society of Illustrators is an incredible resource for up and coming commercial artists.  The sketch night is a great way to get to know this institution.  Its lively with great models, live music, pro illustrators, and often comes with FOOD!  This one is wonderful and is the cheapest option I’ve found for students!


sketch11sept


IN BROOKLYN:


Shoestring Studio is a membership-based art studio serving painters, draftsmen, illustrators, and other artists in need of workspace, community, and shared resources. Their primary mission is to provide affordable, accessible workspace for artists in Crown Heights and the greater Brooklyn area.  They host figure drawing sessions several days per week at a very affordable rate.  You do not need to be a member to attend.  Be sure to ask about student discounts!


Hello & Welcome!

Welcome to Introduction to Illustration!  This course is a hands on introduction to the field of illustration. Our goal in this course will be to give you the professional tools used by illustrators working today as well as to cultivate your personal vision or voice as an illustrator.

On this site you will have access to materials presented in class, your weekly assignment pages, and additional helpful resources.  Here you will also post your images to share with your classmates.

Carefully read the directions in the UPLOADING INSTRUCTIONS POST on how to post to this site and to your ePortfolio.

— Happy Drawing!

Week 1 – John Hendrix, This is Culture.

Please Read John Hendrix, This is Culture.

THEN, RESPOND TO IT IN OUR DISCUSSION FORUM:

In a few sentences discuss the article.  Consider questions like:

What does Hendrix Define Illustration as?

What does he mean when he calls illustration a powerful, profound, and unpretentious shaper of our visual lives” ?  

Be sure to read eachother’s observations BEFORE posting your own.

Sketchbook Week One

This week’s sketchbook theme is… Meet the Artist!


Page 1: #meettheartist

Create a meet the artist page for yourself in your Sketchbook! Look on Instagram or fb for #meettheartist and then design one to introduce yourself.  You may use any media and style you feel is appropriate!  You may choose to include any information about yourself you wish.

Pages 2-4:  LOVES and HATES

Draw imagery based on your list of LOVES and HATES… FROM REFERENCE!

For example, LOVE CATS?  Fill a page with drawings based on photos of your furry friends.  HATE SPIDERS? … DRAW THEM TO HELP DEAL WITH YOUR LOATHING!

Post your drawings when complete along with a blurb introducing yourself and a PHOTO of your WORKSPACE.

GO TO: CLASS SITE

DASHBOARD > POSTS > ADD NEW >

Write your post. Add a Descriptive title.

Choose CATEGORY (bottom right side): Week 1 Sketches

PUBLISH

Uploading Instructions

Upload your Projects from this semester into your ePortfolio.  

Upload your Sketchbook from this semester in the Sketchbook Category on this site.

Be sure to give the artwork a title.  On our class site, write brief descriptions of the drawings, and be sure to reference the drawings’ titles.  Your descriptions should include what you feel the aim of each drawing was, what you learned from making it, and what was challenging to do.  Of course you may write other comments as well. For instance, you may ask questions for other students to answers.

How to Post to our class: On this class site, go to Post located on the left > Give your drawing a title in the subject line like this: Assignment 1, thumbnail drawings: “Evil Urges” > Write a brief description of the drawing in the Comments space > Just above your title click on the Add Media icon (it looks like a camera on top of a music note) and browse for your file > Click Insert > Click Drawings in the list of Categories on the right > Click Publish at the top right.

Your description should include what you feel the aim of the drawing was, what you learned from making it, and what was challenging to do.  Of course you may include other thoughts as well.

How to Post to your ePortfolio:  Go to Dashboard > New Page > Pages > Add New > Locate “Parent” in the Page Attributes > choose “Academics” from the pull-down menu. In the Title area of your ePortfolio, be sure to write the name of our class (Foundation Drawing) or our course code (COMD1103).  Also be sure to Publish, and invite me to join your ePortfolio.  In settings, be sure to state either “Public” or “Private>visible to City Tech members.”  Otherwise no one will be able to see what you’ve posted.

To take the photo, find a spot with even light so that you will have no shadows or strange light gradations across the drawing.  Frame the drawing so there is a small even frame on all sides.  Optimize the file, or reduce it to 72 dpi, with a file size no more than 1MB (about 8-9 inches on one side). Rotate it if necessary to it uploads right-side-up. If you have access to any photo-correcting program, see if you can increase the contrast so that delicate drawing lines are visible.