Class Info
- Date: Thursday, October 19, 2023
- Meeting Info: In person, Pearl 116, 8:30 to 11:00am, followed by Professor’s office hours from 11:00am to noon in Pearl 116.
NOTE: Bring paints, acrylics, watercolors, gouache, markers, photographs etc. to next class (Tuesday, October 24, 2023)
Topics
Essentially, LOTS OF WORK IN CLASS TODAY.
Because we have reached the middle of the term, I’ll let you know how you’re doing (Pass, Fail, Borderline.
Also, below are some Recaps:
- Remember that topics and instructions for each lesson are posted on the OpenLab for that day’s class. (The class on OpenLab is updated the day before class). In class and after the class, review the material. That way, you’ll have a sense of step-by-step instructions.
- Review of some Principles of Typography. This will be useful as we are now at the middle of the semester.
- SERIF: Old Style, Transitional, Modern, Slab Serif. SANS SERIF: Humanist, Geometric, Transitional. DISPLAY. NOVELTY. See Classification PDF from Class 3.
- Ascender, Descender, X-height, Counter, Capline.
- Flushed Left, Flushed Right, Centered, Justified, Force Justified.
- Tracking, Kerning.
- Overset Text.
- How to Package a File.
- Type on a Path, Touch Type Tool, Pathfinder Tool
- Use of margin if NOT printing (which means there is not a concern about material getting lost if either spiral bound or stapled (the latter is also know as saddle-stitched) vs. margin for binding. See below.
- Packaging an InDesign File.
Digital/view on Screen vs. Print.
Digital:
Print:
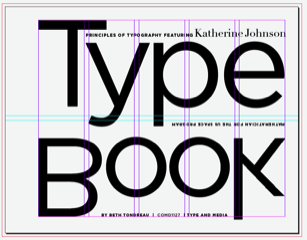
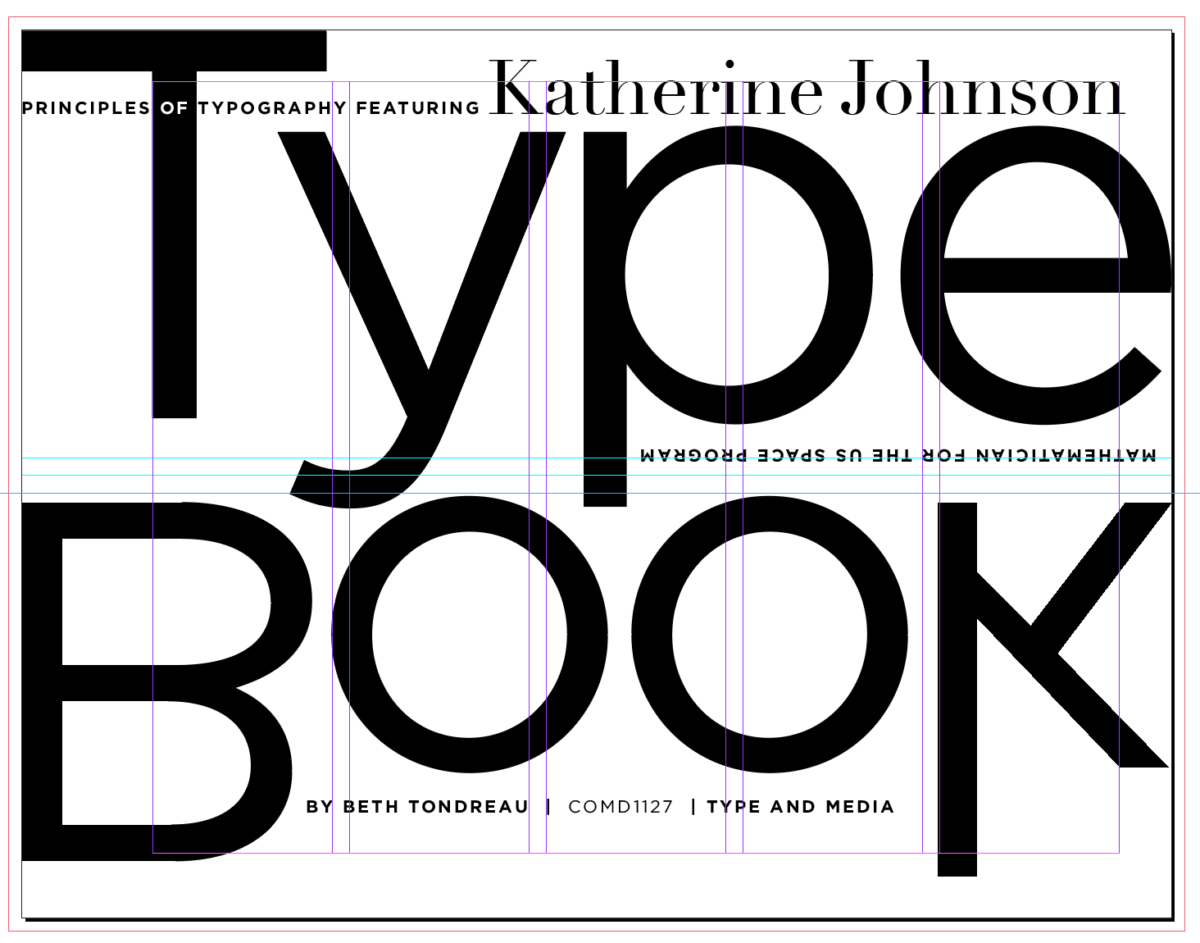
In this example, grid lines are visible to get the point across.
Print without guides showing. Note the wide 1-inch margin on the left, which affords space for binding (spiral or stapled or other):

Shown in class: print out of Type Book, with two versions of page 1 (Title Page)—i.e. one for a digital/screen version and one for print.
Class 15. Topics Continued
(THE PLAN TO DO A LOT OF WORK IN CLASS TODAY)
- Expressive Typography using a typeface.
- Expressive Typography NOT using a typeface, but rather doing your own lettering and/or constructing letters.
- CONTINUE with Lettering and Word Experimentation. Continue to develop solutions.
Approaches to Expressive Type NOT devised with an existing typeface:
There are some other examples in Dropbox.
Objectives
- Review some principles of typography.
- Continue to understand the difference between Expressive Typography created with a typeface as opposed to Expressive Typography created BY HAND and then made digital.
Activities (One in class; one to continue after class)
- Type Challenge: Warp Text and Text Outline in Illustrator.
- Expressive Type (Sketches done. In work: method of devising digitally).
Activity 1. Type Challenge During Class:
Continue to explore the IllustratorTools
WARP text and Offset Path (outline)
In-class Activity 1. Instruction 1.
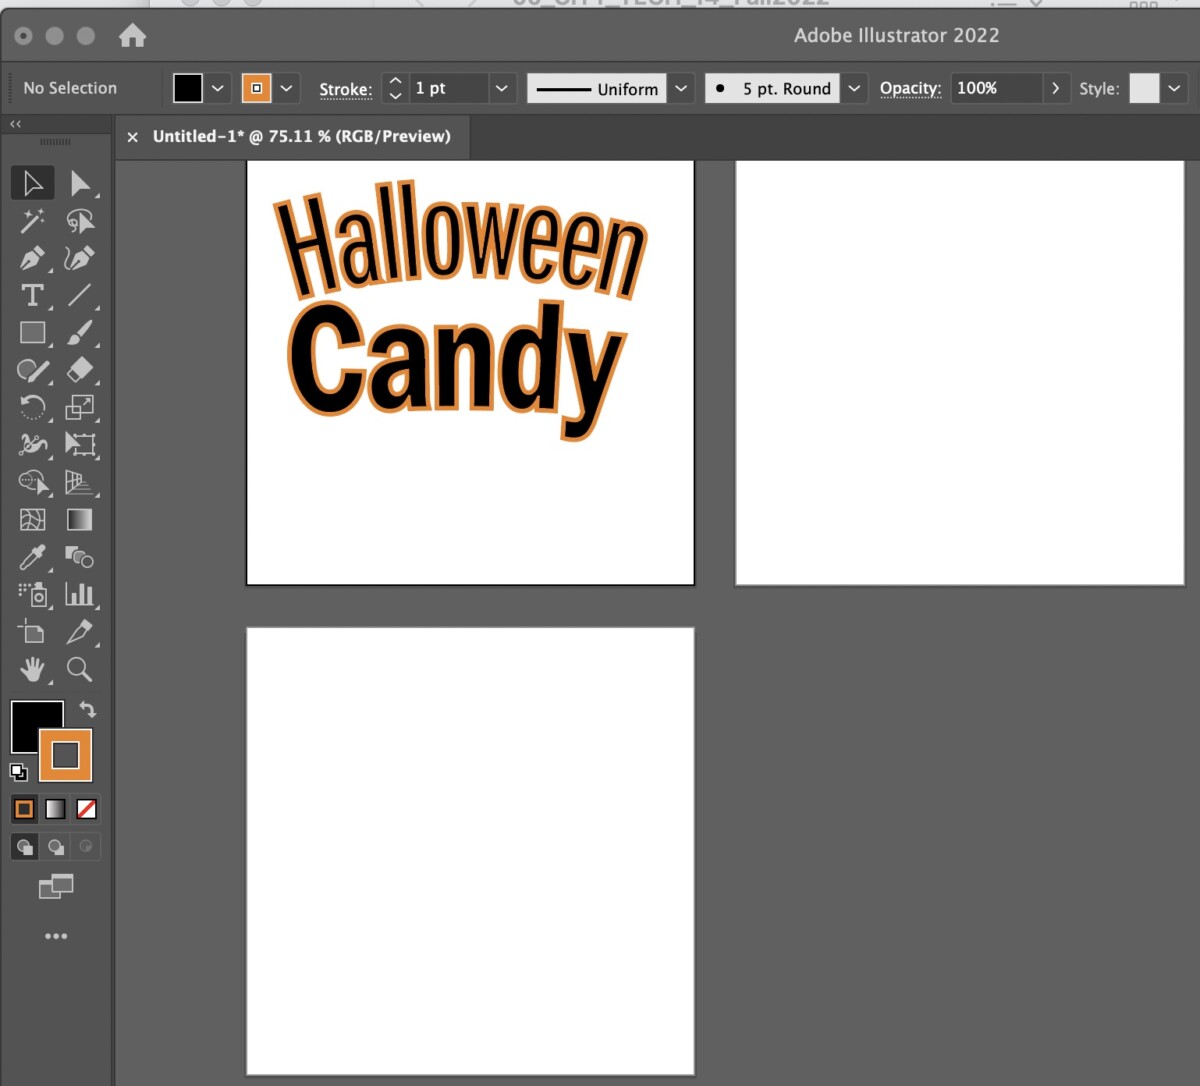
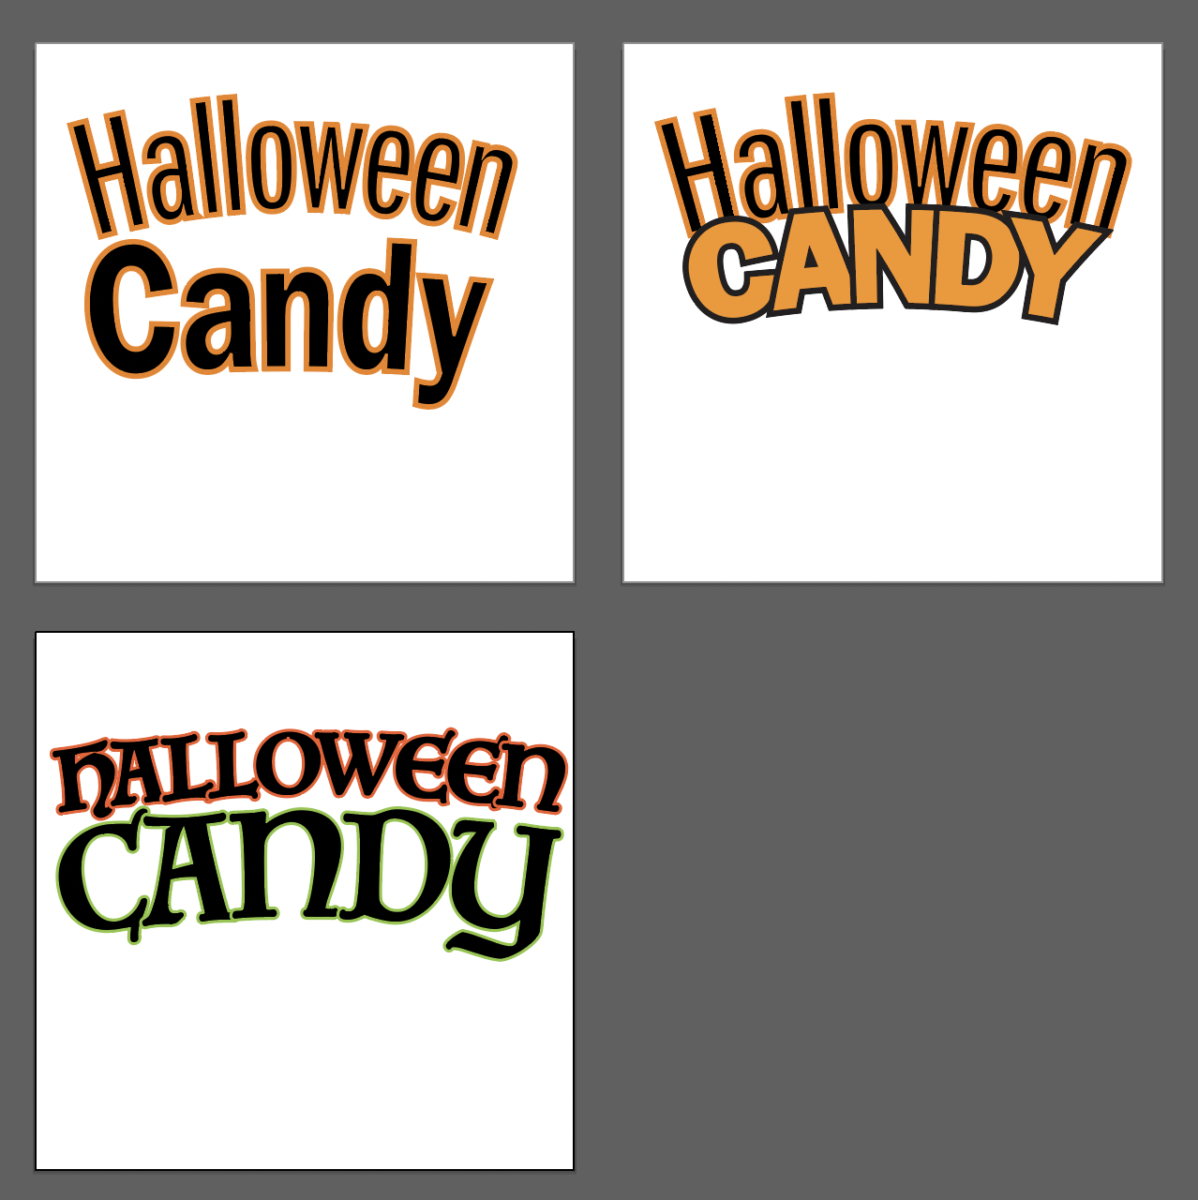
- In Illustrator, create a document 3 x 3 inches square with 3 artboards.
- Select 2 words that go together.
- Examples: Ice cream and cake OR cheese and crackers OR shoes and socks OR Halloween and fright (or Halloween and candy).
In-class Activity 1. Instruction 2.
- Explore the warp tool in Illustrator, and make the words connect (stacked) with the ARC UPPER and ARC LOWER tool
- Create an OFFSET PATH
- Try a few variations.
- Save your page in Illustrator.
- Then FILE> EXPORT AS > JPG
In-class Activity 1. Instruction 3.
- Create a new post named “Last name_ TC_warp_path_101923.jpg”
- Use the categories:
“Student Post” and “Student Post Type Challenge” - Insert jpg INTO your post.
STEP-BY-STEP FOLLOWS.
Below is how to do it:
STEP-BY-STEP.

WHEN done- OBJECT> ENVELOPE DISTORT> EXPAND.
For OFFSET PATH> OBJECT>PATH>OFFSET PATH select specific measurements.
The example below gives another example of EXPLORATION (as opposed to a final design). Of course, read and follow the steps above and become familiar with the tools. Feel free to explore!
Also explore the Warp/Offset options from Class 09.
Activity 2. (Really our first activity today). WORK IN CLASS. Do in class. Continue after Class
Before you do the Type Challenge, Finish and refine Expressive Typography and Continue Lettering assignments for Project 2. We are at Project 2, step 2.
Assignment / Continue After Class
(i.e. continue Activity 2)
- Show Progress on your Expressive Type—the type you’ve chosen for your Lettering. Again, you’re working on a word that reflects your favorite food, or holiday, or activity.
- Upload your progress on your Lettering. It will be sketch form/rough. Your work for Tuesday October 24th must be different from what you had in class today. (This is different from the Type Challenge you did in class.)
- Lastname_progress_Proj2_lettering_101923
- Upload a PDF or JPG to Dropbox.
+
Remember to continue any last edits four words with expressive typeface in preparation for final presentations and file submissions (FINAL submission for Project 2 is Class 19, Nov. 8 and PRESENTATION is Class 20, Nov. 10).
NOTE: Bring paints, acrylics, watercolors, gouache, markers, photographs etc. to next class (Tuesday, October 24, 2023)
________________
Project 02—Expressive and Hand-Lettered Typography. Steps:
Part 1. Expressive. Out of the words you chose, devise 4 words with a typeface. Sans Serif. Black & White.
Part 2. More Playful. Lettering. Your favorite food etc., sketched and then completed. We are in the middle of Part 2.
Part 3. Explore Typographic Solutions with 3D (using words from Part 1).
Part 4. Explore typographic placement on a mockup.
_______________________________________________________________________
Grading Note:
Project 2: Steps/ progress not done by due dates (-15 per step)
Upload to Dropbox as instructed.
_______________________________________________________________________
Graphic Assignments are always due the day before class at 8:00 pm, and must be uploaded to the Class Dropbox in the folder for the class (unless indicated otherwise). Assignments uploaded during class on the day they are due are marked with minus 1. Late assignements = -3pts. for each day late.
Participation Activities (Scavenger Hunts, Type Talks and Type Challenges) are due during class or the day before class and posted to OpenLab by at 8:00pm unless otherwise instructed.
____________________________________________________________
APPENDIX
(that is, Extras, or stuff added at the end of the normal plan for the day):
Attendance record WITHOUT grades or marks (The “x” marks future final grades). Absences and Lates affect grades, not to mention participation and comprehension of content.
Print this page


Leave a Reply