Class Info
- Date: Tuesday, November 8, 2022 (Election Day)
- Meeting Info: In person, Pearl 116, 8:30 to 11:00am, followed by Professor’s office hours from 11:00am to noon in Pearl 116.
Topics
- Review File Submissions to clean up and prepare to submit
- Below is repeated information
- Some students may present Project 01 for the first time.
- Project 2 PreCheck due Today in preparation for Presentation of Project 02 in Class 20 on Thursday, Nov.10.
- Two Activities: Type Talk and Type Challenge
Activities
There are three activities. The first is the most important. It’s refining and finishing your Project 02 presentation.
- 1. Project 02 Presentation = Review Presentation pre-Check, refine, and complete “Presentation.” Once you have refined your Presentation, do the next two activities (Type Talk and Type Challenge).
- 2. Type Talk. Appropriateness of Typefaces.
- 3. Type Challenge. “I Voted” sticker.
- Activity 1. Project 02.
If you haven’t already set up your document, follow the Step-by-Step instructions below the Type Talk and Type Challenge. If you have set up your presentation document, do Activity 2 and Activity 3.
- Activity 2. Type Talk.
- Your Type Talk goes into STUDENT POSTS > TYPE TALK.
Name your post: lastname_TT_suitability_legibility
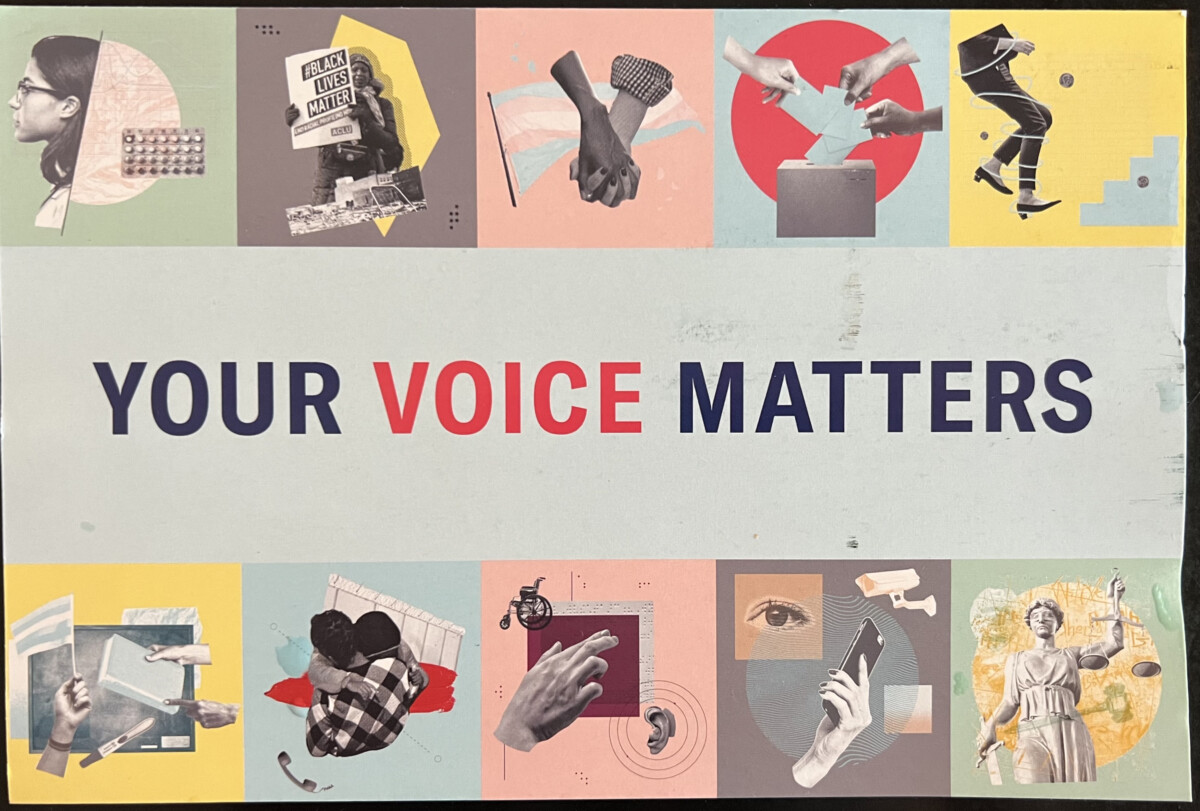
For each of the three examples below, discuss:
- A. What is the classification of the main typeface used?
- B. If different weights are used, what do they achieve? Are they confusing? Elucidating? Busy?
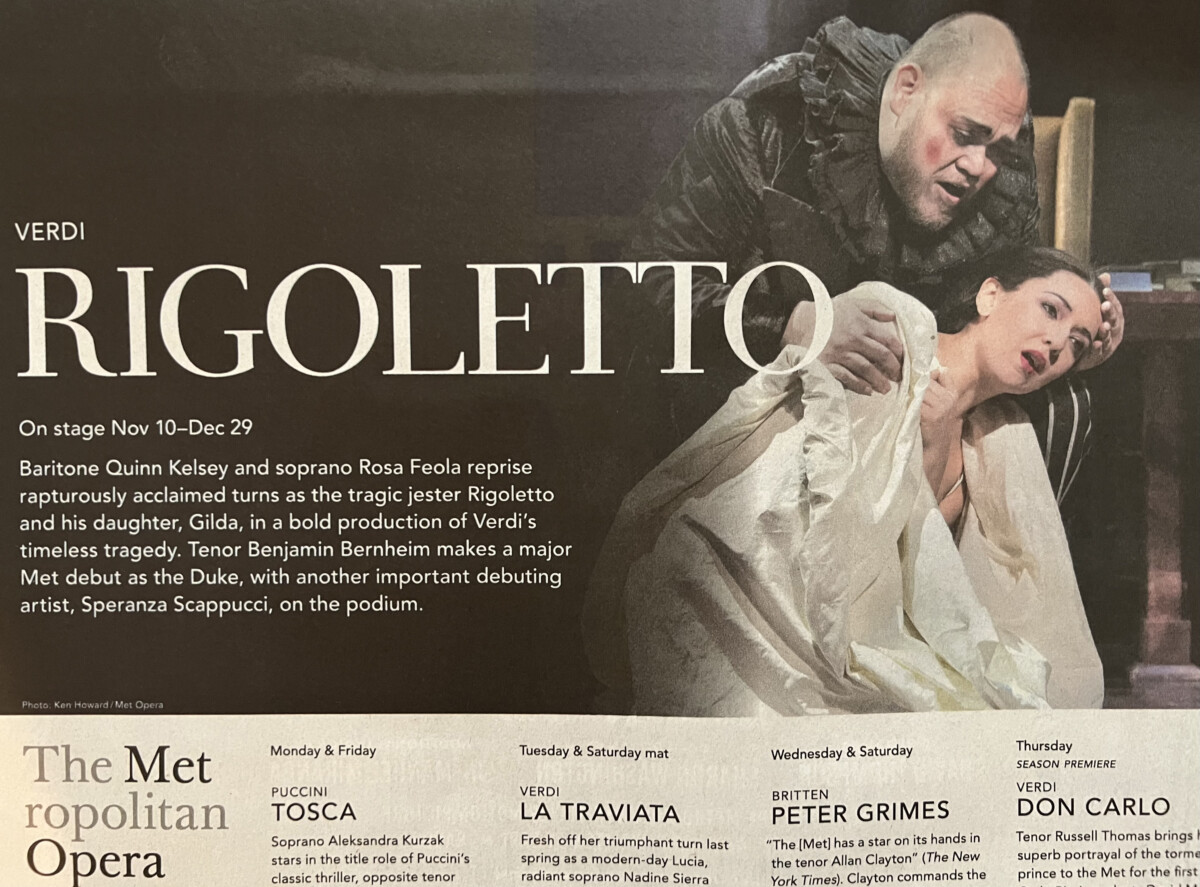
- C. Is the typeface appropriate to the material? How would the pieces (Examples 2 and 3 are ads) work if the typefaces were different? (or if the typeface used for “Rigoletto” were used for “Top Dog/Underdog” and vice versa.
- D. How do the backgrounds work with the type? Is there enough contrast between the type and the background color or color and texture?


Remember: Your Type Talk goes into STUDENT POSTS > TYPE TALK.
Name your post: lastname_TT_110822
____________________________
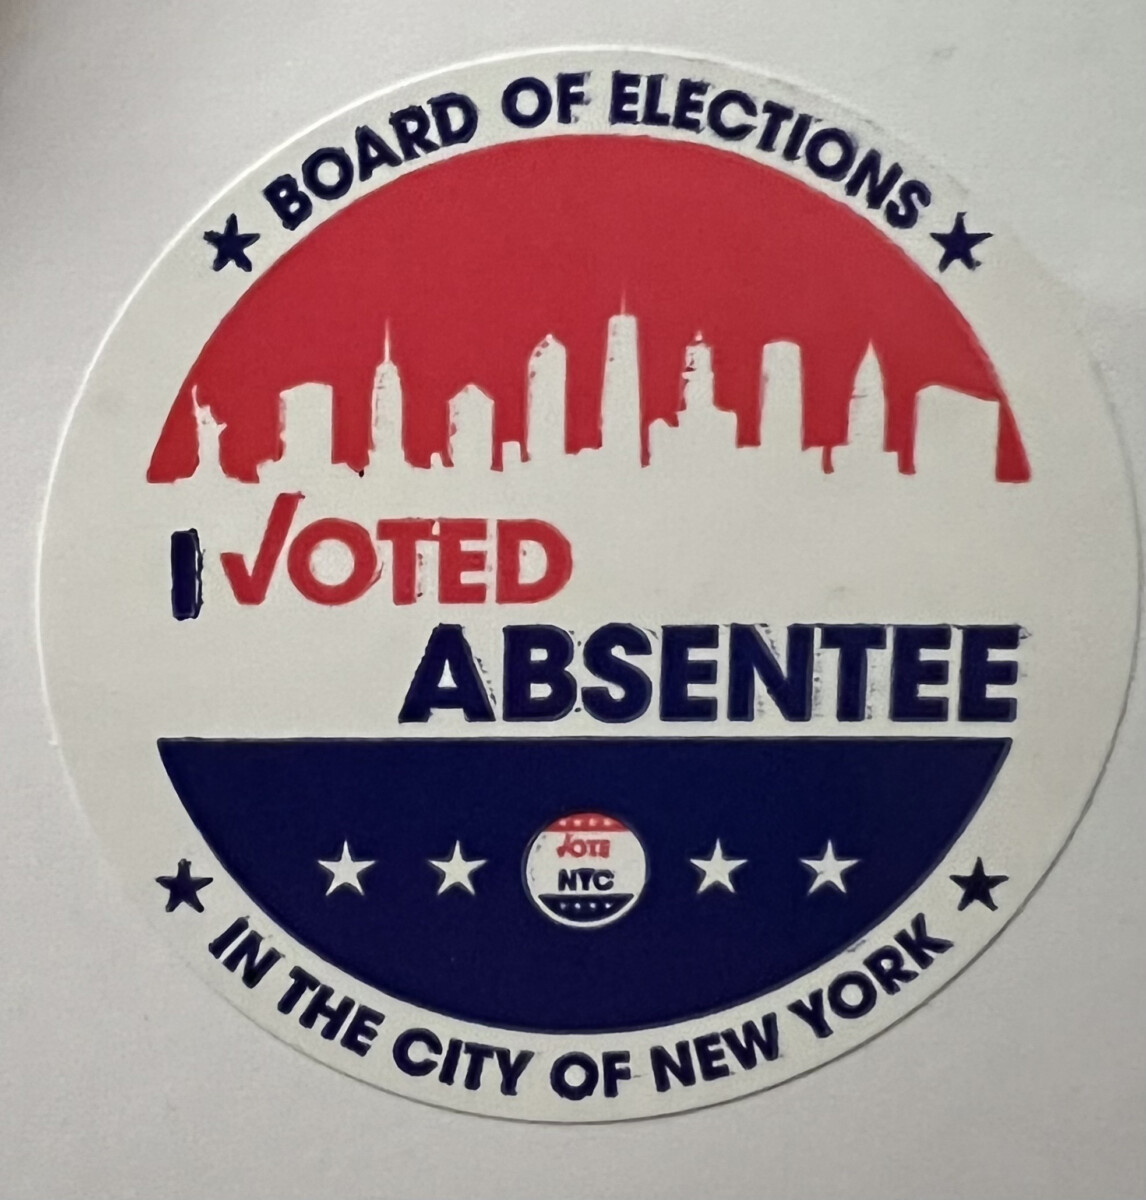
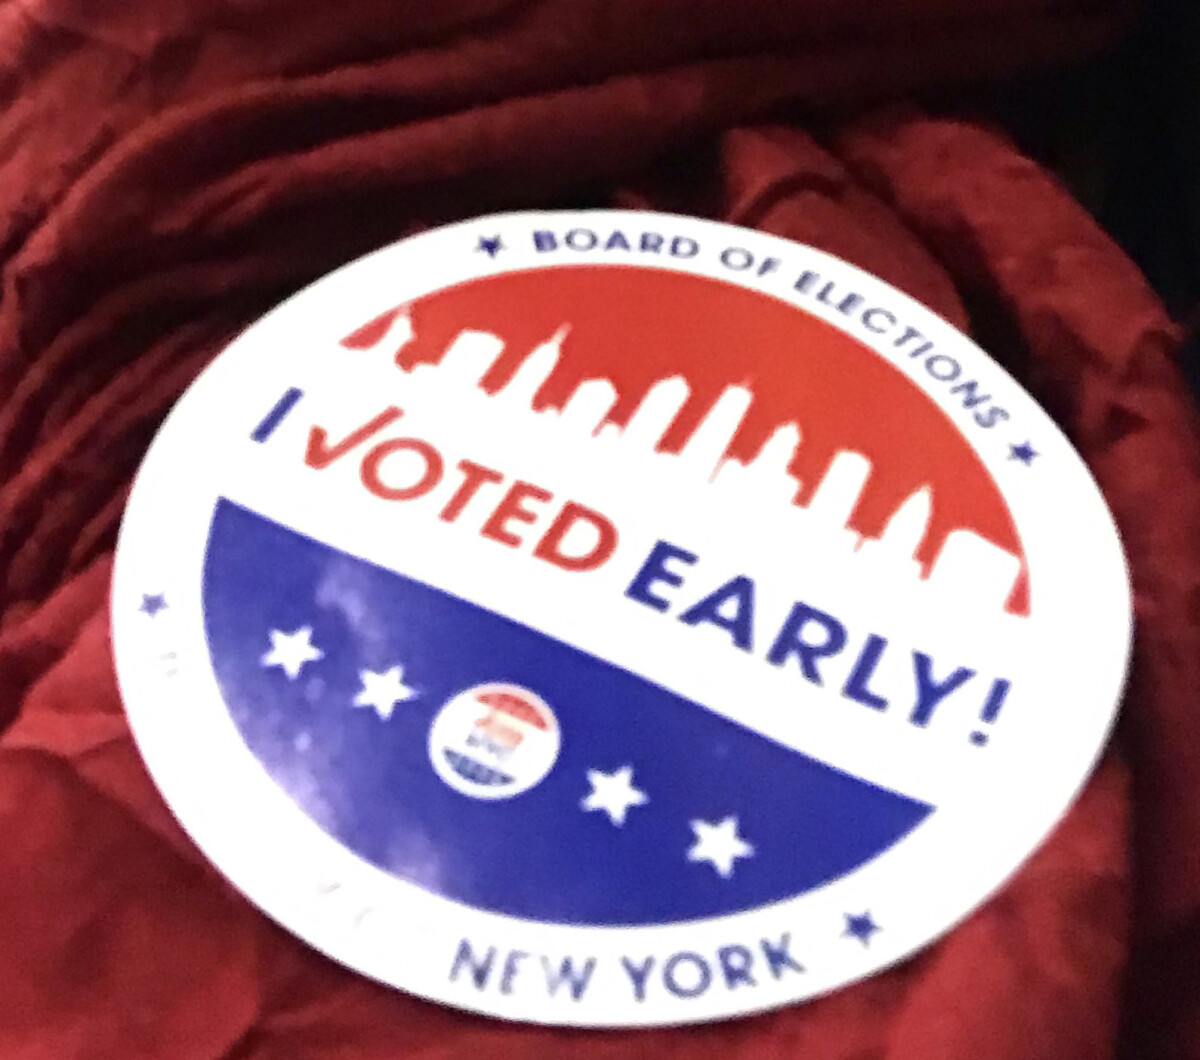
- Activity 3. Type Challenge. I VOTED STICKER.
- Devise a circular “I VOTED” sticker.
- Size: 2″ in circumference.
- You must use the slogan “I Voted” but you can use any other colors and text you wish.
- Type on a path or in a circle is OK.
- Use either InDesign or Illustrator.
- Some reference.
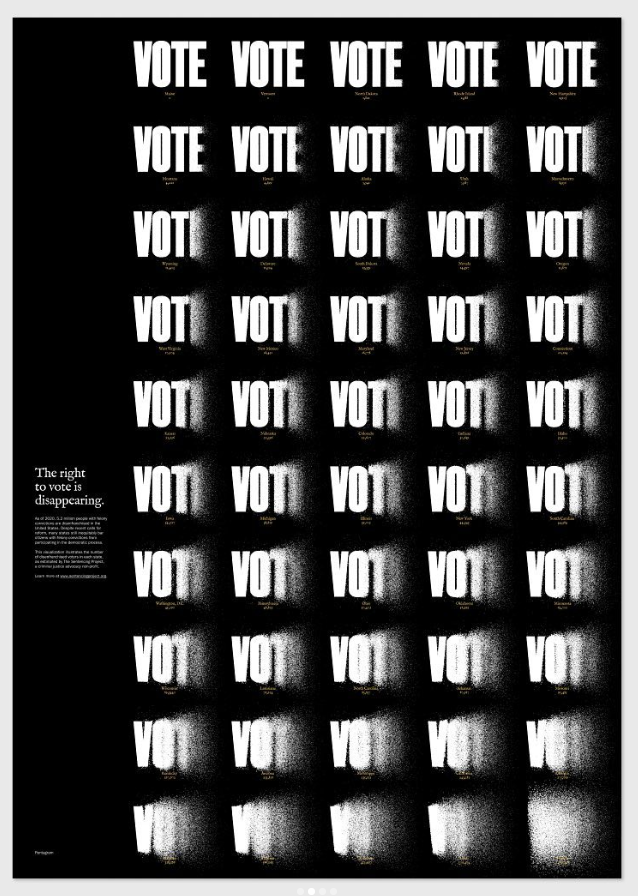
- See the Instagram post in the link below (also mentioned in Class 18) touting Pentagram’s “I Voted” stickers, designed at the invitation of Fast Company magazine. There is also a case study on the Pentagram website. Notice the use of two different classifications of type—the Sans Serif for “VOTE” (even the instances of the word VOTE” that explode due to disenfranchisement).
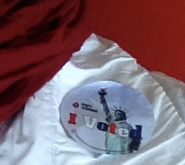
- Also see the other stickers that were designed and discussed years ago.
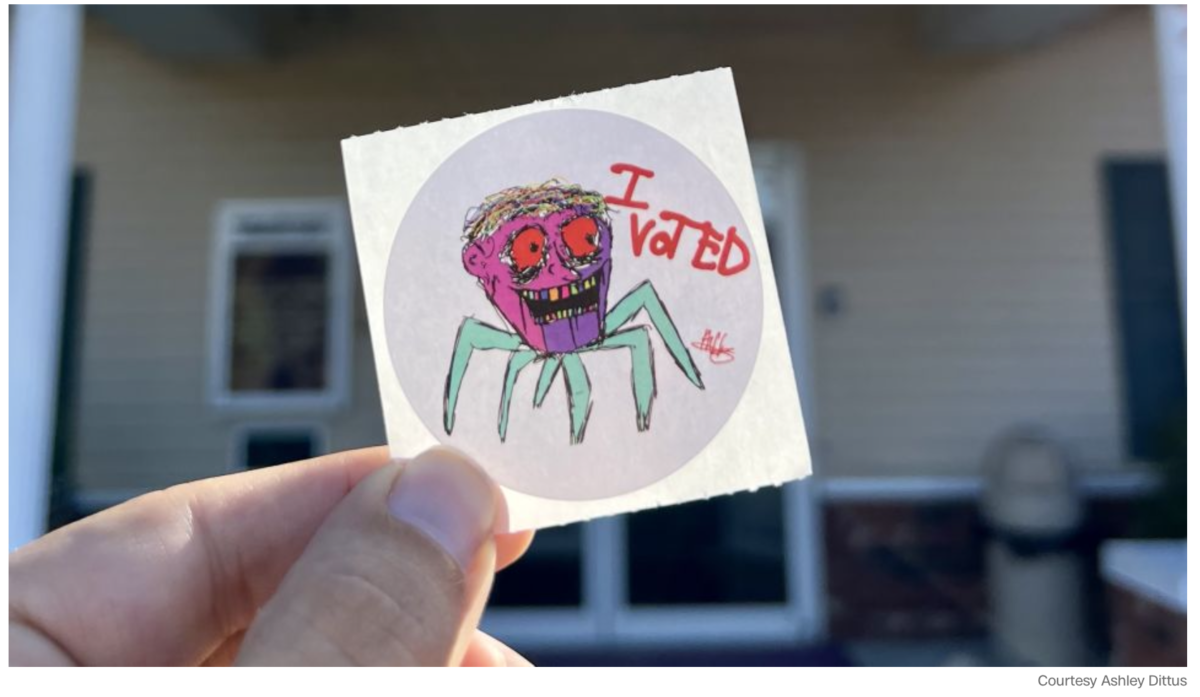
- Ulster County even uses a wacky one.
- Sketch, then design. Upload your sticker to TYPE CHALLENGE. So, it’s Student Posts > Type Challenge. Save as: lastname_TC_VotedSticker_110822.
_________________________________________________________________________________________
For those who are still completing Project 02, know that Presentation work must be complete by the end of today and uploaded to Dropbox by Wednesday evening, Nov. 9. Project 02 is 10% of your grade.
- REVIEW OF Overview of Presentation Specs
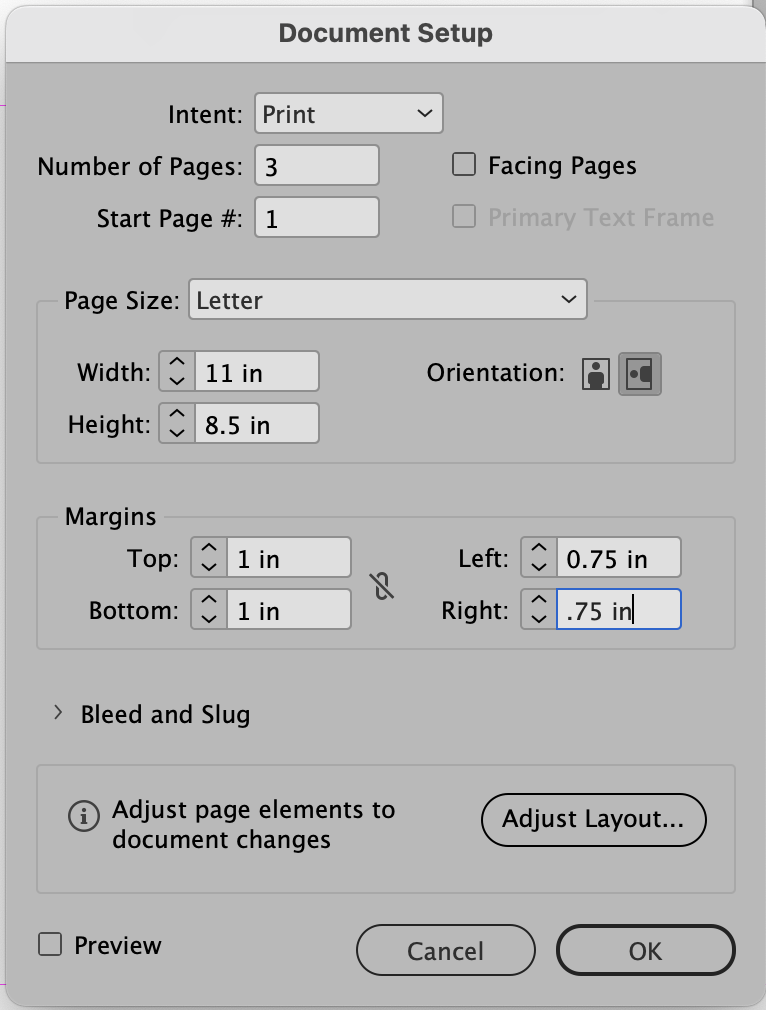
- Create an InDesign document to size of 11 x 8.5 inches
- 3 page document
- Landscape
- NO facing pages
Margins: - 1″ top and bottom margins
- .75 left and right margins
- See below for additional measurements
- Once your document is completed, you will set up the following pages:
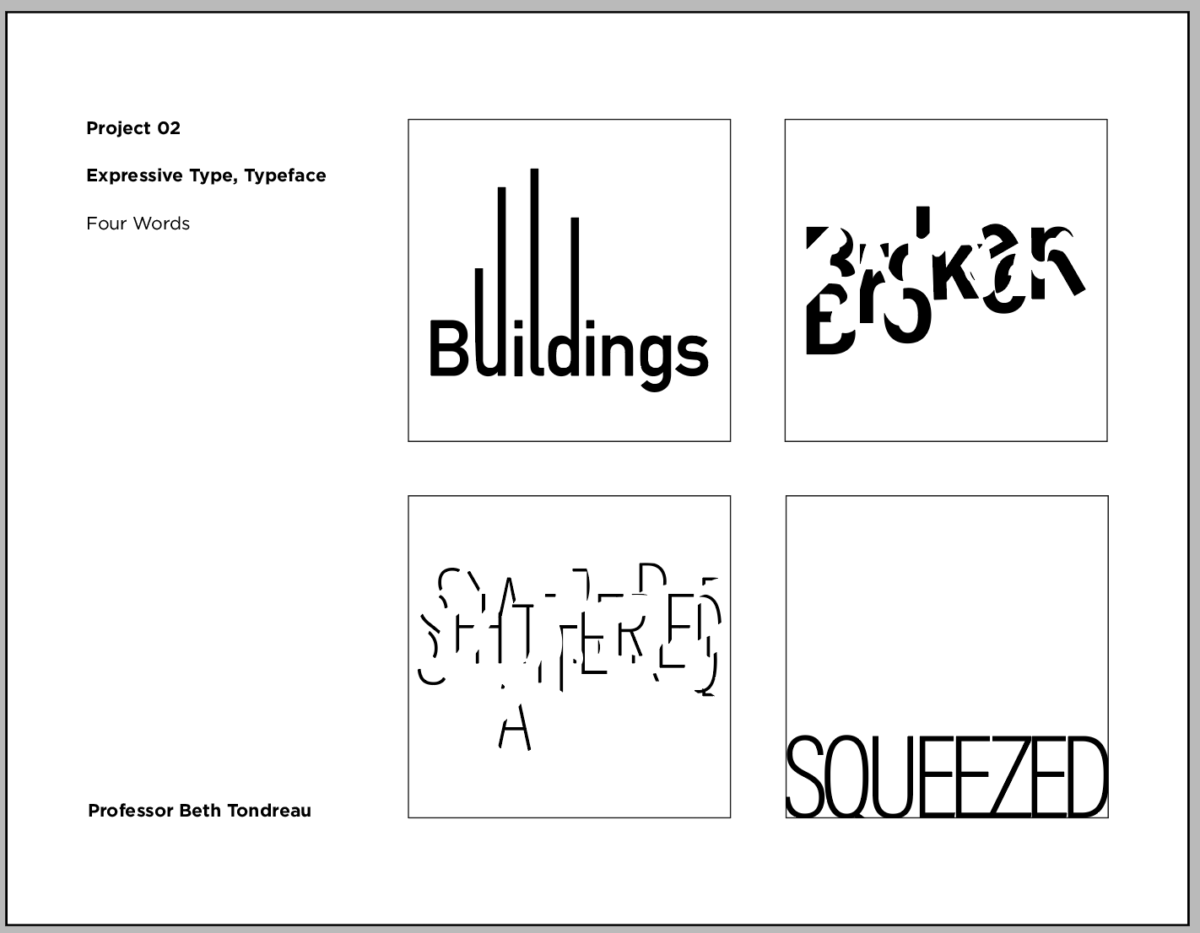
- Page 1: Place the final design of your four words (Expressive Type)
- Page 2: Place at least three images of your process (sketches and process
- Page 3: Place the final design of the Lettering assignment
- Save your InDesign File,
- then File> Export as a PDF
- name: Save as: “lastname_Project02_precheck_110322″ (this is done on 11.03.22 for 11.08.22)
- Place PDF in DROPBOX
BELOW IS A Repeated STEP-BY-STEP. Most of you have done this.
Set up your document.
- 11 inches wide.
- 8.5 inches high. 1 inch margins top and bottom.
- .75″ margins left and right.
Make sure to have 3 pages:
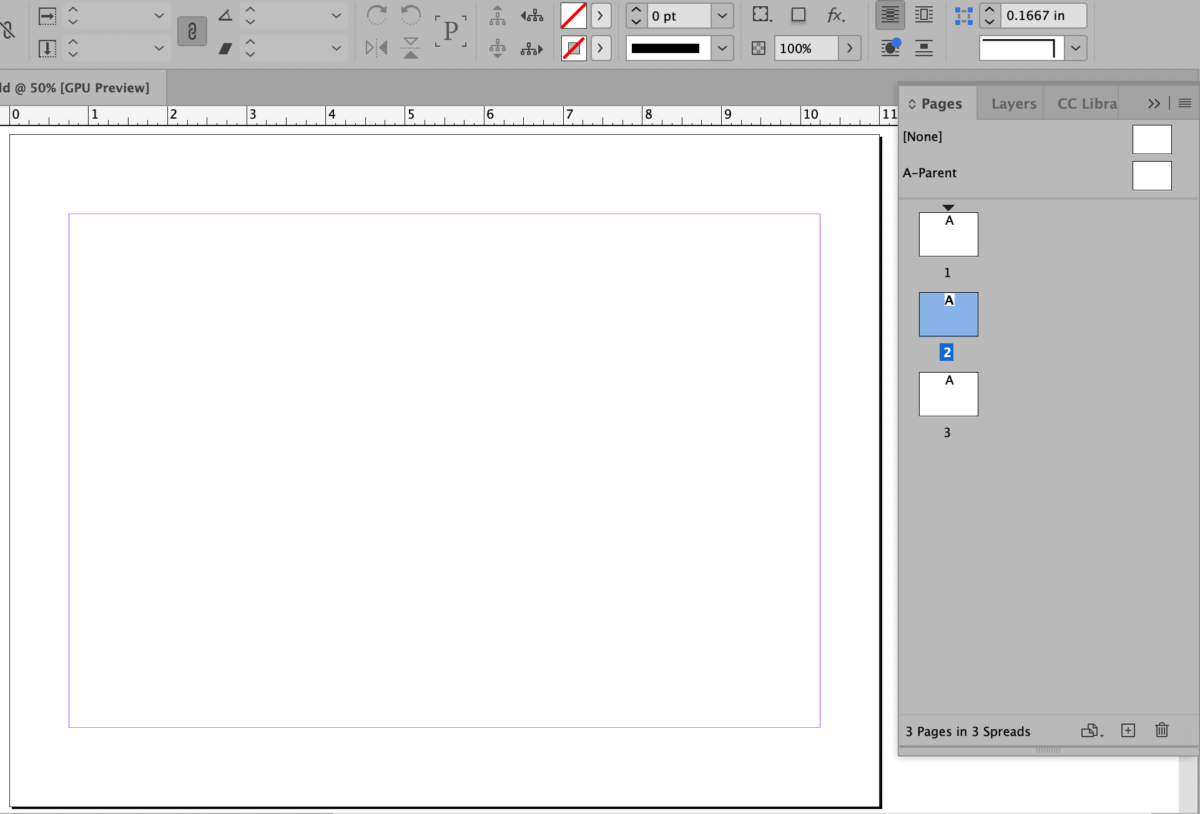
In PARENT PAGE, Add heading and footer with your name. See caption.
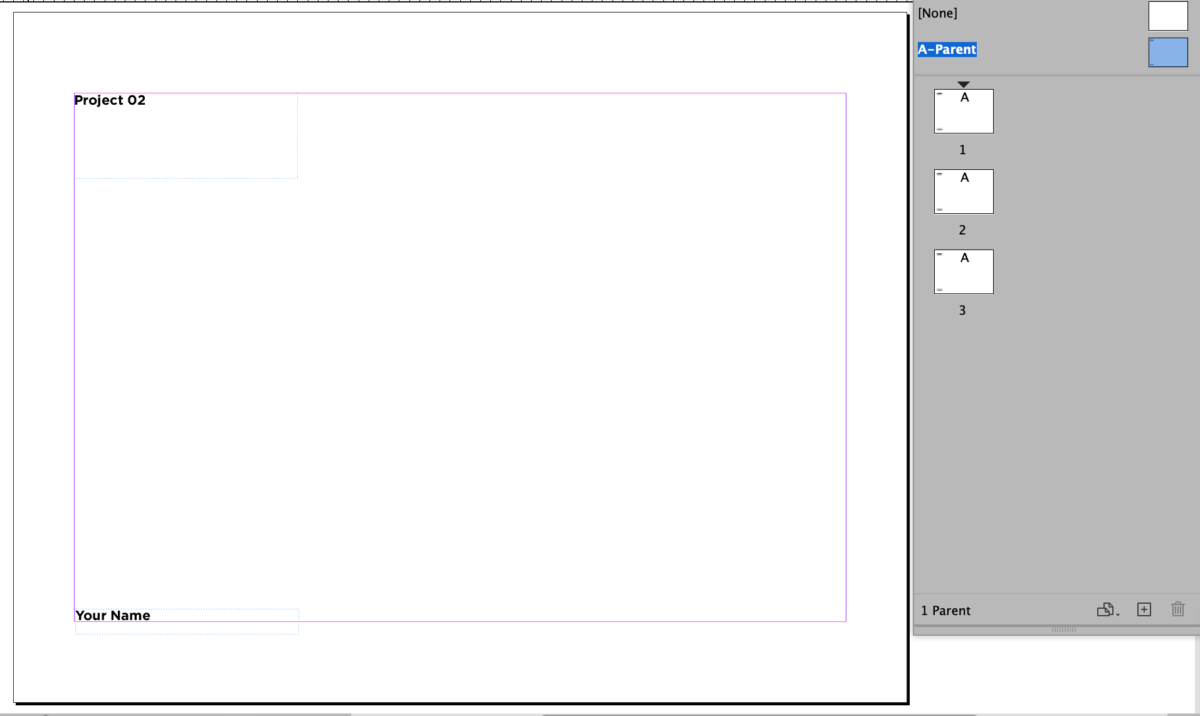
NOTE: PARENT Pages used to be called “Master” Pages, so if I say “Master,” know that the nomenclature has changed.
In your child pages, insert subheadings.
NOTE: to unlock the text box created in the Parent Page, use the COMMAND and SHIFT keys simultaneously.
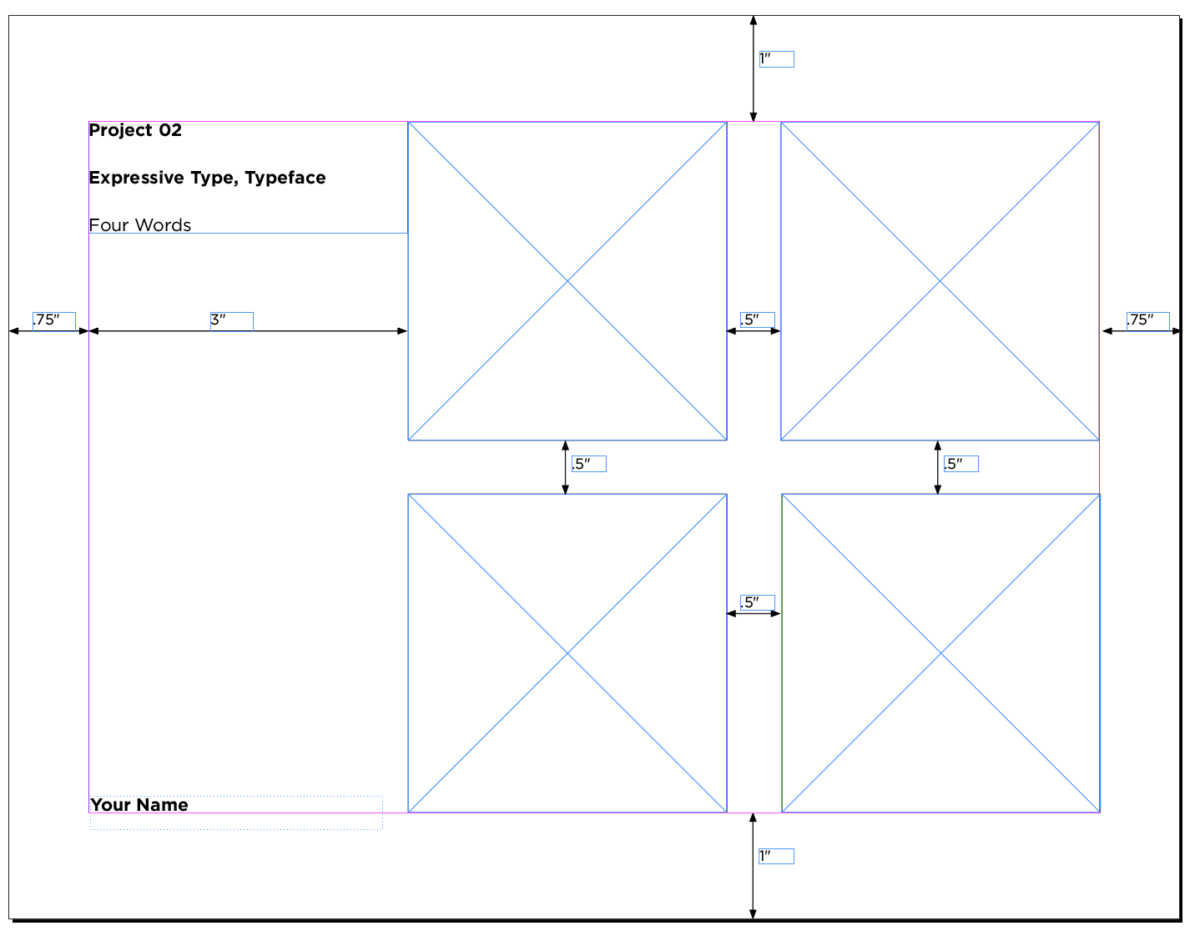
Page 1
Your first page will have your 4 words. These were done in Illustrator, and must be placed on your first page. For your first page only, follow the margins for the 4 picture boxes. Including a .5pt frame, each of the four picture boxes will be 3 inches square. See below.
Page 2
Follow below for headings. You can determine the layout of your sketches. Show three to four sketches for your Expressive Type done with original lettering.

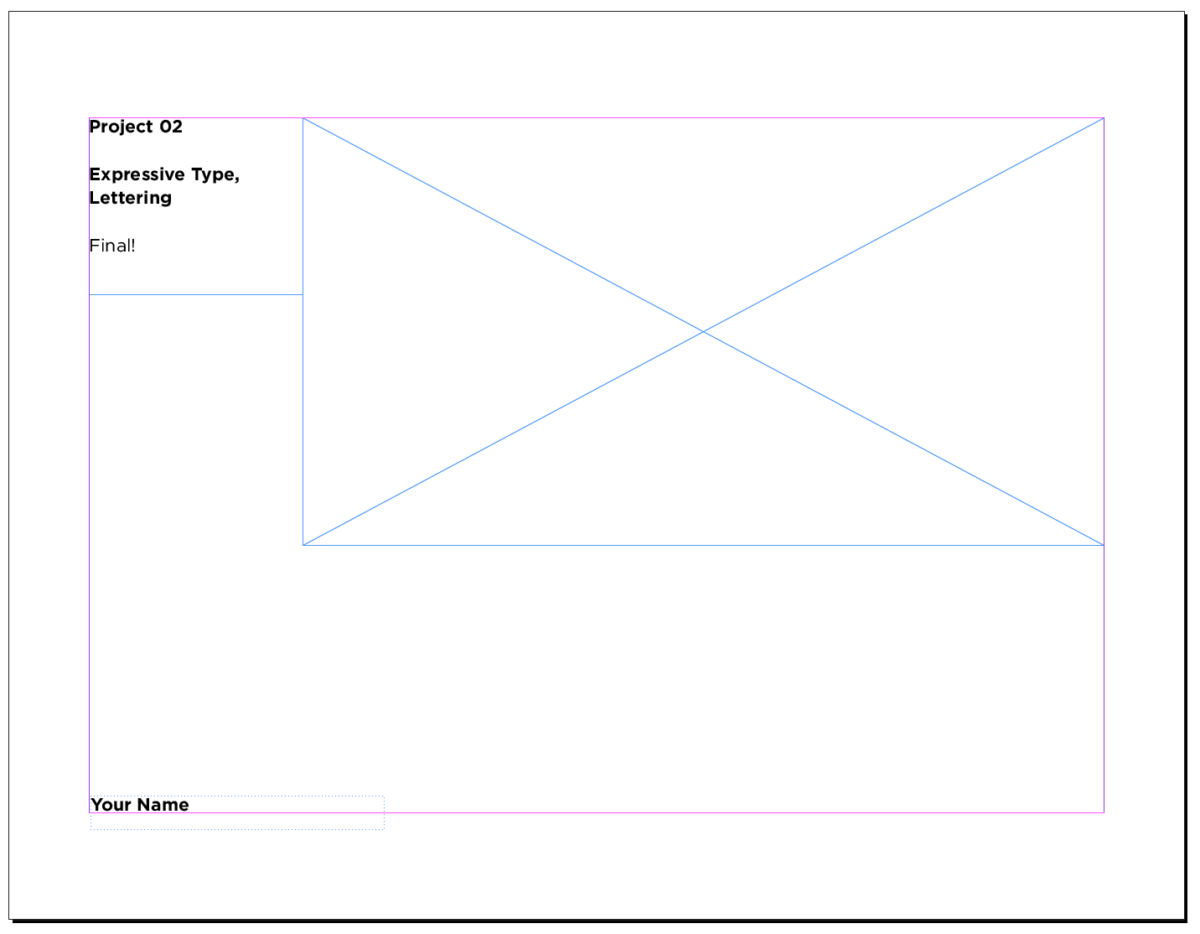
Page 3
Follow below for headings. Include your original lettering! Lettering can be 7.5 inches wide x 4 inches high.
Recap re: 4 words
- Since now we are going to place our 4 words from Illustrator into InDesign. It is best to have them as PDFs (not as jpegs). jpegs are pixel-based and don’t have as clear a resolution.
- Go back to Illustrator. Find the file with your 4 words, remove the borders if you have them. Save your Illustrator FILE
- GO TO FILE>SAVE AS. Under FORMAT SELECT PDF > then Use Artboards>range: 1-4
- This will give you 1 pdf file with 4 pages

Return to InDesign
Go to File >Place.
Alternatively, you can click on your picture box and use the keyboard command of Command D.

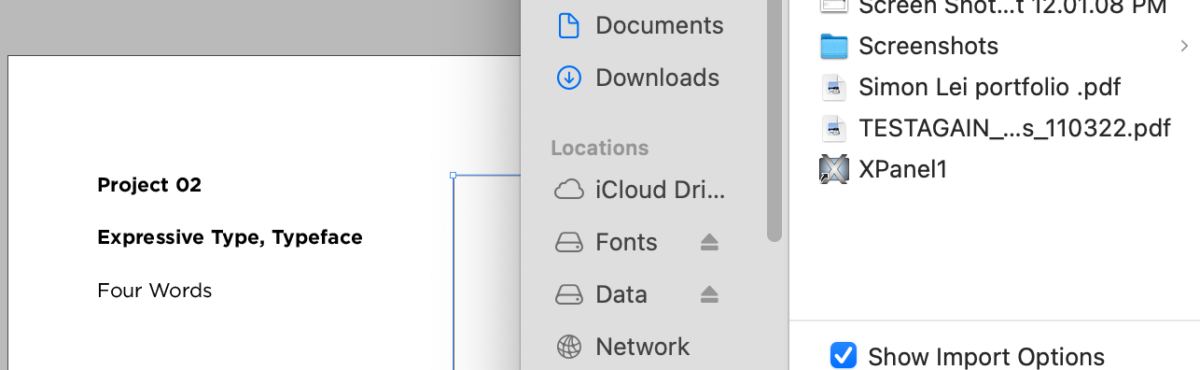
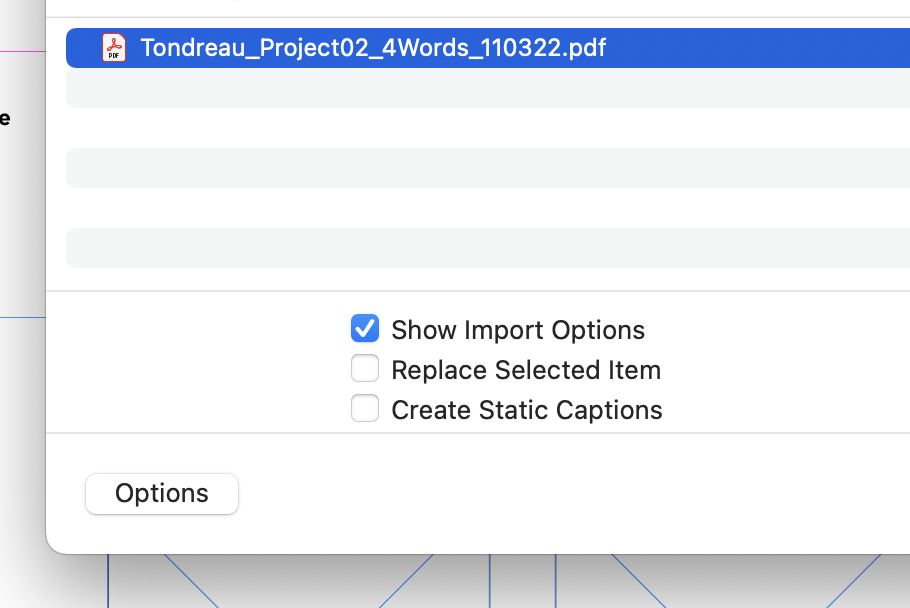
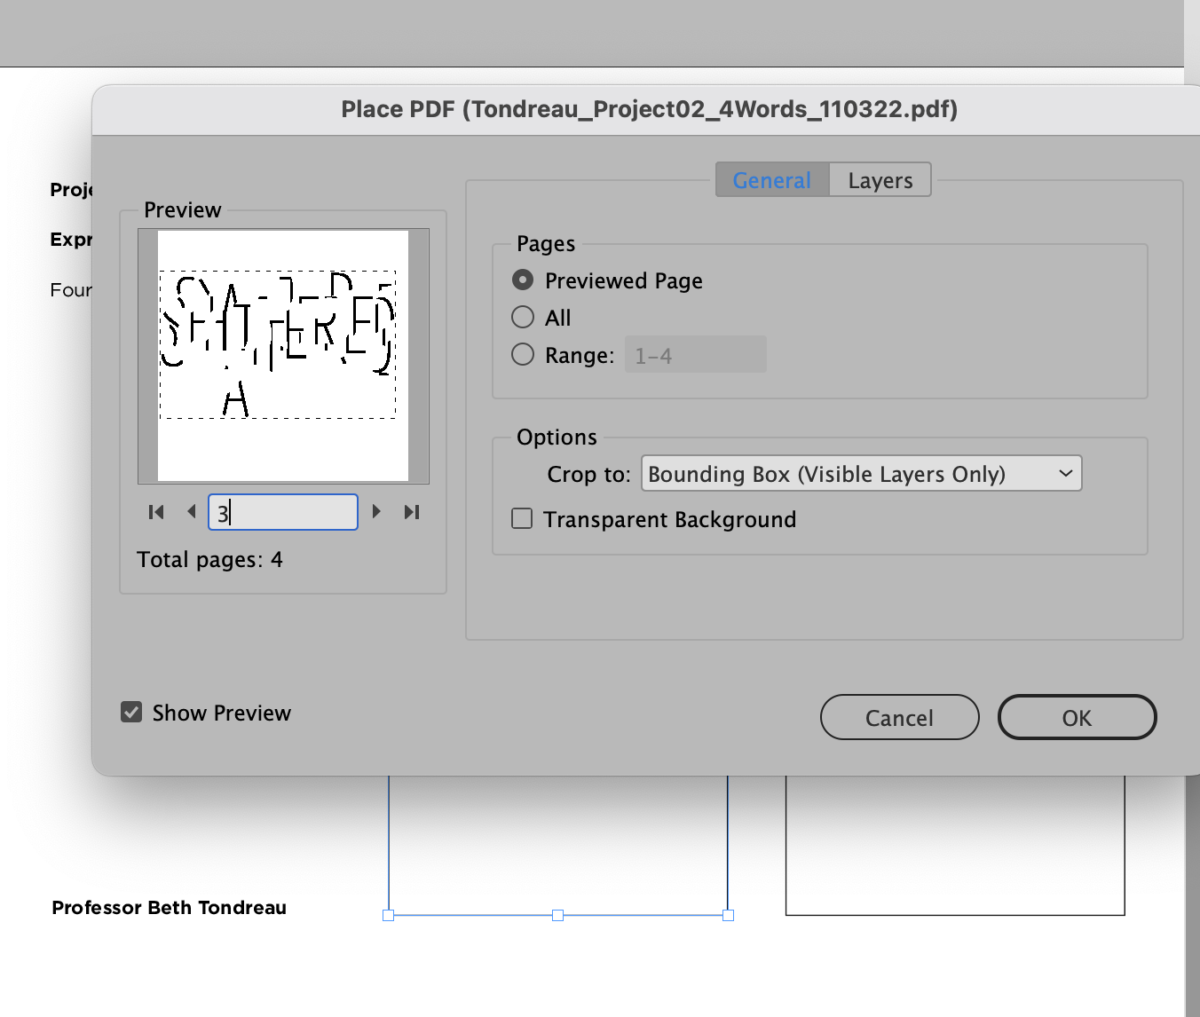
Make sure to check “Show Import Options” when starting to place. That way, you’ll get the option to choose which page you’re pulling into InDesign.
To get the option to insert pages individually, check “Show Import Options.”
This is from the mac in P-116.
This is from Professor Beth’s laptop.
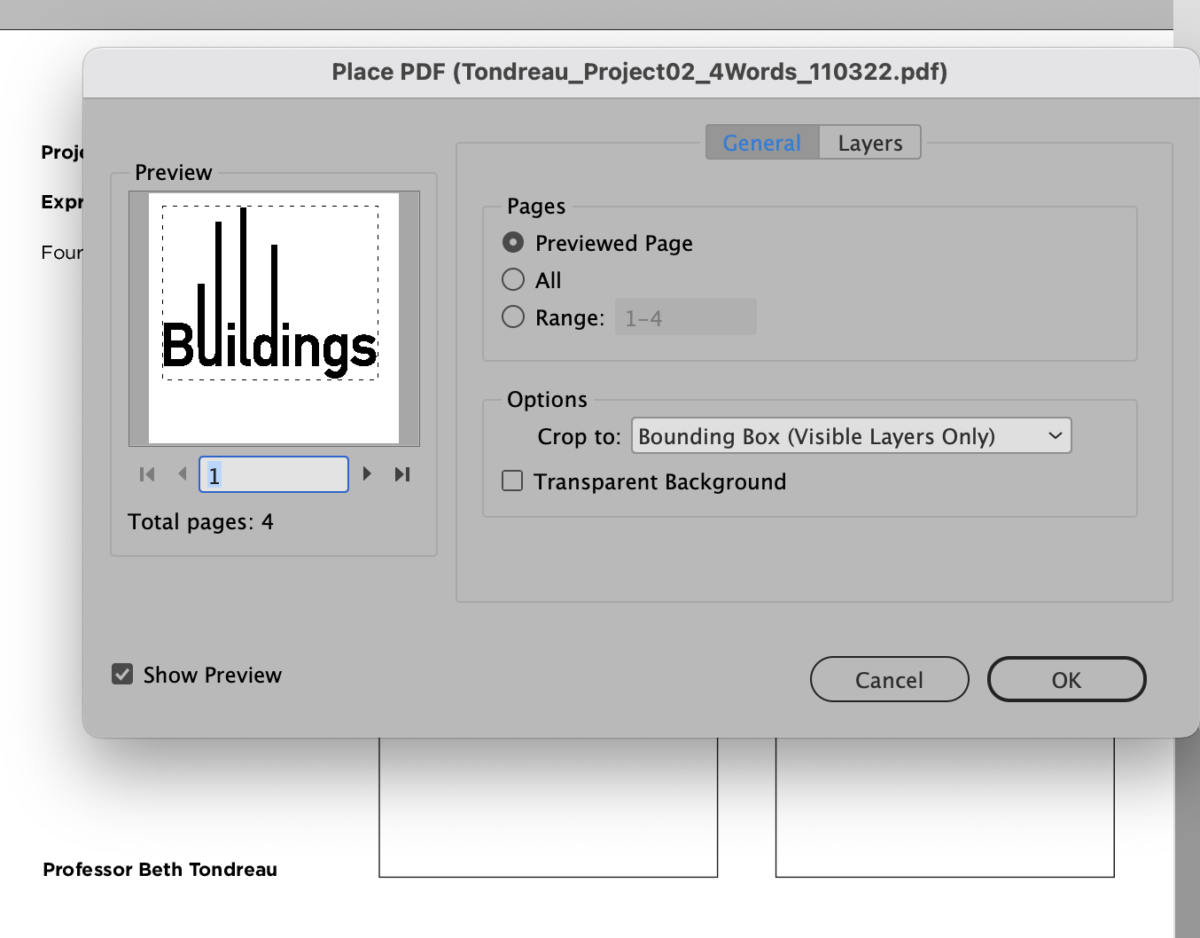
On the right, make sure it is under PAGES>Previewed Page.
Under Options: DESELECT Transparent Background (this will maintain a white background).
On the right, make sure it is under PAGES>Previewed Page.
Under Options: DESELECT Transparent Background (this will maintain a white background).
If there’s a problem with pulling in your PDFs, save either 4 separate PDFs or eps files.
_______________
For page 2, the placement of files/images will vary based on the independent nature of the work.

____________________________________________________________
Assignment
*** Project 02
Complete your final edits and prep for presentation.
Be absolutely ready for presentation for Project 2 on Thursday, November 10.
Prepare for in-class presentation and file submission
Project 2 Final Versions of Expressive Type and Lettering DUE for presentation on Class 20 (Nov. 10)
Remember:
- Save File in InDesign
- Save as: “lastname_Project02_Presentation_110822
- PACKAGE YOUR INDESIGN DOCUMENT (the package will include Indd, idml, fonts, links and a PDF)
- Upload Packaged folder, including PDF, to DROPBOX
Project 02 is 10% of your grade.
PLUS
***Type Talk. Post in Student Posts>Type Talk
Discuss 3 samples. See questions above.
PLUS
***Type Challenge. Post in Student Posts > Type Challenge
Design your version of an “I VOTED” sticker
Work is due the night before class.
Print this page


Leave a Reply