You’ve written comments on our site and on your CT 101 site, but many of you have not yet written a post. I’ve shown how to do this in class, but I wanted to share the instructions again. OpenLab Help provides these useful instructions for writing a post, and here are my specific additions:
- When you’re logged in, click on the + in the grey bar at the top of the page. If you can’t find that, you can use this link to write a new post.
- Add a title for your post
- Below the title, put your work for Project 1. You can copy and paste it in from wherever you’ve been drafting. Check to make sure it looks right when you do this–especially if you haven’t used formatting to make paragraphs.
- If you want to add images, you can add a new block by hitting Enter on your keyboard, and then type /i and choose an image block (or if you’re adding it from Flickr, you can type /f and choose a Flickr block).
- You can link out to the source of your quotation from one of our mentor texts–look for the link in our class agendas or our course schedule to copy and paste.
- You’ll need to choose a category. Here are instructions for adding categories and tags to your post. Please choose the category Project 1 Work. We haven’t talked about tags, but you’re welcome to add tags to your post as well.
- If you need to stop working on your post before you publish it, be sure to click Save draft at the top right of the screen.
- If you are uncomfortable posting your work publicly, you can choose a different visibility option, either to make it private, so that only you and I can read it, not your classmates or anyone else who finds and reads our site, to make it available to just the members of our course, or anyone signed in to the OpenLab.
- Be sure to click the blue Publish button when you’re ready to publish. It should be on the top right of your screen, unless you’re on a phone.
- It might ask you to confirm that you want to publish. Please do by clicking Publish again
- If you realize you need to make a correction after you’ve published your post, you can make changes and then be sure to click the blue Update button. If you are looking at your published post on our site (not on the dashboard of our site) and you want to make a change, click EDIT or the little pencil in the top grey bar
- If you have any trouble, please reach out to me and I can help you.
I’m looking forward to reading your finished education narratives!
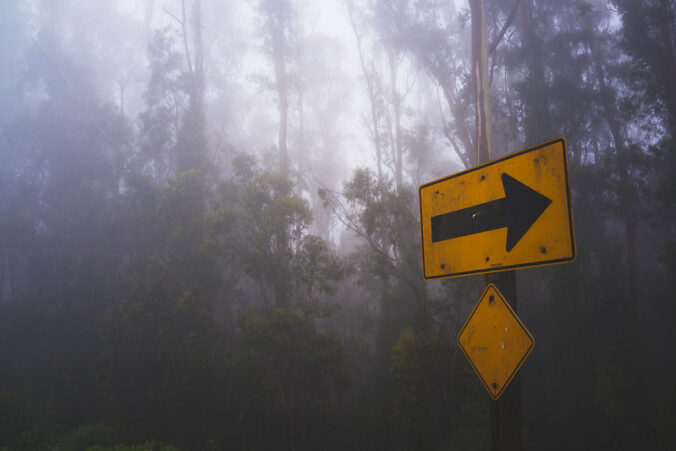
Photo credit: “Eucalyptus and fog, Marin County—Sony RX1” by Justin Kern via Flickr under the license CC BY-NC-ND 2.0.


Leave a Reply