Faculty Name | Course - Section | Semester

Category: Help & Resources (Page 1 of 3)

WORKING IN COLOR

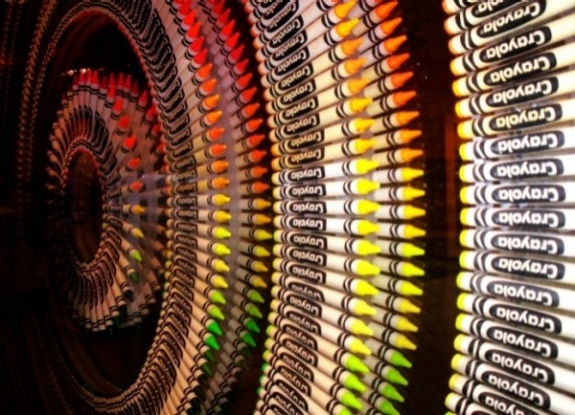
Color is one of the most powerful aspects of making art. Almost everyone who loves to create can remember the childhood excitement generated by a brand new box of crayons!
1466032830041

Everyone has a favorite color, artists and non-artists alike.  Our relationship to color is one of the most powerful relationships we have as a species. It is intrinsically connected to how we relate to our world. And so of course it is one of the most powerful aspects to consider when making art.

Color Temperature

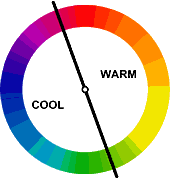
Much of our relationship to color is based on instinct. For example, we see colors as warm or cool based on our physical response to them.
1466033269032

Warm things are warm colors (such as fire, the sun, hot coals, and in this case hot food.)

1466033283844

and cool things are cool colors (such as water and ice, which as blue or bluish).
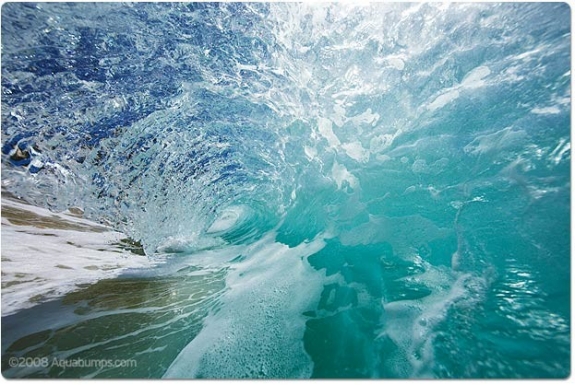
1466033301650

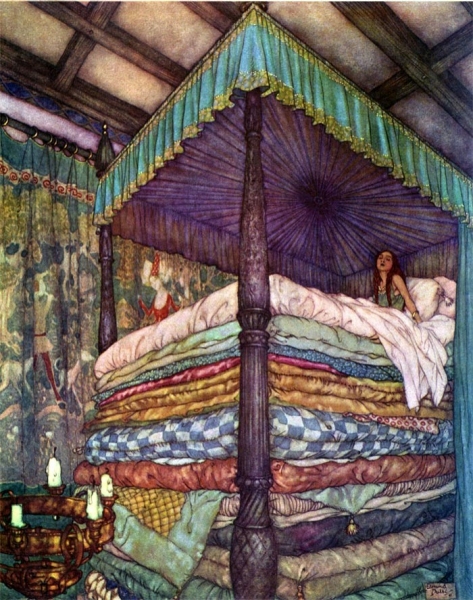
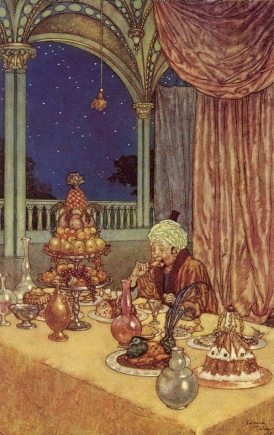
Interestingly warm and cool colors also create a sense of perspective and depth when we look at an image. Warm colors tend to advance towards us, whereas cool colors tend to recede away from us.

In these two images note how early 20th-century illustrator Edmund DuLac uses this trick. In the first image of The Princess and the Pea he creates a sense of incredible height, as the cold blue-purple recedes from the viewer, effectively raising the height of the bed canopy. And in the second one, A Palace of Wonder, a sense of depth is created between the warmth of the interior space and the cold dark outside.
1466033989719
1466034009733

COLOR AND CULTURE

However, a great deal of our reactions to color are not innate, they are in fact cultural. For example Black and Death are associated in many Western cultures, in many Eastern cultures it is associated with white—its direct opposite.

Take a look at this info-graphic. Note how many color associations change, depending on where you are in the world. However also note how HOT and COLD or Color’s Relationship to Temperature do not.
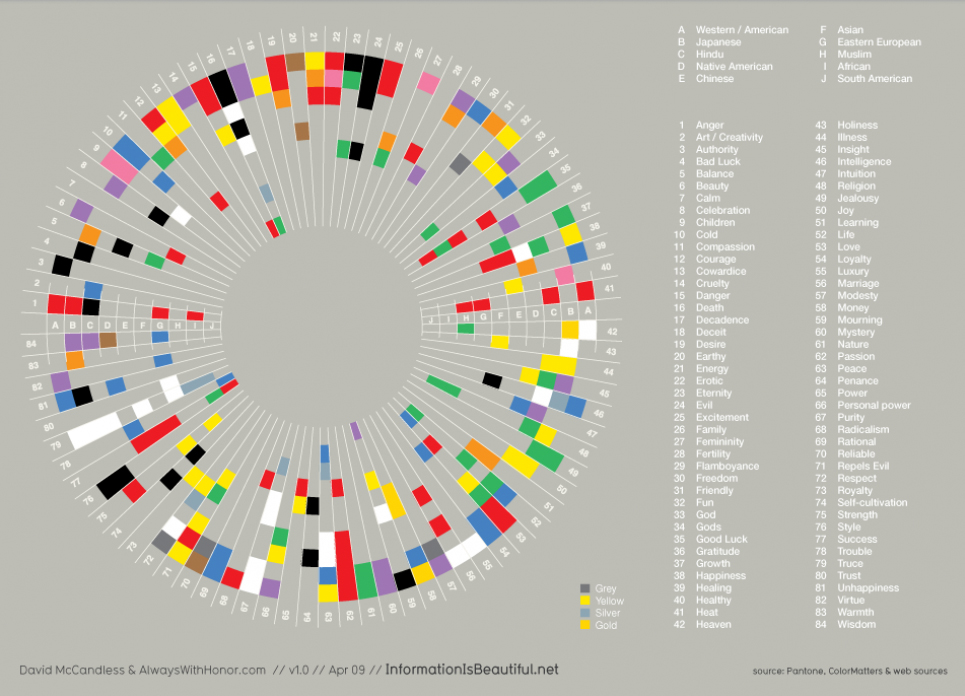
It is however important to understand your target market and the culture that they come from, because culture has a strong influence on the development of cultural-color associations in childhood building the adults eventual perceptions of color.

Throughout this module and the next we will look at these basic reactions we all have to color and learn to compose in color effectively. We will build on what we have learned regarding composition, concept, point of view, and value and we will see how we can use these reactions to color to aid us in our ultimate goal, telling a great story through narrative illustration.

However, before we can do that lets be sure we have down the basics.

THE COLOR WHEEL

The color wheel is one of the most powerful tools artists and designers have to help us understand and use color effectively.  It is strongly recommended that as you examine the different color schemes throughout this post, you look at a color wheel and plot them out.
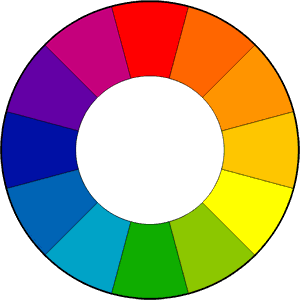
1466035082557

FUN FACT! The first circular color wheel was created by Sir Isaac Newton in 1666. As if the laws of planetary motion and gravity weren’t enough!
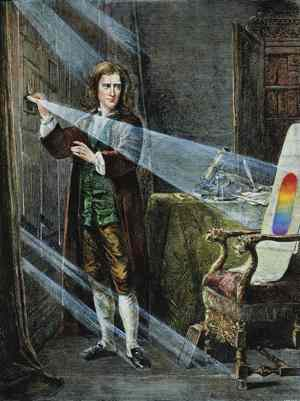
1466094968998

Foto: picture-alliance

1466095035989

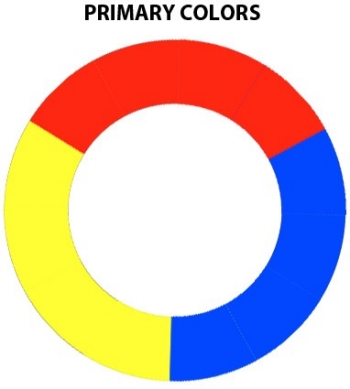
We begin with a three-part color wheel that shows only pure colors, meaning colors which no amount of mixing will result in. These three colors are of course our primary colors: red, yellow, and blue. All other colors are derived from these three hues.
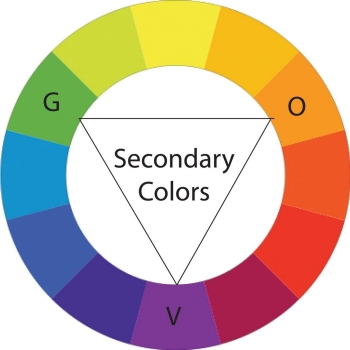
1466095027770

Next we move on to our secondary colors.These are the colors formed by mixing the primary colors with each other: green, orange, and purple.
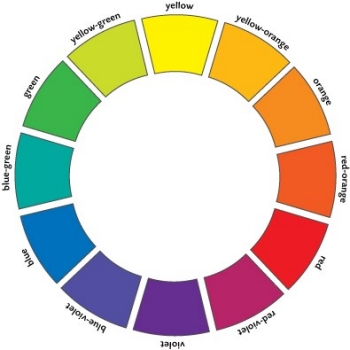
1466095133395

You can further break down the color wheel into tertiary colors.These are the colors formed by mixing a primary and secondary color: yellow-orange, red-orange, red-purple, blue-purple, blue-green, and yellow-green.
1466095577744

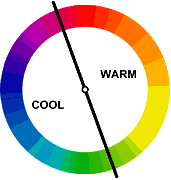
And of course, we divide that wheel based on Color Temperature, with warm color opposite cold.

To create a successful illustration, your color palette or scheme needs to support your main idea. It must work to further your narrative and or concept.  

1466095598653

Drawing by Philippe Buchet, Color by Matt Hollingsworth

Color Studies

Color Studies are a necessary step in the illustration process. The allow the artist to quickly test out different color schemes.

Ideally, these should be done AFTER Value Studies.

Instructions:

  • Refine and finalize your drawing based on feedback and suggestions you have received.
    • Do not shade your drawing. Focus on drawing clean line art only.
    • Do tape off the edges of your composition.
  • Edit your drawing by using photo editing software.
    • Scan or Carefully Photograph final art.
    • Adjust Brightness and Contrast
    • Carefully Crop Art
    • Save your Artwork as a HighRez file (to continue working on)
    • Save a Copy as a LoRez file (to post to Openlab)
  • Create fill in sheets for Color Studies using one of the following methods:
    • Using a Adobe PS, copy/paste your design to create a fill in sheet.
    • Reduce the size of your artwork, using Adobe PS or Photocopier.
      • There’s no hard and fast rule, but studies should be small enough to fill in quickly.
      • About 25% of the FINAL ILLUSTRATION SIZE usually works
    • Copy and Paste the artwork so that you have 3 or more to Fill in .
    • PRINT this sheet, so you can and fill in traditionally with colored pencils or markers, OR create DIGITAL COLOR STUDIES by using Adobe PS/ or Procreate etc. to color.
  • Color each Color Study.
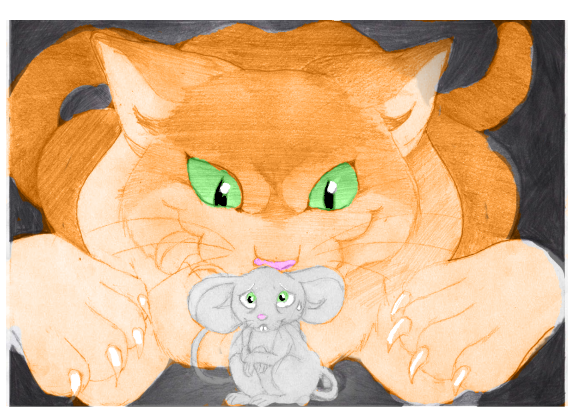
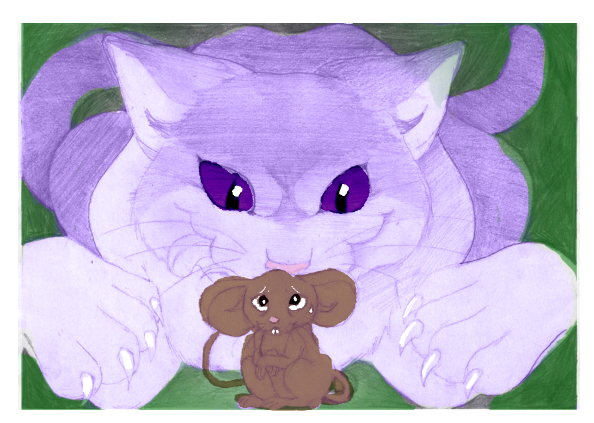
    • Create one Lo-Key, one Middle-Key and one High-Key Design.
    • Consider Focal Points, Image Hierarchy, and Contrast.

PRO TIP:

*Try coloring digitally in Adobe PS on a transparent layer on top of your Value Study. Try setting your layer to “COLOR”.

Examples:

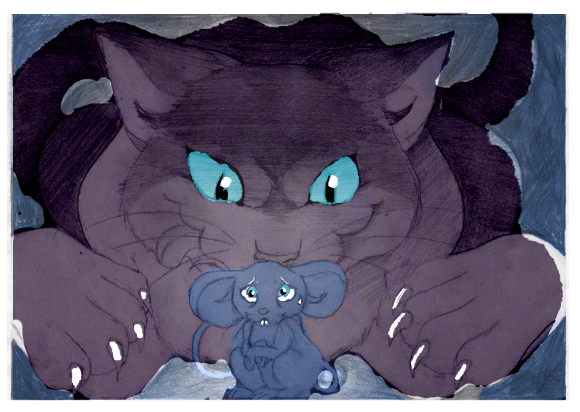
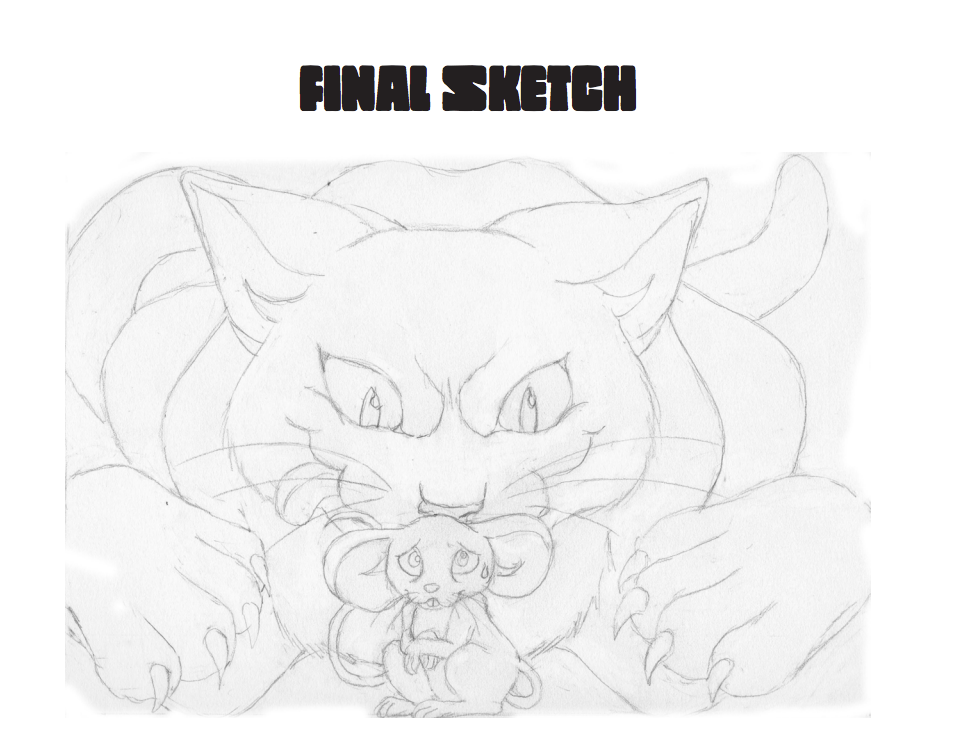
Dana Moreno Final Pencil Drawing

Color Study (1 of 3)

Color Study (2 of 3)
Color Study 3 of 3

Value Studies

Value Studies are a necessary step in the illustration process. Value Studies (or value roughs) allow the artist to quickly test out lighting, shading, and values schemes.

Instructions:

  • Refine and finalize your drawing based on feedback and suggestions you have received.
    • Do not shade your drawing. Focus on drawing clean line art only.
    • Do tape off the edges of your composition.
  • Edit your drawing by using photo editing software.
    • Scan or Carefully Photograph final art.
    • Adjust Brightness and Contrast
    • Carefully Crop Art
    • Save your Artwork as a HighRez file (to continue working on)
    • Save a Copy as a LoRez file (to post to Openlab)
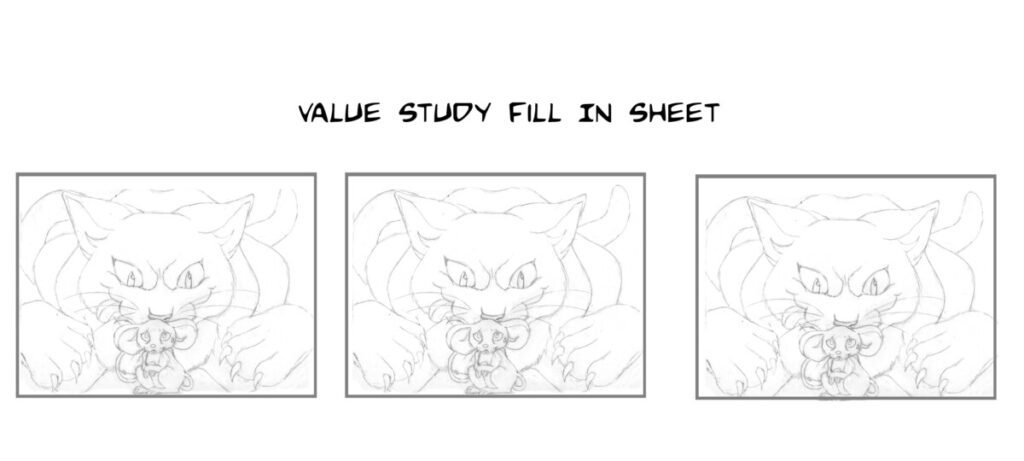
  • Create fill in sheets for Value Studies using one of the following methods:
    • Using a Adobe PS, copy/paste your design to create a fill in sheet.
    • Reduce the size of your artwork, using Adobe PS or Photocopier.
      • There’s no hard and fast rule, but studies should be small enough to fill in quickly.
      • About 25% of the FINAL ILLUSTRATION SIZE usually works
    • Copy and Paste the artwork so that you have 3 or more to Fill in .
    • PRINT this sheet, so you can and fill in traditionally with pencils or markers, OR create DIGITAL VALUE STUDIES by using Adobe PS/ or Procreate etc. to color in your values.
    • Copy your drawing on a Photocopier and reduce it’s size. Create fill in sheets of your design to fill in by hand.
  • Color each Value Study.
    • Create one Lo-Key, one Middle-Key and one High-Key Design.
    • Consider Focal Points, Image Hierarchy, and Contrast.

Examples:

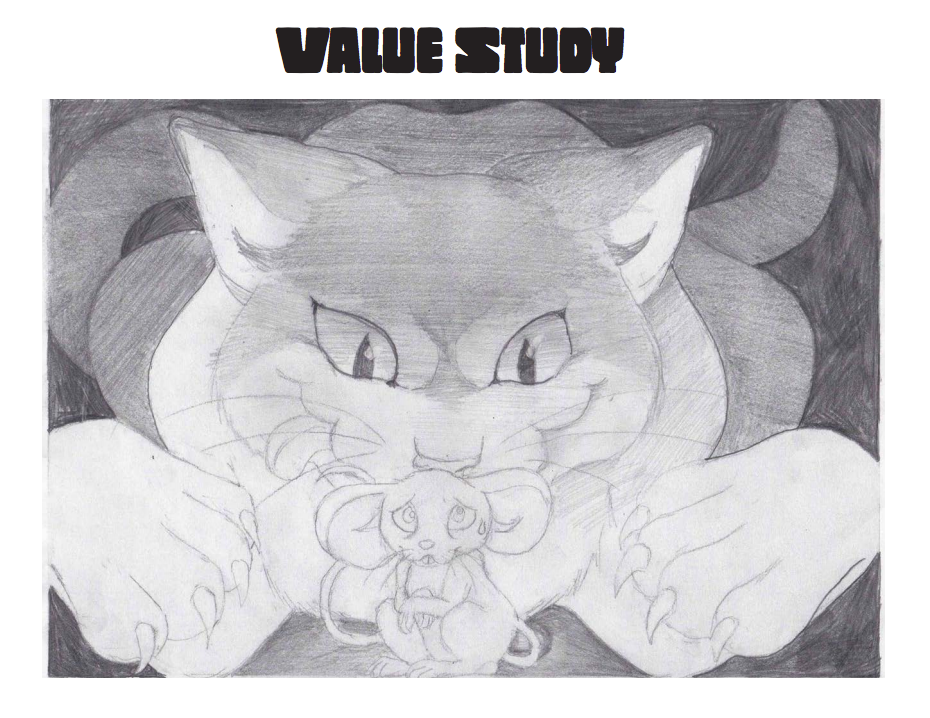
Dana Moreno Final Pencil Drawing

Value Study (1 of 3)
« Older posts