I have learned so much in my photography course this year. I have always seen other photographers work, and wondered how they did it and was also impressed by the image itself; but now I haved learned the skills to do it on my own now. I have learned about the settings on the camera, which I had no idea about before and what they are used for. I also learned how to edit my pictures using Photoshop. I learned how these photographers take our potrait pictures. What I enjoyed doing most was learning how to do shadow depth of field, by moving close to the object and using a wide aperture. I think this makes the photo interesting to me. I also enjoyed painting with light. This course has showed me how to improve my photography and I am happy I can produce good pictures just as good as other photographers or better.
Nivaaj kanan
In my course of photography this year i learn how the sutter speed can make a huge difference in a picture. That if it is slow enough you can make light paintings. Which i found to be very interesting , also how the light is self can make a pictures be amazing and mysterious or just blank. That if you want a great photo the lighting must always be correct, sometimes the light isnt the way you want it ,but the photo will come out different a good type of different or bad. That is what i learn in my course this year and i will never forget it
Filed under Final Evaluation
Final Log Kristina Blum
| During this Course i learned the different types of lighting and portrait and also viewed other Photography work.When using lighting in a photography there are different ways you can place the light for example in a portrait front light is when the camera is directly in front of the light, when you use side light is angle at a 45 degree from the person who you are photography it gives them soft shadows on there face. When using lighting outside you use the sun you move around the object or person to create the different light front , side and diffused. I learned how aperture is what give the camera it light source.I learned that Shallow Depth of field is when only one thing in the image is in focus and extensive depth of field is when everything in the image is in focus. |
Filed under Uncategorized
Jonathan Flores Final Evaluation
I learned many photography concepts in this class. I learned that the aperture is what gives the camera a light source. If the aperture is wide then it creates shallow depth of field. Shallow depth of field is the short distance between the nearest and farthest of an object. I also learned that composition is very important when taking a picture. Symmetrical, a-symmetrical, rules of thirds are all ideas that deals with compositions. Everything that I learned in the class will help me in the future because I will have a better understanding on how to take and edit a photo. The class was a great, but I wish we could’ve use the software more so we can have a better understanding on how to use it.
Filed under Final Evaluation
Grand Finale
As a child I have always been enthralled with photography. For this reason, I am happy that I have gotten the chance to explore a photographers world-finally having the chance to be behind the camera. It truly amazing how the camera lens was invented based on the human eye. Unbeknownst to us, our eyes focuses just like the lens of the camera; no wonder why this invention was created. During these past months I’ve learned various lighting techniques; which was a lot of fun. Additionally, I was blown away by how we can make our bodies look like cartoon characters. Have you ever seen something that you were trying to decipher and you kept saying to yourself, “How did they do that?” Well, thats exactly what I used to say. Similarly, when I went home my children were saying the same to me. I am happy that I’ve manipulated those techniques, because I was able to let my children know how it was done. In the future, I would like to have my own photography studio which is why I am elated that Ive learned all these new techniques.
Filed under Uncategorized
my final log
what i learned in this class was new techniques on how to become a better photographer. i learned interesting photographic tricks like painting with lights, silhouette, portrits.by far my favorite was painting with lights because you can really express your creativity to the fullest with just some lights. i also enjoyed the trips we had so we can get some experience outside instead of being in the classroom for four hours. but overall this was a very positive experience and i learned a lot and recommend it to anyone interested.
Filed under Uncategorized
Westcott_Final_log
In this class I learned about lighting for portrait shots and how to get the best product in the end. There are three lights used in the shot which are main light, fill light and background light.The main light has the subject facing the camera using softbox. Small, distant light sources cast sharp shadows with high contrast.Large,close light sources cast soft shadows with low contrast. A second light is fill light which adds light to the shadow or until side of the face using a reflector.Background light is the lighting the background separate from the backgrounds.It add depth to the photograph.I also learned about exposure which can make a picture either darker or lighter.Exposure tells with ISO, aperture and shutter speed. Slow shutter speed deals with big light and capture unique movements whereas fast shutter speed deals will small light.This class taught me alot about the principals of photography and their elements for editing.When it comes to my career and editing images all these skills that I learned in class will come in handed.
Filed under Final Evaluation
Final Learning Log
Take stock of the semester. What were the most important things you learned about photography in this class? List and describe three at least three. How will this help you in your career development? What would do you think could be expanded or added to the course to improve it? Please make at least one suggestion.
Filed under Final Evaluation, Uncategorized
Jonathan Flores Faking it: Manipulated Photography Before Photoshop Metropolitan Museum
When visiting the Metropolitan Museum of Art I found the exhibit: Faking It, to be very strange, but interesting. The way a photograph can be manipulated into different ways to trick the human eyes is unbelievable. The way people faked a photo was by adding people to a scene or adding anything that was never created into a photo. Everything was done manually until computers were introduced and the inventions of software took off in the later years.
The one photograph that caught my attention was the Dirigible Docked on the Empire State Building. It’s a landscape photo of the Empire State Building and New York City skyscraper. The photo had some shadows, dark tones and high contrast. The white and black color made it look scary as while. However, what caught my attention was the blimp that was on the peak of the Empire State Building. Its looks scary because to me it looked like an alien spaceship on top of the building. After looking closer to it was a U.S. Navy blimp but it was strange that a blimp can be balance on the peak. In result, I knew it was a fake photograph because first, you can tell the blimp was adding onto the building, second, no airships ever landed on top of the building and lastly, it was usually for an aircraft to fly that low. Taking everything under consideration I knew it was a fake photo. The reason for it was to make the Empire State Building a popular site in New York and to draw attention for people to visit. Also, they wanted the Empire State Building to be the best skyscraper in New York and take out the Chrysler Building who people thought that was best building at that time. When Empire State Building was built the creator thought by them adding a blimp that it would’ve lasted along time but the fake report surfaced and then it was edited.
The process that was used in the photograph was called photomontages which mean they take two different elements from each photos and combine them into one piece. In other words, it a kind of collage that is composed of the photographs or fragments of photographs in order to direct the viewer’s mind such as the blimp on the Empire State Building. The reason why photomontages was used because bringing two different images into one image can bring the message of the photo and to trick how the mind may think of a photograph. In today’s world, creating a photomontage is much easier than before; you now have software such as Adobe Photoshop, Paint Shop Pro, Photo paint or GIMP.
The Metropolitan Museum of Art was a great experience; I got a better understanding on how photograph was manipulated and the process behind it. The way photographers transformed two different images into one creative image is amazing. In today’s world the way you fake a photograph so much different than before. Before you would have to create a fake photograph manually by cutting out the images and pastes it together. Now you have Photoshop which is much easier than manually doing it and it does all the work.
Filed under exhibit review, Homework
caricature pics
This new style of new style of photographic effects was interesting. The subjects had to look directly into the camera while having fun. With this style ours head look enormous, on the other hand, our feet look minute compare to our heads. It was rather funny to see ourselves in this caricature style.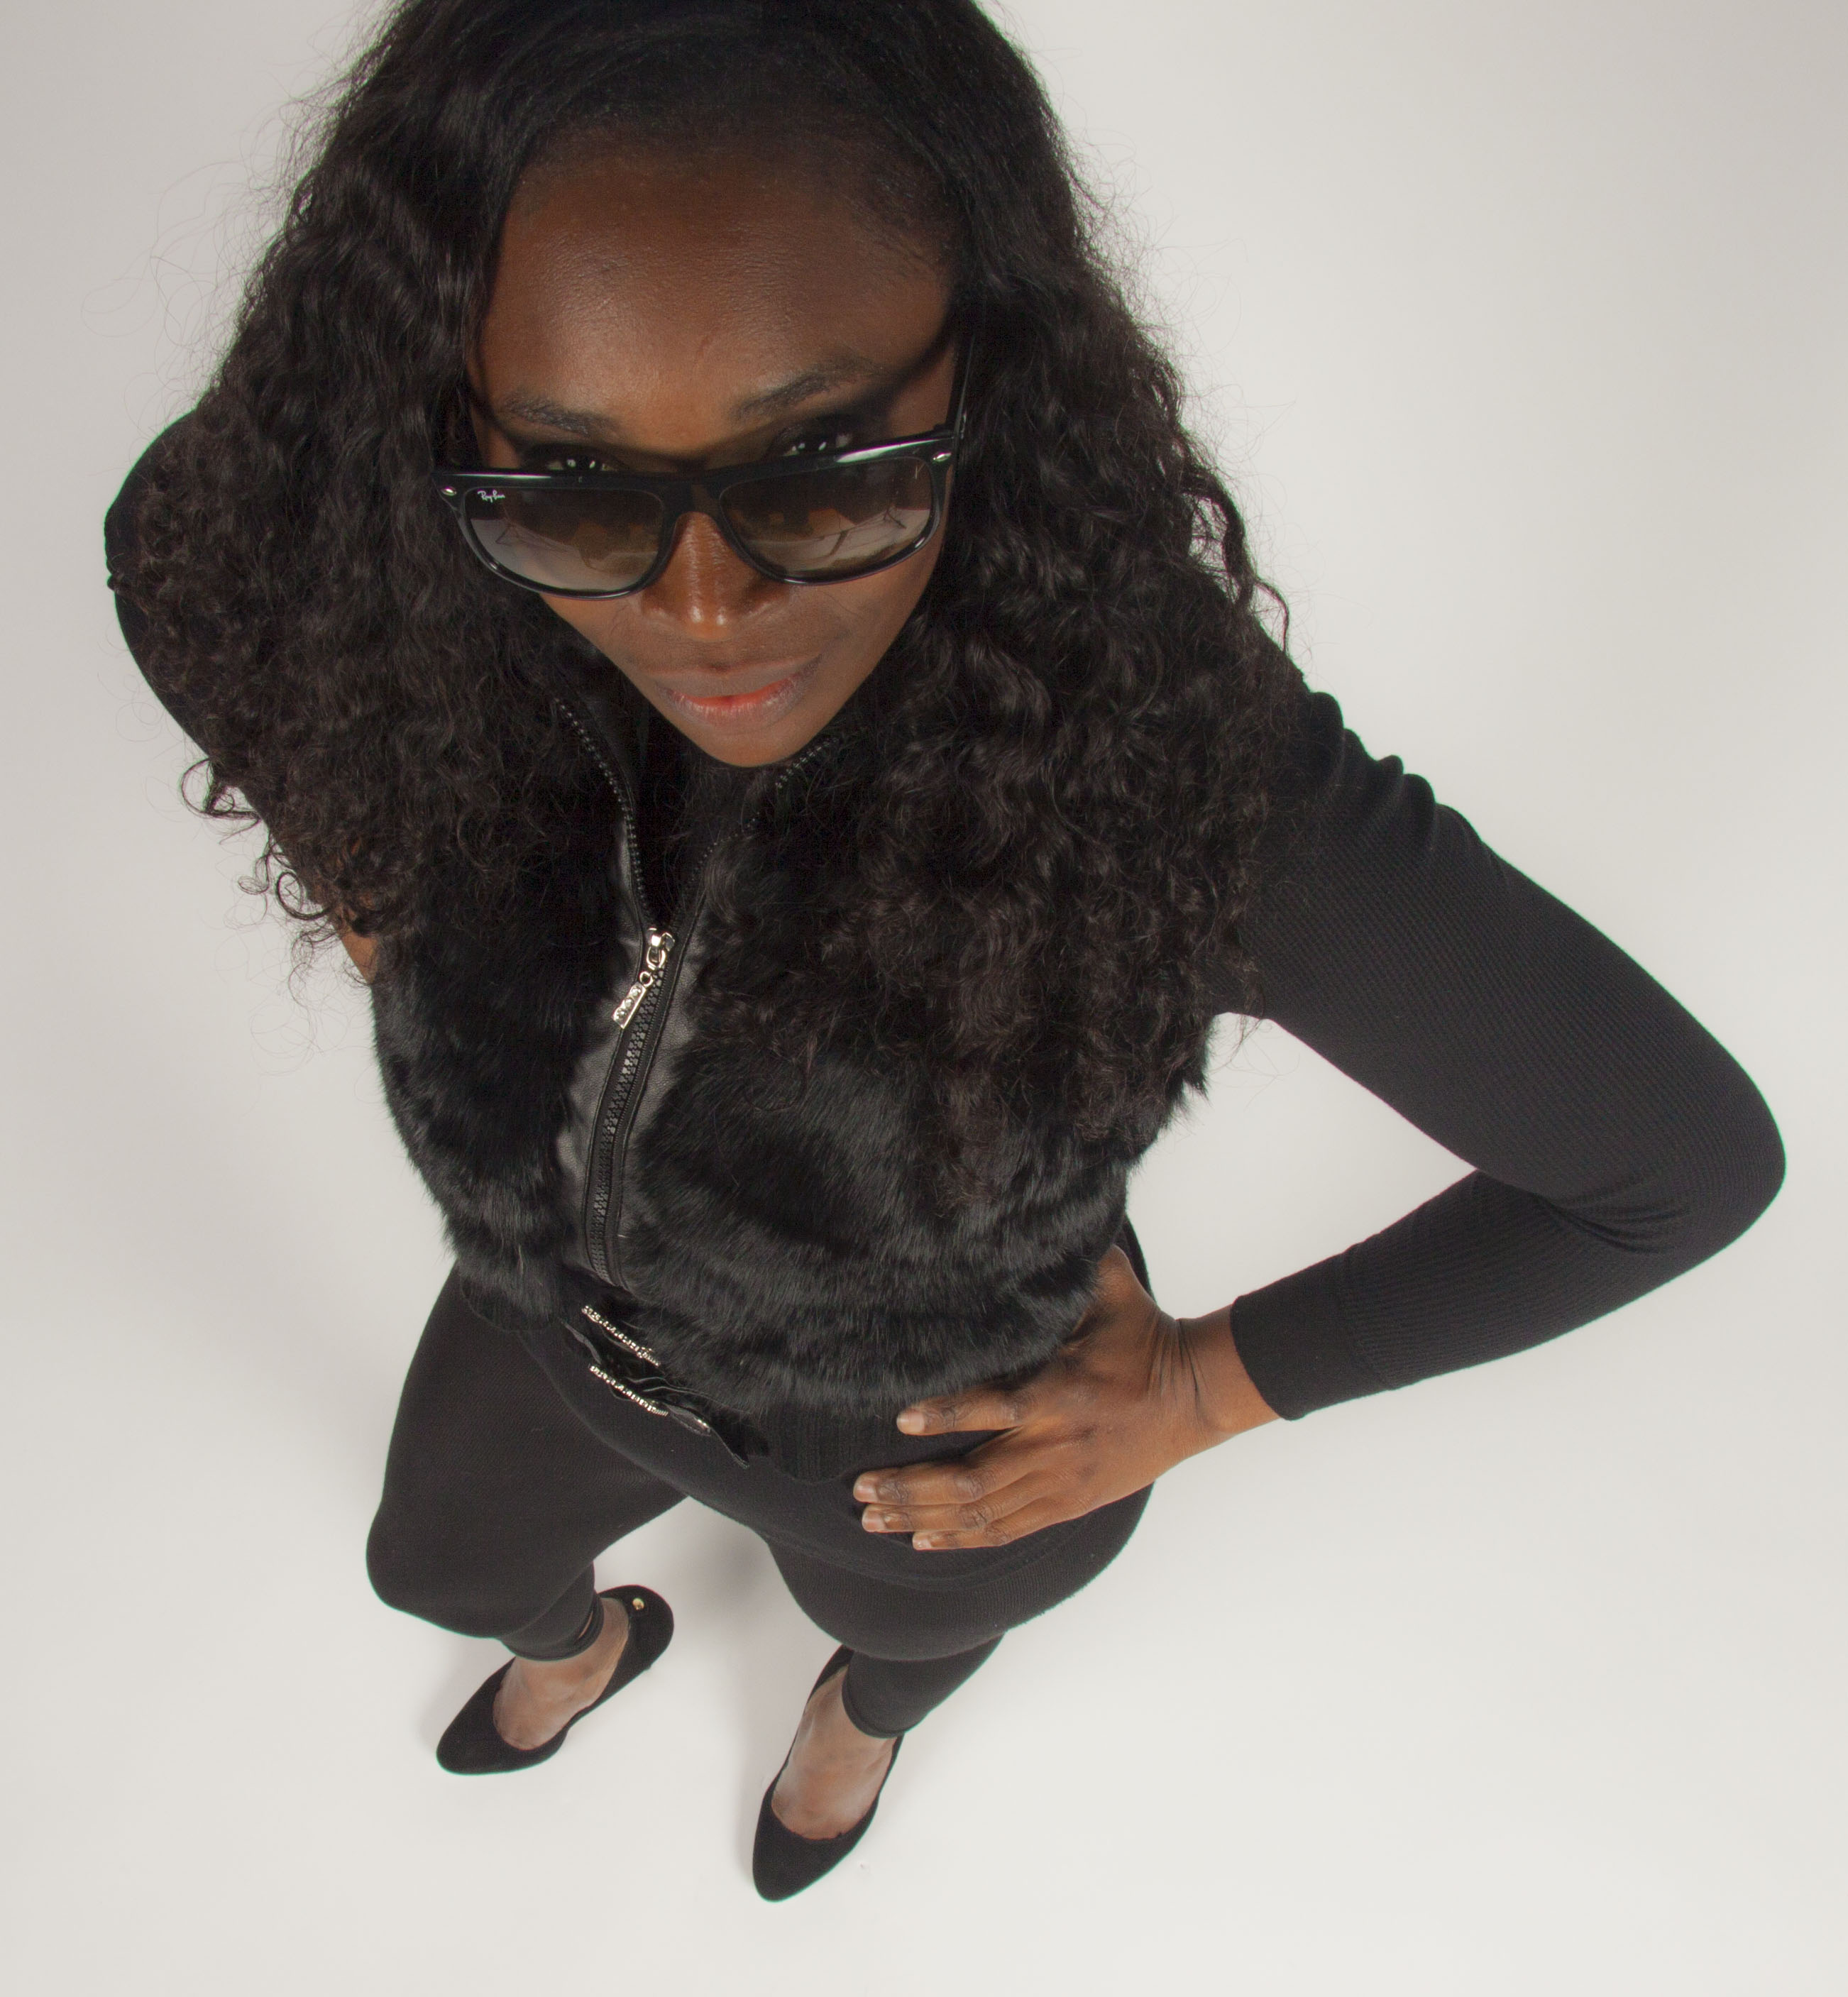
Filed under Uncategorized

