
So you recently got new DSLR camera and you captured some awesome clips and you’d like to put them to together into one file. Well this guide is going to instruct you on how to do that in adobe premiere pro.
- First you open Adobe premiere pro. you will be prompted with the welcome screen.

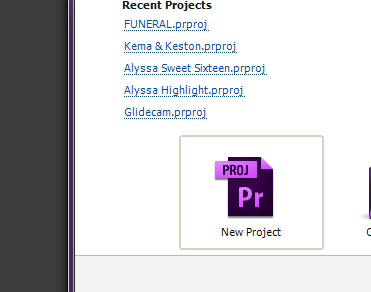
2. Click on the new project button and give it a name.
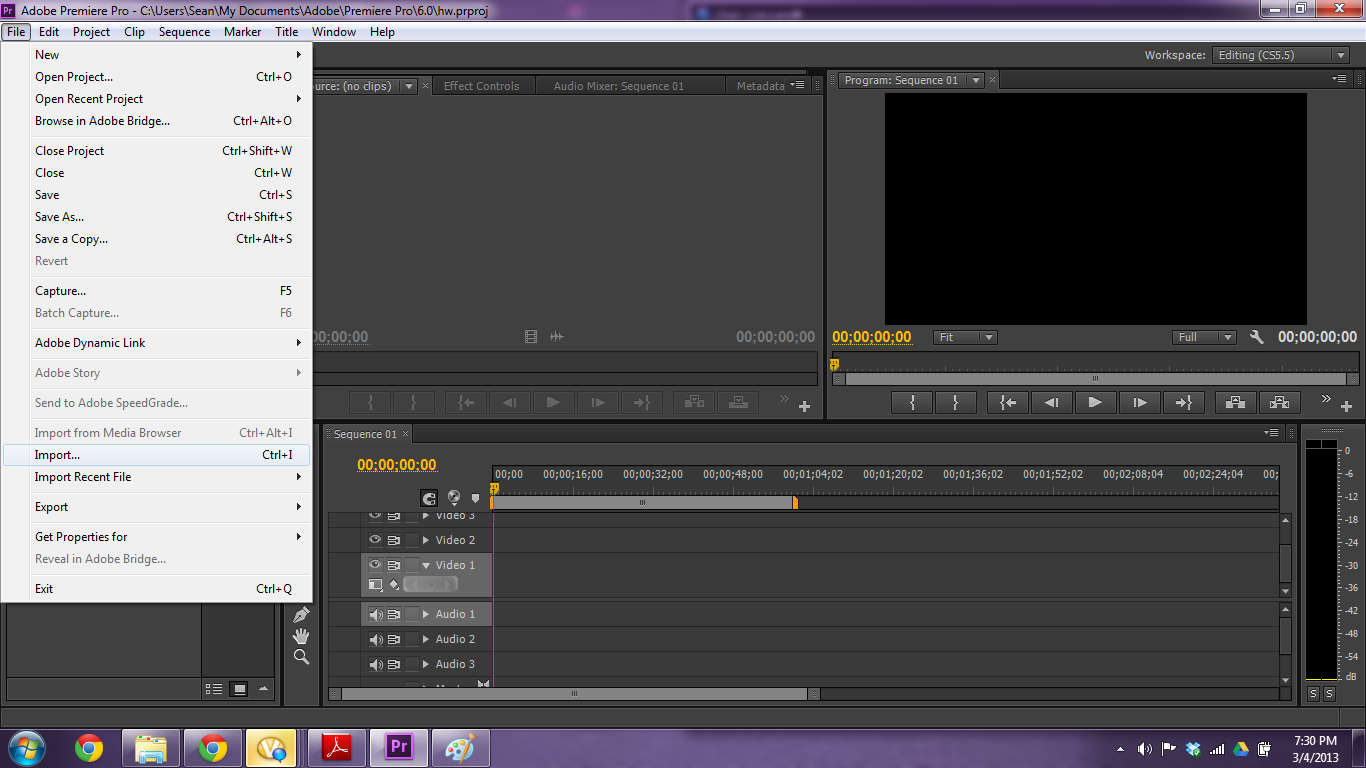
3. Import your media clips. Navigate to File > Import and select your clips to be imported.
4. After your clips have been imported drag them onto the timeline.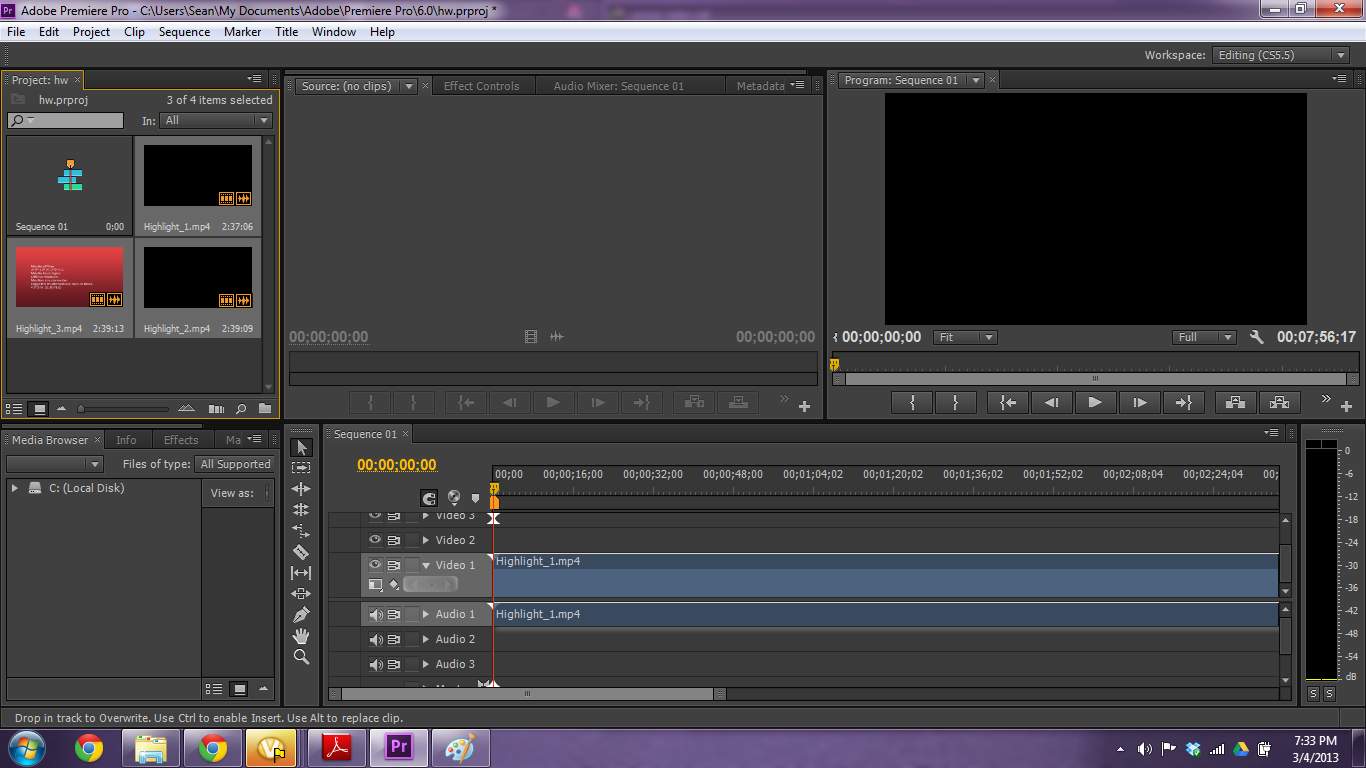
5. You are now ready to render your clips to one file. Go to File > Export > Media (Ctrl+M)

6. You will now see the export setting window.
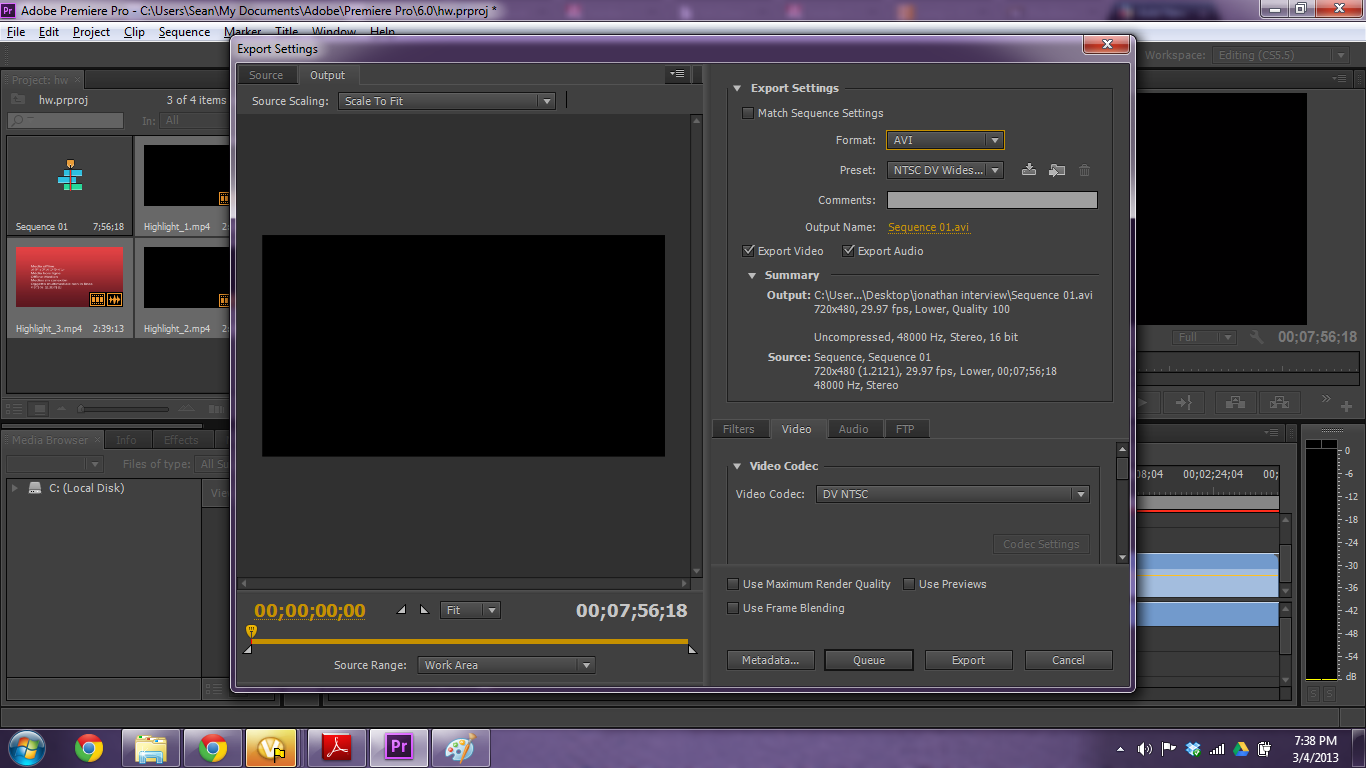
7. To export for Youtube use the preset setting built into the program by selecting the H.264 format and the Youtube 720 24p preset.
8. Hit Export and give your file a name, grab a coffee because rendering can be long!

