
This step-by-step instruction will show you how to successfully add a picture to the media gallery. This is intended for Windows users. Other operating systems may work depending upon the browser they use. For this tutorial, Google Chrome is used. If you don’t have Google Chrome, the default Internet Explorer will work just fine as well. (Right click on image, and then open in a new tab or window if it is too small to view)
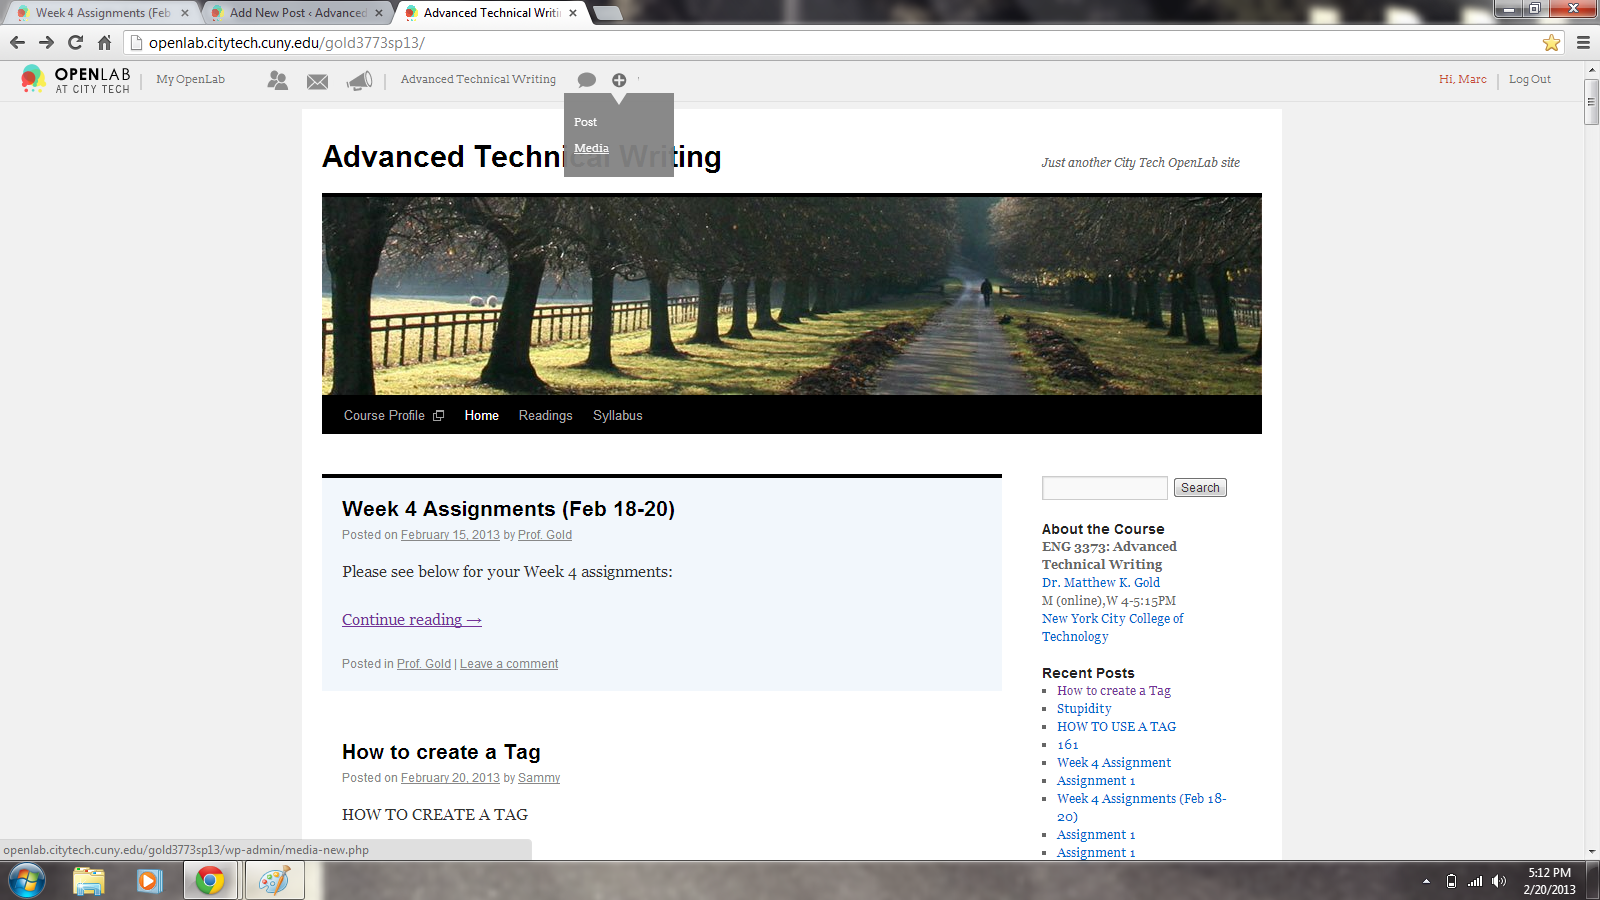
STEP 1: NAVIGATE TO OUR ADVANCED TECHNICAL WRITING GROUP HOMEPAGE (https://openlab.citytech.cuny.edu/gold3773sp13/). THEN AT THE TOP OF THE PAGE, HOVER OVER THE PLUS SIGN UNTIL A MENU DROPS DOWN. AFTER CLICK ‘MEDIA’.
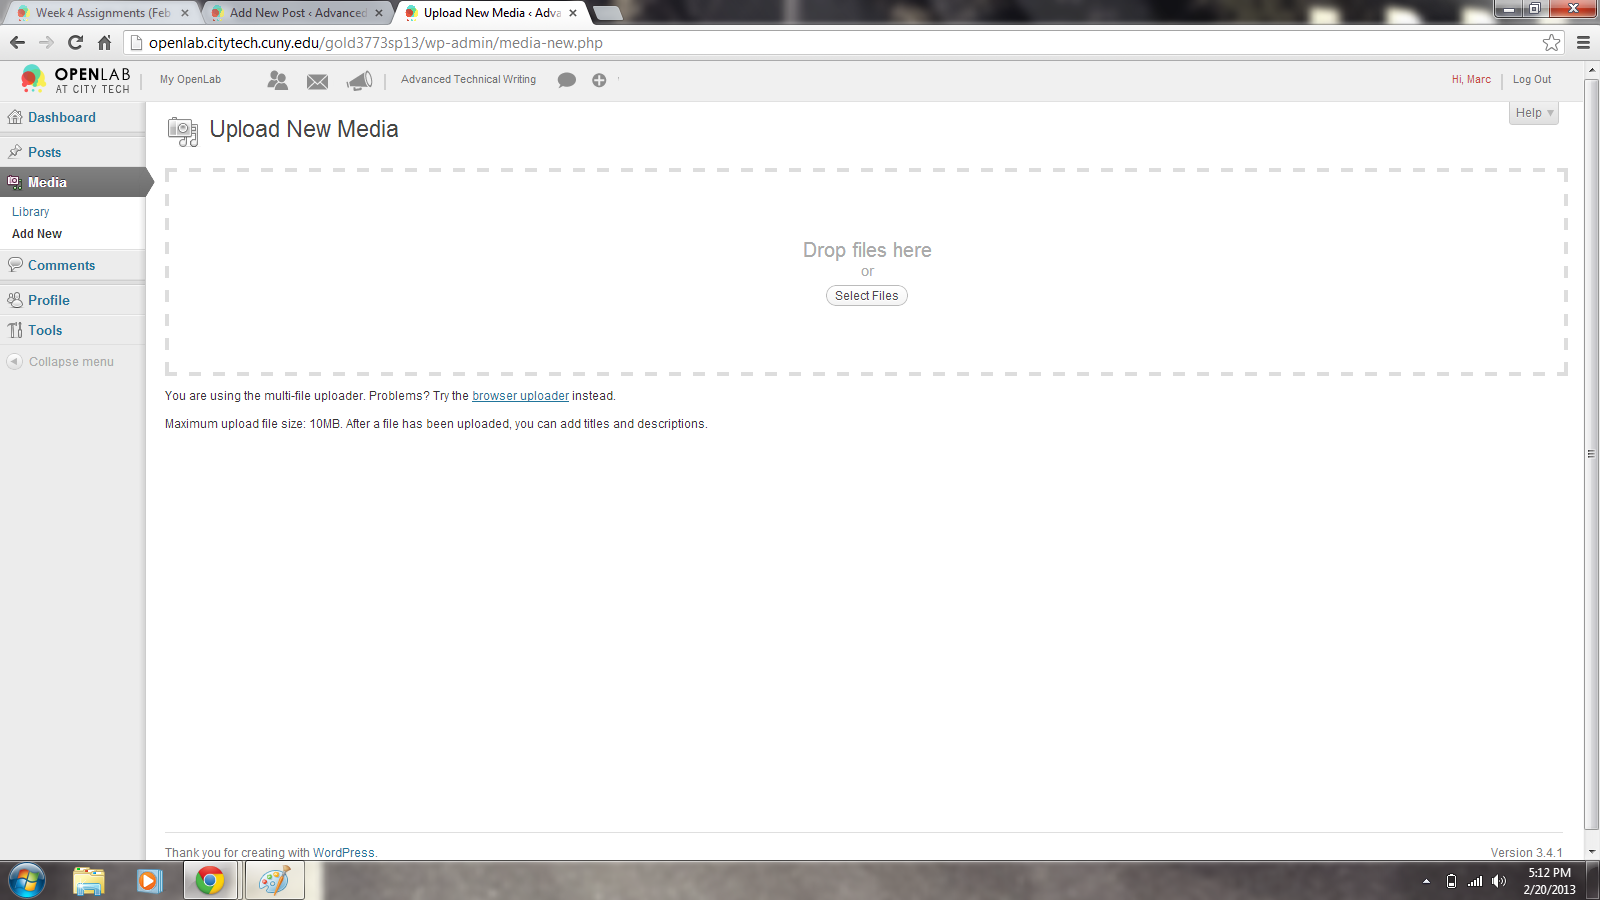
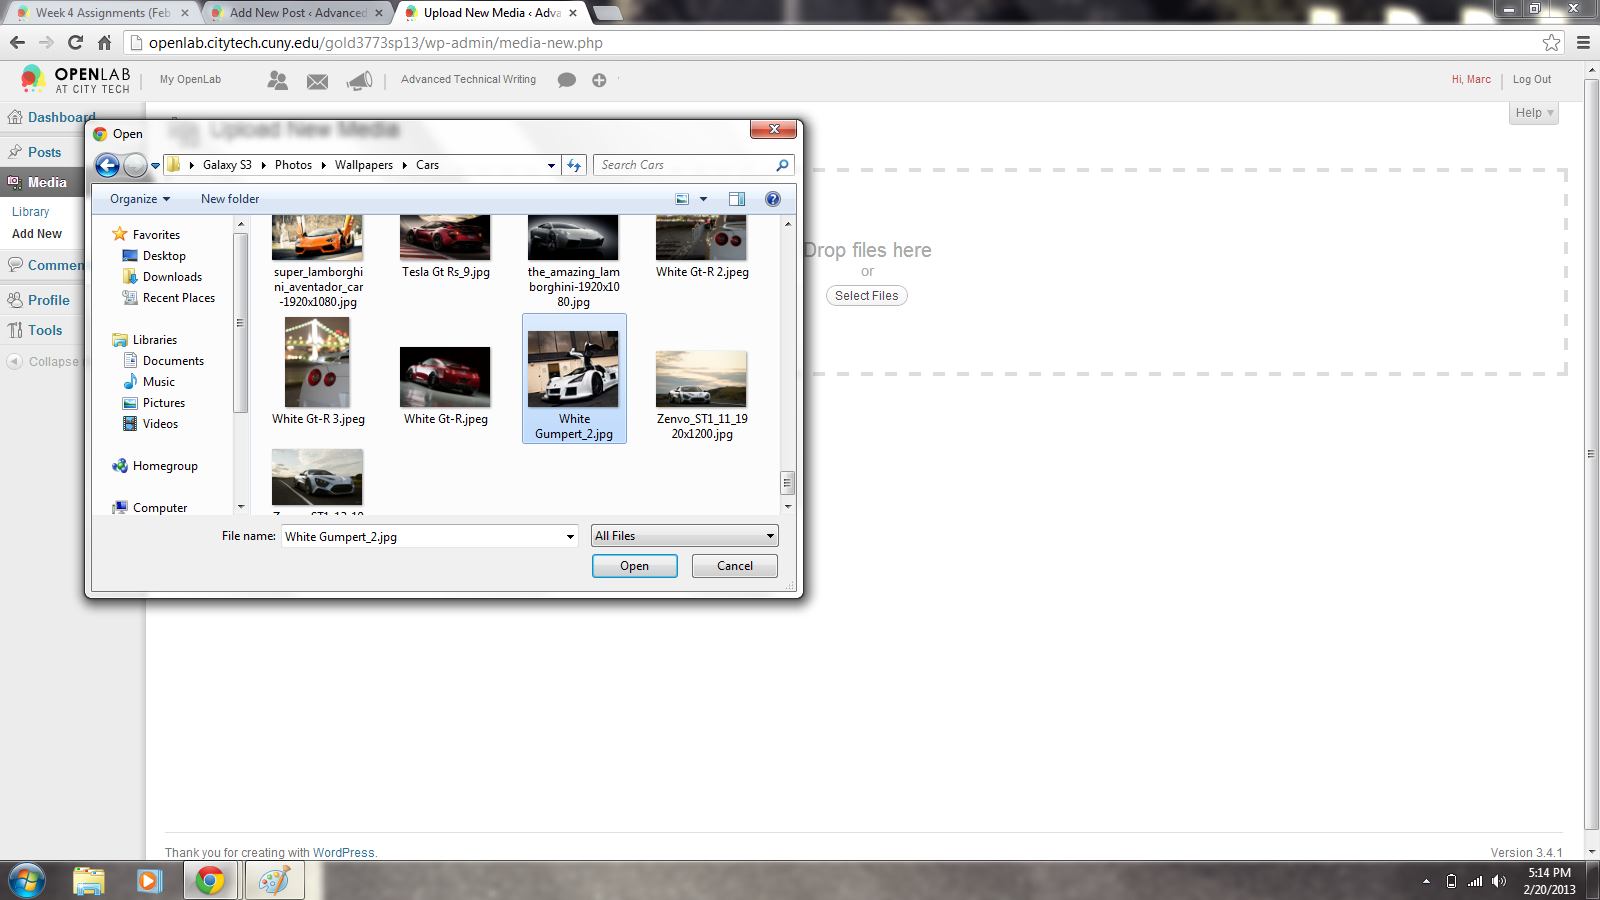
STEP 2: ONCE ON THE MEDIA PAGE CHOOSE ‘SELECT FILES’ AND NAVIGATE TO THE IMAGE YOU WANT TO UPLOAD. AFTER YOU SELECT AN IMAGE CLICK ‘OPEN’. IT WILL THEN UPLOAD THE PHOTO.
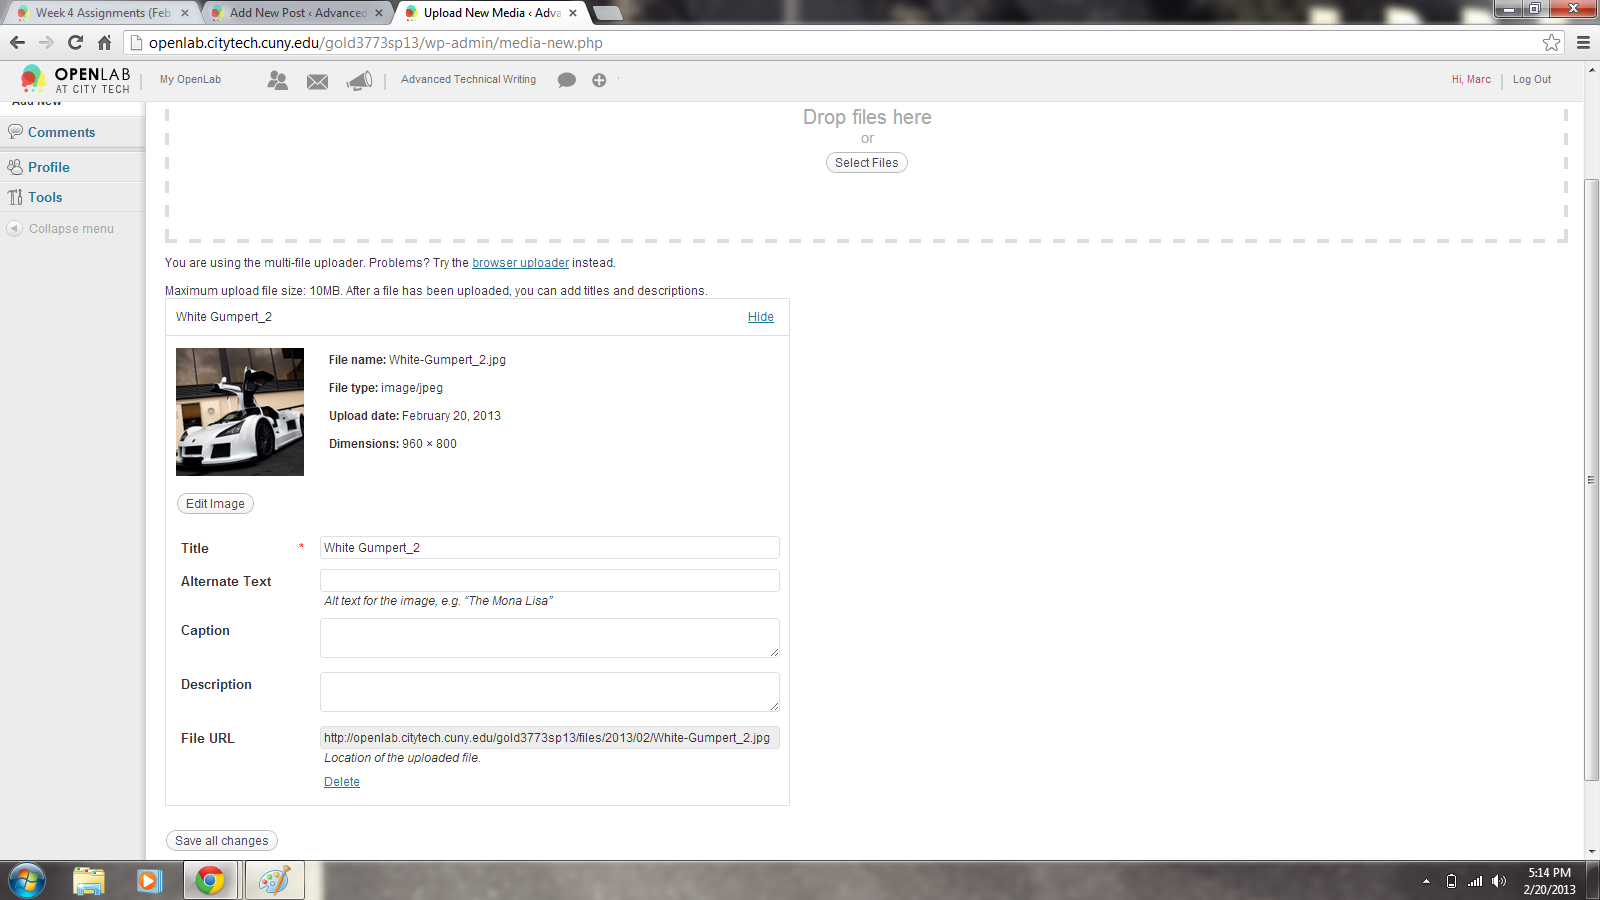
STEP 4: THE PHOTO UPLOADED MAY BE TOO BIG FOR THE PURPOSE YOU MIGHT USE IT FOR. IN THAT CASE, WE WILL SCALE IT DOWN TO SIZE. CLICK ON ‘EDIT IMAGE’ (RIGHT UNDER THE PHOTO). IT WILL THEN DIRECT YOU TO A NEW PAGE WHERE YOU HAVE MULTIPLE OPTIONS FOR EDITING THE IMAGE. ON THE TOP RIGHT CLICK ON ‘SCALE IMAGE’.
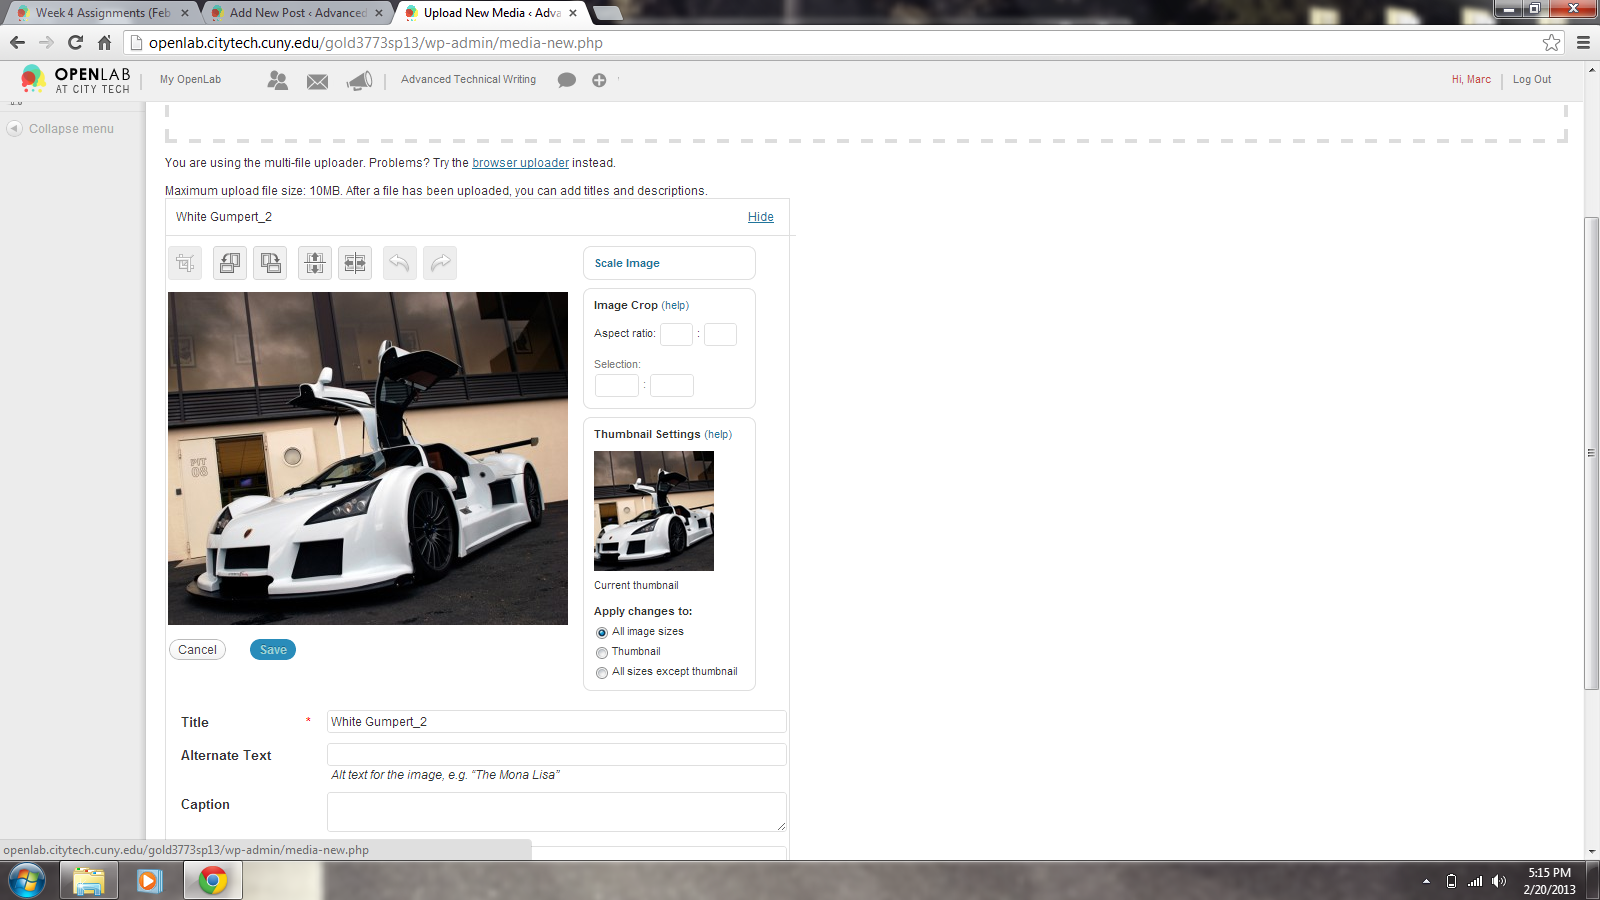
A NEW PROMPT WILL APPEAR TO ALLOW YOU TO CHANGE THE DIMENSIONS.

CHANGE IT TO AN APPROPRIATE SIZE. FOR THIS CASE WE USE 256 x 213. THEN WE CLICK ON ‘SCALE’. WHEN ALL IS DONE, CLICK ‘SAVE’.

YOU HAVE SUCCESSFULLY UPLOADED A PICTURE TO THE MEDIA GALLERY.

