Class Info
- Date: Tuesday, November 29, 2022
- Meeting Info: 6pm-8:30pm, Room P114
Topic
- Continue Project 3: Poster 3 with Text Wrap
- What is text wrap and to achieve it in InDesign?
Objectives
Understanding text wrap (or runaround) and the relationship of between image, text, space and distance:
- How leading, tracking, kerning alignment, visual hierarchy could be affected by text wrap.
Activities
During Class: Type Challenge
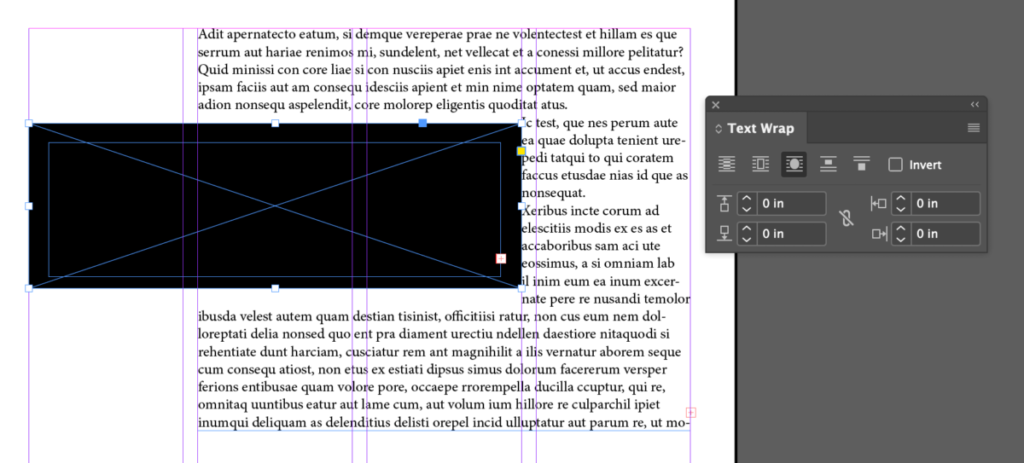
Practice text wrap
- Create a new 1-page, 8.5″x11″ Indesign document
- .5″ margins all around
- 4 columns with a 1 pica gutter
- Go to Type –> Fill –> Placeholder Text
- Add 1 shape (rectangle)
- We will apply the different kinds of text wraps
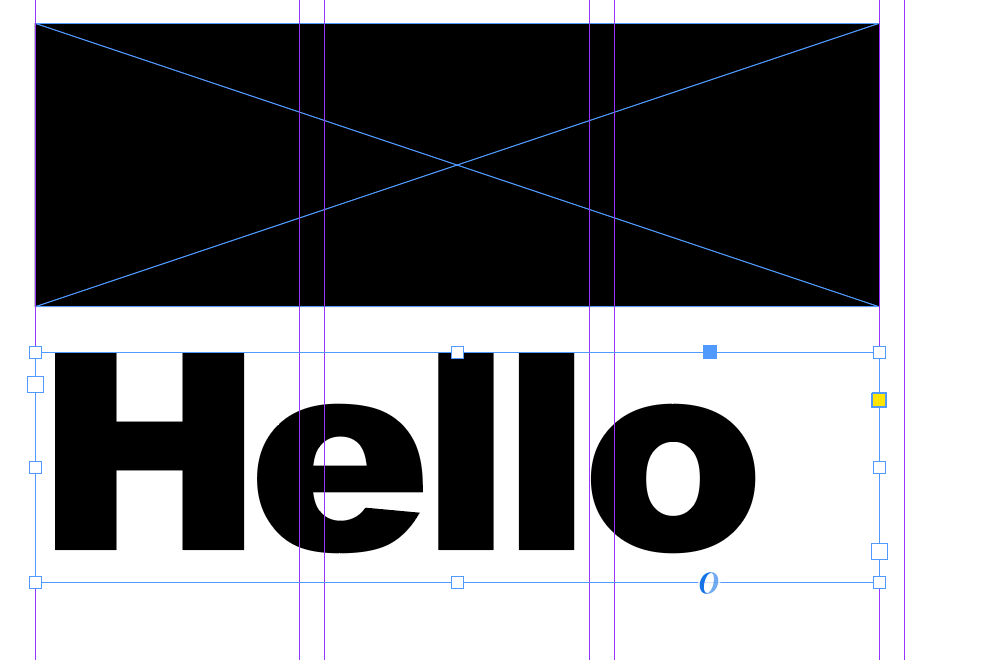
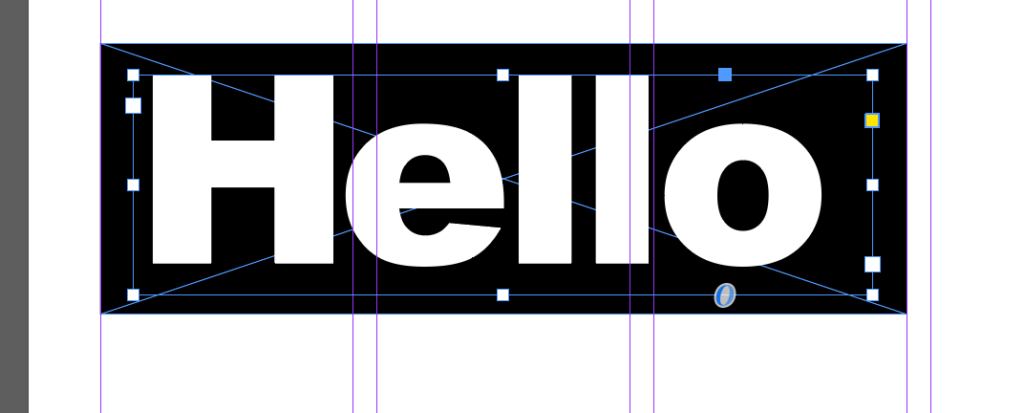
- Add a heading inside a shape
- Let’s study what happens and why
- It will be necessary to group certain items in order to apply text wrap
- NOTE: You can make a black text box with white text, but this might limit the ways in which you can position. Decide what is best based on your design
- Save as Lastname_TC_textwrap_practice, export as PDF
- Place in Google Drive
To-Do After Class
Graphic Assignment
Complete layout of Poster 3 with text wrap.
See PDF with assignment details
- Content:
- The words: My Pet Peeve Exhibit
- Title of your Pet Peeve (different for everybody)
- At least 10 pet peeves from class (use this Word doc)
- Specs:
- Use the same grid as the previous two posters
- Include a shape
- Must use text wrap
- Use of color is OK
- Type CONSIDERATIONS as per previous lectures
- Save as Lastname_Firstname_poster_textwrap
- Export as a PDF
- Place in Google Drive
- Due before the next class on Wednesday night, Nov 30th, 11:30pm


Leave a Reply