Working With Clay
Students develop an understanding of the 3rd Dimension while working with clay. The material can be easily shaped by pressing it against a hard surface and working it in our hands. Clay remains where it is placed when creating a solid shape.
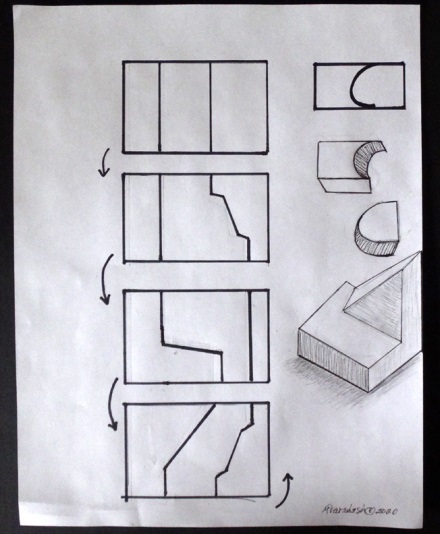
Two-Dimensional Drawing of Plaster Puzzle
We commonly cut our sandwiches and cakes from top to bottom. A peanut butter and jelly sandwich makes two halves from a square piece of bread.
My pdf drawing shows how the 4 sides of a solid plaster rectangle looks on the outside as it is rotated and is happening inside. Notice 2 divisions make 3 puzzle parts. I cut into moist plaster that was filled in a milk carton to make my shape.
3D Drawings reveal the interior.
Assignment: Clay Puzzle
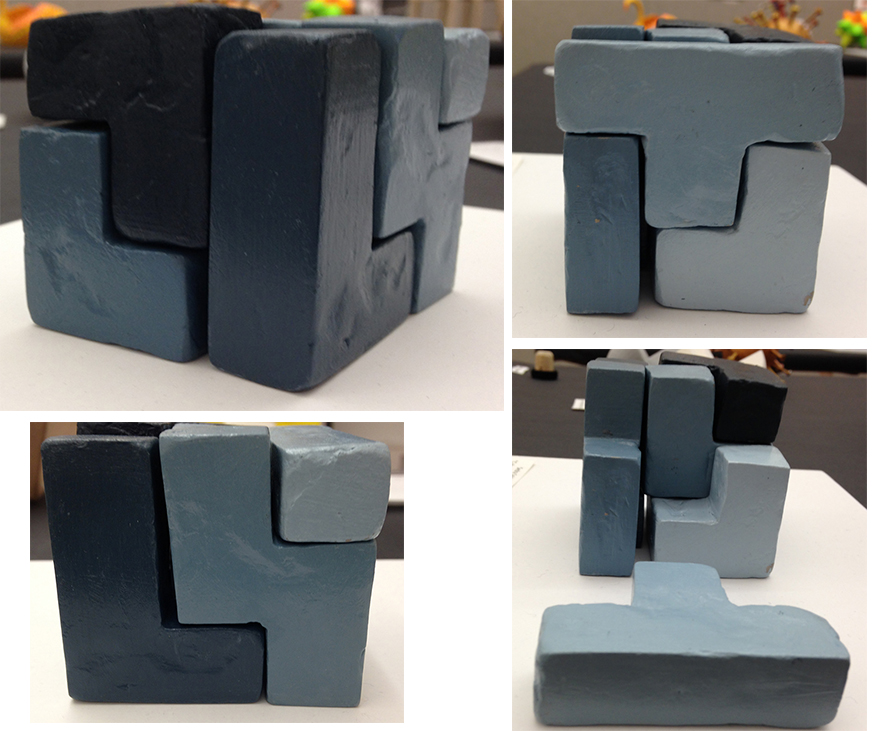
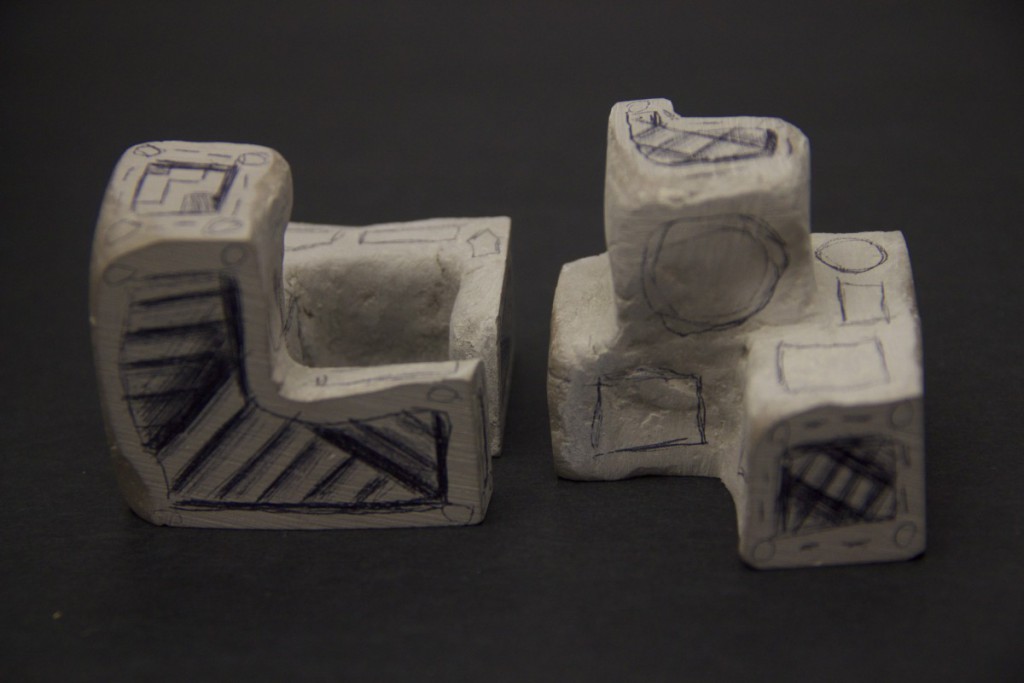
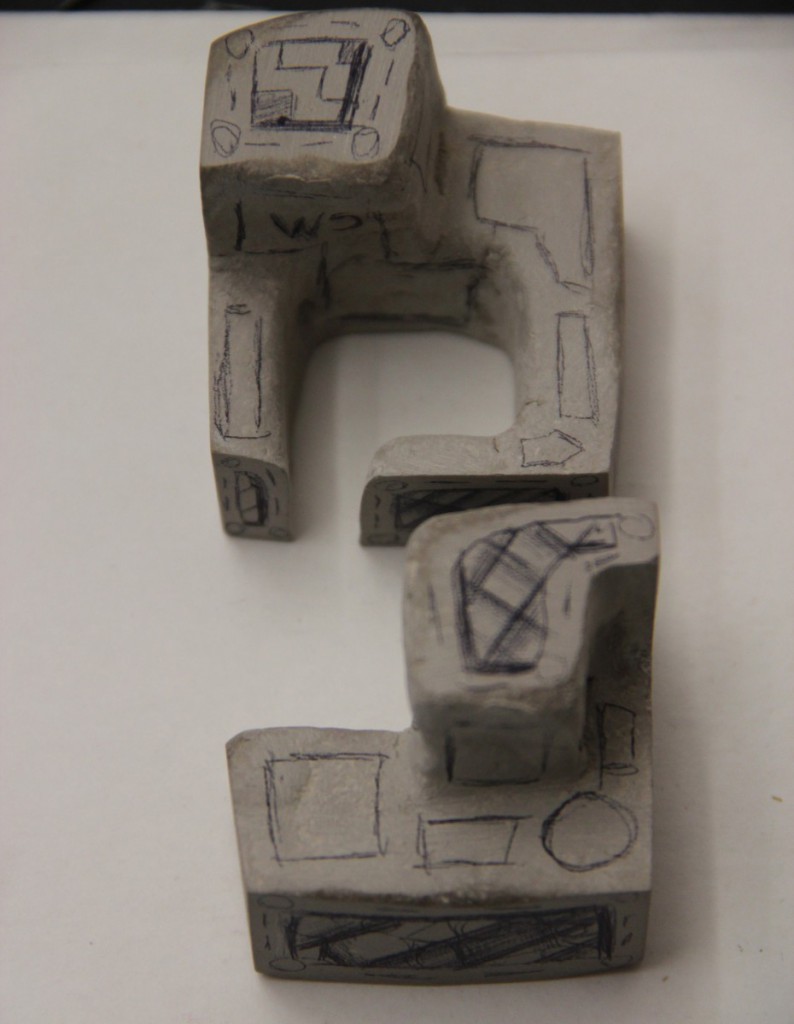
By cutting into what appears to be a solid clay shape, the inside reveals a surprise, something different from its outside – two interlocking forms that fit together.
The successful response is discovering how best to cut the solid.
Using air-dry clay, remove enough clay from its package to form a small solid shape. Place the extra clay back in a zip locked bag with a damp not soaked piece of towel or rag to keep it moist for another project.
Model a solid shape. You may work the clay by rolling it, pressing it against the surface, pushing its edges together and turning it. Spheres, cubes, solid rectangles and cylinders are good choices. The shape needs to have thickness and depth.
The knife has to change direction and the shape needs to rotate to make your puzzle. Think of using different lines –vertical, horizontal, diagonal and curved. Experiment with your own design. It may take several attempts. Clay can be reworked easily if you are not happy with your result. You are welcome to explore the steps of my Modular Cube Puzzle or Apple.
Student examples appear on the Open Lab.
Material and Surface Preparation
A small piece of Masonite ( 9”x12”) or old cutting board makes a fine surface that can be washed and used again. I cut board from a cereal box that I covered with wax paper for my demonstration. The wax paper is wrapped over the board and then taped on its back.
A small container filled will water is nearby for smoothing the surface of clay. A few paper towels or rags can assist.
A butter knife cuts the clay.
A piece or wire, nail or palette knife can draw lines on the surface.
Steps of Modular Clay Puzzle
I have made a cube approximately 2” x 2” x 2”
Lightly drawing with a wire on the surfaces of the cube working north- south and east-west on all 3 dimensions that means 6 sides gives guidelines.
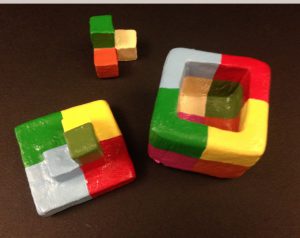
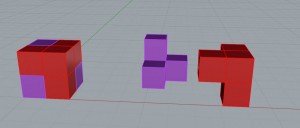
In the background is a miniature 3D Printed white puzzle of how it will look. Notice both sides are the same modular geometric forms but interlock with one upside down!
Refer to my Power Points:
Assignment 5 Clay Puzzle
Sedra’s Clay Painted Clay Puzzle (Fall 2016)
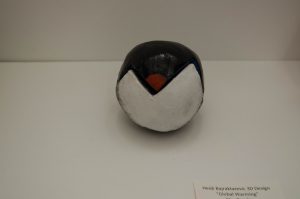
- Heidi’s “Global Warming” (Spring 2017)
- Heidi’s Painted Clay Project
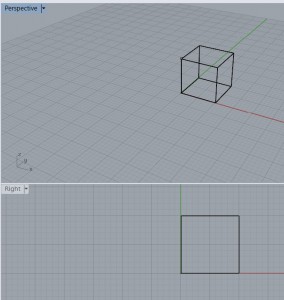
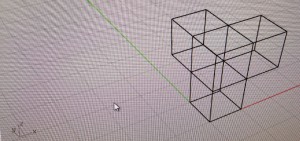
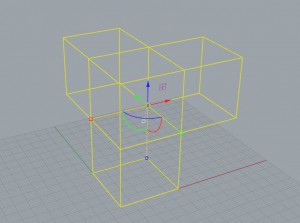
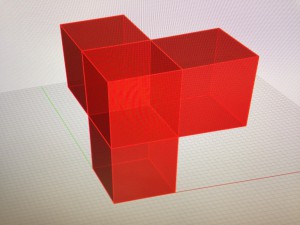
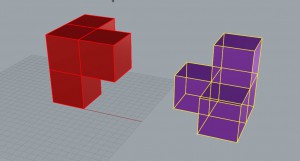
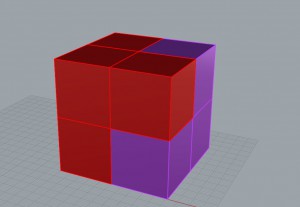
Computer Translation of Clay Puzzle in Rhino 5
Melissa Benitez (CLT, Architectural Technologies) and Meryl Taradash (Communication Design)
- Cube in wireform
- Modular form in wireframe of cube
- Grouped form
- Form shaded red
- Form inverted in purple
- Red and purple united

